When to Harvest Pumpkins (and the Best Ways to Store Them)
Fall has begun, and we’re using a welcome respite of warm weather to continue gathering garden goodies. In this article, I share when to harvest pumpkins, how to cure them, and how to store them.
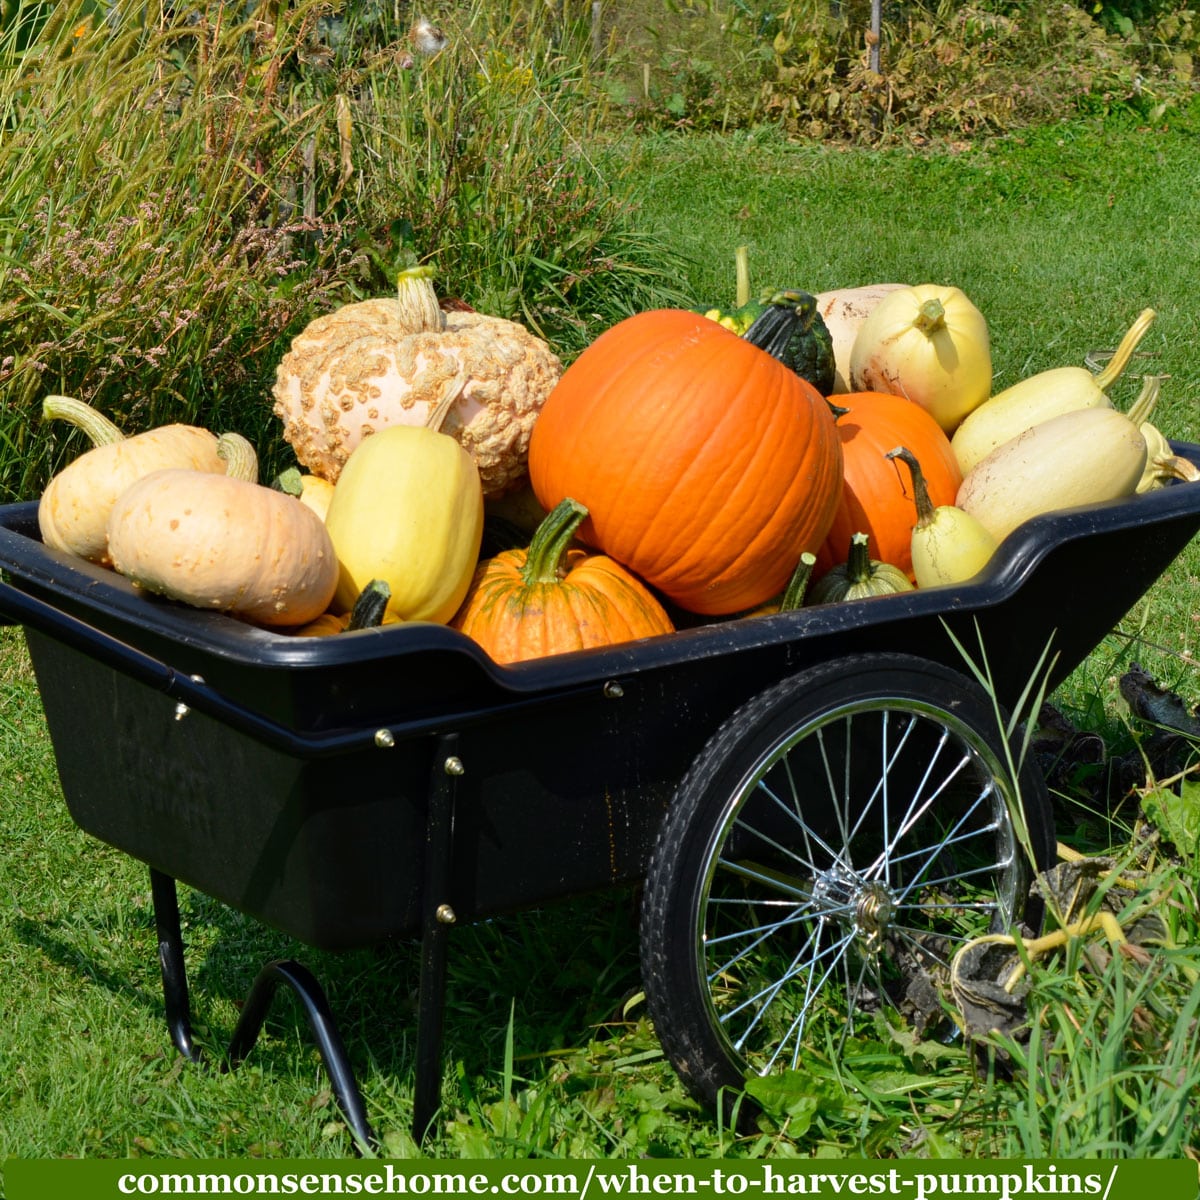
These guidelines also apply to winter squash. Winter squash and pumpkins can be used interchangeably in recipes, and our family prefers the flavor of winter squash.
See “Why I don’t use pumpkin in my pumpkin oatmeal cookies” for my take on the best varieties for baking.
When to Harvest Pumpkins
When to harvest pumpkins and winter squash will vary depending on the variety and growing conditions.
Check the “days to maturity” on the seed listing or transplant tag to get a rough idea of when your pumpkin variety will reach full maturity.
You want to harvest your pumpkins before night temperatures drop below freezing. A light frost that kills the foliage won’t damage the pumpkins, but hard frost can cause damage that leads to spoilage.
You don’t need to wait until the plants have died to know that the pumpkins are ready to harvest. Check the color and the rind.
A mature pumpkin will be bright orange (or white, depending on the variety). Squash come in a variety of colors, but typically change colors as they mature.
When a pumpkin is ripe, the rind will be firmer and not as easily dented with a fingernail. With curing, the rind with toughen even more.
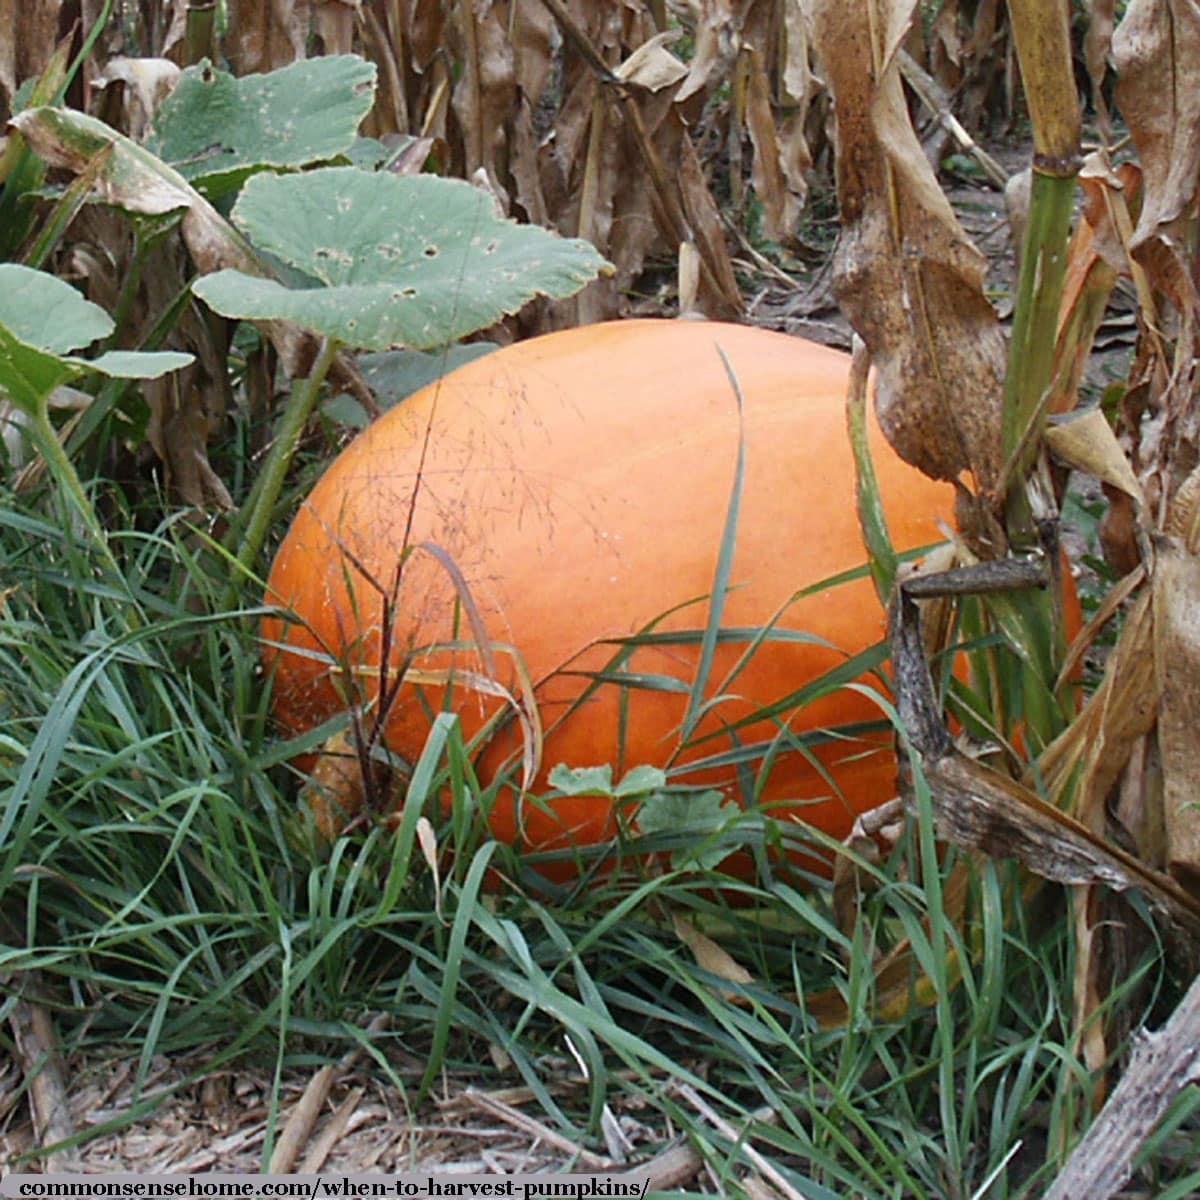
Pumpkin Picking
Important – leave the stem attached to the pumpkin (or squash). If you break off the stem, it opens up a soft spot. This is more likely to rot. Set any fruit with broken off stems aside and use them first.
Use a sharp knife or garden shears to snip to pumpkins from the vine. I like to leave the entire stem intact. Some people prefer to leave one to two inches of stem.
In general, I don’t recommend using the stems as handles when you harvest pumpkins, but some sturdy varieties can handle it. After you’ve grown a few different types, you’ll know which ones are likely to break.
Gather your pumpkins for curing. Handle them gently to avoid bruising.
Curing Pumpkins
When you harvest pumpkins and winter squash, the key to longer storage and better flavor is curing. After curing, the flavor gets less starchy and more sweet. The flavor is more complex and the aroma also improves.
Curing is exposing the fruit warmth and good air circulation to dry and toughen the skin. You can do it in the field, or indoors. Given that we often have rainy conditions at harvest time, I cure my pumpkins and squash in the attached greenhouse and in the basement.
Outside, spread them in the sun for a week or so, covering if frost is likely.
Inside, ideal conditions are around 80°F–90°F (27°C–32°C) with ventilation for 3–5 days.
That said, I work with what I have, as does Carol Deppe in her book, The Resilient Gardener.
The greenhouse gets into the right temperature range, but the house is cooler. The squash dry fine, though they may take a little bit longer.
Carol notes in her book that Cucurbita pepo and C. moschata varieties need about two weeks to cure, but C. maxima types taste better after one to two months.
Big squash should be placed with the spot that had been on the ground facing up for air exposure. Smaller squash like delicata can be stacked if space is tight, as long as their is good air flow.
Carol rotates her big squash at around 3-5 days to give the spot that was on the bottom time to dry. Since I have mesh shelves in the greenhouse, I can skip this step.
Would you like to save this?
Some people wash the pumpkins with bleach water after harvest. I don’t, and my best keeping varieties last from one season to the next.
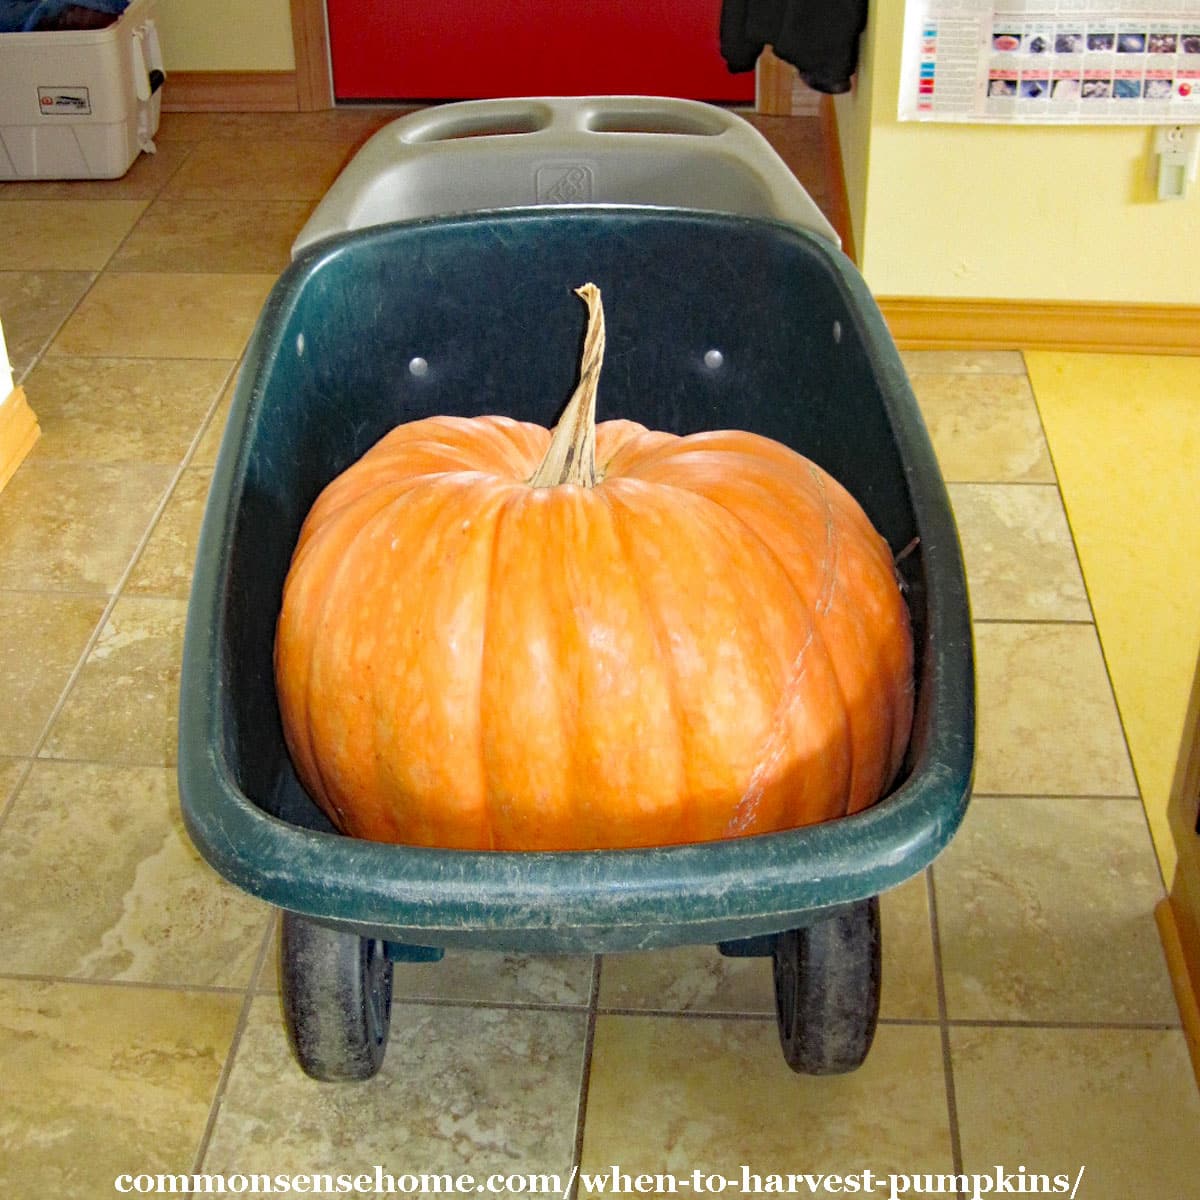
Storage After Pumpkin Harvest and Curing
We keep some of our pumpkins and winter squash on the upper shelves of the root cellar, and other on the stairwell from the garage to the basement. Carol stacks hers all over her house.
The best temperature range for pumpkin storage is around 50°F–55°F with a relative humidity of 50–70 percent.
In my experience, that’s something like a “serving suggestion”. As long as they don’t get too hot or humid, the varieties that keep well will hang out for months after curing.
If you’re concerned about storage at room temperature, you can also freeze, can, dehydrate, or freeze dry pumpkins and squash.
If I notice a pumpkin or squash starting to spoil, I’ll cut out the bad spots, cook it up, and puree for freezing or freeze drying. See “How to Cook a Pumpkin or Winter Squash“.
Because pumpkin and squash are low acid, they must be canned in a pressure canner. They also need to be canned as chunks, not puree.
Peel the pumpkin and cut it into 1 inch cubes. Heat the cubes in boiling water for 1-2 minutes. Pack in jars with 1 inch headspace.
Process pints for 55 minutes, quarts for 1 hour 30 minutes at 11 pounds of pressure on a dial gauge canner. Adjust for altitude if needed. See “Canning Pumpkin” for more detailed instructions.
Some of my Best Keepers
These are some of the pumpkin and squash varieties that keep the longest for us. There are hundreds of different varieties out there, so I encourage you to try out different types to see which ones you like best.
- Spaghetti squash
- Red Kuri
- Jarrendale
- Butternut
- Buttercup
- Marina di chioggia
The Compleat Squash is a gorgeous book filled with photos and detailed information about different squash varieties.
We’ve found that the warted types like Galeux D’ Eysines don’t keep as well, as they tend to start to rot at the base of the warts. Small, thin skinned types like sugar pie pumpkins and Delicata also have shorter shelf lives.
What if my pumpkins aren’t ready to harvest and hard frost is coming?
Pumpkins should not be left on the vine if temperatures are expected to drop well below freezing.
If temperatures are only expected to get close to freezing for a short time, you might be able to cover the plants briefly to give them more time to mature.
If pumpkins are at full growth, but not quite mature, they might finish ripening during the curing process. It’s common for pumpkins that are partly green to finish changing to orange.
When you have pumpkins that are quite immature, you can still use them. Treat them like a large zucchini. We use ours to make “zapple pie” or squash “apple” crisp.
Enjoy Your Pumpkin Harvest
Once you have your pumpkins cured and stored, they make a wonderful addition to many recipes. Some of our favorites include:
- Pumpkin Oatmeal Cookies
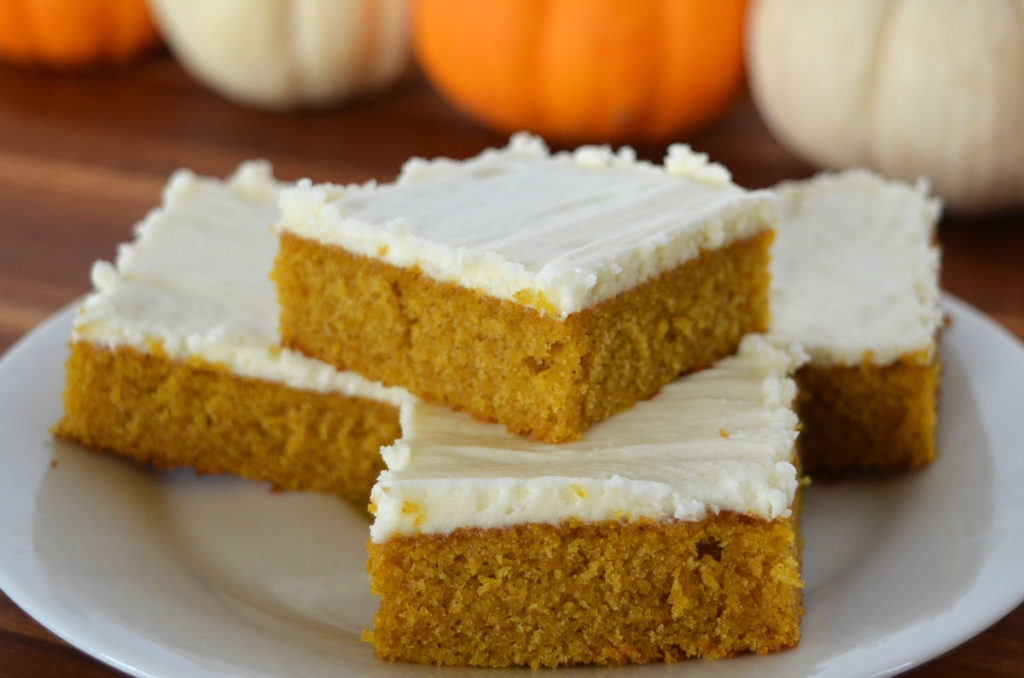
- Mom’s Best Pumpkin Bars
- Pumpkin Wine
- Maple Sweetened Pumpkin Pie
- Pumpkin Muffins with Cream Cheese Swirl
- Pumpkin Spice Waffles with Maple Cinnamon Whipped Cream
What’s your favorite pumpkin or winter squash for long term storage? Leave a comment and let us know.
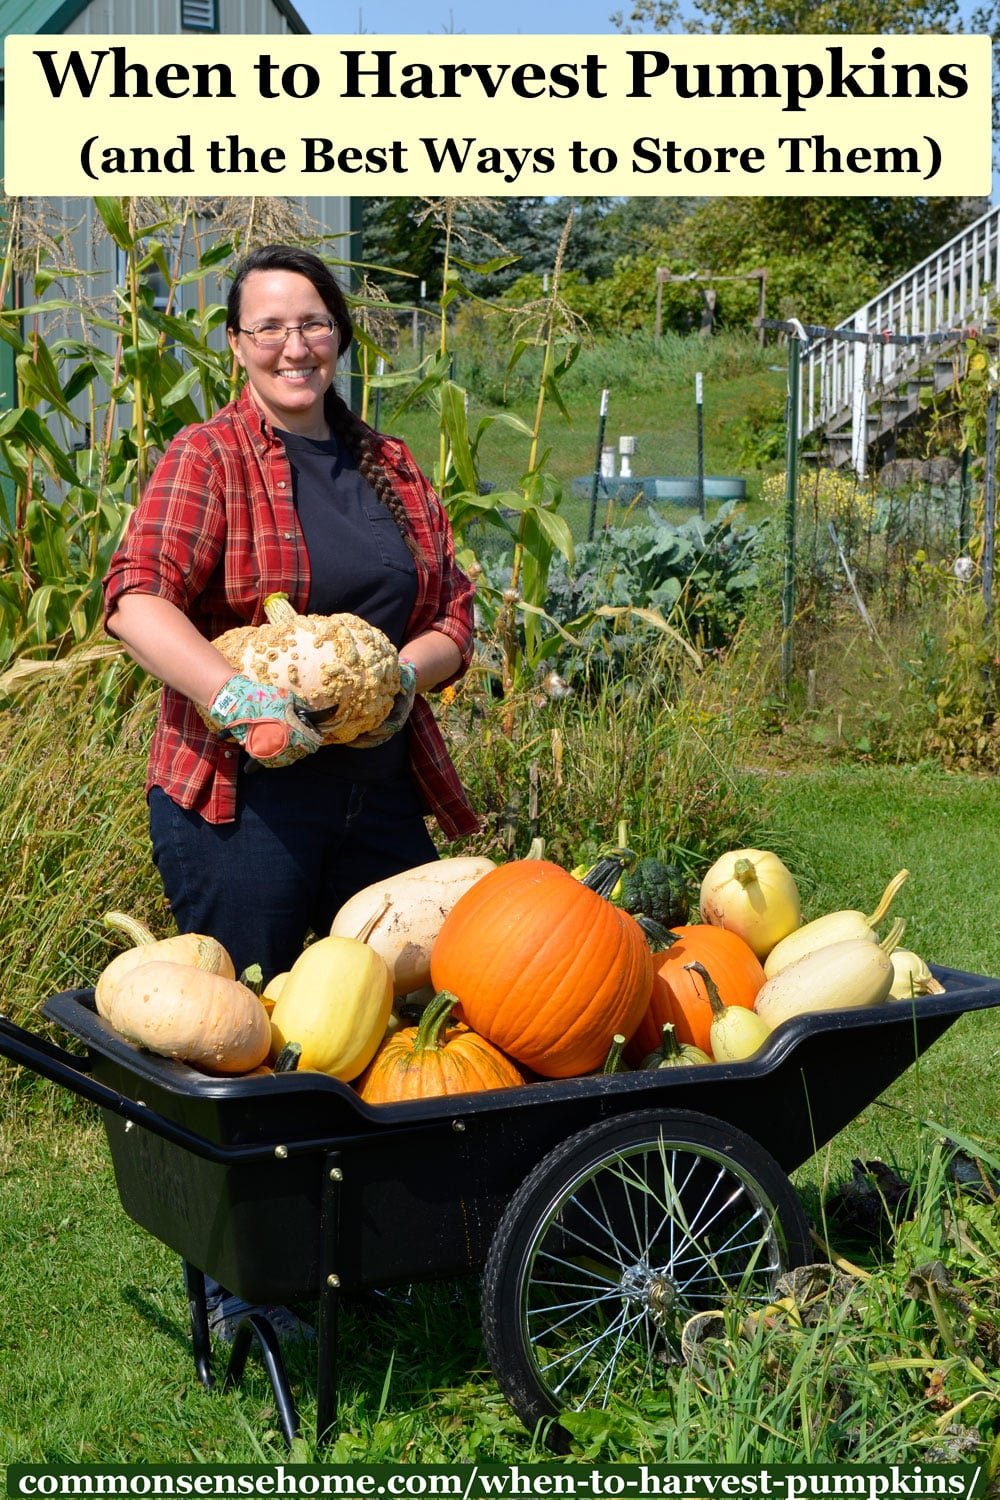
Browse all of our Food Storage Articles here




Thanks for the info.
Looks like I will need to harvest my pumpkins (many varieties) soon. I don’t have a greenhouse and concerned that curing in the field could add moisture, mostly from rain. I have a shed, but no real sunlight comes through.
Thoughs?
Lack of sunlight’s not an issue. Just keep them somewhere warm and dry with good air circulation.
My favorite squash variety is Mooregold. My grandpa always grew it when I was a child and I learned to love the sweet, dry texture. They also keep very well as long as I take the time to cure them properly. They’re also a very convenient size so harvesting isn’t such a chore.
We grew those one year and they are good keepers, too.
While I strongly favor jeune gros de paris and neck punkins for eating, nothing keeps as well as a field pumpkin. For long term storage a Connecticut field pumpkin or other similar varieties are outstanding, they hold up better on the vine over several light to medium frosts as well. The may appear to be ‘stringier’, but that goes away in cooking. Big plus is they are usually smaller than my favored eating varieties. Jeune gros de paris, and neck punkins tend to the huge (75 to 100 pounds for the paris, and 50 to 75 for neck punkins, though either can run smaller) for all that they are finely textured and flavored. So when you cut into one of those you are looking at an afternoon’s work at least. Field pumpkins are much easier to handle.
Wow – those are huge (jeune gros de paris and neck pumpkins). The size issue is one of the reasons I’ve steered away from some of the popular recommendations like hubbards. I want to be able to lift the fruit and not have the processing be something that takes over the entire kitchen.