
Maple Pumpkin Pie Recipe with Graham Cracker Crust

This post may contain affiliate links. Read my full disclosure here.
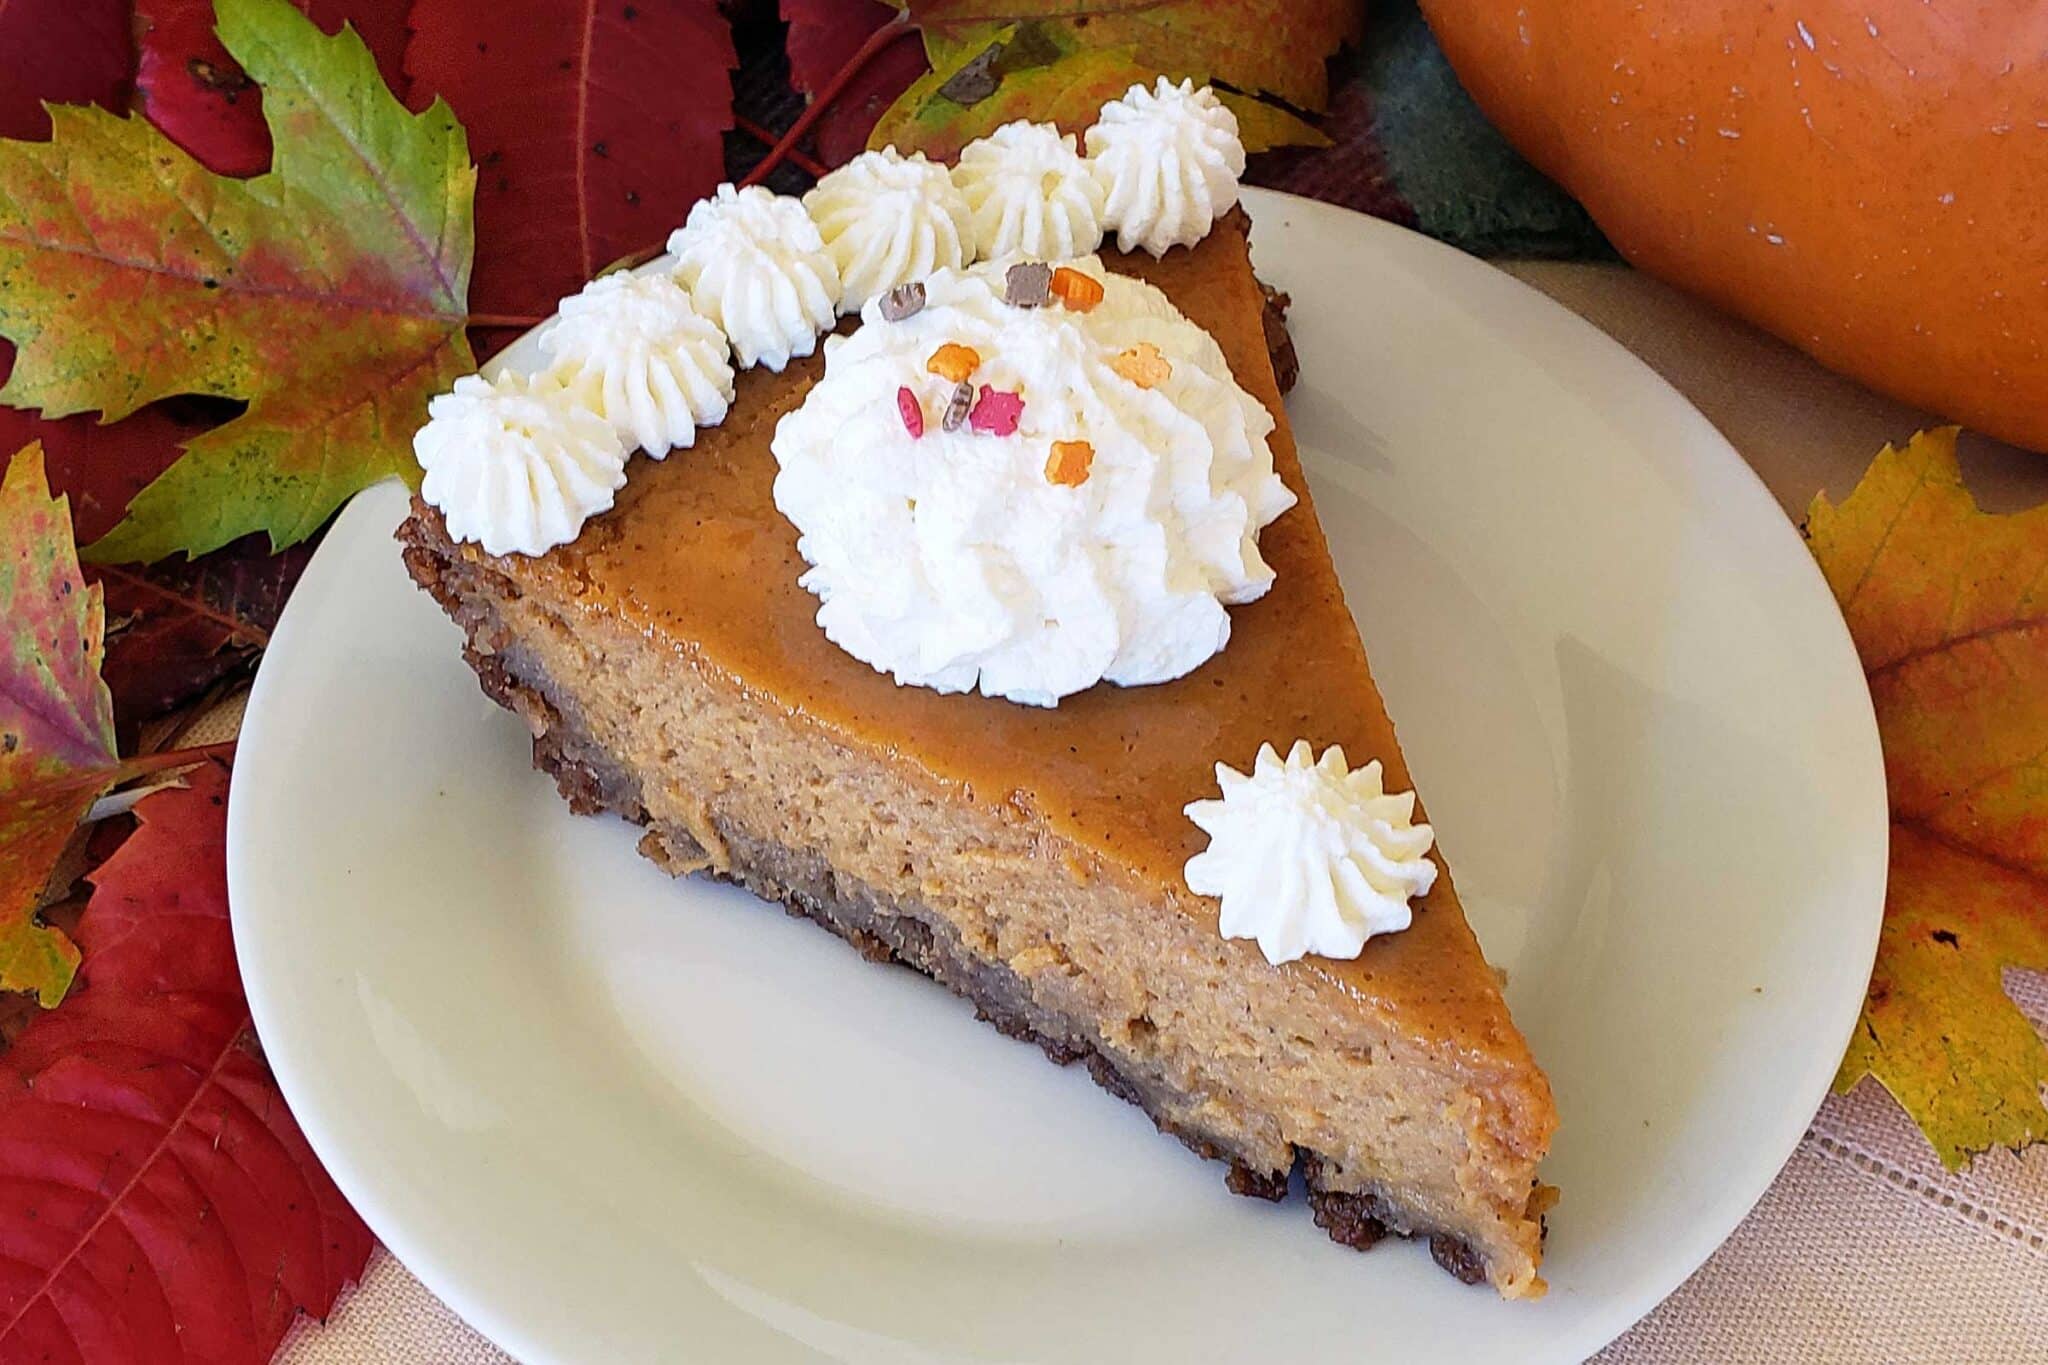
This homemade pumpkin pie recipe is rich, creamy, and naturally sweetened with maple syrup. We use heavy cream instead of evaporated milk for a smooth, flavorful custard filling, and a cinnamon graham cracker crust for a little extra sweetness and crunch.
It’s a favorite for Thanksgiving and other fall gatherings, and it’s a great way to use homemade pumpkin puree or winter squash from the garden.
I’ll walk you through making the crust and filling, share tips for baking the perfect pumpkin pie, and explain how to avoid common problems like watery filling or cracks in the custard.
Would you like to save this?
Table of Contents
Why You’ll Love This Homemade Pumpkin Pie
You could take my husband’s word for it, as he said, “Holy crap that’s good!” when I served him up a slice. Or you can check out this list…
- Maple syrup adds rich flavor. It complements the pumpkin and spices without making the pie overly sweet.
- Heavy cream makes a silky filling. There’s no need for canned evaporated milk.
- The graham cracker crust is easy to make. No rolling pin required, although you can use a traditional pastry crust if you prefer.
- It works with canned or homemade pumpkin puree. You can even substitute some varieties of winter squash.
- It’s perfect for making ahead. The flavor improves after a night in the refrigerator, which makes holiday meal preparation easier.
We had a baking marathon one time when my friend, Julie, was visiting, and tested several variations before settling on this recipe. The result is a smooth pumpkin custard with plenty of flavor, but not so much spice that you lose the taste of the pumpkin.
The texture is a little lighter than most pumpkin pies. Hubs isn’t normally a fan of pumpkin pie, but he likes this variation.
Ingredients for Homemade Pumpkin Pie
There are two parts to this recipe: the graham cracker crust and the pumpkin pie filling.
Graham Cracker Crust
You’ll need:
- Graham cracker crumbs
- Granulated sugar
- Butter
- Ground cinnamon
The cinnamon adds a little extra warmth to the crust, while the butter holds the crumbs together. You can crush whole graham crackers in a food processor or place them in a sturdy bag and crush them with a rolling pin.
Prefer a traditional pastry crust? Our best pie crust recipes include my mom’s favorite homemade pie crust recipe, along with tips for making tender, flaky pastry.
Pumpkin Pie Filling
The filling uses:
- Pumpkin puree: Canned solid-pack pumpkin or thick homemade pumpkin puree. Be sure to use plain pumpkin, not sweetened pumpkin pie filling.
- Maple syrup: Adds sweetness and a subtle maple flavor.
- Cinnamon, nutmeg, and ginger: Classic warming spices that complement the pumpkin.
- Salt: Balances the sweetness and brings out the other flavors.
- Flour: Helps the custard set.
- Eggs: Give the filling its structure.
- Heavy cream: Creates a rich, smooth texture.
- Vanilla extract: Rounds out the flavor.
If you prefer a prepared spice blend, you can replace the cinnamon, nutmeg, and ginger with 2¼ teaspoons of homemade pumpkin pie spice.
Can I Use Homemade Pumpkin Puree?
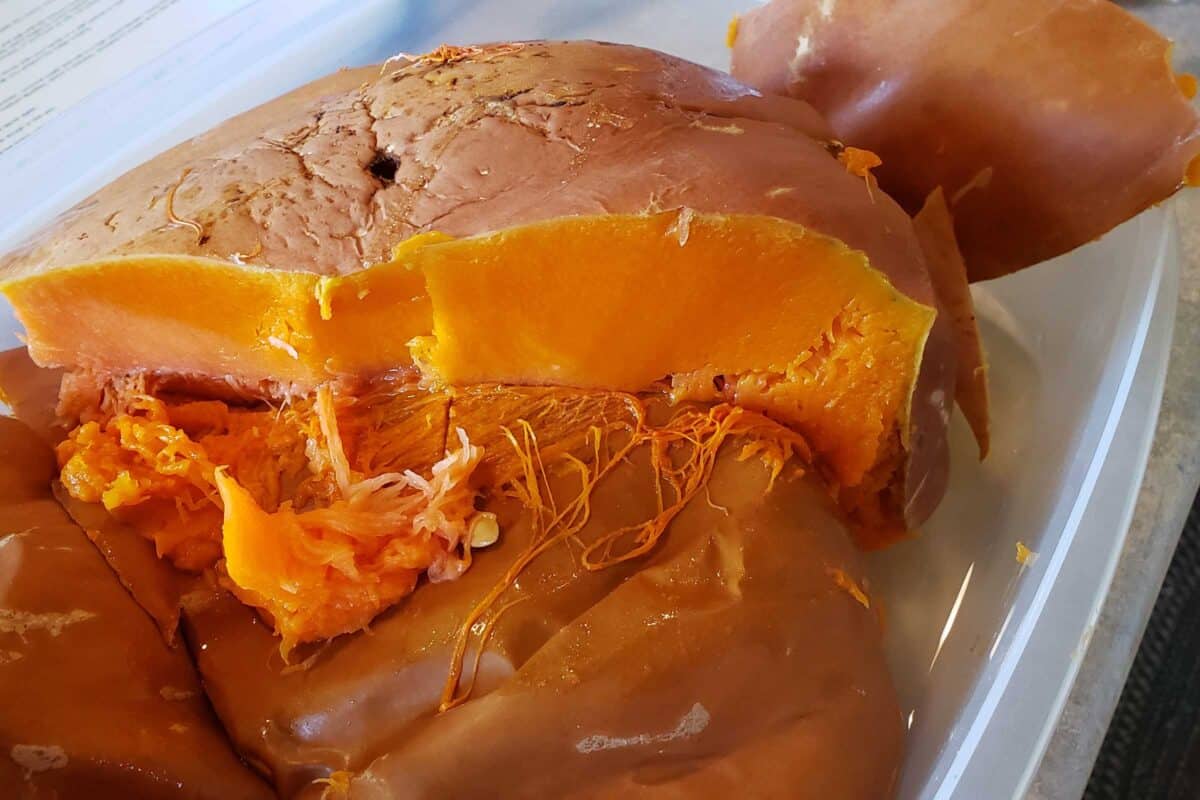
Absolutely! Homemade pumpkin puree works beautifully in this recipe, as long as it isn’t too watery.
Pumpkins vary quite a bit in moisture content. If your puree looks thin or releases liquid when it sits, drain it through a fine-mesh strainer or cheesecloth before using.
You can also use winter squash, such as butternut or buttercup, for the filling. Some winter squash varieties have naturally dense, sweet flesh that makes excellent pie. See How to Cook Pumpkin or Winter Squash.
Learn more about our top choices for Best Pumpkins (and Squash) for Pie.
How to Make Pumpkin Pie with Graham Cracker Crust
This pie is simple to assemble, but a few small details make a difference in the finished texture.
Step 1: Prepare the Graham Cracker Crust
Mix the graham cracker crumbs, sugar, softened butter, and cinnamon until evenly combined. (Note, the photos with a human are my son, Duncan. My arms are not that hairy.)
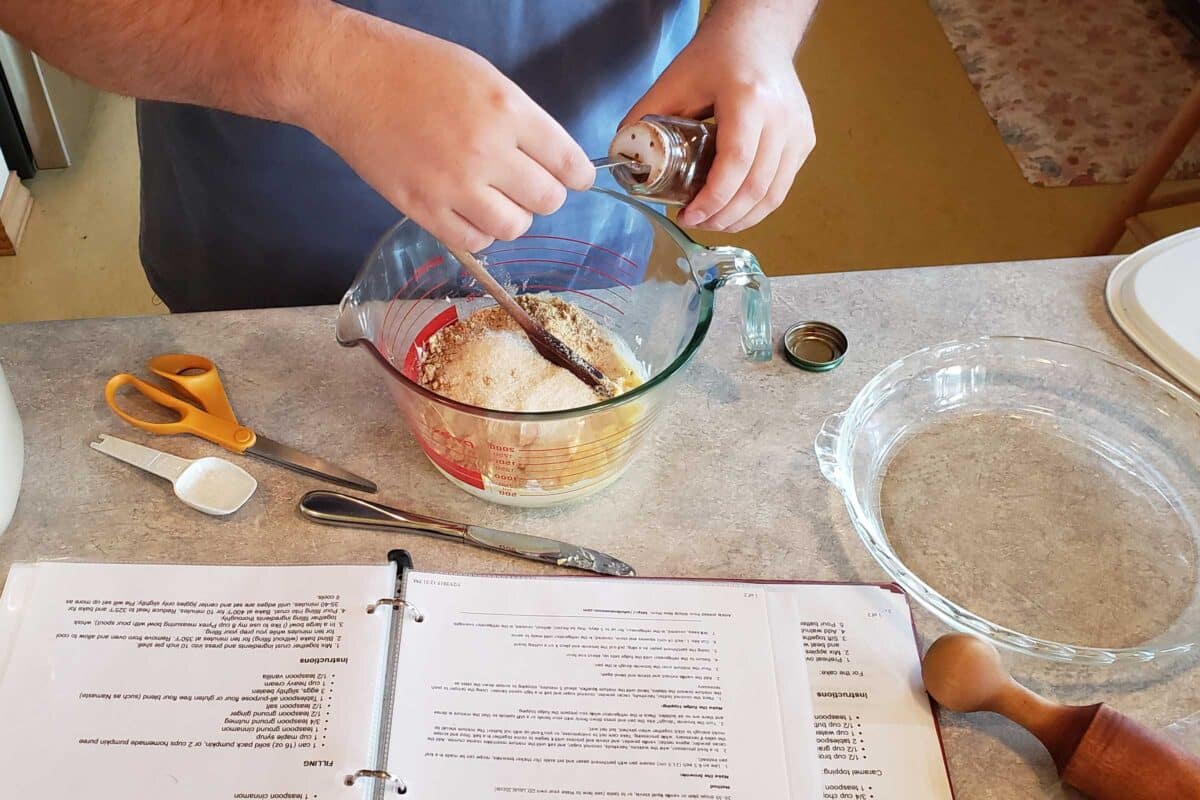
Press the mixture into a 9½- to 10-inch pie pan, working up the sides first and then pressing the remaining crumbs across the bottom.
I prefer glass pie plates over metal. They distribute the heat more evenly and keep the pie from picking up a metallic flavor.
For a firmer crust, bake the empty pie shell at 350°F for 10 minutes. Remove it from the oven and let it cool for about 10 minutes while you prepare the filling. Prebaking isn’t strictly necessary, but it helps keep the bottom crust from becoming soggy.
If your crust slips down into the pan a little during baking, use the back side of a table spoon press it back up the sides of the pan before adding the filling.
Step 2: Mix the Pumpkin Pie Filling
In a large bowl, whisk together the pumpkin puree, maple syrup, spices, salt, flour, eggs, heavy cream, and vanilla until smooth and thoroughly combined. I often use my 8-cup Pyrex measuring bowl for mixing. The pouring spout makes it easier to transfer the filling into the pie shell without spilling.
Alternatively, you can blend the filling in a food processor. This works especially well if you’re using fresh cooked pumpkin that hasn’t been blended into puree yet.
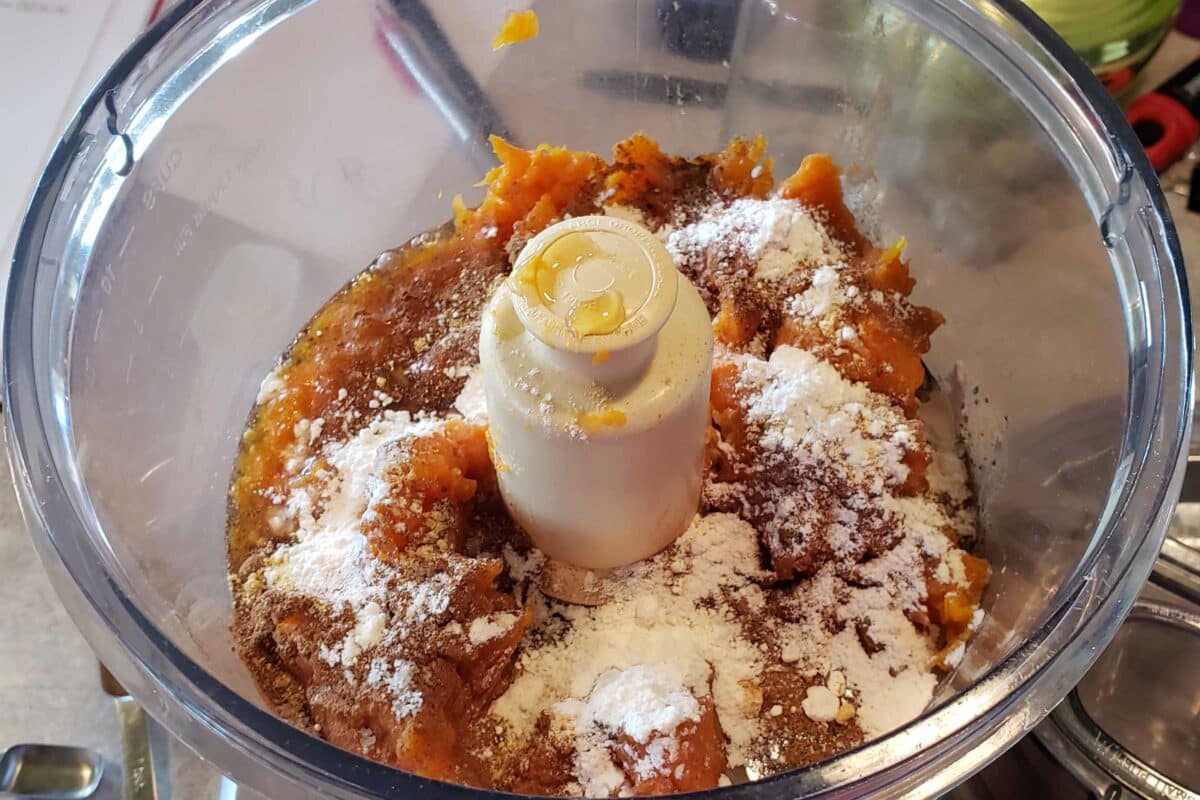
Baking tip: Ingredients that are closer to room temperature blend more easily and may help the pie bake more evenly. Cold ingredients can increase the baking time.
Step 3: Fill and Bake the Pie
Pour the pumpkin pie filling into the prepared graham cracker crust. (You might want to have your crust right next to the oven, so you don’t have far to carry it.)
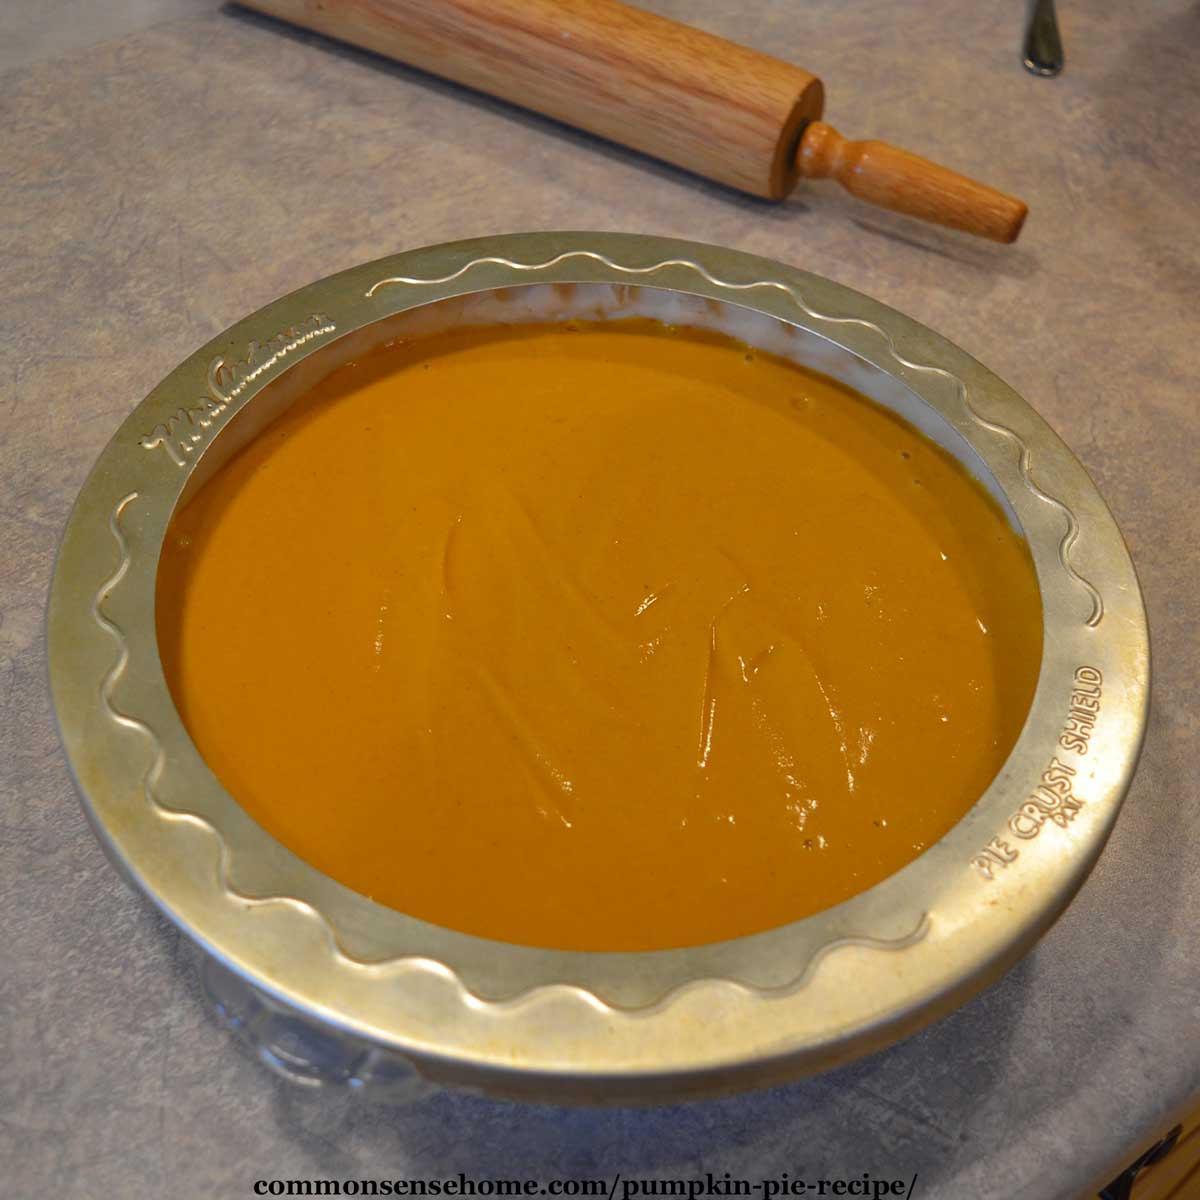
Because this is a fairly full pie, it’s helpful to place the pie pan on a rimmed baking sheet to catch any drips. I like to use my pie drip catcher, which is a round pan with a hole in the center.
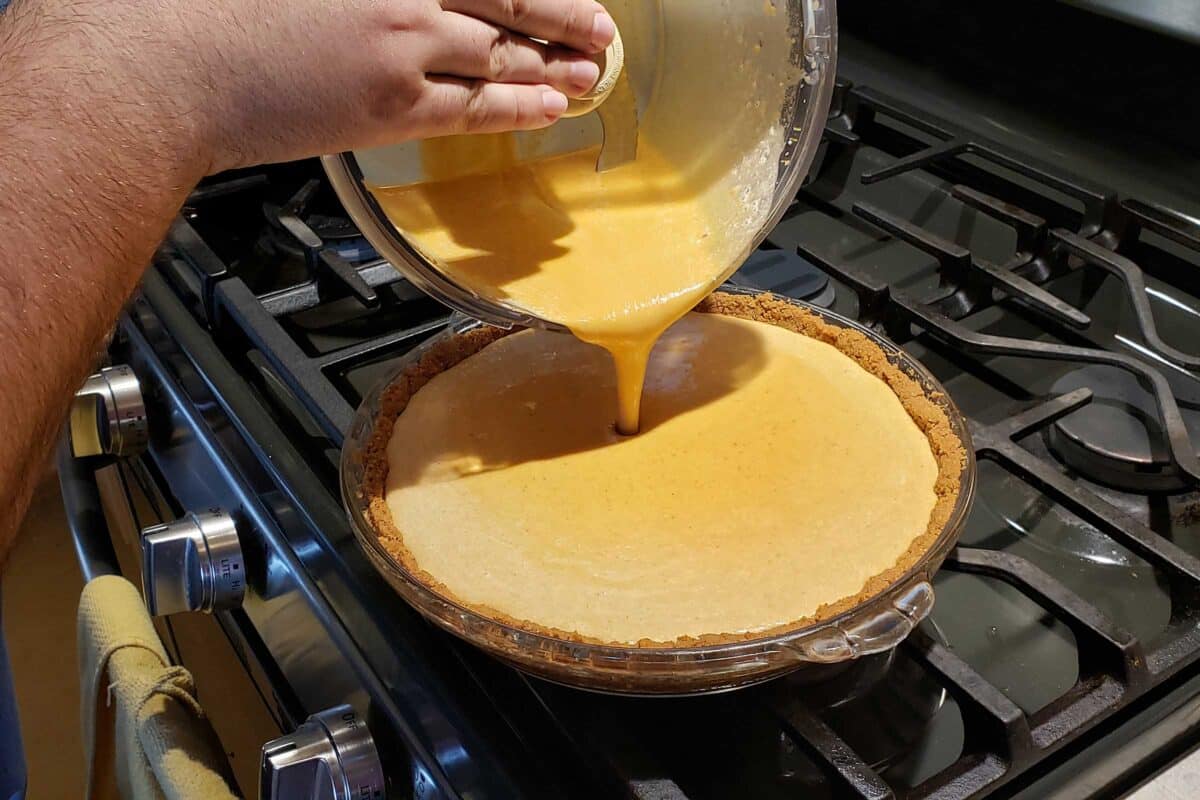
Bake at 400°F for 10 minutes. Then reduce the oven temperature to 325°F and continue baking for 50 to 60 minutes, or until the edges are set and the center jiggles only slightly.
The initial higher temperature helps the custard begin to set. The lower temperature allows the filling to finish baking more gently.
How do you know when pumpkin pie is done?
Gently move the pie pan. The outer portion of the filling should be firm, while the center should still have a small, gentle wobble.
The filling continues to set as the pie cools. Avoid baking until the entire center is completely firm, which can lead to cracks or a watery texture.
Step 4: Cool and Chill
Remove the pie from the oven and place it on a wire rack to cool. Allow the pie to cool before transferring it to the refrigerator. For food safety, refrigerate within two hours after baking.
Chill until the filling is completely set, preferably several hours or overnight. (Or if you’re like my husband, go ahead and eat it warm because you don’t want to wait.) Pumpkin pie is one of those desserts that often tastes even better the next day.
Serve chilled with a generous spoonful of whipped cream, if desired. (There’s a maple cinnamon whipped cream recipe here, if you would like to try something different.)
PrintMaple Pumpkin Pie Recipe with Graham Cracker Crust
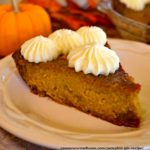
This easy pumpkin pie recipe with graham cracker crust is naturally sweetened with maple syrup. The custard filling is rich and delicious, made with cream, not evaporated milk.
- Prep Time: 10 minutes
- Cook Time: 60 minutes
- Total Time: 1 hour 10 minutes
- Yield: One 9.5 to 10 inch pie 1x
- Category: Dessert
- Method: Baking
- Cuisine: American
Ingredients
Crust
- 1 1/2 cups graham cracker crumbs
- 3 Tablespoons granulated sugar
- 6 Tablespoons butter, softened
- 1 teaspoon cinnamon
Filling
- 1 can (15 oz) solid pack pumpkin, or 2 cups homemade pumpkin puree
- 1 cup maple syrup
- 1 teaspoon ground cinnamon
- 3/4 teaspoon ground nutmeg
- 1/2 teaspoon ground ginger
- 1/2 teaspoon salt
- 1 Tablespoon all-purpose flour or gluten free flour blend (such as Namaste)
- 3 eggs, slightly beaten
- 1 cup heavy cream
- 1/2 teaspoon vanilla
Instructions
- Mix together crust ingredients and press into a 9 1/2 to 10 inch pie shell.
- If desired, prebake the crust for ten minutes at 350℉. Remove from oven and allow to cool for ten minutes while you prep your filling.
- In a large bowl, whisk together filling ingredients until thoroughly combined, or blend in a food processor.
- Pour filling into crust. Bake at 400℉ for 10 minutes. Reduce temperature to 325℉ and bake for 50-60 minutes, until edges are set and center jiggles only slightly.
- Cool on a wire rack, then refrigerate until chilled.
Notes
-
For a prepared spice blend, substitute 2¼ teaspoons pumpkin pie spice for the cinnamon, nutmeg, and ginger in the filling.
-
For a smaller pie plate, bake any extra filling separately as pumpkin custard.
-
Homemade pumpkin puree should be thick, not watery.
-
The pie tastes even better after chilling overnight.
For sweetened whipped cream topping, blend 1 cup heavy cream until soft peaks start to form. Add one teaspoon of vanilla and 2 Tablespoons of powdered sugar (or a Tablespoon of maple syrup). Whip until stiff peaks form and serve on chilled pie.
Pumpkin Pie Baking Tips and Troubleshooting
Pumpkin pie is a custard pie, which means the eggs and cream need to set gently as the pie bakes. Most pumpkin pie problems come down to three things: excess moisture, oven temperature, or overbaking.
Why is my pumpkin pie watery?
There are two different problems that can make pumpkin pie watery.
The filling doesn’t set properly. This may happen if your homemade pumpkin puree contains too much moisture or if the pie hasn’t baked long enough.
Fresh pumpkin and winter squash can release quite a bit of liquid during cooking. For a thicker puree, drain off excess moisture before measuring it for the recipe.
The filling sets but later releases liquid. This is sometimes called weeping. It can happen when the custard is overbaked and the egg proteins tighten enough to squeeze moisture out of the filling.
To help prevent weeping, use the recommended oven temperatures and remove the pie when the edges are set but the center still has a slight jiggle.
Why Did My Pumpkin Pie Crack or Shrink?
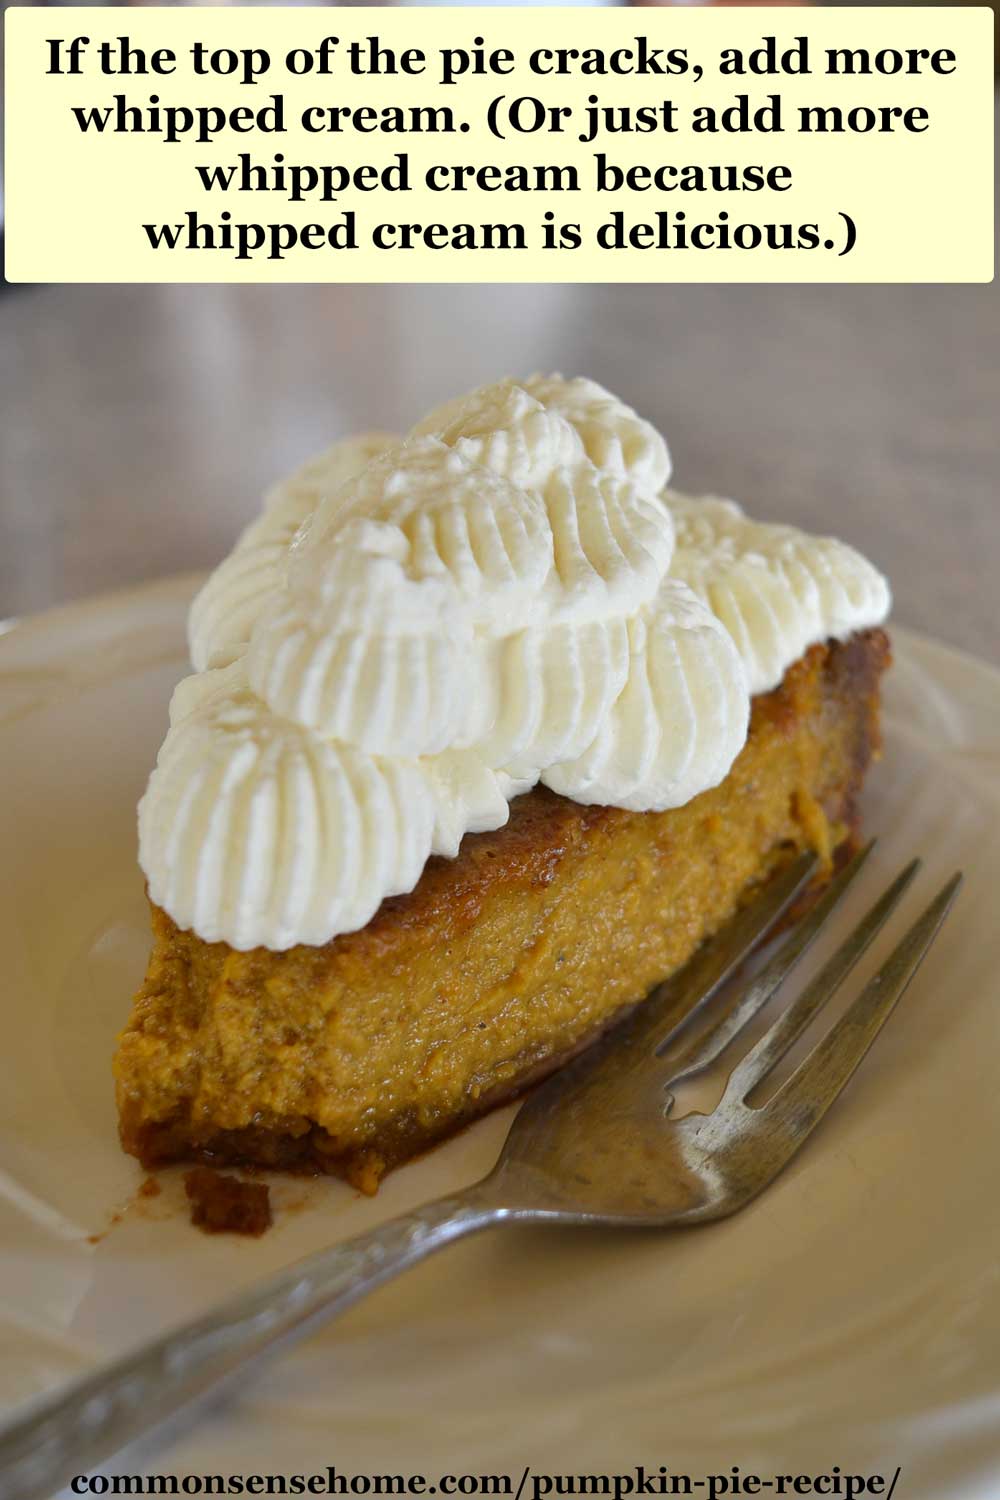
Pumpkin pie filling naturally contracts a little as it cools, but excessive shrinkage can leave a noticeable gap between the filling and crust. Cracks and significant shrinkage are often signs that the custard was overbaked or cooled too abruptly.
For a gentler cooldown, you can turn off the oven when the pie is finished baking and leave it inside for about 15 minutes. Then crack the oven door for another 15 minutes before moving the pie to a wire rack.
If your pie does crack or shrink, don’t worry. It will still taste good, and a little whipped cream covers a multitude of imperfections.
Can I Use a Regular Pie Crust Instead?
Yes. This filling also works with a traditional pastry pie shell. Use a deep-dish crust large enough to hold the filling. You can partially prebake the pastry crust to help prevent a soggy bottom.
If the crust edges brown too quickly during baking, cover them loosely with a pie shield or strips of aluminum foil. See our pie crust recipes and baking tips for more help.


Can I Make This Pumpkin Pie Dairy-Free or Gluten-Free?
Yes, with a few substitutions.
For dairy-free pumpkin pie: Replace the butter in the crust with coconut oil and the heavy cream in the filling with full-fat coconut milk. The flavor and texture will be somewhat different.
For gluten-free pumpkin pie: Use gluten-free graham crackers for the crust and a gluten-free flour blend in the filling. A nut-based crust is another option.
For a lower-carb variation: Try a nut or coconut crust, replace the maple syrup with a suitable low-carb sweetener, and omit the flour. Sweeteners vary considerably, so you may need to adjust the amount and expect some differences in texture.
What to Do with Leftover Pumpkin Pie Filling
This recipe makes enough filling for a 9½- to 10-inch pie. If you’re using a standard 9-inch pie pan, you may have a little filling left over.
Don’t throw it away! Pour the extra filling into a small, oven-safe baking dish or ramekins and bake it as pumpkin custard.
Set the oven temperature to 350°F and bake for approximately 25 to 30 minutes, depending on the depth of the custard. The edges should be set and the center should still have a slight wobble. It’s a delicious little bonus for the cook.
You can also freeze leftover unbaked filling, although the texture may change after thawing. Thaw it in the refrigerator, whisk well, and bake thoroughly.
I prefer baking the extra custard right away. It’s simpler, and there’s no need to adjust another recipe to account for the eggs, cream, and sweetener already in the mixture.
How to Store Homemade Pumpkin Pie
Because pumpkin pie contains eggs and dairy, it needs to be refrigerated.
- Refrigerator: Cover and store for up to 3 to 4 days.
- Freezer: Wrap the fully cooled pie securely and freeze for best quality within about 1 to 2 months.
- Serving: Serve chilled, or let individual slices sit out briefly before eating.
Officially, you shouldn’t leave pumpkin pie at room temperature for more than two hours.
Can You Make Pumpkin Pie Ahead of Time?
Yes, and I recommend it. Baking the pie a day before Thanksgiving or another holiday gives the filling plenty of time to set and allows the flavors to develop. It’s also one less thing competing for oven space on the day of your gathering.
Keep the finished pie refrigerated and add whipped cream just before serving.
More Homemade Fall Desserts and Baking Recipes
One of the pleasures of fall baking is turning the harvest into something special to share with family and friends.
If you enjoyed this pumpkin pie, you might also like:
- Cranberry-Apple Pie – A sweet-tart pie that’s perfect for the holiday table.
- Old-Fashioned Rhubarb Custard Pie – Another family-favorite custard pie.
- Pear Custard Pie with Buttery Streusel Topping – Creamy and delicious.
- Apple Pie Bars – Makes enough for a crowd.
- Mom’s Best Pumpkin Bars with Cream Cheese Frosting – Perfect for gatherings.
Whether you’re baking with pumpkins from your garden or a can of pumpkin from the pantry, homemade pie is a simple way to make a meal feel like a celebration.
Do you prefer pumpkin pie with graham cracker crust or traditional pastry? Let me know in the comments.

This recipe is by Laurie Neverman, author of Common Sense Preparedness and founder of Common Sense Home. Laurie grew up cooking and baking alongside her mother and helped run their family catering business, Irene’s Custom Cakes & Catering, starting at age 15. Today, she draws on decades of kitchen experience and more than 20 years of homesteading to share practical, from-scratch recipes using homegrown and pantry ingredients.
Originally published in 2020. Last updated in 2026.
Hello Laurie, I will finally be making this pie for thanksgiving this year? I can’t wait. Thanks for the recipie. It looks great.
Happy Thanksgiving!
This is very good. Just enough sweetness. I made them into bars since a slice of pie is to much for me to eat.
Thanks for the recipe and love the hints & tips that you’ve put afterwards.
You’re welcome, Jackie. Enjoy the pie.
We made your pie today! It was creamy and delicious ?
I’m glad it worked out well. We tried about half a dozen recipe variations before settling with this one.