How to Season Cast Iron Cookware – Step by Step Instructions
I’m going to show you how to season your cast iron cookware so that it will have a non-stick surface. The more you cook with cast iron the more non-stick it becomes. It’s a process. You would also use this method if you found some old cast iron at a yard sale and it needed to be stripped and re-seasoned.
For detailed instructions on stripping cast iron, see “How to Restore Cast Iron Cookware – Cleaning and Restoring Cast Iron“. For this post will assume you’ve cleaned and stripped your cast iron if needed, and now you have “naked” cast iron and you want to season your piece.
Cast iron is my favorite cookware; I talk all about the reasons why here. Cast iron needs a little more care than most cookware, but the trade off is that it will last forever (well, at least your lifetime and probably your child’s lifetime).
There is a lot of cast iron of varying quality on the market today. Some of it comes pre-seasoned and some of it ships unseasoned. Believe it or not there are times when you will want to strip the pre-seasoning off a new piece of cast iron, but I’ll get to that in a moment.
If you purchase new cast iron and it arrives unseasoned can you start cooking with it? You could, but you would probably have a hard time with food sticking to your cookware. The seasoning is the black covering (or patina) that makes cast iron non-stick.
How To Season Cast Iron
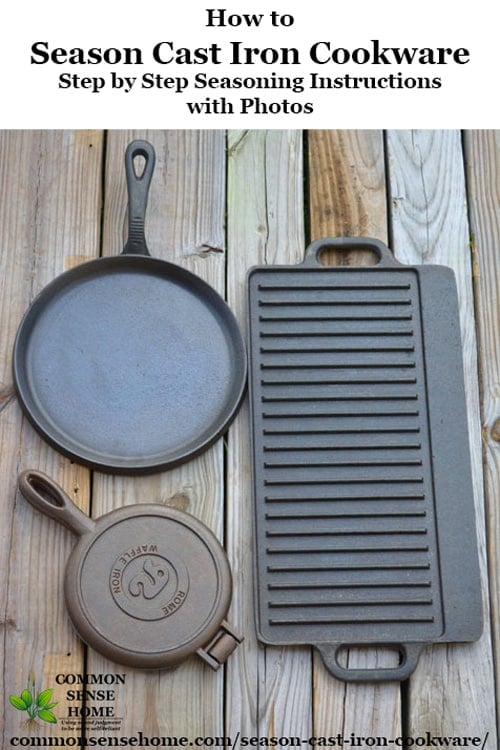
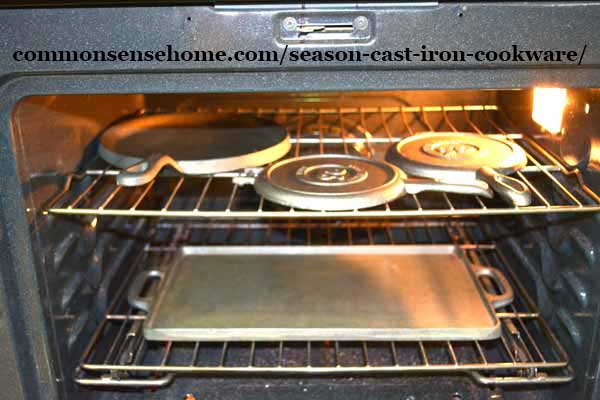
Here are all the pieces I’m going to season for this post. The waffle iron came unseasoned, and the tortilla griddle came seasoned, but I stripped the seasoning so I’m going to re-season it.
The large griddle is an old piece that I seasoned many years ago, but did such a bad job that it really needed to be seasoned again. So I stripped the old seasoning off and here it is ready to be seasoned with the other pieces of cast iron cookware.
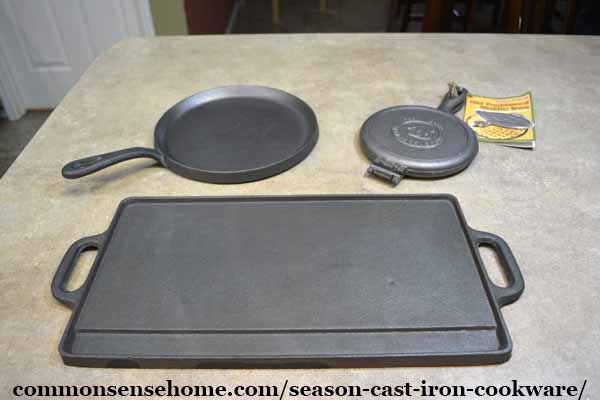
Now, you’re probably asking why I would strip a perfectly good pre-seasoned tortilla griddle. Well, you see, I’m cheap (ahem, I mean frugal) and I did not pay a lot for my cast iron tortilla griddle.
Many times the cheaper cast iron cookware is not smooth and as a result food will stick to it even if you season it perfectly. So I had my husband run a wire brush that attaches to his drill over the surface. Now, I’m ready to re-season my smooth griddle. (I talk more about stripping and wire-brushes in the cast iron restoration post.)
#1. Before Seasoning Your Cast Iron, Wash your Cast Iron Cookware
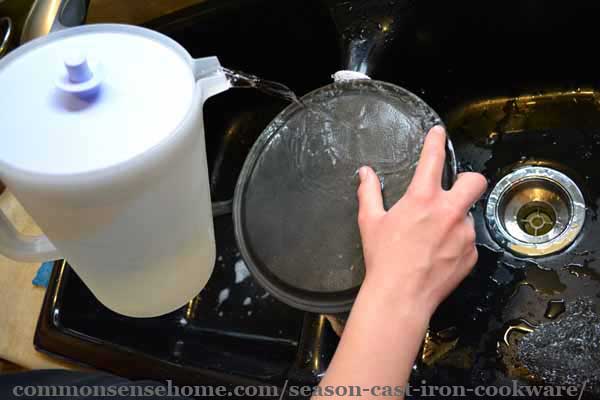
The first step is to wash your cookware. It’s been at the factory so you just want to give it the once-over to get any residue off. It’s perfectly fine to use soap at this point. There is no seasoning to protect, so the soap will not cause any damage.
I placed an old wash cloth in my sink so the cast iron would not scratch the surface of my sink. You can see some of the yucky stuff that has come off the griddle.
#2. Rinse your Cast Iron with Cold Water to Help Prevent Rust
Now, here is a little trick to help reduce the flash rust that might occur when you wash a non-seasoned cast iron piece. Do your final rinse with chilled water.
If the water in your tap is cold using it would be fine. However, it’s warm where I live so the cold water from the tap is not all that cold. So I took water from the tap that I had chilled in the fridge and rinsed my griddle.
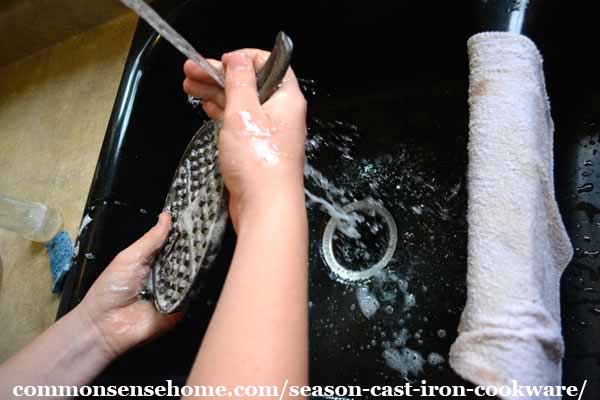
Wash all your pieces.
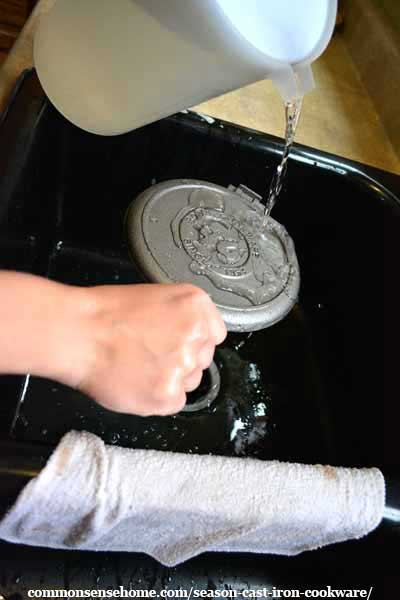
Rinse them all with that chilled water to prevent flash rust. It really does work.
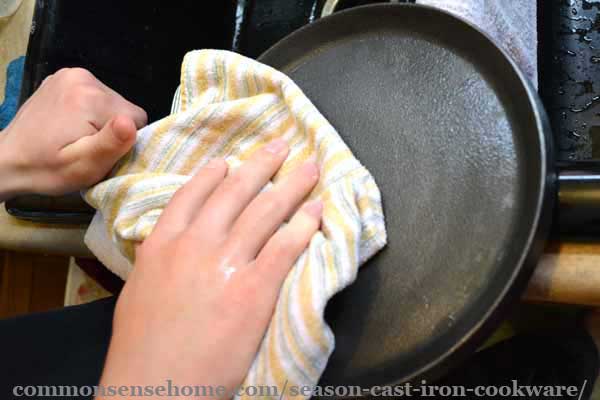
Dry all your pieces. I mean rub them dry. Don’t set them down after they stop dripping, rub them with a cloth until they are bone dry, as we are guarding against rust.
#3 – Preheat the Cast Iron Before Applying Seasoning
Place all the pieces in a pre-heated oven. The pre-heating is really only important if you have a gas stove (which I do) because there is moisture (water vapor) present when a gas stove is turned on. Pre-heat the oven to 200 °F. Place the cookware in the oven and let the pieces heat up for about 15 minutes.
#4 – Apply a Generous Amount of High Heat Oil to the Entire Surface of the Cast Iron Cookware
To season the cast iron cookware you will need, oil, a rag to wipe the oil on with and a lint-free cloth to take the oil off with. I prefer to use these lint-free paper towels from the hardware store. I use coconut oil to season with because coconut oil is a high heat, natural oil. You can use any high heat oil you like, such as lard or palm shortening.
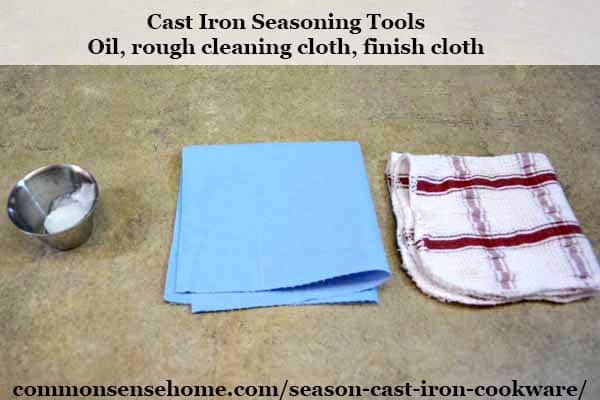
Take the cookware out of the oven and apply the oil. The cookware will really soak up the oil since it has no seasoning.
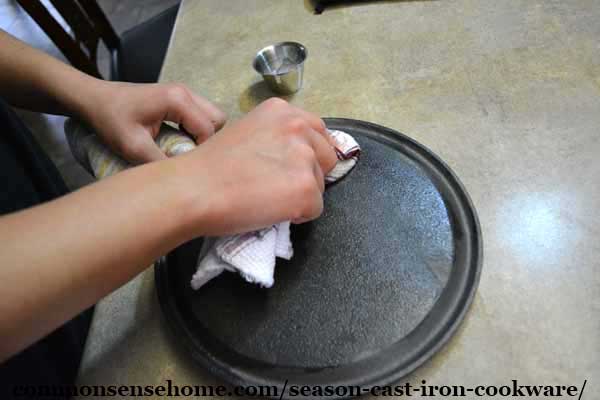
Do both sides.
Would you like to save this?
#5 – Wipe Off Surface Oil
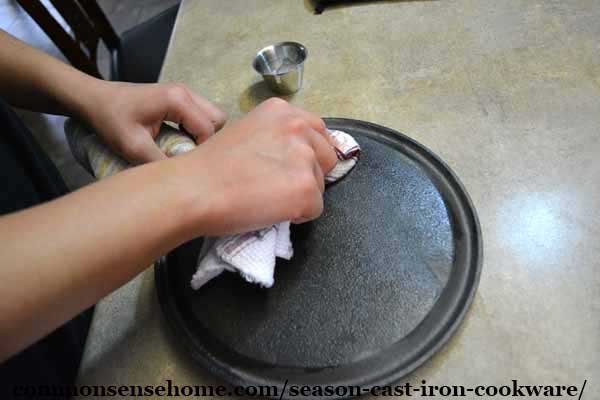
Then as crazy as it sounds wipe it all off. You’re not really wiping it all off. You’re just wiping the surface oil off. The oil that has soaked into the cast iron is still there.
Turn the oven up to 300°F then place your cookware into the oven – upside down if it’s a pot or a skillet. Set the timer for 15 minutes and don’t go far.
#6 – Heat Your Cast Iron Gently and Wipe Off Excess Oil
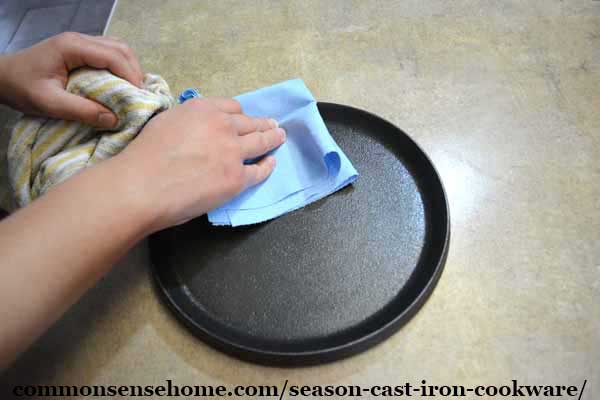
After 15 minutes take out your cast iron and wipe the oil off again. Yeah, I know it sounds crazy but the thing is that if you don’t get all the oil off it will pool and become a sticky spot on your cookware.
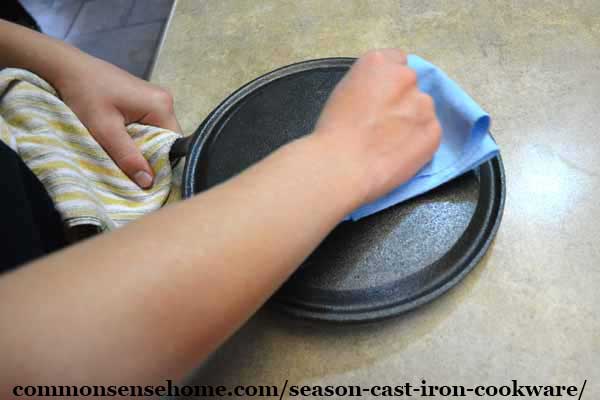
You can see I got off more oil with my second wiping. Place the cookware back in the oven upside down at 400°F for two hours. After two hours let all your cast iron pieces cool to room temperature.
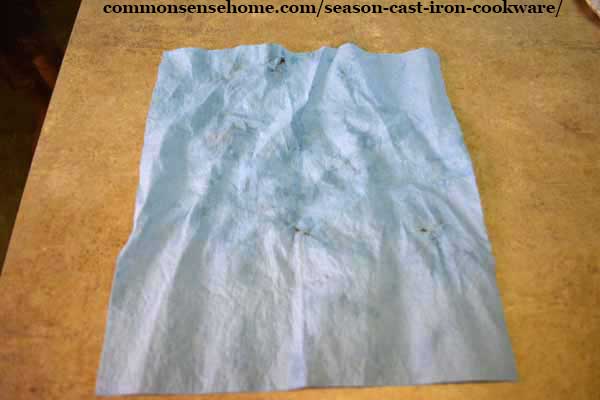
#7 – Repeat Oiling and Removal of Excess oil Three Times
Then take all your pieces out of the oven and start over. You’ll do this process for a total of 3 times. You can do it more if you like but your seasoning might flake. After seasoning a total of 3 times it’s time to start cooking in your cast iron.
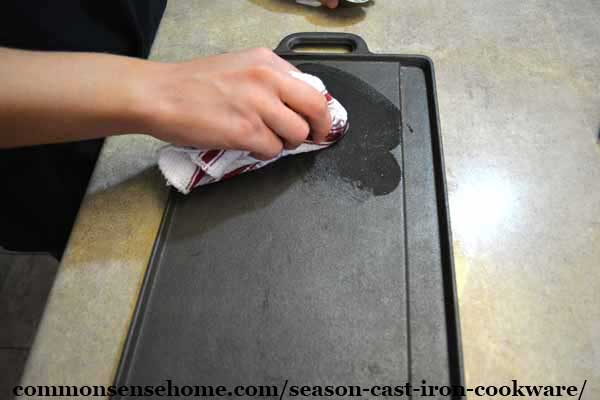
It’s hard to see in this picture but this piece was giving me some problems. If you look closely you can see it’s splotchy in places. I may have to start over with this one, but have my husband hit it with his drill brush before I re-season it.
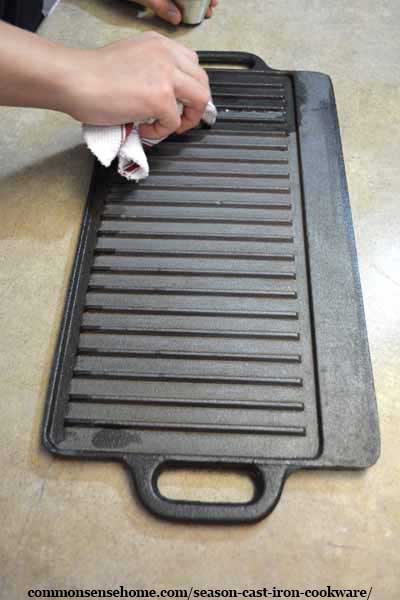
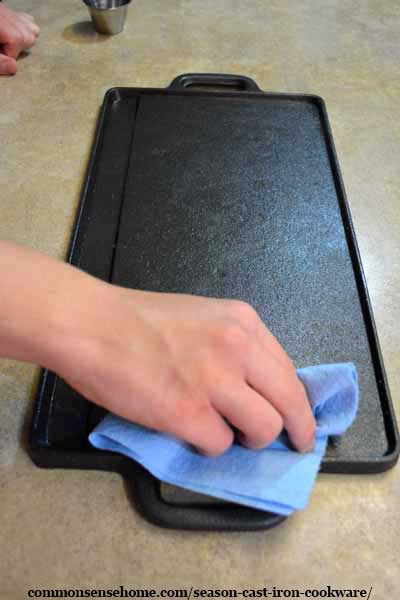
If you have a problem piece like this it’s not really a big deal; you can go ahead and season it and start cooking in it. It might not work perfectly at first, but over time as the patina thickens it should even out, unless you’re dealing with a rough surface.
If you have a rough surface on your cast iron, then you need a wire brush or you could always use it for meats and vegetables as it would probably never be non-stick enough for eggs or pancakes.
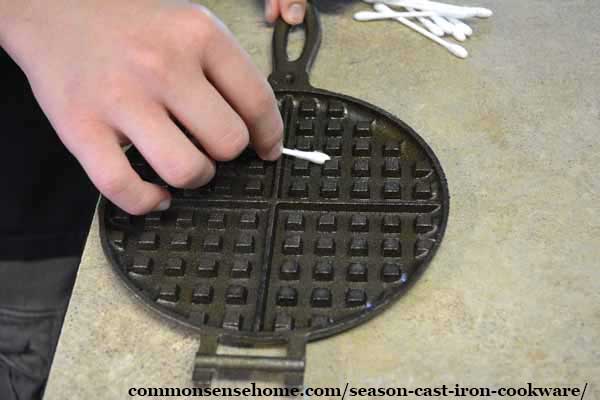
I wanted to show you that I wound up using cotton swabs to get into the little groves on the waffle maker. I used them to apply the oil and to wipe it off.
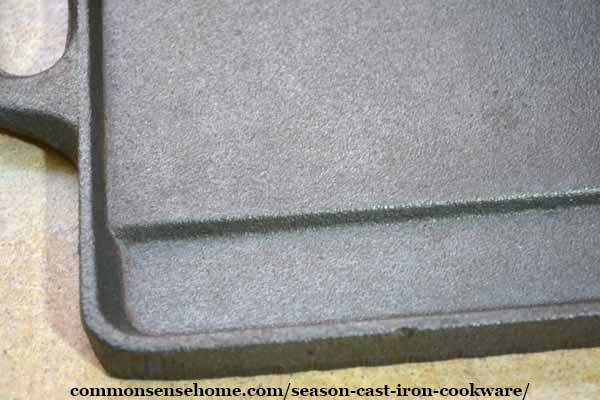
Here is a close -up of an unseasoned piece.
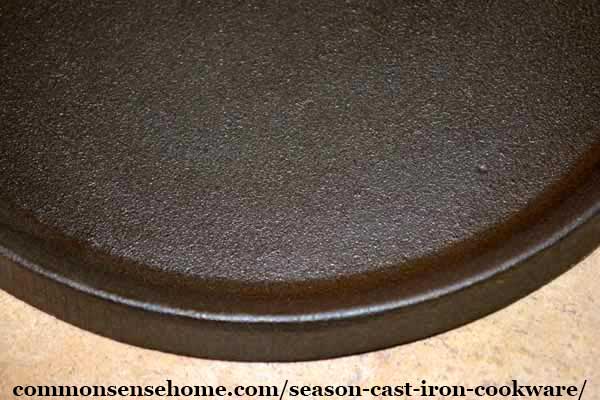
Here is a close-up of a seasoned piece. You can see the color is darker because it has patina or outer coating.
As you can see it’s pretty simple to season cast iron cookware. I think the trick to taking care of your cast iron is to not treat it like china and never use it, but to treat it like an heirloom that you will hand down to your children just the same.
It’s even better when your children help you take care of it and form those memories of working side-by-side with you. Yeah, I know that’s sappy, but a mother of boys can have hope, can’t she?
Other posts in the series:
- Cooking with Cast Iron – How and Why to Get Started
- How to Restore Cast Iron Cookware
- Getting Started with Dutch Oven Cooking
Other Related Posts:
- Emergency Cooking – 10 Ways to Have a Hot Meal when the Power Goes Out
- Getting Started with Solar Cooking – DIY Solar Cooker Ideas, Printable Cooking Guide

This is a guest post by Jennifer Osuch. Jennifer has been prepping, homesteading (suburban style) and pursuing a self-reliant lifestyle for over 12 years.
She is the mother of three very active and wonderful boys, but insists that as many of her possessions as possible be the color pink to remind her house full of boys there is a lady a living among them.
Jennifer enjoys writing, gardening, and the outdoors. She blogs with her husband at the Seed to Pantry School about urban homesteading and becoming self-reliant. You can also find her on Facebook, Pinterest, and Instagram
Originally published in 2014, last updated in 2018.

Great guide. Nut, ffs, do use int’l units (°C).
Please see https://www.onlineconversion.com/temperature.htm for temperature conversions.
1. No, do not put a wood handle in the oven to condition a cast iron saucepan. Wood chars starting a little above water’s boiling temp (212 F, 100 C), depending on the wood. Unscrew the handle to remove it, by turning it counterclockwise. Good luck finding a replacement for a charred or burned pot handle.
2. A cast iron 1- to 3-qt pot with a wood handle probably is attached with a threaded bolt built into the handle. The pot has the female threaded socket. An analogous mechanic’s rule is :”RIghty, tighty, lefty, loosey”, concerning tightening a drill chuck that holds a drill bit. Pour from the right side of a cast iron pot with a wood handle; that tightens the handle into the pot. Don’t pour from the left side of the pot, because that can loosen the handle, making the contents of the pot slosh and spill. It is a risk for right-handers; not so much for left-handers.
3. Refined coconut oil has no odor, so seasoning with that version won’t stink up the house. Here is a chart link on smoke points.
4. You wouldn’t drink mineral oil (it is poisonous), so don’t season cast iron with it. It is OK on unbroken skin, but don’t ingest it.
Hi! Thanks for such valuable information! When you say 400 degrees and let them cool down for 2 hours, do you mean for them to stay in the oven and cool down or do I take them out and let them cool down? I’m new at this, so I wanted to be clear. I appreciate your time. ~Connie
You might want to let them cool in the oven for a bit, just too make them easier to handle and less likely to scorch any surface that you place them on when you take them out of the oven. Either way is fine, as long you avoid taking from the hot oven to an extremely cold temperature. For instance, don’t go from the hot oven to an unheated porch in winter to hurry things along. Otherwise, it’s all good.
This process works. Step one is full oven cleaning mode. Four hours at high heat. It leaves the cast iron raw looking. Step two is the full scrubbing with a copper wire pad. Remember to final douse with cold water to prevent flash rust.
And then the seasoning begins.
However, the concept needs more explanation. The process of heat, oil, wipe… then heat, oil wipe… is more than seasoning. It is additional cleaning process. The point left out here is that the oil application seeps into the pores of the metal and displaces crud. Much like an astringent displaces crud as a facial cleanser (hey, it’s the best analogy I can come up with). Anyone who has been in the military has been taught that you have to clean your weapon for three straight days after range day can relate. You clean your weapon and have a clean bore swab, so it’s good. But then you clean on the second day and the bore swab is dirty. Why? because the oil displaced the carbon crud. So you clean again, and on the third day, no more crud.
So, heat the pan to 200 degrees, oil it magnanimously, then wipe clean. Look at the cleaning rag. It will be dirty. When the cast iron is clean visibly, put in the oven at 300 degrees. Then pull it out. And wipe again. The wiping rag will be dirty again. Keep repeating until that wiping rag is not pulling up so much crud. I did not have to go three times with this last project (Griswold #9 Dutch oven). When the wiping rag is reasonably clean, the cast iron is seasoned. The oil is embedded, the crud displaced and lifted out, result is non-stick finish.
Aloha!
Thanks for the post. I’ve stripped my skillet to re-season it, I did the coconut oil rubs and baked my skillet at 500 degrees for an hour, let it cook for two hours…five times. Per another recommended post. It looks beautiful! I fried up some bacon and it all stuck to my pan. I tried some eggs and the same. So I wiped my skillet out and scrubbed it with my skillet chain mail (my usual cleaning method) and some hot water, dried and re-oiled and tried MORE eggs. Still sticking and ruining the food! What am I doing wrong here? I’ve been cooking with cast iron for years and this has never been an issue. What’s my next step?
I put this out for our Facebook followers to get their input, which you can read here – https://www.facebook.com/CommonSenseHome/posts/1465416146841694
Top suggestions include plenty of cooking fatty items at first to build up a new coating on the pan before attempting eggs. Many prefer lard for seasoning over coconut oil. Flaxseed oil is also used for seasoning by some, but it needs to be seasoned at a higher temp (500).
Thank you so much!
I’m getting some lard today to give it a try.
You’re welcome.
You say to repeat the process but at what point do you start…..
Start over from “Place all the pieces in a pre-heated oven.”
So I stripped my cast iron skillet by using steel wool. Then (at advice from another blog) I ran it through the oven’s self-cleaning cycle. Then I scrubbed more with steel wool and hard bristled brush. Although I’ve done all of this, the pan is still splotchy. Most of the pan is gray but there are darker spots despite all of my scrubbing. Will all of this work itself out after seasoning a few times?
My husband, of almost 28 years, and I just recently bought our first cast iron pans a 10″, a 12″ and a square griddle. There is so much information out there my brain doesn’t know who to listen to. Any thoughts or suggestions?
How do I season cast iron skillet & pans that have wooden handles?
On a related site, the author recommends using coconut oil as it is “a high heat oil.” Actually, it is not. The site “Cooking Fats 101″ provides a chart showing the smoke point of various vegetable, seed, and animal fats and whether they are neutral. Coconut oil has a smoke point of 350 degrees. The only listed oil with a lower smoke point is extra-virgin olive oil with a smoke point of 325 degrees. I recently restored a 12″ Lodge skillet that someone had thrown away (gasp) because it was rusty. After cleaning, I used clarified butter for seasoning as it has a smoke point of 450 degrees, which is the same as soybean oil, peanut oil, and corn oil. Safflower oil is highest with a 510 degree smoke point. In this instance I used clarified butter because it is an animal fat and I intend to use this skillet only for searing steaks and other meats and I did not want to use a seed-based oil. I also have two other 12” cast iron skillets that have dedicated functions – it makes clean-up easier.
Hi Karl,
When I said coconut oil is a high heat oil, I was referring to natural oil. Albeit there are some animal fat oils that do have a higher smoke point that would be considered natural, my family and I are vegetarians so those aren’t options for us. All of the other oils listed on that chart (http://www.seriouseats.com/2014/05/cooking-fats-101-whats-a-smoke-point-and-why-does-it-matter.html) that are not derived from animal fat are highly processed oils and I do not consider them natural oils. You can use an animal fat oil if you like. This is fine especially if you intend to cook with animal fat. However, remember that animal fat can go rancid along with all of the over processed oils on the chart. Coconut oil doesn’t go rancid very easily and therefore is great to use with cast iron because your cast iron will store nicely if you ever stop using it for any length of time.
I use my griddle to cook bacon. How do you clean one so that it doesn’t feel so greasy after?
Hi Steve,
You might try using a little salt and water to scrub the griddle. Also, if you place the griddle back on the burner (just to warm it up) after it’s cleaned you might be able to wipe off some of the extra grease.
I have a question about a cast iron kettle, do you still season the kettle?, Inside and out?
Hi Craig,
Some people do season the inside of a cast iron kettle. Other people boil water in it without using any oil to season the kettle as calcium deposits from the water will coat the inside. Of course this depends on what kind of water you have.
I have just got my first cast iron set, I have seasoned the skillets and Dutch oven but the griddle (hot plate) is to wide to go in my oven, I tried to do it on the hob (gas)’ but this filled the house with smoke, what am I doing wrong.
I’ll shoot Jennifer a note and get her advice.
Hi Julia,
Unfortunately, it’s hard to season cast iron cookware on a stove top. Sometimes I will warm my cast iron skillet up on the stove and give it a coat of oil, but this is really kind of a touch-up between seasonings. The smoke was from too much oil being overheated.
My grandmother ALWAYS rinsed out her skillets using hot water and ALWAYS placed them in the still warm oven OR lit the stove and sat them on the eye for a minute.
After cooking with cast iron for years, I now know why!!
So true! I remember my mother and aunts doing something similar to this, but living in Argentina they did it with animal fat on the charcoal grill before our weekly “asados” (barbecues). I’ll be waiting for the next post, thanks!
Thank you so much for this post, Jennifer! I am a loyal follower on Pinterest and really enjoy everything you post! I am about to inherit a cast iron skillet that was my grandfather’s – it has been “living” in my parents’ barn for years and will definitely need re-seasoning. Your post will definitely come in handy! =)
Excellent directions. I have a piece that has a crust built up on the outside, cheap piece from an auction. Can I remove the crust safely with the wire brush on the drill. I would love to see this done as I have several cheaper pieces that just aren’t as smooth as I would like them.
Hi Sherry,
I wouldn’t use a wire brush on a drill unless you are totally re-seasoning. You can get a stainless steel scrubber (they are usually by the dish soap and other sponges at the grocery store) and see if you can even it out a bit. However, keep in mind that doing this will scrub off the good and bad parts. I do use them from time to time (especially when I bring dutch ovens in from camping) but I don’t use them on a regular basis. In my next post I am going to show step by step how to strip the seasoning off of a piece of cast iron cookware and use the drill brush. So stay tuned.
How do you clean the pans after using? I use water, but it always leaves my pans looking dry or raw, so I give it more flax seed oil. Is there a better way?
Hi Deborah,
After using my cast iron I usually do what I call a mini-seasoning or maintenance seasoning. I clean the piece with water and a little salt if necessary. Then I place it on the stove top over medium to low heat (200 degrees F). When the cookware is warm (make sure it’s not too hot or it will smoke) I apply coconut oil. After I apply the oil I wipe it off just like when I’m seasoning (see above). Then I place it back on the burner and turn the heat to medium (300 degrees F) and leave it until it begins to smoke. Don’t let it smoke; turn off the stove at the very first sign of smoke. If you don’t feel comfortable doing it on the stove you can use the oven. I just don’t like to heat up my oven again after dinner.
Or use the outside grill??
Hi Jayjay,
Yes, any heat source will do. When you’re off-grid or camping often a grill or camp fire is all you have.
I was told by a local ci group leader to clean my ci with apple cider vinegar then a light coat of mineral oil (as it will not turn rancid in the southern heat) I’ve been doing this for a couple of years and have had No problems.
Nice, clear and concise post Jennifer!
You covered all the small details that can really make a difference.
We love our cast iron and find it just gets better with use, so use it often and keep it away from the dish water as much as possible until it gets that nice deep patina. Glad to see you mention the coconut oil as well.
Great post!
I love my cast iron pots, skillets, and waffle iron, but I have one pot that I burned out once and ever since, despite cleaning and oiling it, it has an odor in it that transfers to the food. I now see I may have to follow your excellent instructions and reseason it. Thanks for the fine post!
Good luck!