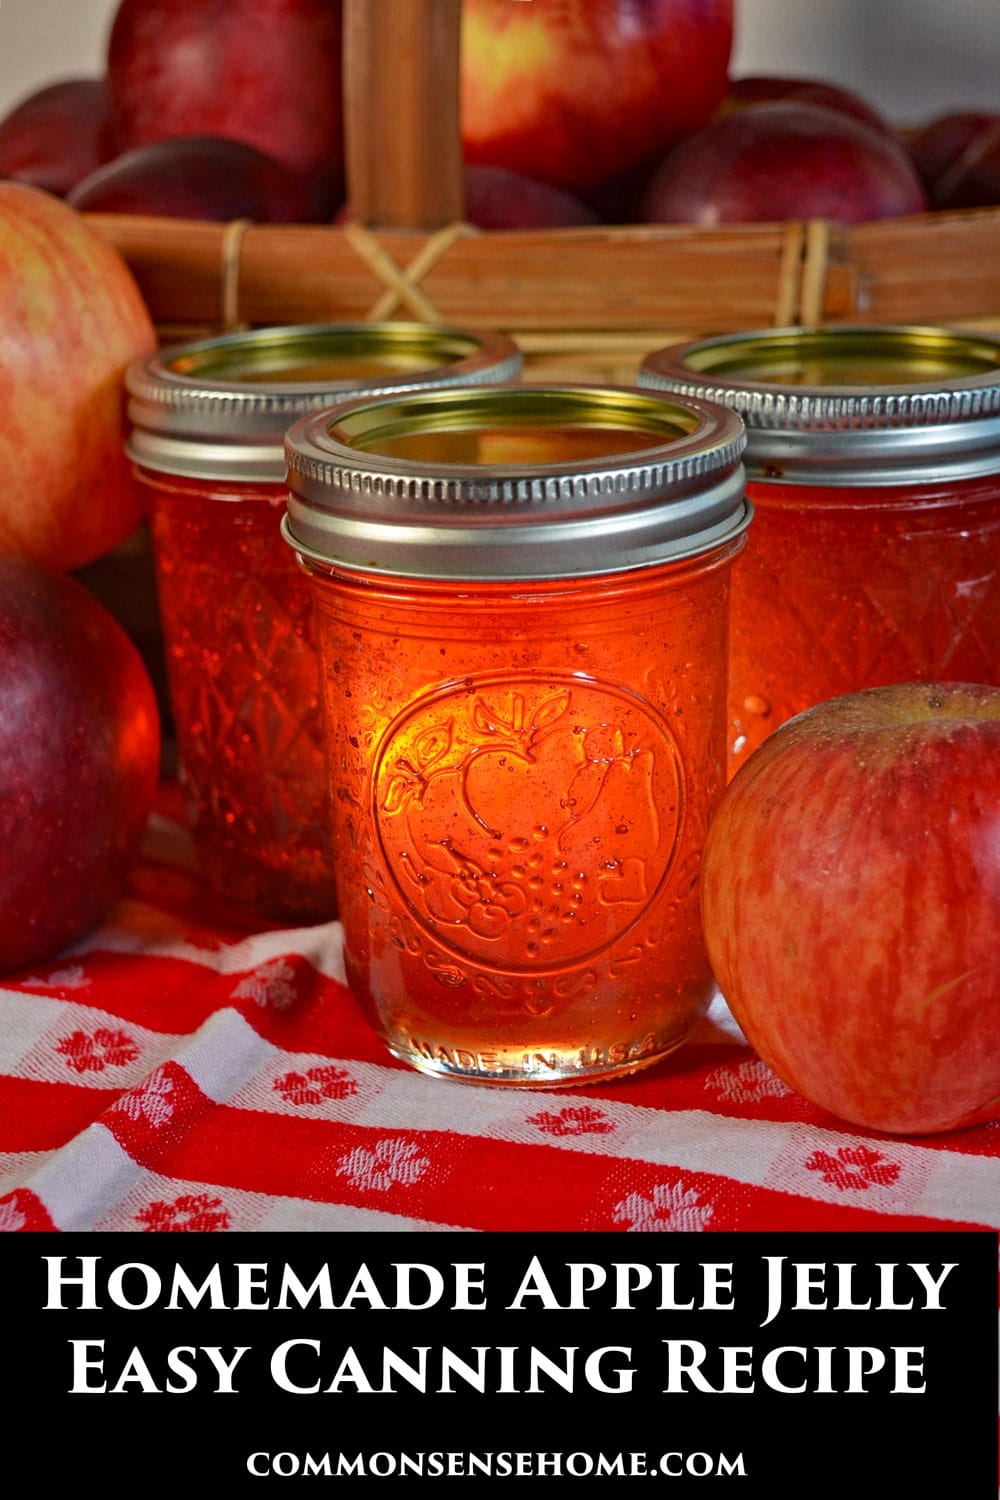
Easy Apple Jelly Recipe (Just 2 Ingredients)
This post may contain affiliate links. Read my full disclosure here.
Learn how to make apple jelly with no added pectin to enjoy for fresh eating or canning with this easy recipe sweetened with sugar or honey.
The natural pectin in apples prompted the authors of Stocking Up III to call apple jelly “the simplest of jellies” because it is made with only apples and sweetener.
Make a little jelly or a lot – you can use the sweetener guidelines to adjust for the amount of apple juice you have available. You can also make a spiced apple jelly by adding spices during cooking.
Table of Contents
What is Pectin?
Pectin is a fiber naturally found in fruits. It’s a polysaccaride (a type of carbohydrate) that’s used for thickening and gelling. (It can also be used for some health conditions, like treating GERD and binding heavy metals.)
Fruits that are high in pectin include:
- apples
- crab apples
- currants
- grapes
- gooseberries
- plums
- cranberries
- quince
Because apples contain natural pectin, you can make apple jelly without adding artificial pectin. Natural fruit pectin works best for gelling jelly and jam when you have plenty of acid and plenty of sugar.
Tart fruit and less ripe fruit has more pectin than very ripe fruit. To help your apple jelly gel more quickly, be sure to include some less ripe (slightly underripe) apples or crab apples in the mix.
You can also experiment with combining high pectin fruits and low pectin fruits, or making your own homemade pectin. (Apples are often used to make commercial pectin, too.)
How to Make Apple Jelly with Honey or Sugar
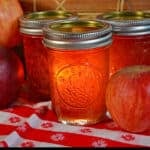
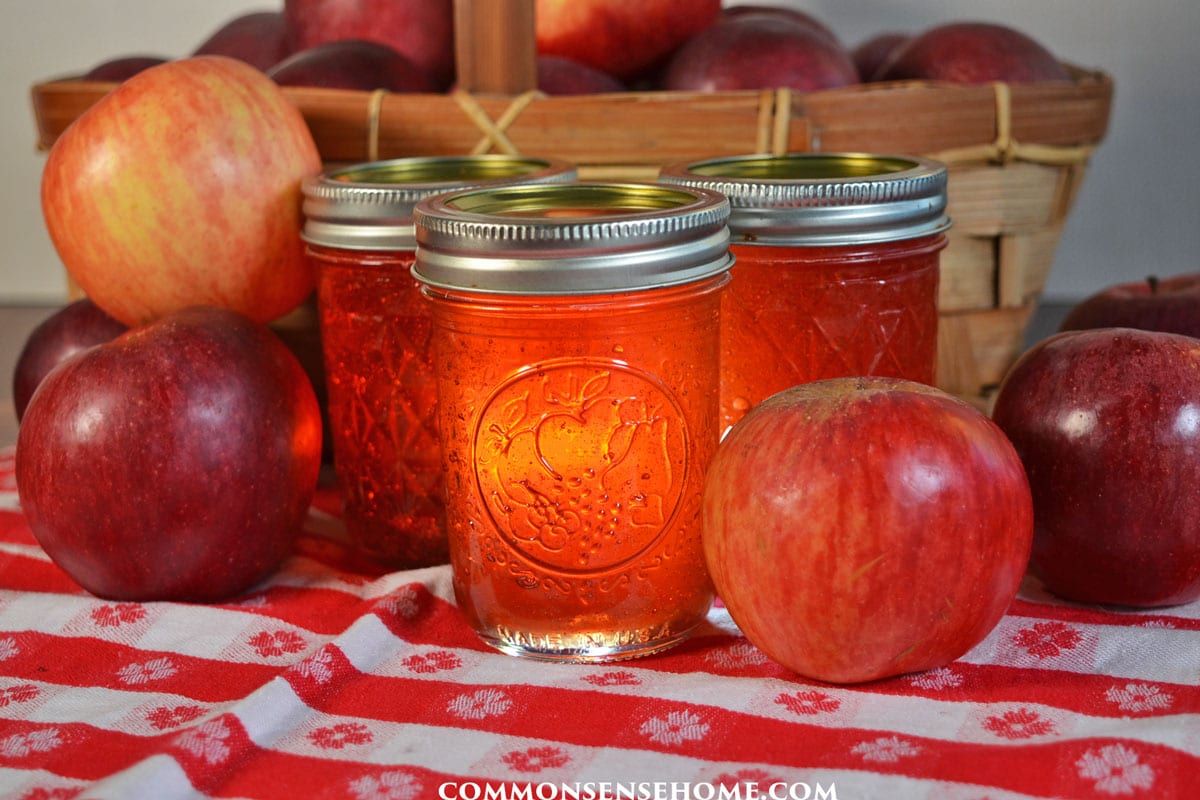
You can use any type of apple for jelly, but varieties with deep red skins add pretty color to your jelly.
Ingredients
- 4-6 cups apple juice (about 6 pounds of apples)
- 3 cups honey or 4-6 cups of sugar
Directions
To juice your apples: Wash apples. Remove stems, damaged areas and blossom ends, cut into quarters or slices.
Don’t peel the apples – much of the pectin is in the peel. Place apples in a non-reactive heavy bottom stockpot (stainless steel or enamel).
Add enough water to half cover apples. Cook until fruit is soft, stirring occasionally to avoid burning and promote even cooking.
If you have sweet apples, you can add 2 tablespoons of lemon juice for a more tart jelly.
You may also make a spiced jelly by simmering whole spices such as cinnamon sticks, cloves or allspice (in a spice bag) with the apples while they are cooking to get soft. (Don’t add them to the boiling juice.)
To strain the apple juice: Place well-cooked apples into a jelly bag strainer or flour sack towel in a colander. If using a towel, gather ends of the towel and hang it from an elevated location. I hang mine from my kitchen cabinet handles because my cabinets are sturdy.
If you have lighter cabinets, hang from the back of a chair or other solid location. You can see my setup in the currant jelly post.
If you want a clear jelly, don’t squeeze the bag to hurry it along – just let it drip. If you like, you can cook your apples one day, let them drain overnight, and make apple jelly the next day.

Apple Jelly Recipe Proportions
Measure out your juice and sweetener:
- 1/2 cup honey for every cup of juice – OR
- 3 cups of sugar for every 4 cups of sweet apple juice – OR
- 4 cups of sugar for every 4 cups of tart apple juice
Measure juice and sweetener into pan. Mix well. Make sure to use a large pot, as the jelly will boil up and foam a great deal during cooking.
Would you like to save this?
This is an 8 quart stockpot, and at times the jelly reached close to the rim. You need to have enough space to reach a full rolling boil.
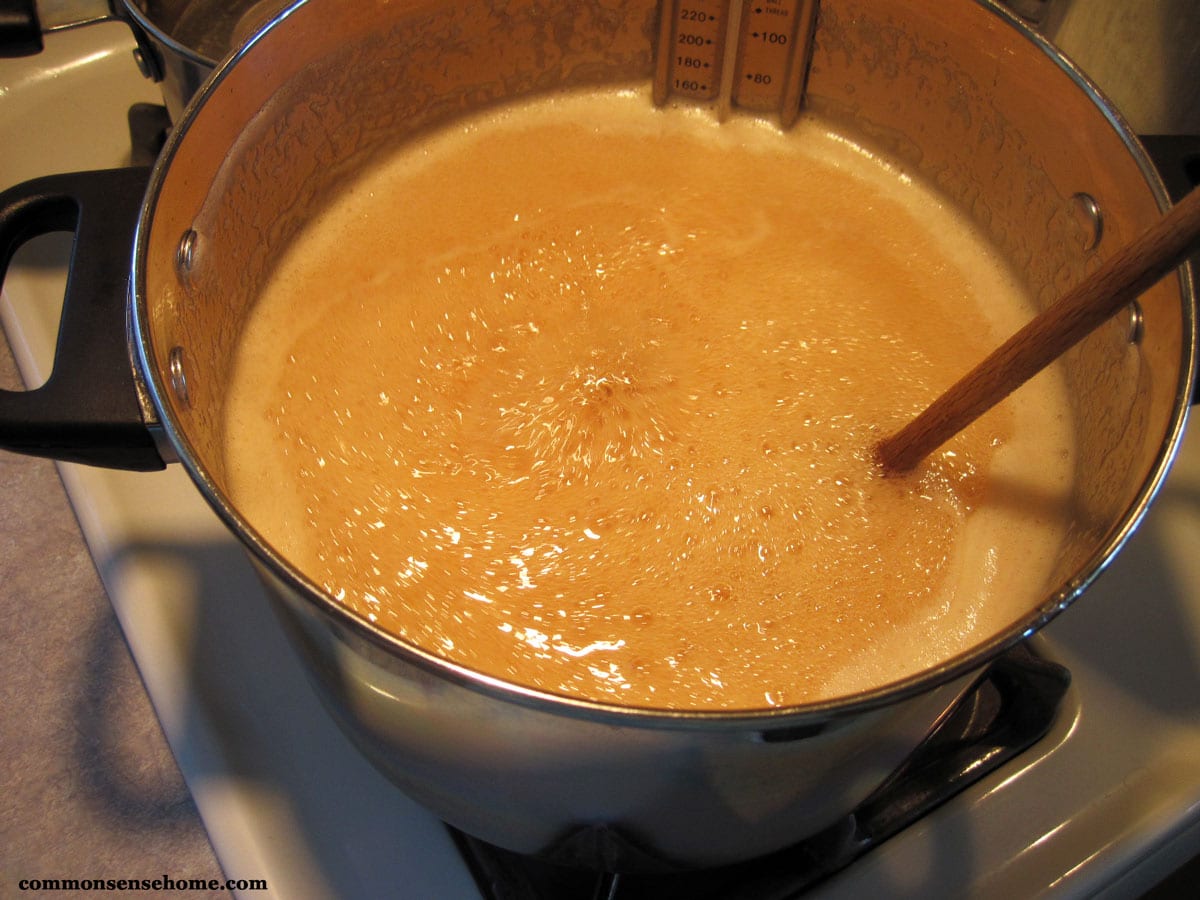
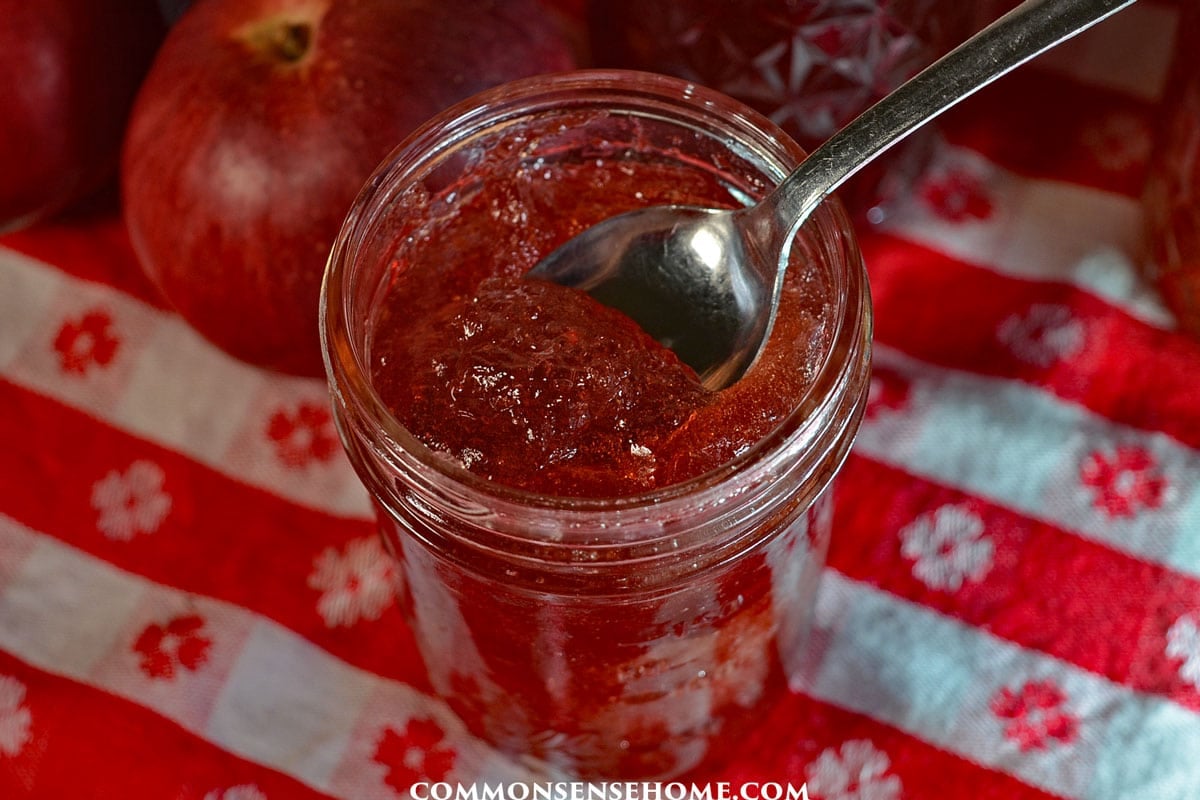
Cook at high heat, stirring constantly, until the gelling point is reached (220°F (104 °C)). When the gelling point is reached, the apple jelly will sheet cleanly off a spoon.
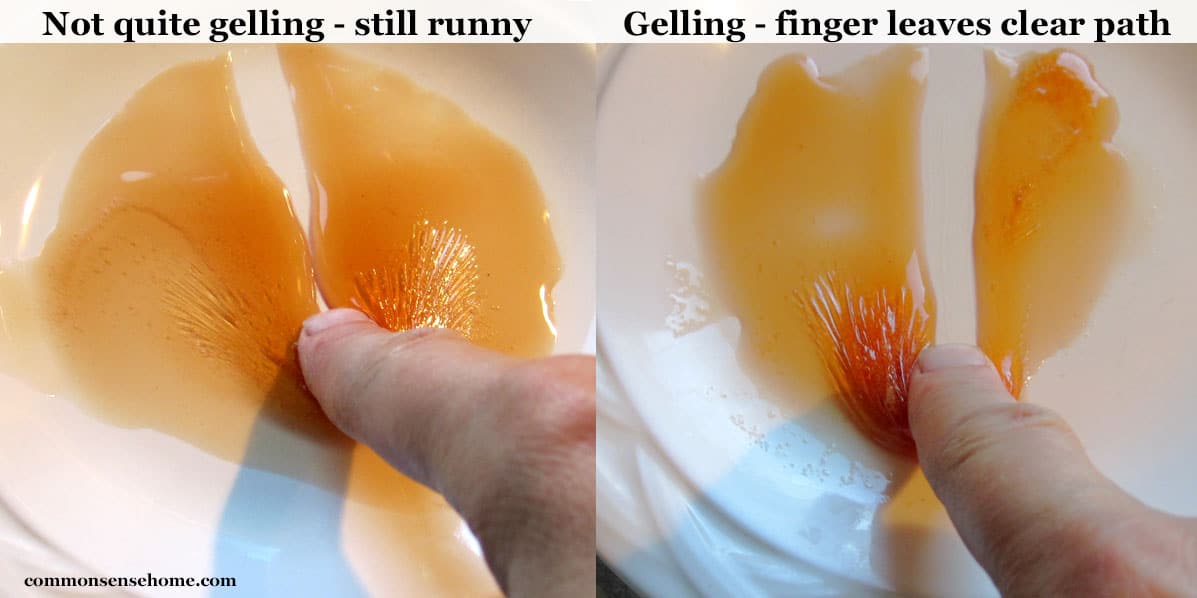
Alternatively, you can place a spoonful of jelly on a cold plate, stick it in the fridge for a minute, and then run your finger through it.
Jelly that has jelled should hold the shape of the finger trail for a bit, not run right back together. When jelling point is reached, remove from heat.
Smaller batches work better than larger batches. I ended up with around 10 cups of juice, so I made a larger batch. It took over an hour to boil down to jelly. Smaller batches cook much faster.
Canning and Processing Time
While the jelly is cooking, prep jars and lids. Jars and lids should be clean and warm, but do not need to be sterilized. I like to heat the lids and rings in hot water, kept warm but not boiling, but this isn’t essential. Fill water bath canner and bring to boil.
Ladle jelly into sterilized jars leaving 1/4″ headspace. Wipe rims clean and screw on the lids. Process for 10 minutes in water bath canner (add 1 minute for every 1,000 feet above sea level).
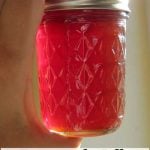
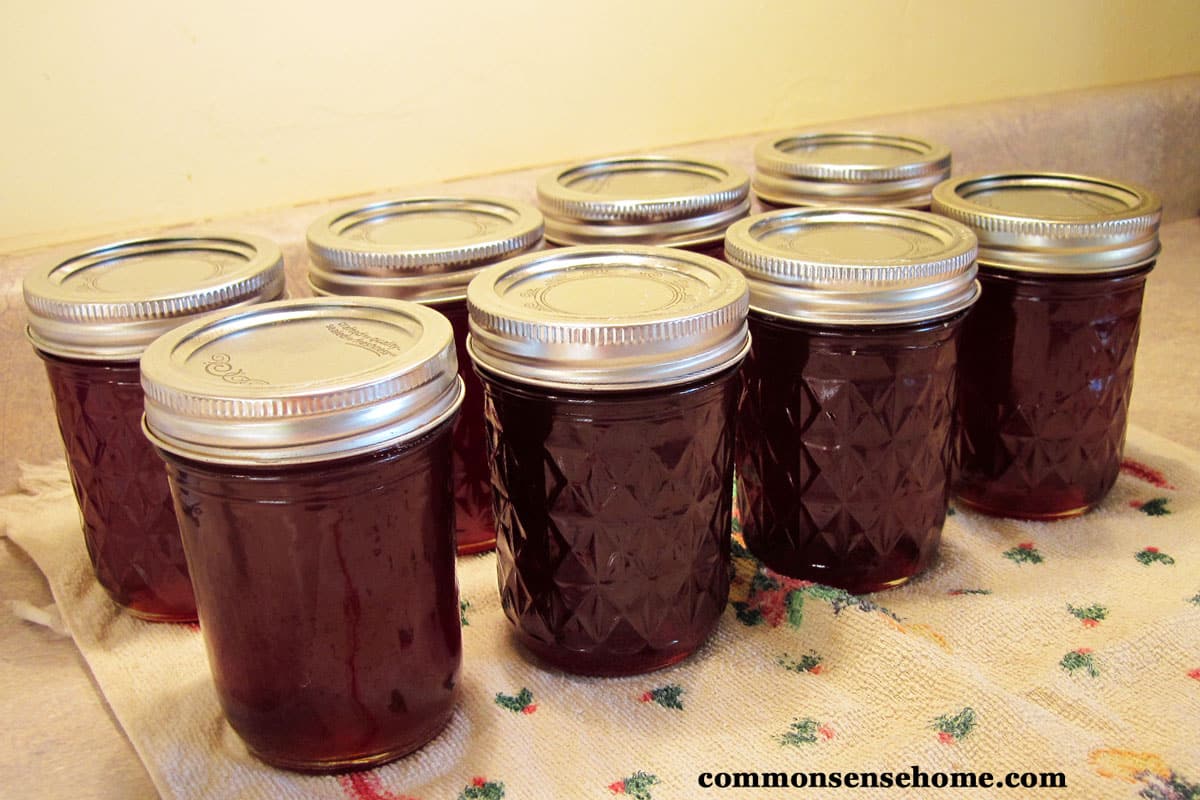
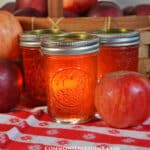
Makes roughly 5 cups of apple jelly for every 6 cups of apple juice. With 10 cups of crabapple juice and 5 cups of honey I ended up with 8 jars of jelly. The red skinned crabapples gave it a very pretty red color.
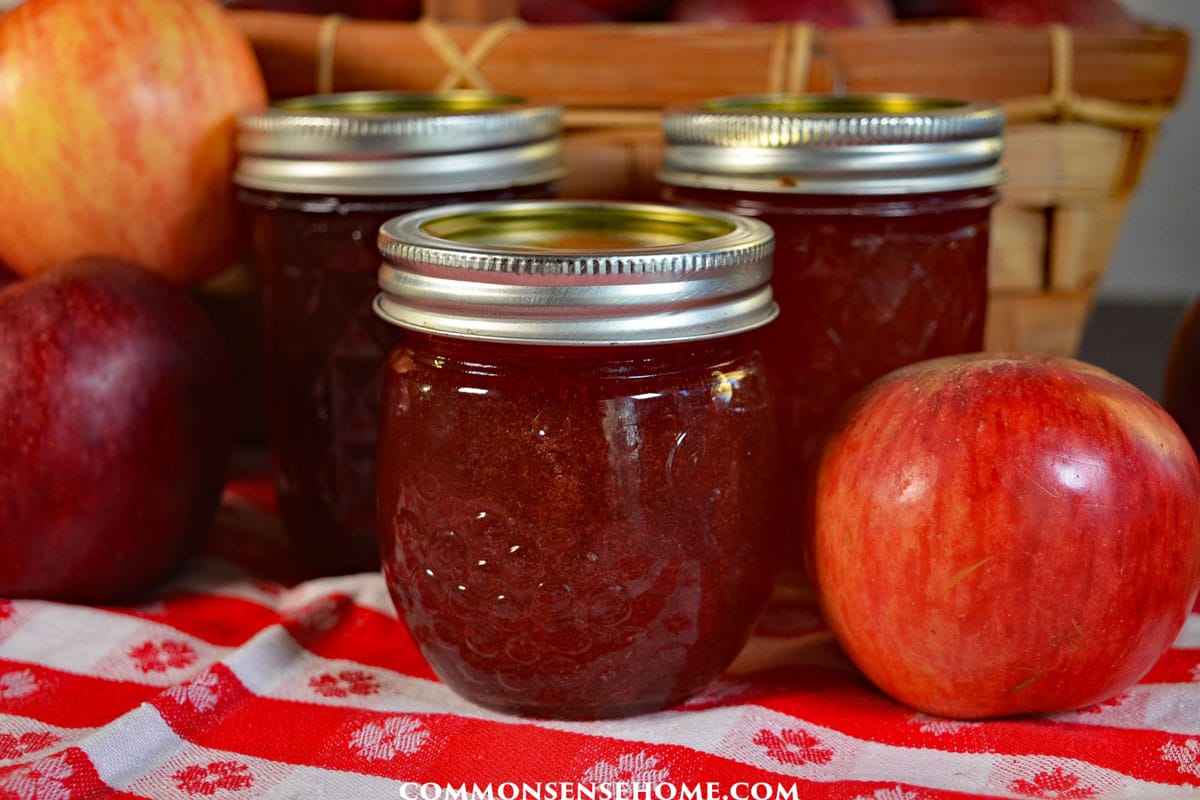
Simple Homemade Apple Jelly
This simple jelly is a great way to use up small or damaged apples to make a delicious treat.
- Prep Time: 10 minutes
- Cook Time: 40 minutes
- Total Time: 50 minutes
- Yield: 4 cups 1x
- Category: Condiment
- Method: Canning
Ingredients
- 4–6 cups apple juice (about 6 pounds of apples)
- 3 cups honey or 4-6 cups of sugar
Instructions
To juice your apples:
Wash apples. Remove stems, damaged areas and blossom ends, cut into quarters or slices. Don’t peel the apples – much of the pectin is in the peel. Place apples in a non-reactive heavy bottom stockpot (stainless steel or enamel). Add enough water to half cover apples. Cook until fruit is soft, stirring occasionally to avoid burning and promote even cooking. If you have sweet apples, you can add 2 tablespoons of lemon juice for a more tart jelly. You may also make a spiced jelly by simmering whole spices such as cinnamon sticks, cloves or allspice (in a spice bag) with the apples while they are cooking to get soft. (Don’t add them to the boiling juice.)
To strain the juice:
Place well-cooked apples into a jelly bag strainer or flour sack towel in a colander. If using a towel, gather ends of the towel and hang it from an elevated location.
Measure out your juice and sugar.
Use
- 1/2 cup honey for every cup of juice – or
- 3 cups of sugar for every 4 cups of sweet apple juice – or
- 4 cups of sugar for every 4 cups of tart apple juice
Cooking and canning the apple jelly.
- Place juice and sweetener into pan. Mix well. Make sure to use a large pot, as the jelly will boil up and foam a great deal during cooking.
- Cook at a high boil, stirring constantly, until the gelling point is reached (220°F (104 °C)).
- While the jelly is cooking, sterilize seven 8-ounce jars, keep hot. Prep two piece canning lids. Fill water bath canner and bring to boil.
- Ladle jelly into sterilized jars leaving 1/4″ headspace. Wipe rims clean and screw on the lids. Process the apple jelly for 10 minutes in water bath canner (add 1 minute for every 1,000 feet above sea level). Makes roughly 5 cups of apple jelly for every 6 cups of juice.
- Once jars have cooled, remove rings, date and label jars. Store in a cool, dark location out of direct sunlight. Use within 18 months for best quality.
Notes
- If you want a clear jelly, don’t squeeze the bag when making juice to hurry it along – just let it drip.
Nutrition
- Serving Size: 1 tablespoon
Can I start with apple juice to make jelly?
Yes, you should be able to make apple jelly from commercial apple juice. Most commercial apple juice is quite sweet, so it may take a little longer to gel than juice that includes some underripe apples.
How long does homemade apple jelly last?
If you’d like to cook up a small batch of apple jelly and keep it in the refrigerator instead of canning it, that’s fine.
The high sugar content will keep it shelf stable at room temperature for some time, but refrigeration is safer for longer storage if you don’t can the jelly. While some people feel safe keeping their homemade jelly in the fridge for up to 2 years, we recommend a shelf life of about one year.
Get apple jelly and applesauce from the same apples
This year we had a ton of crabapples gifted to us from a neighbor. I canned 14 quarts whole as honey-cinnamon crabapples, made some into applesauce, and used some for both juice and sauce. It was nice to get two end products out of the same batch of apples.
I cooked the apples up one night and made the jelly the next day, so the juice had time to drain.
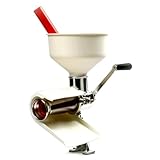
After draining the apples for apple jelly, I ran them through our food strainer to make applesauce. This gave us a nice, thick sauce that would be great for fruit leather, since much of the liquid was already removed.
Even more ways to use apples
You can read more about making applesauce and other apple treats in the post, “Preserve Apples for Year Round Use 17 Easy and Creative Ways“. Here are some other recipe ideas using apples:
- Maple Apple Jam
- Apple scrap vinegar
- Hard cider recipe
- Apple cider drink recipes
- Maple fried apples
- Cranberry-apple pie
- Apple crisp
- Easy apple cake with caramel topping
Enjoy!

This article is written by Laurie Neverman. Laurie grew up in the kitchen, learning baking and home cooking from her momma. At age 15, she and her mom and two sisters created Irene’s Custom Cakes & Catering, which was her summer job through most of high school and college.
Last updated in 2024.
Question on juicing over straining: I was wondering if cooking the apples as instructed and then juicing the cooked apples, rather than staining them (while still reserving the cooking water – just in case) would still be viable. It’s a patience thing for me. Thoughts?
Using a juicer will absolutely result in a juice that will make jelly. The juice obtained via juicer will be more cloudy than strained juice, retaining more solids. Additional pectin is part of those solids, so the cloudy juice may even gel a bit faster than clear juice. If you want a clearer jelly, you could juice with a juicer and then do a quick strain, as the cloudy juice will go through a filter much faster than juice will drip out of apple chunks.
Also, including the cooking liquid is good, as it will give you a higher yield of jelly. There’s a lot of apple goodness infused in that liquid.
It’s my understanding you need to cook everything together and strain to release the natural pectin.
She’s basically “speed straining” via the juicer. The pectin releases during cooking process.
i havefrozen cranberries, can i use these along with the apples? cranberry applejelly?
Yes. Cranberries are also naturally high in pectin.
Apple is one of the simplest recipes for jams and jellies but, I have found that is the hardest to make. Over an hour and a half cook time to get it to jell stage all the while trying to keep it from boiling over. 3 inches in the put that is 14 inches deep. Can’t keep the heat on. Also, the temperature must come to 223 to force the water and pectin to bond for jelling. Great recipe. Taste fantastic.
For a faster cook time, include some underripe apples, which have higher amounts of pectin. You can also use commercial pectin for really fast cook time.
Also, many modern stove concentrate the heat in a small area, which leads to issues with scorching and boiling over. When this might be a problem, I use a product called a SimmerMat, which diffuses the heat more evenly across the bottom of the pot.
Could I use erythritol instead of sugar. I’m a second time cancer survivor, and starting over with a low carb, sugar free diet. An ounce of Prevention is worth a pound of cure!!
If you want to make a sugar free jelly, you’ll need to use commercial pectin formulated for no sugar jelly. The naturally occurring pectin in apples requires sugar to gel. I recommend using Pomona’s Universal Pectin, which gels using a calcium solution (included with the pectin) so you can use any sweetener you like, or none at all.
You can learn more about the pectin here – https://commonsensehome.com/pomonas-universal-pectin/
Very difficult. I used the pot showed in the pic, boiled over and made a mess. Transferred it to my canning pot after an hr and half never did get to 220 or gel by plate testing. Never again. Electric stove.
Some electric stoves have “safety” features that keep them from maintaining a high temp over long periods, which makes them nearly impossible to use for recipes that require longer cooking or processing.
When the mixture is at a high boil, it needs to be stirred continuously. I’ve bolded this in the instructions now. A larger pot or smaller batch makes boiling over much less likely. Smaller batches also cook much faster.
Jams and jellies with added commercial pectin gel much quicker and may be a better fit for your stove.
I meant steam juicer ?
That makes a lot more sense, though “steak juicer” was entertaining.
A steam juicer should work just fine for prepping the juice for jelly. I don’t have one (yet), thus not yet included in instructions.
Add the spice packet while the juice is cooking down into jelly.