Pickled Green Beans – Quick and Easy Canning Recipe
This post may contain affiliate links. Read my full disclosure here.
Spicy pickled green beans are a recipe that bring back memories of growing up on the farm, like pickled beets. Vinegar pickles of all different types were common on the table, from the jewel red beets to the slippery pickled mushrooms. These pickled green beans with garlic and cayenne pepper are crunchy and spicy, and let you can green beans without a pressure canner.
Pickled Green Beans
You can use these pickled green beans in salads or on relish trays, for snacking, or as a fun addition to your Bloody Mary. (Here in Wisconsin, the local pubs stack crazy amounts of snacks on top of some of the drinks.)
Pickled veggies add a great crunch to any meal and may help aid digestion by adding a bit of acidity to the mix. They’re perfect to pair with heavier meats. Since this recipe is water bath canned, it’s shelf stable. There’s no need to tie up refrigerator space until you’ve opened a jar for use.
Don’t be too concerned about the high sodium count in the nutrition information – unless you plan to drink all the brine. The salt helps to pull moisture out of the beans, giving them their crunchy dilly bean texture.
For a little extra spice, feel free to add some mustard seeds or red pepper flakes to each pint jar when you add garlic and dill. (1/4 to 1/2 teaspoon per jar.) As would be expected with a simply bean recipe, these are low carb and gluten free.
How to Pickle Green Beans
Pickling (adding vinegar and salt) allows you to water bath can vegetables that would otherwise require pressure canning. (Remember, safe water bath canning needs a pH below 4.6.)
Always keep your kitchen tidy and gather your needed equipment before beginning. Use jars that are clean, and check rims for cracks or damage. (The hot water processing sterilizes the jars.) If you don’t have a canner, you may process your pickled green beans in a large stock pot with a rack in the bottom.
This Granite Ware Canning Set includes: 21.5 -quart Canner, Jar Rack, Bubble Remover, Jar Lifter, Magnetic Lid Lifter, Jar Wrench and Jar Funnel. It’s perfect for the beginning home canner.
Wash beans well and trim them to fit inside the jars. If you don’t have fresh dill, use 1/2 to 1 tablespoons of dill seed per jar.
I like to use canning salt in this recipe, but kosher salt or sea salt also works fine. Don’t use iodized table salt for canning, as it will make your brine cloudy.
Apple cider vinegar adds more flavor, but will yield a darker brine. If you like a clear brine, opt for white vinegar and use all red pepper flakes instead of cayenne powder. Don’t use homemade vinegar, unless you can verify the pH is safe for canning.
Remember to measure headspace from the inside of the lid to the top of the food or liquid. It’s important to use correct headspace because the recipes have been tested so that the processing time allows for all the air to be driven out of the headspace, ensuring a good seal and safe preservation.
This recipe is adapted from the Ball Blue Book.
Would you like to save this?
Spicy Pickled Green Beans
These pickled green beans with garlic and cayenne pepper are crunchy and spicy, and let you can green beans without a pressure canner.
- Prep Time: 20 minutes
- Cook Time: 10 minutes
- Total Time: 30 minutes
- Yield: 4 pints 1x
- Category: Snack
- Method: Canning
- Cuisine: American
Ingredients
- 2 pounds green beans
- 1/4 cup canning salt
- 2 1/2 cups vinegar
- 2 1/2 cups water
- 1 teaspoon cayenne pepper, divided
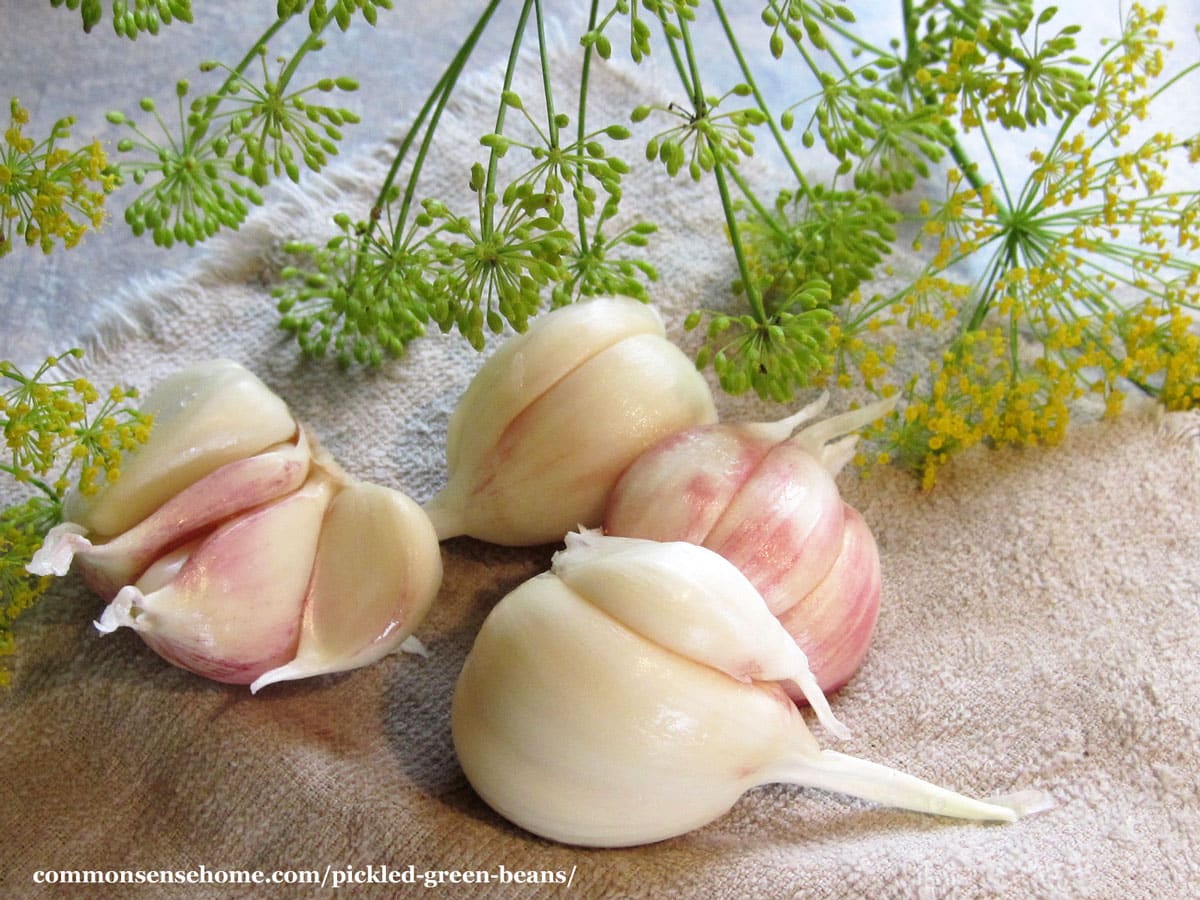
- 4 cloves garlic
- 4 heads dill
- 1–2 teaspoons mustard seeds and red pepper flakes, optional
Instructions
- Prepare your canner, jars, lids, funnel, tongs, chopstick or thin plastic spatula (for removing air bubbles) and gather your ingredients.
- Trim ends off green beans so they fit neatly into a jar.
- Make your pickling brine by combining salt, vinegar and water in a large stockpot. Bring to a boil.
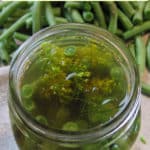
- Add 1/4 teaspoon cayenne pepper, 1 clove garlic and 1 head dill to each pint jar. I like to put the garlic and cayenne in the bottom and stuff the dill in at the top.
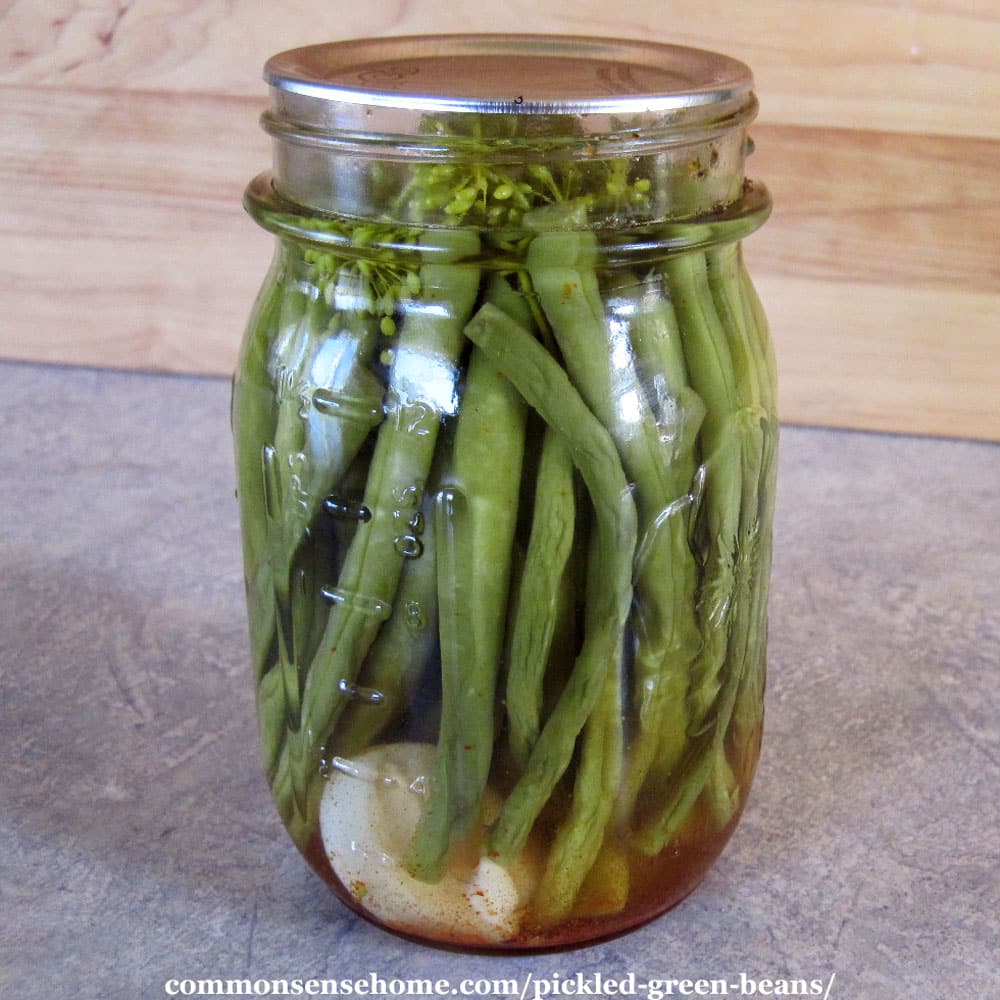
- Pack beans lengthwise into hot jars, leaving 1/4 inch headspace. Ladle hot brine over beans, leaving 1/4 inch headspace. Remove air bubbles with a wooden chopstick or thin plastic spatula.
- Wipe rims clean with damp cloth. Screw on two piece lids. Process pints and quarts 10 minutes in a boiling water bath canner. When processing time is finished, remove jars from canner and place onto a towel on the counter top to cool completely.
- Remove rings, wipe up any spills. Label with date and contents and store in a cool, dry location out of direct sunlight.
Notes
Add 1/4 to 1/2 teaspoon mustard seeds and red pepper flakes per jar along with other spices for an extra kick, if desired.
Nutrition
- Serving Size: 1/2 cup

Altitude Adjustments
For boiling water bath canning at an altitude higher than 1000 feet above sea level, adjust boiling water processing time as listed below.
Altitude Feet Increase Processing Time
- 1,001- 3,000 5 minutes
- 3,001- 6,000 10 minutes
- 6,001- 8,000 15 minutes
- 8,001-10,000 20 minutes
Adapted from Fresh Preserving – High Altitude Canning Adjustments.
Enjoy your beans!
That’s all there is to it! Now you can have your own pickled green beans with a little heat and spice to liven up winter meals, or for an interesting hors d’oeuvre.
Serve your dilly beans for holiday gatherings and listen to your friends and relatives comment about how they’ve never had anything quite like that before (unless, of course, you hang out with other home canners 😉 ).
More Canning Recipes and Tips
Be sure to check out our other Canning Recipes and Preserving Guides, including:
- How to Can Green Beans
- Pickled Cherry Tomatoes for Canning, Plus More Cherry Tomato Ideas
- Freezing Fresh Green Beans With or Without Blanching, Step by Step Instructions
Originally published in 2014, last updated in 2019.
I’ve read so many articles that say only pressure canning is best for the green beans… does this include Pickled beans as well? I’m not wanting to have my family get sick. How long do the pickled beans last if water bathed?
Look forward to your reply soon…
Thanks
Hi Sharon.
Pressure can is required for green beans that are not pickled, because they have a pH above 4.6, which means they are not safe for water bath canning, because it’s possible for botulism spores to grow in non-acidic foods. (Read more about botulism here.)
When we add vinegar, we drop the pH of the beans below 4.6, making them safe for water bath canning. Botulism spores cannot grow in an acidic environment. Salt and sugar also act as preservatives.
The beans will easily last for a year or two with good quality. Beyond that, the quality starts to decline – they’ll get softer, the color will start to fade – but they are still safe to eat if the seals are intact.
I live at 2900 feet elevation in NC. Do I need to increase the water boiling time from 10 minutes to 15?
thanks tim
Yes, you should adjust for altitude as with other water bath canning recipes.
Is this a safe kitchen tested recipe, as in ok’d through the cooperative extension? Thanks!! They sound delicious!!
Given that it’s directly adapted from the Ball Blue Book, one of the longest running and most referenced canning guidebooks, I think we’re good.
All of the recipes on the site follow safe canning practices. If at some point I choose to publish a recipe that does not follow current canning guidelines, it will be specifically noted in the recipe.
Hi Laurie. I know it’s not been long since I canned these beans, but opened a jar to see what the omission of salt did to the taste. They were very tangy – didn’t miss the salt at all!
I’m glad you are happy with the flavor. Keep in mind that skipping the salt reduces shelf life, so aim to use them sooner rather than later.
So, as a canning newbie I picked up the citric acid container instead of the canning salt. Discovered too late. Noticed a tiny bit of cloudiness at the very bottom of the jars. Do these green beans have to be tossed??
No, they should be safe to eat, although you may notice a slight difference in taste.
Thanks, Laurie! I was hoping not to waste all those beautiful homegrown beans?
You’re welcome.
If you think of it, could you let me know how they taste when you open some? I don’t notice the citric acid in tomato products, but I’ve never had it in beans.
Love this recipe. It’s a winner at our house.
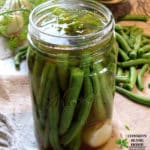
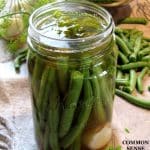
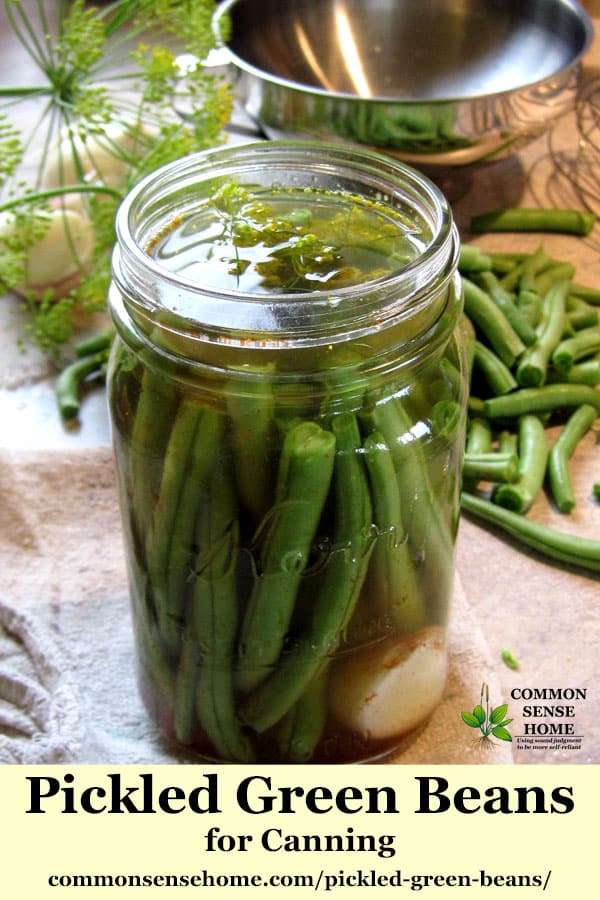
Did you take your picture before or after you processed them in the water bath canner? After processing mine look dull and shrively rather than bright green & crisp. The beans were freshly picked from my garden today & I just canned them tonight so I won’t have an opportunity to taste them for a week or two. I processed them exactly 10 minutes and they all sealed. Just wondering if they are supposed to look this way.
Top photo is after processing, bottom photo (open jar) is before processing. You’ll notice in the top photo that the beans and dill are elevated a little above the liquid in the jar. After processing, when a vacuum is pulled, everything wants to float.
I haven’t had problems with shriveling, but some other folks have mentioned the same issue in home canning forums. It seems some varieties of beans may be more prone to it than others, and picking conditions may also have an effect. If it’s hot and dry where you are, the beans will naturally be lower in moisture. The salt brine of the pickle wants to pull out moisture, resulting in shriveled beans. I mulch my beans, and we don’t tend to have really high temps, so they are likely to have a fairly high moisture content. I also try to process as soon as possible after picking, or put them in a plastic bag in the fridge to reatin moisture. The beans should still be safe to eat. Some people store their beans in water in the fridge before processing to help prevent shriveling.
Thanks for the tip. I live in San Diego so it is a temperate climate but fairly dry. I will try soaking them in water next time. Can’t wait to try them!
You’re welcome.
Is there an amount of time these should sit until the beans are pickled through?
I’d leave them at least a week.
I let my dilly beans sit for 6 weeks they are great as a snack or with vegetables. They are very easy to do!!!
I read your newsletter every week and always find something of interest. I totally agree we have to get our youth back to the basics. My daughter and my great niece have finally started canning and this Thanksgiving we are having a small family reunion to trade canning. It will be our first family reunion for many years. It will be wonderful. 🙂
That’s great!