Home Food Preservation – 10 Ways to Preserve Food at Home
There’s never been a better time to learn how to safely preserve food at home. Home food preservation helps you stock up and save money, whether you’re growing your own food or buying in bulk.
It adds variety to meals, and the flavor of home preserved foods can knock the socks off of most commercial offerings. You control what’s in your food.
We compare different home food preservation methods, so you can decide which ones work best for you.
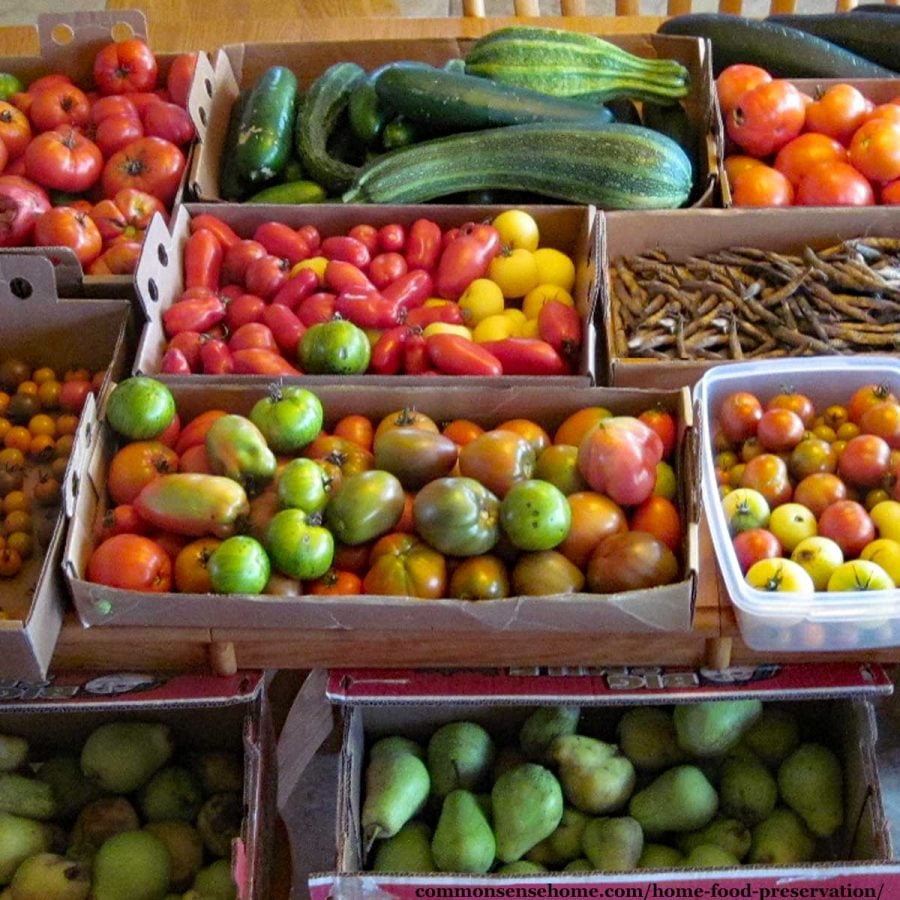
Home Food Preservation – 10 Ways to Preserve Food at Home
Some home food preservation methods are old, like cool storage, while others are new, like freeze drying. Some home food preservation techniques are no longer recommended due to safety concerns.
I use a mix of food preserving options. Each method gives a different flavor and texture. Different foods also store better one way versus another.
Storing food doesn’t need to be complicated, but we do want to follow good food safety practices to avoid foodborne illness.
1. Minimal Processing – Root Cellars, Cool Storage and Room Temperature Storage
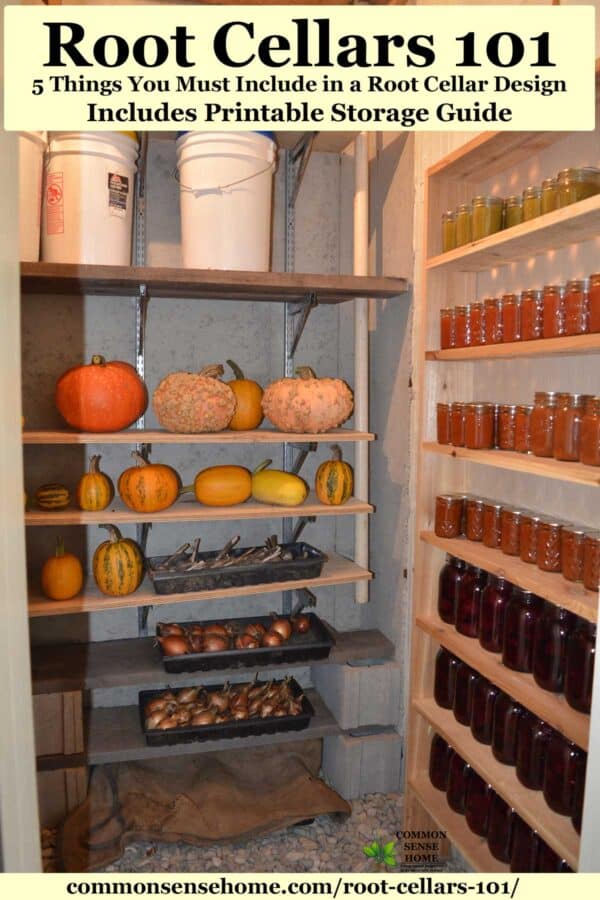
Cool storage and room temperature storage are the easiest home food preservation options. This includes cool, dry storage, such as an unheated pantry or porch, and root cellaring, i.e., cool, damp storage.
“Root cellars” type storage areas may include:
- root cellars
- unheated basement space
- crawl space
- in ground “clamps” (holes or trenches for food storage)
- other options
See “Root Cellars 101” and “Above Ground Root Cellars – Enjoy Your Local Produce Longer” for detailed information on storage options and specific crops.
Some good candidates for root cellar storage include:
- Potatoes
- Carrots
- Cabbage
- Beets
- Apples
- Onions
- Garlic
Crops that require minimal processing for storage include shell beans, dry corn, pumpkins and squash, and root vegetables. You can read more about my favorites in the post, “The 5 Easiest Vegetables to Store”.
2. Drying/Dehydrating
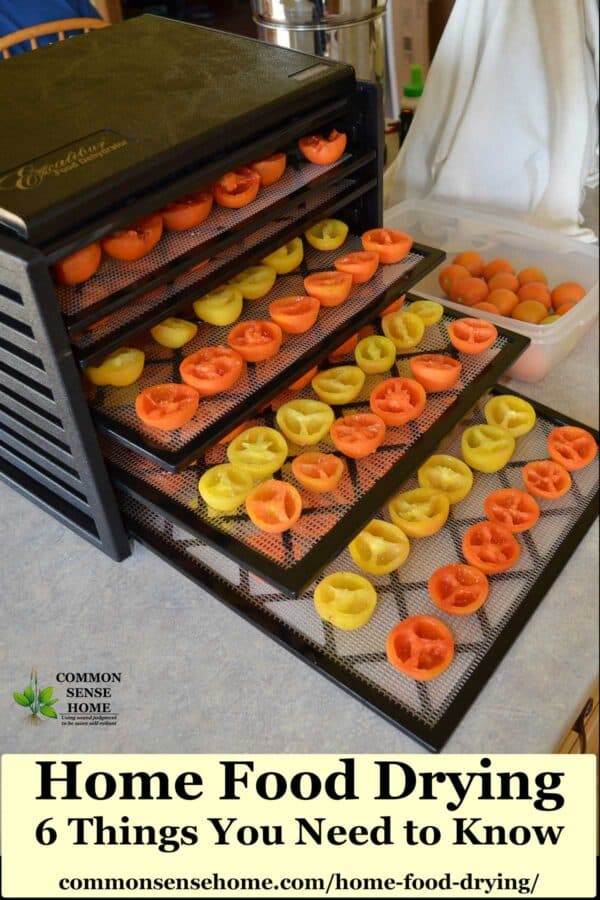
Food drying is one of the oldest home food preservation methods. Food can be dried using:
- Commercial dehydrators, such as the Excalibur or American Harvest Dehydrator
- Solar dehydrators
- Sun Ovens
- Baking sheets in the oven
- Air drying/hang drying
Dried foods are great when storage space is tight, but not all foods dehydrate well. Store dehydrated foods in a cool, dry location in an airtight container for longest shelf life.
Foods that dehydrate well include:
- Fruits
- Vegetables
- Fruit Leathers
- Jerky
Check out “Home Food Drying – 6 Things You Need to Know to Dehydrate Food at Home” for recommended equipment, plus drying guidelines, storage tips and a printable quick reference chart for fruit dehydrating. See Vegetable Dehydrating 101 for a printable list of vegetable blanching and drying times.
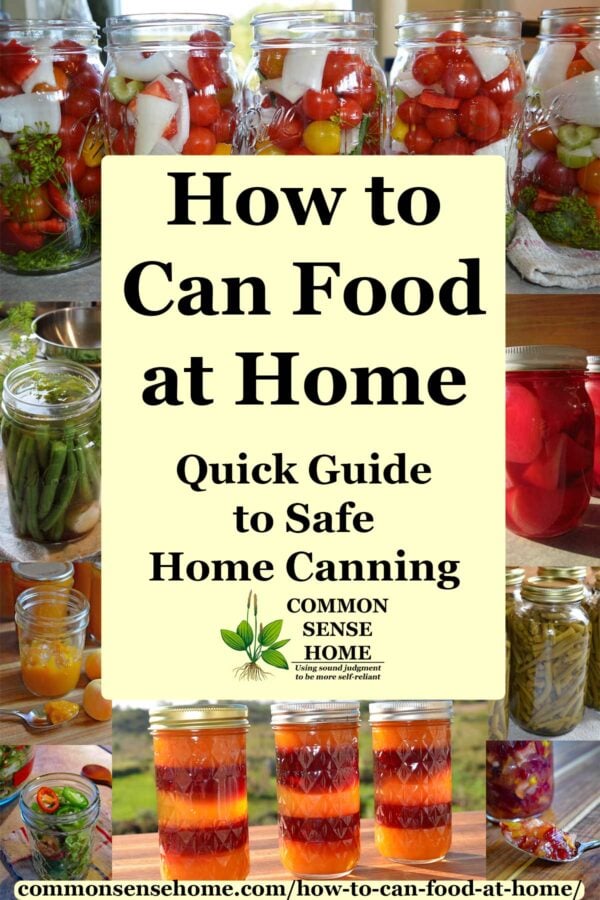
3. Canning – Water Bath Canning, Steam Canning and Pressure Canning
Home canning is the heat processing of food in glass jars for preservation. For many years, food was heat processed in commercial facilities in cans (thus the term “canning” as opposed to “jarring”).
The Mason jar was invented and patented in 1858, but didn’t see widespread use until later in the century.
Note: Those at higher elevations should adjust processing times. See “Altitude Adjustments for Canning“.
If you are having difficulty finding canning lids, I purchased generic lids from Uline in 2020. They worked well. Be wary of scammers. Ball and Kerr do not sell lids online direct to consumers.
Water Bath Canning
Water bath canning uses a large stockpot or kettle with a lid. Jars sit in a canning rack (or other material) so they are not directly in contact with the bottom of the pot, and are covered with at least two inches of water.
Water bath canning preserves high acid foods (pH of 4.6 or lower), such as:
- Fruits
- Jams, jellies and other spreads
- Tomatoes (with added acid)
- Pickles and relishes
Steam Canning
Recently re-approved for home use, steam canning uses a special canner that heat processes with steam, but not under pressure. It’s safe for use with high acid foods.
Can I use a pressure canner for water bath canning?
If you have a pressure canner, you may use it for water bath canning by leaving the vent open. If your canner has a rubber overpressure plug, remove it for venting if desired.
Please be careful using a pressure canner for water bath canning. Some people noted that they get a slight pressure build up inside their older units, leading to a release of hot steam when the lid is opened. Loosely covering the canner with the lid (instead of locking it on) helps prevent steam buildup.
Read “How to Can Food at Home – Quick Guide to Safe Home Canning” for more information on water bath, steam and pressure canning.
Pressure Canning
Pressure canning must be done in a pressure canner. Pressure canners process foods using high temperature, high pressure steam.
A pressure canner is not the same as a pressure cooker, although some pressure canners can also be used for pressure cooking. Some cooperative extension offices offer pressure canner testing.
PRESSURE CANNING MUST BE USED FOR LOW ACID FOODS, such as:
- Beans
- Carrots
- Corn
- Meats
- Soups
- Sauces
- Broth
Unsafe canning practices can lead to botulism poisoning, but it’s easily avoided with trusted canning recipes. See “Botulism – Causes, Symptoms, Treatment, Tips for Safe Home Canning“.
Always used recipes from trusted sources, such as The National Center for Home Food Preservation. Invest in a good food preservation book (or two). We always follow food safety guidelines on this site.
4. Freezing
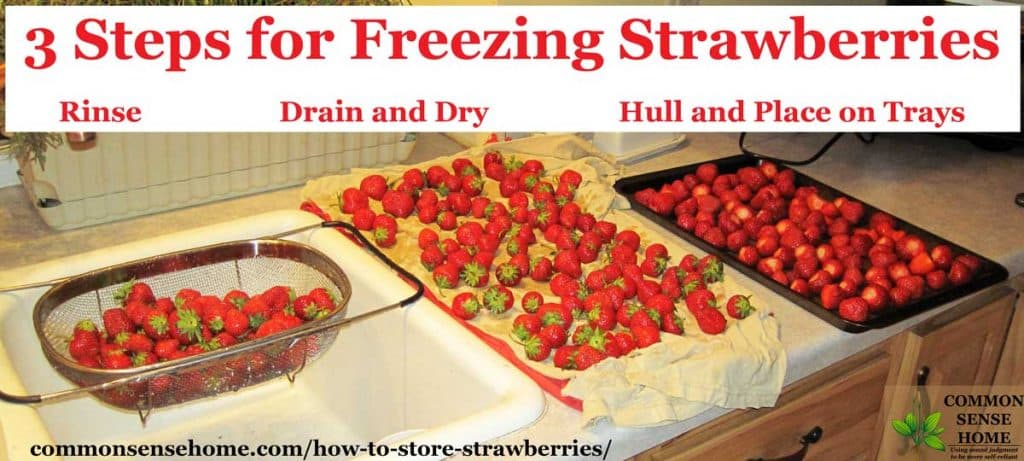
Freezing foods doesn’t need much specialized equipment, so it’s easy for beginners. Before freezing, most vegetables require blanching or cooking. This stops enzyme action and ensures good quality.
What is blanching? Blanching involves heat treating the veggies, then immersing them in cold water to stop the cooking process. Three minutes in boiling water is a common blanching time.
Fruits are frozen “as is”, or with sugars or antioxidants to extend storage life and slow discoloration. With both fruit and vegetable preservation, I like to freeze foods on a cookie sheet and then pack them into vacuum sealed packages for long term storage.
Sealing frozen produce in vacuum seal bags helps prevent ice crystal formation and can extend the storage life of frozen foods 3 to 5 times longer. I rarely store anything in the freezer without vacuum sealing.
Would you like to save this?
5. Freeze Drying
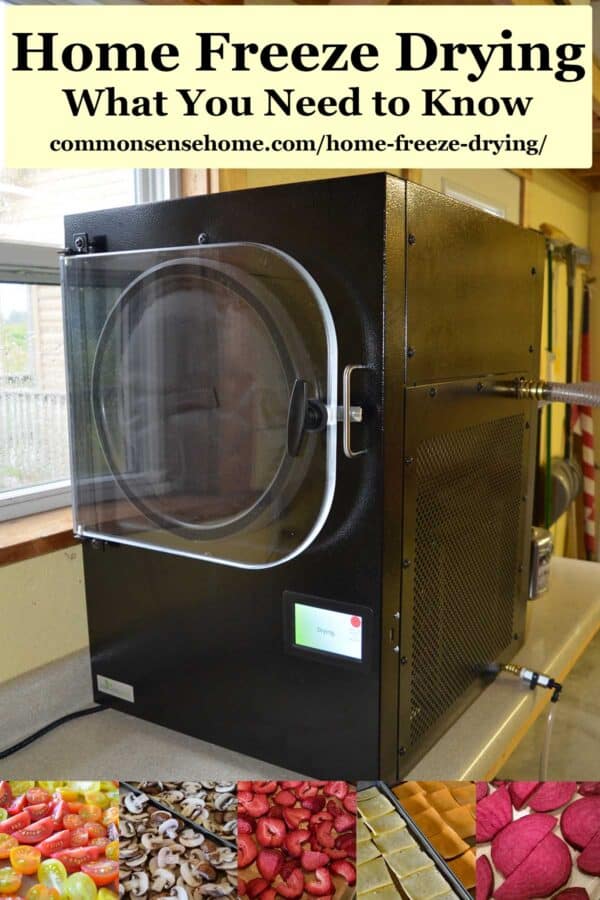
Freeze drying (lyophilization) is now an option for home food preservation. The company Harvest Right manufactures home freeze drying units in Utah.
Click here to order a home freeze dryer or compare prices.
How does a home freeze dryer work? From “Home Freeze Drying – The Good, The Bad and The Ugly”:
- First, you get a heavy duty freezer (the Harvest Right units drop to -30°F (-34°C) or colder).
- Second, you pair this up with a completely airtight chamber that can hold a vacuum (no oxygen) every single time you use it.
- Third, you tie in a high end vacuum pump strong enough to suck the stripes off a zebra.
- Fourth, you add a heater and thermostat, so you can cycle the temps up and down, repeating the sublimation process for hours on end.
- Fifth, tie in a humidity sensor to make sure the water is out, triggering the cycle completion.
Home freeze drying allows you to preserve many foods that do not store well using other methods, such as dairy products, full meals (hot dishes, cream based soups, etc), and leftovers.
You can also store vegetables, fruits, meats and seafood. For a detailed review and more information, see “Harvest Right Home Freeze Dryer Review”. You can also read a comparison of freeze drying and dehydrating.
6. Fermentation
Fermentation changes low acid foods into high acid foods, giving them a longer shelf life to store “as is”, or allowing them to be canned in a water bath canner instead of a pressure canner.
Food ferments through the use of salt, whey or specific starter cultures. This makes it easier to digest and more nutritious. Fermented food is also known as “live culture food”.
Because fermentation involves acidity and microbes “pre-digesting” the food, the flavor profile and texture changes. Fermentation helps create chocolate, cheese, yogurt, and kombucha, as well as pantry staples like sauerkraut, kimchi, sourdough bread and vinegar.
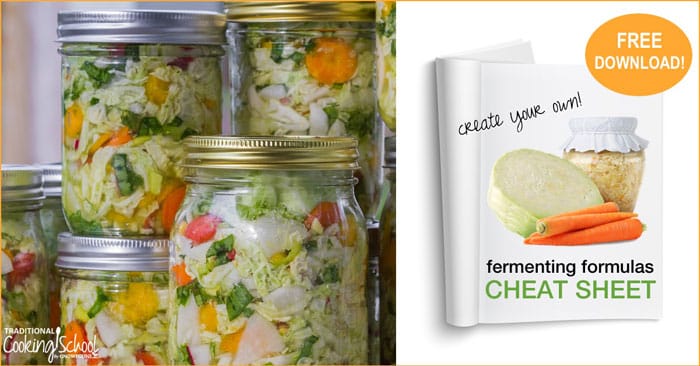
For detailed instructions for live culture foods, grab this free fermenting formulas cheat sheet from The Traditional Cooking School.

7. Preserving in Salt and Sugar
Preserving foods in salt and sugar was more common before modern canning, freezing and dehydrating were available. Salt and sugar draw liquid out of the food. This interferes with microbe growth. Bacteria and molds need water to grow, just like us.
Because they dramatically change flavor and texture, salt and sugar preserving are useful for those with adventurous palates.
Herb infused salts and sugars are a fun way to easily preserve your fresh herbs. Visit “Lavender – How to Grow It and Use It for Food, Medicine and More” to learn how to make a basic herbal sugar.
8. Immersion in alcohol
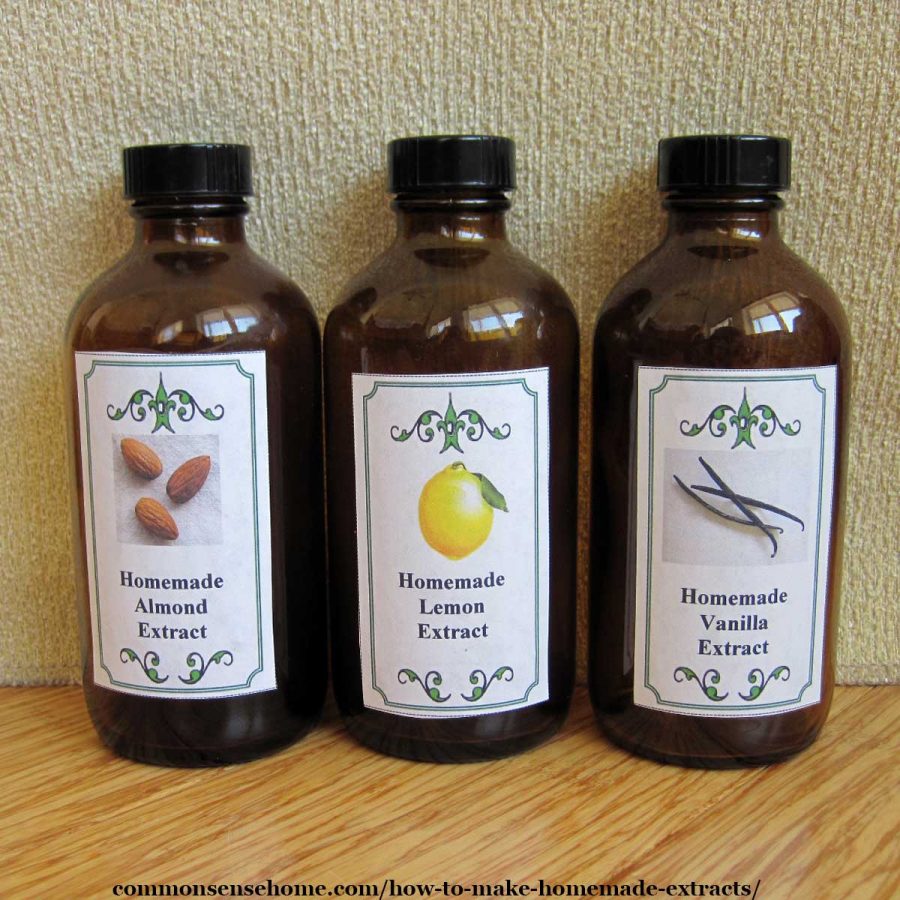
Like salt and sugar, alcohol draws water out of food, inhibiting microbe growth. You can submerge small amounts of food completely in the hard liquor of your choice, and they will store almost indefinitely. Don’t try to preserve too much food in too little alcohol. There’s a limit to how much water can be absorbed.
This food preservation method is best for making flavor extracts and preserving high acid foods such as fruit.
See:
- Liquid Sweetener from Homegrown Stevia
- Homemade Extracts – Vanilla, Lemon and Almond
- How to Make Chocolate Mint Extract
9. Vinegar Pickling
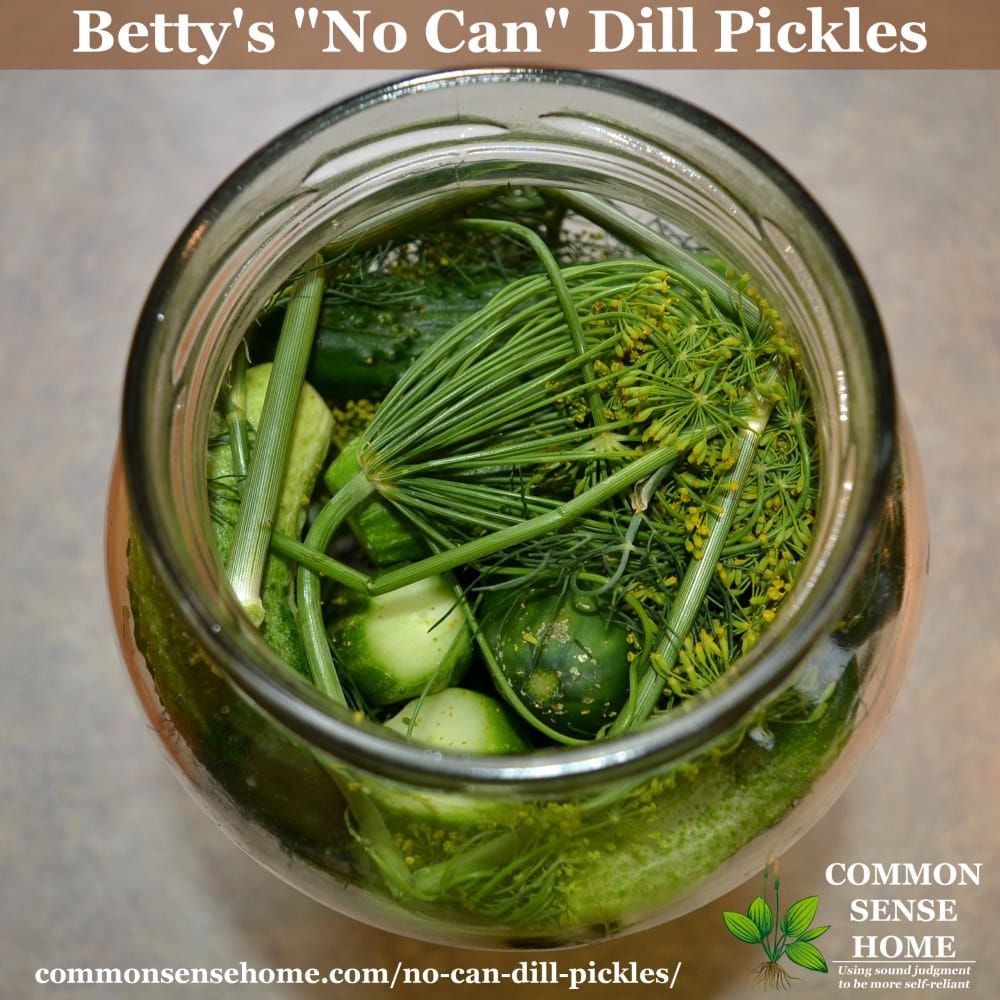
Microbes can’t survive in a high acid environment, so vinegar can be used for food preservation without heating/canning. Think old-fashioned pickle barrel. I make at least one batch of vinegar pickles every season.

10. Immersion in Olive Oil
This home food preservation method is very common is some parts of Europe, but it is not one I recommend for the inexperienced home food preserver. Food is immersed in oil, locking out the air, to preserve it.
Low acid vegetables present a serious botulism risk.
For safe instructions on how to make herb infused oils, see “How to Infuse Herbs in Oil, Water, Vinegar, Alcohol or Honey”.
Which Food Preservation Method is the Best?
It really depends on what you’re trying to store and your storage conditions.
The Case for Canning
The Natural Canning Resource Book states:
“While some nutrients are lost during canning, recent research has shown that refrigerating fresh fruits and vegetables also results in nutrient losses, especially of fragile vitamins like vitamin C. For example, broccoli loses 50 percent of its vitamin C and Vitamin A (in the form of beta carotene) after five days of refrigeration, similar in scale to the loss of vitamin C during cooking and canning. This is because plant foods are alive and thus continue to metabolize nutrients during storage.
It’s safe to assume that root cellar storage causes the same magnitude of nutrient loss. Frozen food loses more nutrients than canned food after six months of storage. Dried food loses the most nutrients.
With this in mind, canning is preferably done very soon after harvest, when nutrients are at their peak, thus preserving the most nutrients possible. “
The Case for Dehydrating
In contrast, Mary Bell’s Complete Dehydrator Cookbook states:
When you dry foods at home under gentle conditions, you produce a high quality product. Compared with canning and freezing, both of which involve extreme temperatures, food drying is the least damaging form of food preservation.
The Case for Freeze Drying
The article “Freeze-drying fruit is top technique for retaining nutrients: Study” on Foodnavigator.com notes:
“Research conducted by Sheffield Hallam University found that freeze-drying strawberries resulted in zero loss of vitamin C and phenolic content an minimal losses in total antioxidant capacity (TAC) – only 8%. In contrast, fresh strawberries chilled for equal time showed a vitamin C loss of 18%, a TAC loss of 23% and a massive 82% loss in phenolic content.”
Fermentation adds nutrition, but fermented foods have shorter shelf lives.
Dried foods can last for years and take up very small amounts of space. Use dehydrated foods in soups, stews or other recipes where they will benefit from long, slow cooking with plenty of liquid, or as snack foods. Best used within 2-3 years.
Freezing is easy for beginners, but requires freezer space. If you vacuum seal, food can last 2-3 years. Without vacuum sealing, use food within a couple of months.
Freeze dried foods are stored at room temperature – not in the freezer – and they can last for 20 years or more. Foods with some fat or oils are best within 5-10 years.
Canning works for a wide variety of foods, but does require specific equipment. Canned goods are best used within 1-2 years.
No matter which home food preservation method you choose, properly ripened produce picked and processed quickly is likely nutritionally superior to most grocery store offerings.
Recommended Food Storage Resources
The Common Sense Recipes and Kitchen Tips page features dozens of home food preservation recipes and guides, all sorted by category, to help you tackle stocking up like a pro. Some of my other favorite preserving guides include:
- Ball Complete Book of Home Preserving
- Preserving Food Without Canning or Freezing
- Stocking Up III
- Common Sense Home Amazon “Food Preservation Stuff”
- Browse all of our Food Storage Articles
Please leave a comment below if you have any home food preservation questions. We’re here to help.
Originally posted in 2012, last updated in 2022.

