How to Make Sauerkraut in a Crock
This post may contain affiliate links. Read my full disclosure here.
Homemade sauerkraut is loaded with beneficial bacteria and simple to make. We’ll share how to how to easily make sauerkraut in a crock or bucket. All you need is cabbage and salt, a container, and time.
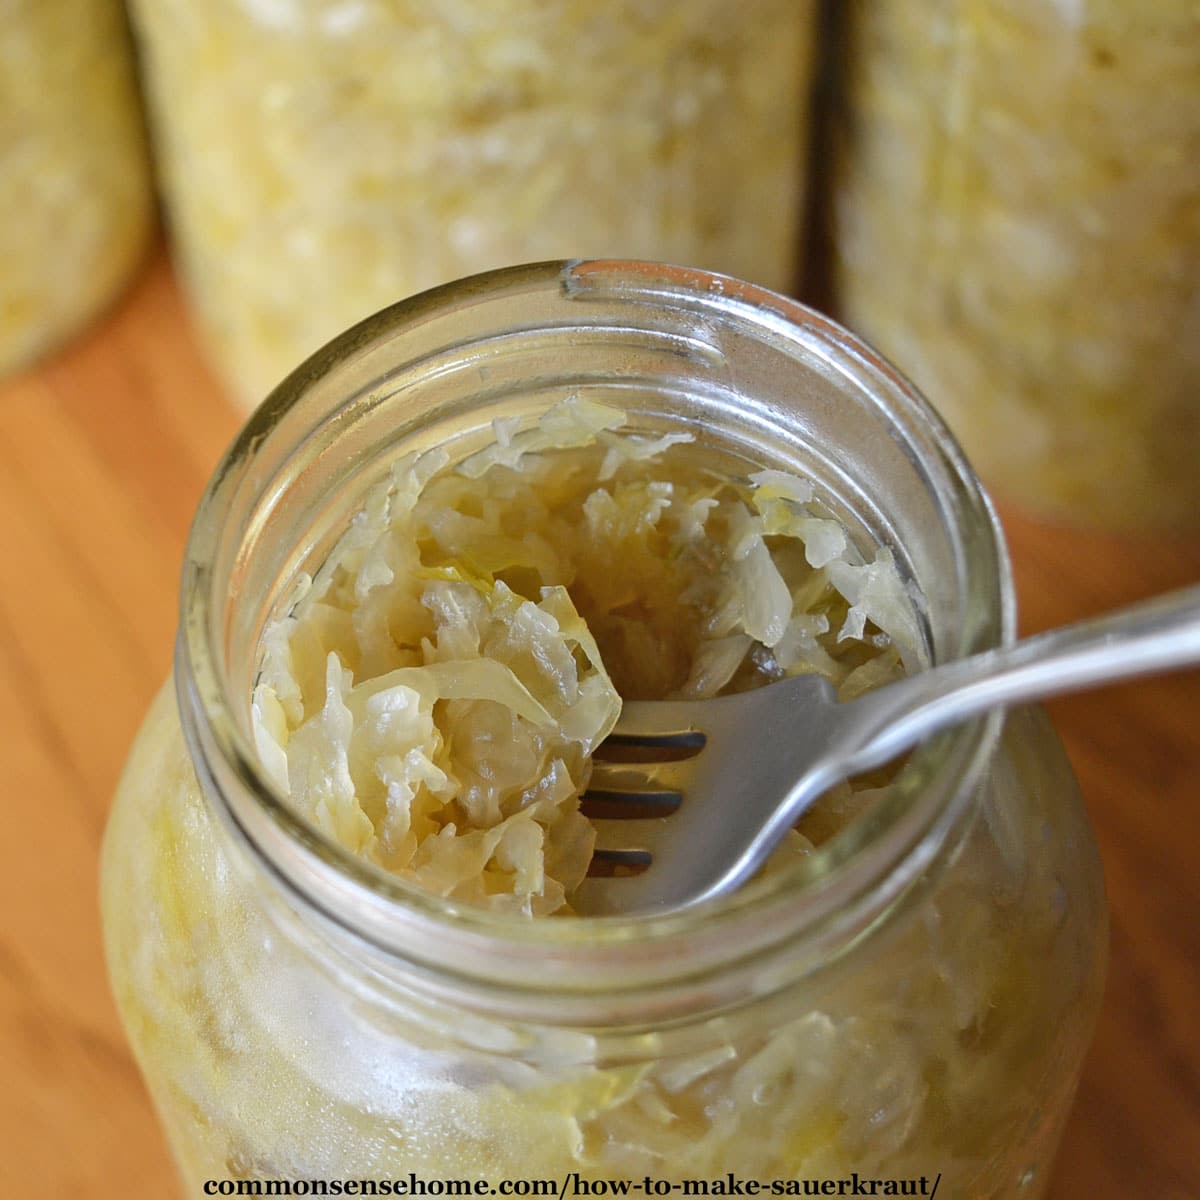
Back when I was a little girl, my momma used to make sauerkraut in a 15 gallon crock and can them up each winter. Now that I have a family of my own, we usually make up smaller batches, but this year we got together with a neighbor and had an old fashioned sauerkraut party. There are a mix of photos in the article from years of kraut making.
How it Works
So how do you turn your aged cabbage into a tasty condiment instead of a yucky mess? The key is fermentation.
Many fruits and vegetables have naturally occurring lactobacillus bacteria on their surface. Under the right conditions, this bacteria multiples to create lacto fermented foods.
Fermenting slows down spoilage, making it a great tool for food storage, especially before fermentation. The fermentation process also makes the cabbage easier to digest, and a great source of vitamin C and vitamin K2 (menaquinone).
Raw sauerkraut is high in enzymes that help break down food. A friend with chronic pancreatitis who has been taking prescription enzymes for the last five years was able to reduce his dosage by eating fresh sauerkraut on a daily basis.
For a faster ferment, store your crock at room temperature. To slow down fermentation, find a cool location, like an unheated basement.
Sauerkraut Ingredients
Sauerkraut is based on cabbage and salt, but the type and how you mix it matter. You can also add different vegetables, fruits, and spices for variety.
Cabbage
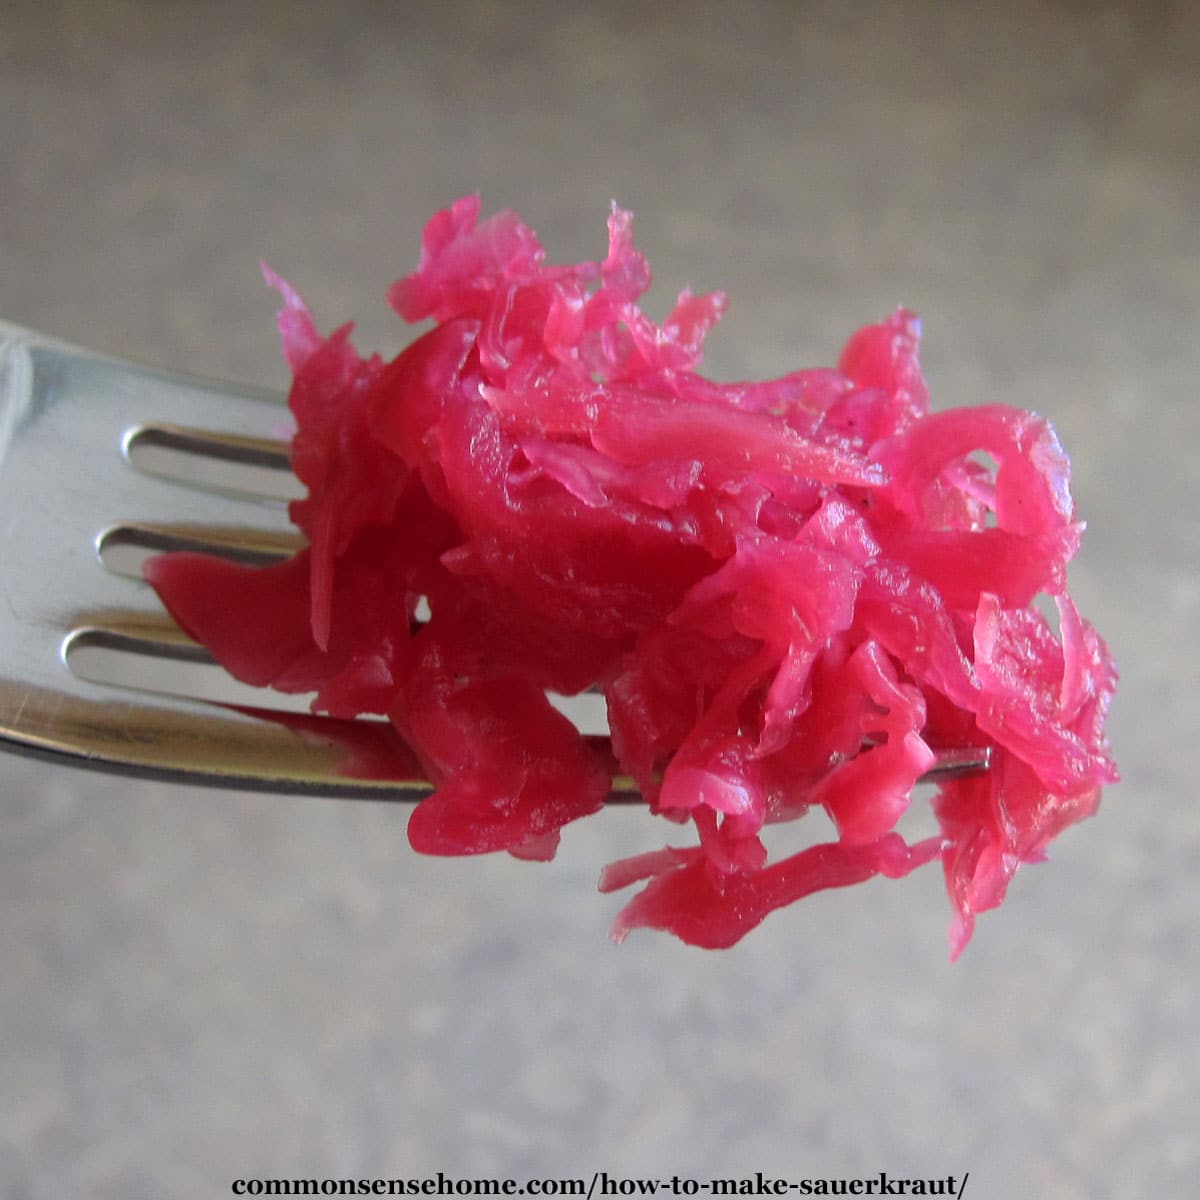
You can make sauerkraut with any type of cabbage – red, green, Savoy, or napa cabbage. I find that early cabbage tends to be a little softer and ferments faster, while slow growing late cabbage tends to be firmer. Fall harvest time is ideal for making up a good batch of kraut.
Napa cabbage, also known as Chinese cabbage or celery cabbage, tends to be more tender and juicy. We find it holds up better as fermented cabbage if cut in larger pieces, as in our Clean the Garden kimchi.
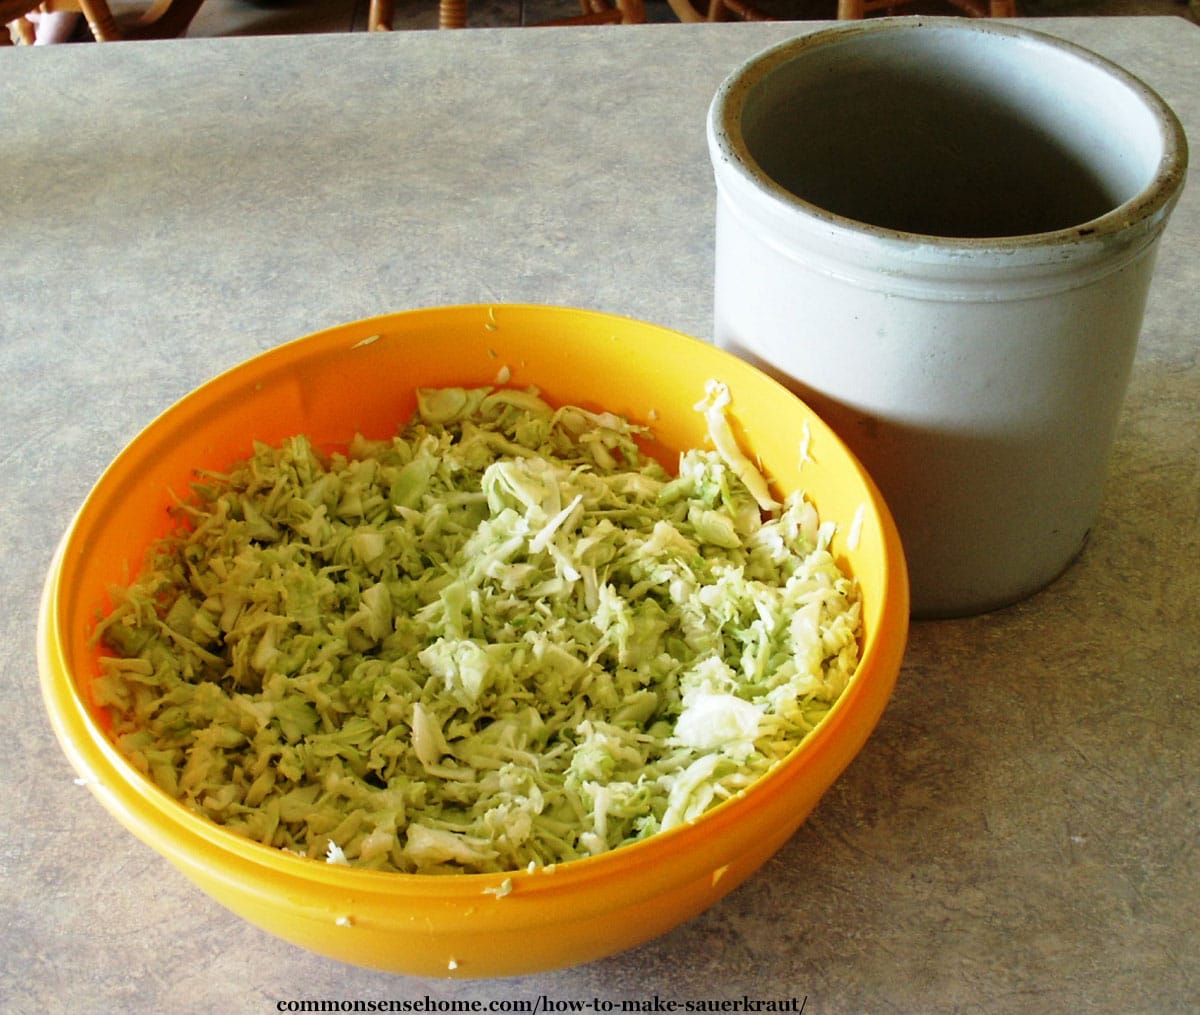
How you cut your cabbage matters. The finer the cut, the faster it tends to ferment. Finely chopped cabbage also gives off more juice. Cut to size with a food processor, large knife, or old fashioned kraut cutter.
For longer storage life, chop or shred cabbage into roughly 1/8 – 1/4 inch (3-6mm) wide strips. This is narrow enough to promote even fermentation, but not so fine that it turns to mush.
Salt
Salt helps to inhibit the growth of problem microorganisms (like mold) and draws water out of the cabbage. The water pulled out of the cabbage creates the brine that prevents spoilage. It also helps to keep the cabbage crunchy, by inhibiting organisms and enzymes that soften it.
We use sea salt to ferment our sauerkraut, but any salt without additives will do. Avoid iodized salts and salts with anti caking agents (read the label). Himalayan salt, Redmond Real Salt, and even rock salt can work well.
For one gallon of sauerkraut, I use about 5 pounds of cabbage and 3 tablespoons of salt.
To calculate by weight, use roughly 2% salt. For instance, for one pound of cabbage (16 ounces), we multiple by 0.02 to get 0.32 ounces of salt. This is roughly 0.45 kg of cabbage and 9 grams of salt.
If you are avoiding salt, protect your fermentation with a starter culture, such as this one from Cutting Edge Cultures. A starter culture boosts the good bacteria count immediately to give them a head start over the microbes that cause trouble.
Other Ingredients
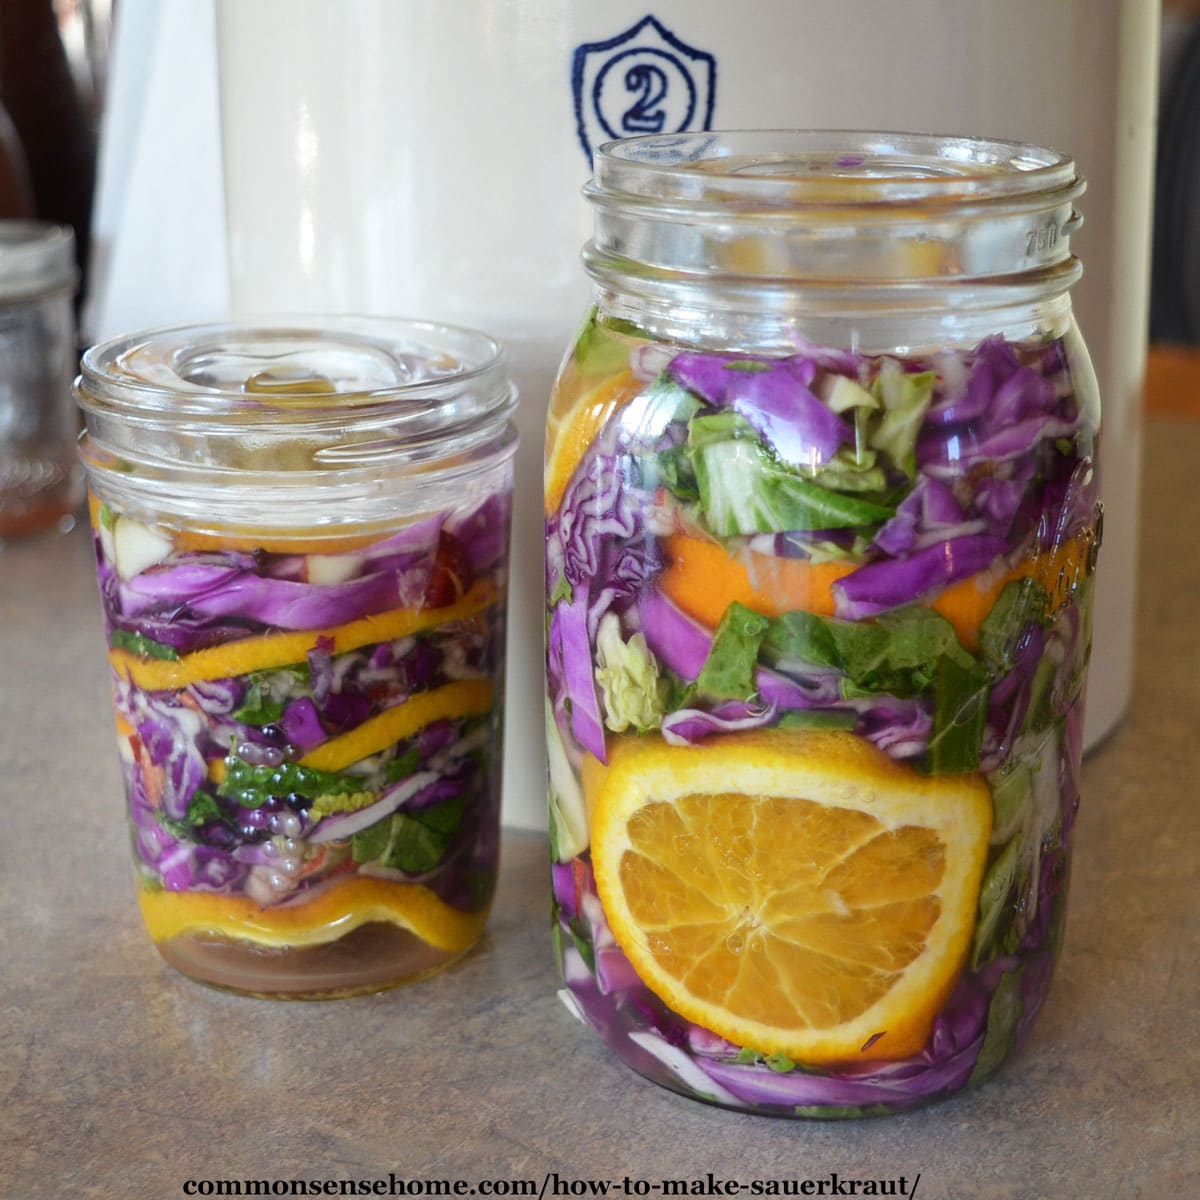
With fermented cabbage as your base, you can experiment with adding other vegetables, fruit, herbs and spices.
Some popular vegetables to mix in sauerkraut include:
- carrots
- onions
- garlic
- seaweed
- radishes
- kohlrabi
- greens
- Brussels sprouts
- small whole heads of cabbage
- turnips
- beets
- burdock roots
For fruits, try:
- apples
- citrus
Herbs and spices: caraway seeds, dill seeds, celery seeds, and juniper berries are classic, but anything you like will work.
Keep your mix at least 75% cabbage by weight to keep your friendly bacteria happy. For instance, pair one pound of cabbage with no more than one fourth pound of carrots.
Equipment
First, you need a container to hold your sauerkraut. Your container needs to be food safe and non-reactive (no aluminum pots!). It needs to be big enough to hold the cabbage and weights, plus some bubbling brine.
There are tons of small batch mason jar sauerkraut recipes out there, but whipping up a batch in a crock (or bucket) doesn’t take much longer to prep.
We usually make sauerkraut in a one or two gallon open crock, but this year we made it in a 15 gallon crock. Food safe three or five gallon buckets also work well.
Sauerkraut Crock vs Open Crock vs Crock Pot
If you do a lot of fermenting, a dedicated fermentation crock or sauerkraut crock may be worth the investment.
Fermentation crocks hold a ring of water around the top of the crock that allows fermentation gases to escape, but keeps air out of your ferment. With the increase in interest in healthy fermented foods, they’re now available in a wide variety of sizes and styles.
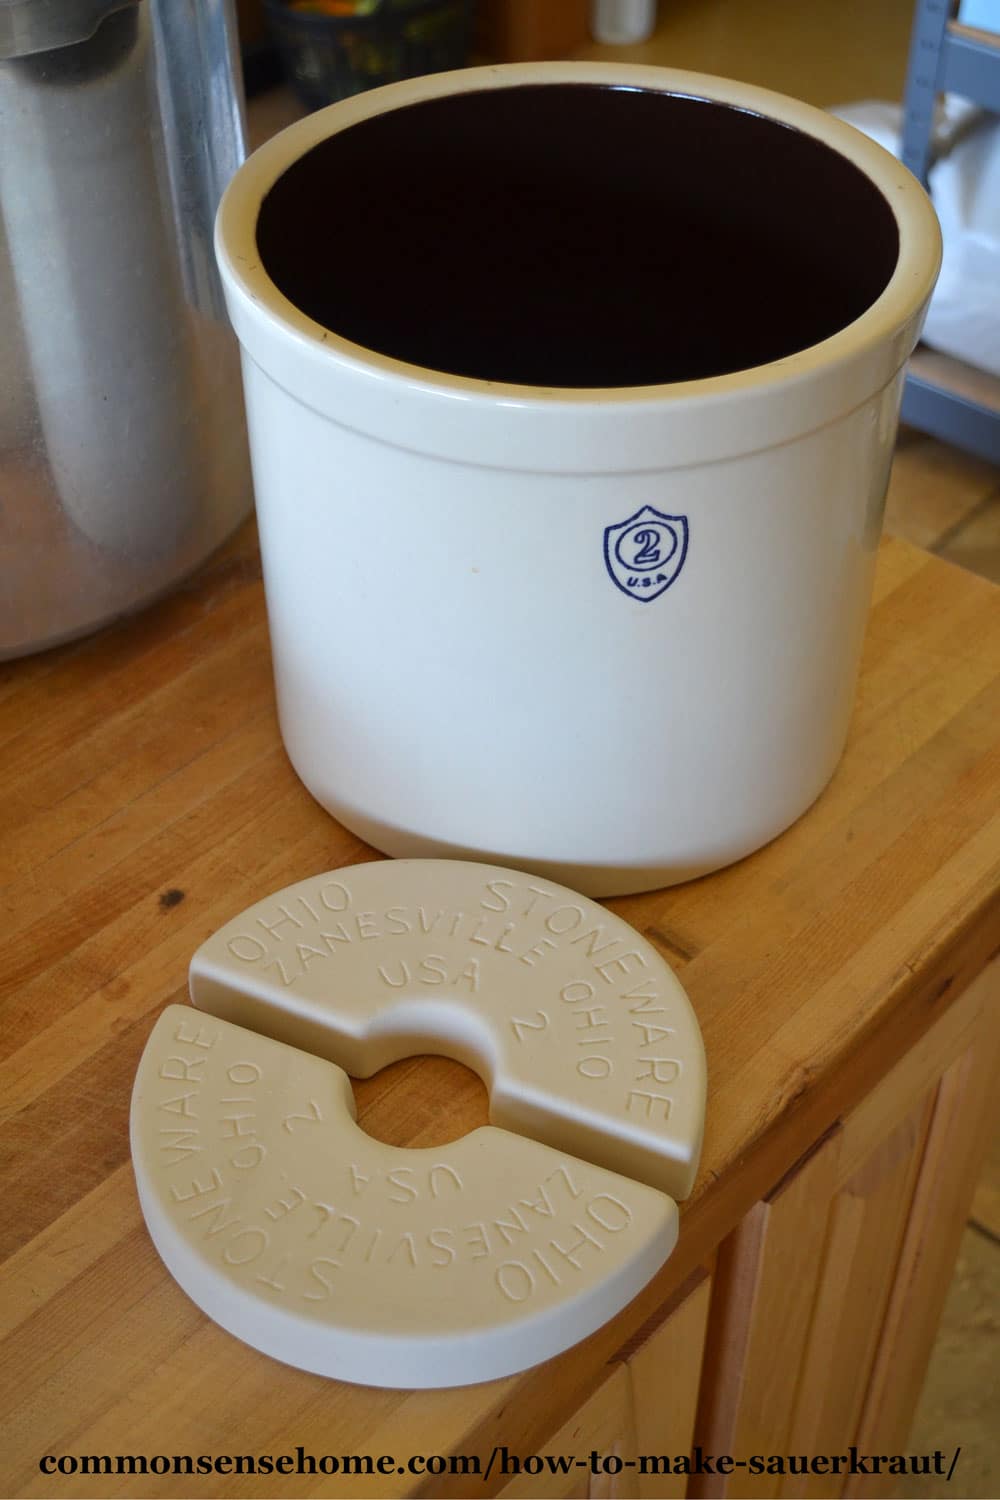
They are beautiful – but I don’t have one yet. Instead we use a straight sided open stoneware crock. (I have five of those in assorted sizes and use them for fermenting, wine making, and other projects.)
A “crock pot” is an entirely different beast, and is used for slow cooking. If you don’t have another spot to ferment your kraut, your slow cooker liner could do in a pinch. The problem is that you need to ferment your kraut for weeks, and during that time you can’t use your slow cooker.
Would you like to save this?
Fermentation Weights
One of the most important parts of successful sauerkraut making is keeping your cabbage away from air, preferably below the brine. Since cabbage likes to float, we use fermentation weights.
There are specialized weights that fit inside mason jars and different sized open ceramic crocks. (Many fermenting crocks come with weights.) If you don’t have a fermentation weight, a clean plate or lid will do. Pin the plate down with a jar full of water or a boiled rock.
When I made the big batch of kraut in the 15 gallon crock, I didn’t have anything large enough to act as a weight. Instead, I used my mom’s trick to cover the cabbage.
I took some of the outer leaves of the cabbage, and arranged them to cover the cabbage. Then, I placed a garbage bag full of brine over the top of the leaves. (This keeps the bag out of direct contact with the kraut.) It’s not fancy, but it gets the job done.
Kraut Pounders
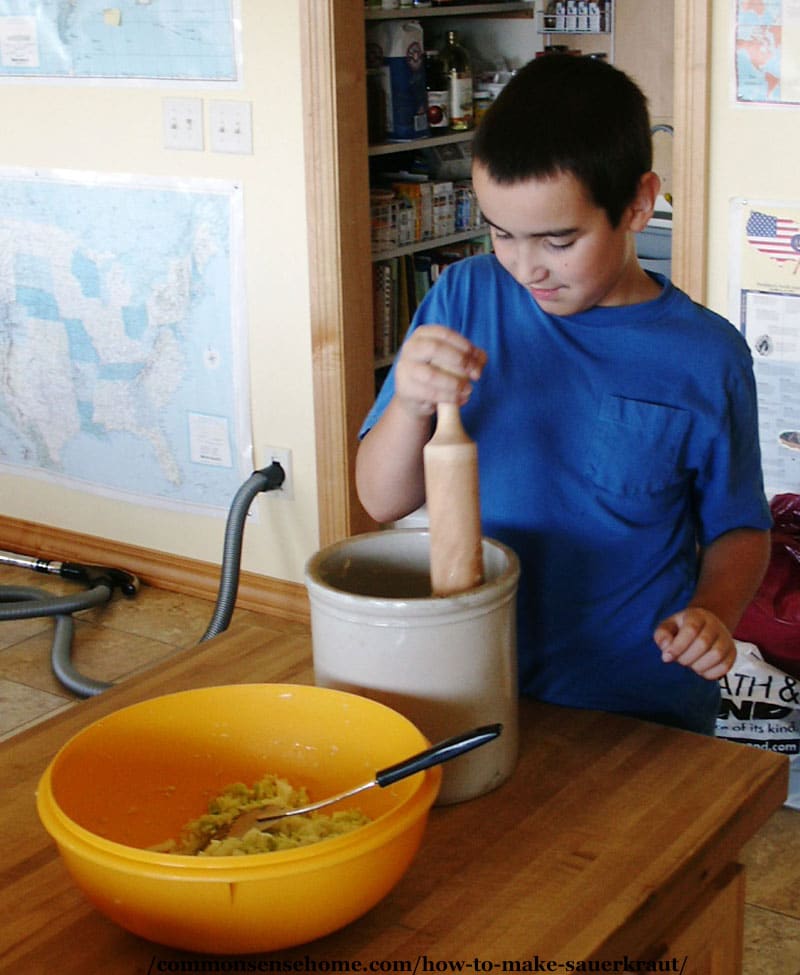
It’s helpful to crush/pack down your sauerkraut to release the juices – and to fit more in the crock. To do this, you can use your hands, your feet (in a large crock), or a sauerkraut pounder.
We normally use the wooden press that came with our chinois strainer, but you can purchase dedicated wooden kraut stompers. Lehman’s has a nice selection of crocks, lids, weights, and kraut stompers.
Old Fashioned Sauerkraut
Turn your cabbage into a probiotic powerhouse with this easy fermentation recipe.
- Prep Time: 30 minutes
- Fermentation Time: 672 hours
- Total Time: 672 hours 30 minutes
- Yield: 1 gallon
- Category: Ferment
Ingredients
- 5 pounds cabbage
- 3 tablespoons sea salt
Instructions
- Chop or grate cabbage, reserving large outer leaves for later. Place it in a large bowl as you chop it. Sprinkle salt on the cabbage as you chop it.
- Add other vegetables, fruits, herbs or spices, if desired. Mix ingredients together and pack into crock with fists, feet, or sauerkraut pounder.
- Place outside leaves on top of shredded cabbage, and then add the weights or plate with weight to hold your kraut below the brine. Let rest, if needed, to draw out brine from the cabbage.
- If the brine doesn’t cover the cabbage in a few hours, mix about one teaspoon of salt per one cup of water to make additional brine.
- Cover the crock with a cloth (or the lid if you have a fermenting crock) and let it ferment for 4-6 weeks.
- Once the sauerkraut is as fermented as you like, refrigerate or freeze for longer storage to preserve the probiotics. Can the kraut in a water bath canner for shelf stable storage.
Notes
Check the ferment occasionally to make sure that the cabbage is submerged. Add more water if needed (the salt is still there).
When you’re ready to use your sauerkraut, remove the leaves, weights and any discolored kraut near the surface. The kraut will smell a little musty after being covered – this is normal. Serve raw as a condiment to preserve the probiotics, or cook with meat or other in other recipes for a savory meal.
For a quicker ferment, ferment at room temperature. To slow down fermentation, keep your crock in a cooler location. I’ve stashed my crock in an unheated corner of the basement and had it last for months.
Can you Make Less Sour Sauerkraut?
If you’re not so sure about the strong sour flavor of kraut, keep your fermentation time shorter. This will give you a crunchier sauerkraut with a milder flavor.
You can also try mixing in carrots or apples, which are naturally sweet. Just make sure to maintain the 75% cabbage rule.
White Film on Sauerkraut
Sometimes a white bloom appears on the surface of the kraut. This is kahm yeast, and is harmless. Skim what you can off of the surface; it will break up and you will probably not be able to remove all of it.
Don’t worry about this. It’s just a surface phenomenon, a result of contact with the air. The kraut itself is under the anaerobic protection of the brine.
Mold looks different than yeast. It’s raised and fuzzy, and often has other colors black, green, or blue. If you have a fuzzy layer with different colors, compost the batch, don’t eat it.
Does Sauerkraut go bad?
Yes, sauerkraut can go bad. As mentioned above, if air reaches the cabbage, mold can grow. Over time, as fermentation continues, the kraut gets softer. Eventually it will turn into a slimy mess at room temperature.
Refrigeration, freezing, or canning will extend the shelf life of your kraut.
Our Old Fashioned Sauerkraut Party
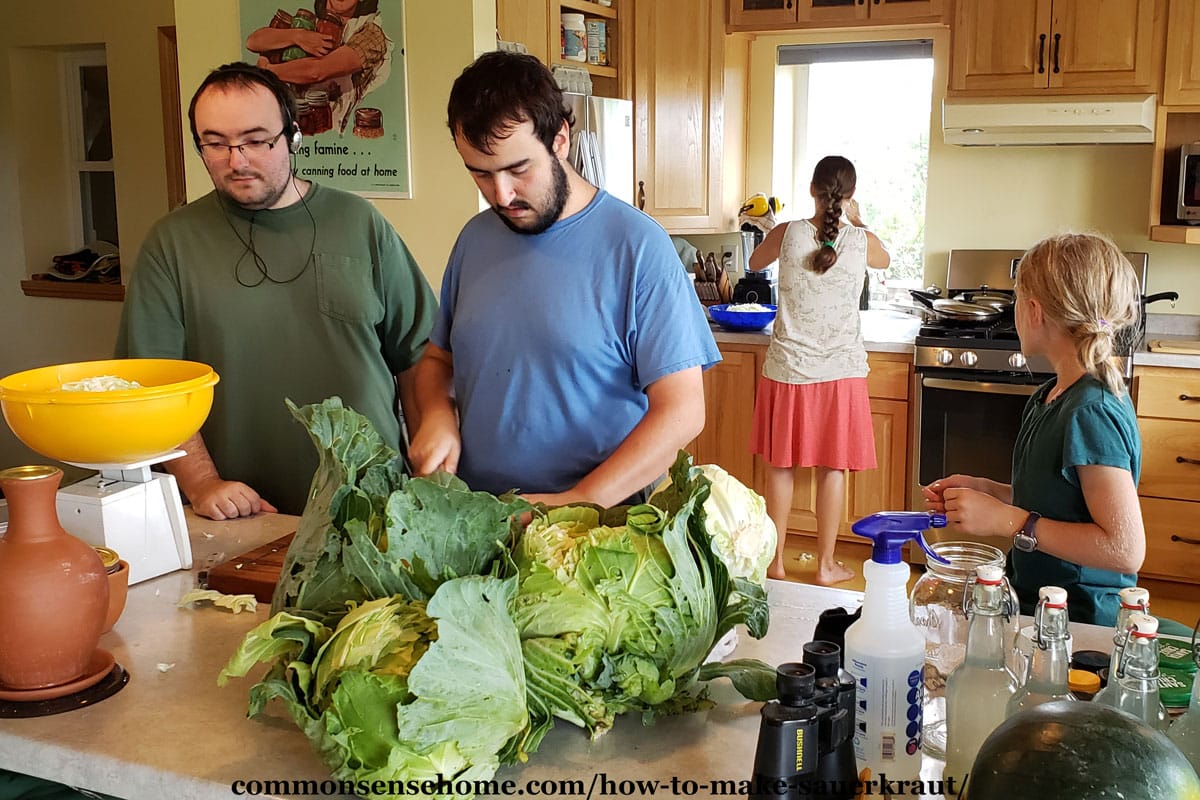
Late this summer, we had heavy rains after weeks of dry conditions, and both my neighbor and I ended up with split sauerkraut heads. These are still good to use if you process them quickly, so we got together and set to work.
Altogether we processed 45 pounds of cabbage, which filled the 15 gallon crock a little under halfway. With the cabbage chopped and salted, one of kids had his feet well scrubbed, and was carried over to stomp the sauerkraut.
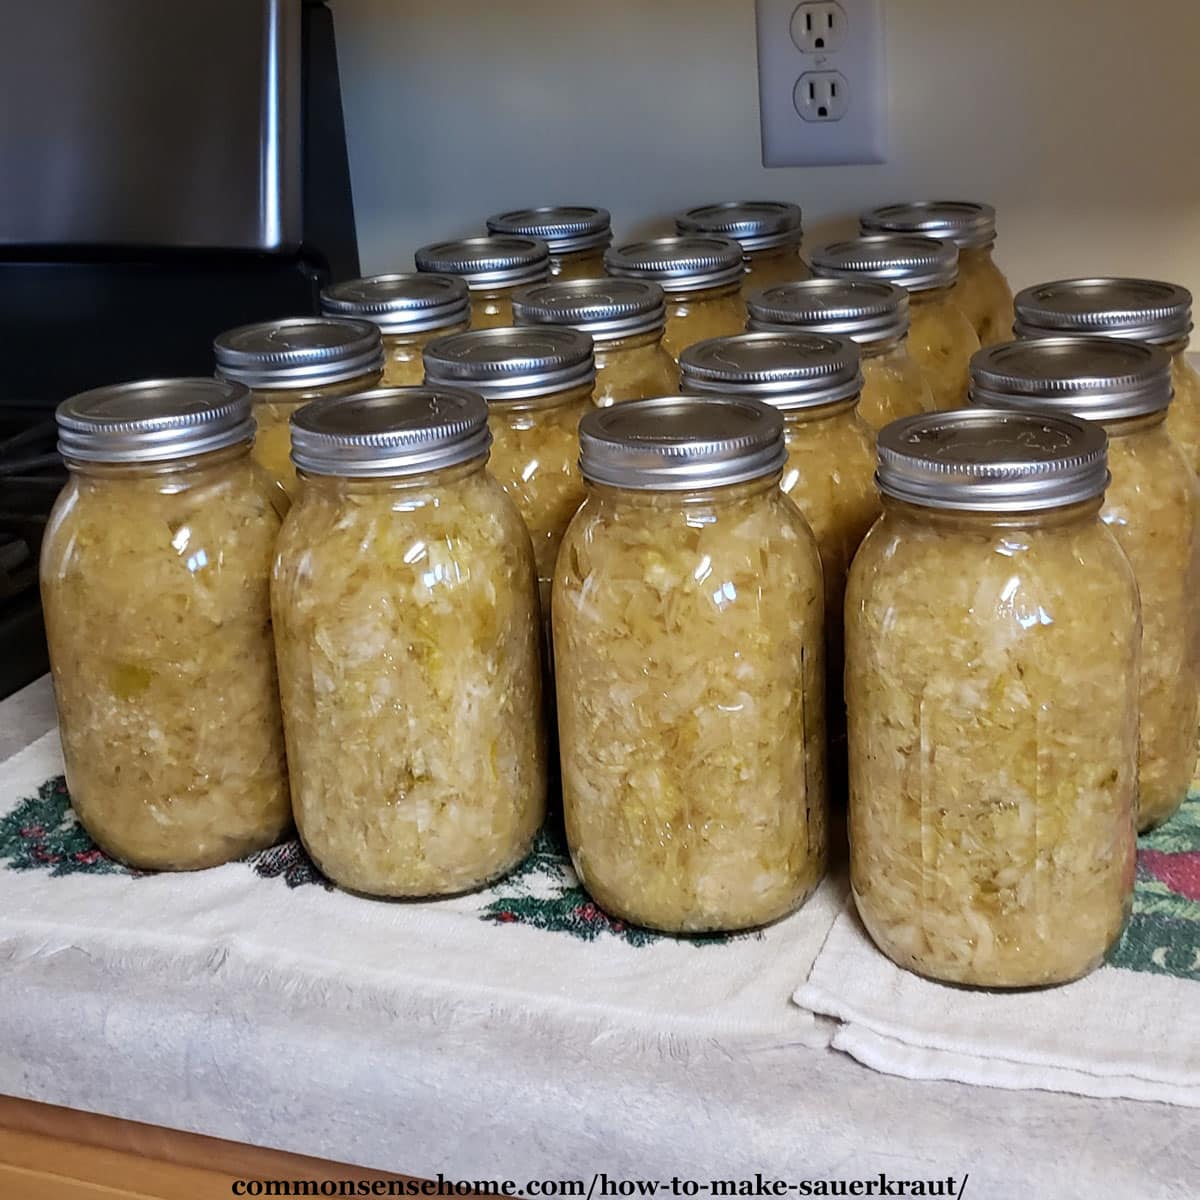
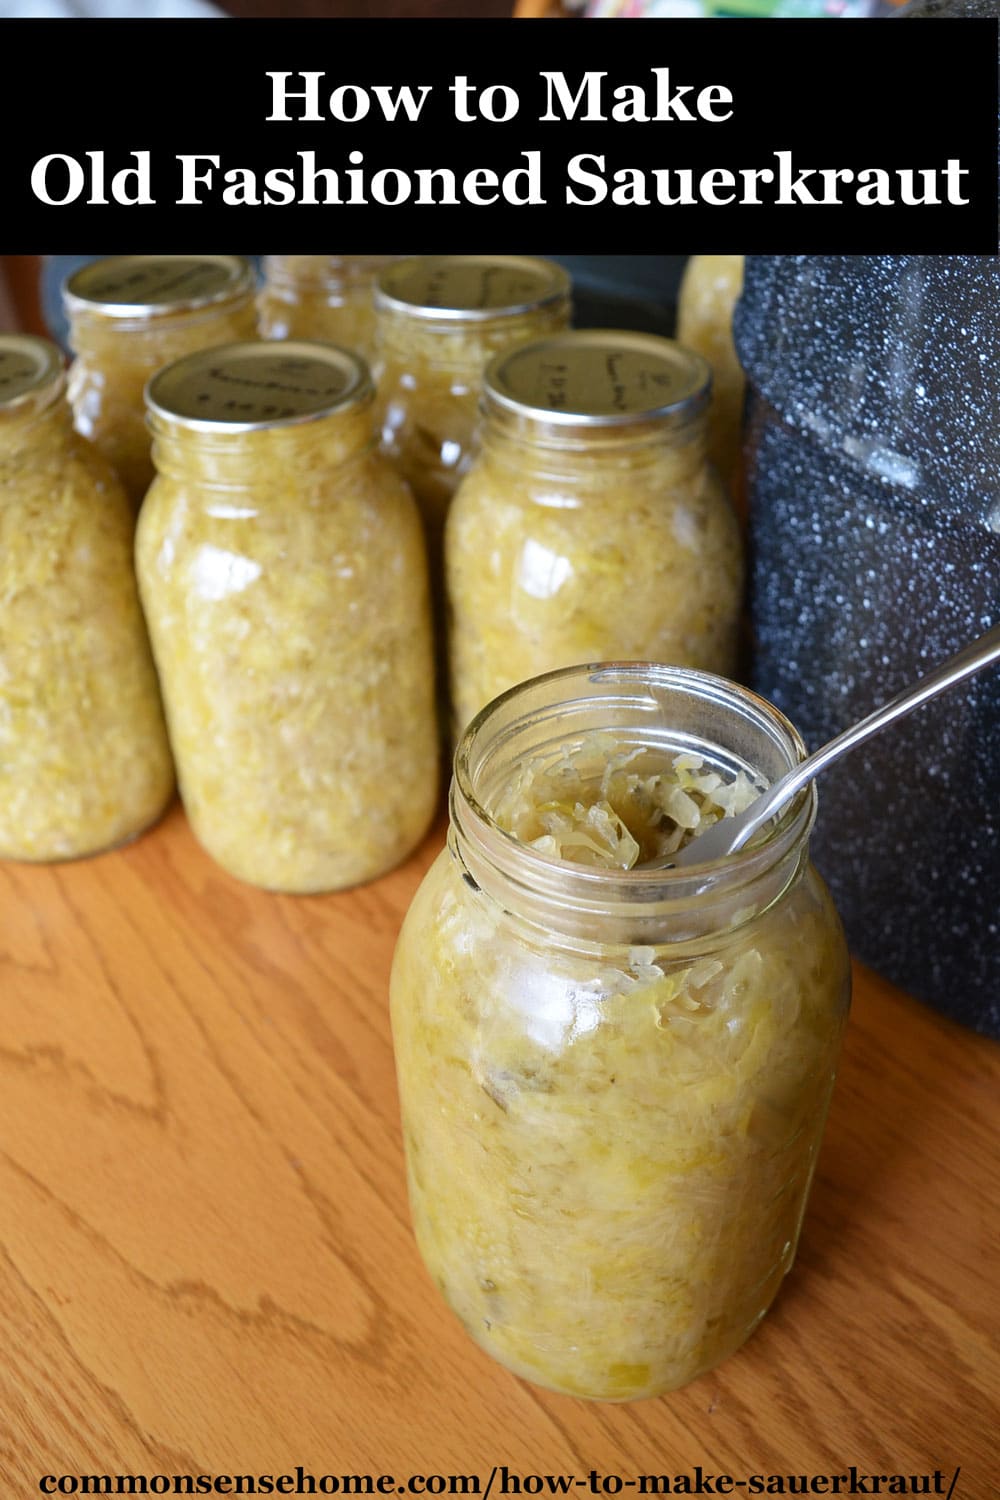
We ended up with around 18 quarts, which I processed in the water bath canner. You can also freeze sauerkraut for longer storage.
Canning Sauerkraut
Since sauerkraut is acidic, it’s safe to process in a water bath canner. Fill your canner with water, clean and prep your jars and lids. I keep my jars hot in my canner until I’m ready to use them.
For canning sauerkraut, bring the kraut to a simmer in a large stockpot. Do not boil your kraut.
Pack hot sauerkraut into hot jars, leaving 1/2 inch headspace. Remove air bubbles and make sure the brine covers the cabbage in the jar.
Wipe down the rims and put on your canning lid and ring. Tighten until finger tight. (Remember, air escapes from the head space at the top of the jar during processing.)
Process pints for 15 minutes and quarts for 20 minutes in a boiling water canner. Start the timer when the canner is at a full boil. Once processing is finished, remove the jars from the canner and place them on a kitchen towel on the counter to cool completely.
Check the seals on the jars. If any haven’t sealed, store those in the refrigerator to use right away. Date and label jars and store in a cool, dark location. Use within 18 months for best quality.
Related Articles
If you’re interested in fermentation and food preservation, you may also enjoy:
Home Food Preservation – 10 Ways to Preserve Food at Home
5 Reasons to Use Probiotics for Colds and Flu
Originally published in 2010, last updated in 2022.

Hello, I just made my first smal batch of sauerkraut in a crock with a lid. I started with a small amount to see if it works. It did, and I’m about to make a larger batch in my 5liter crock. Do I need to clean the crock after my first batch, or should I leave some brine/kraut to help start the process for the new batch? Thank you!
It’s fine to save and reuse a little brine to jumpstart a new batch, but the fermented cabbage will get softer and unpleasant as it ages. I generally clean the equipment between batches, though I’m sure back in the day they didn’t worry about it too much if there were no signs of spoilage.
I hope you can help me, I have not been able to find an answer to my question on fermenting. I received a
3 gal water fermenting crock as a gift, but found it was larger than I could use. I had been considering purchasing a 1 gal crock, but thinking about it, if the fermented product is properly submerged and weighted (for anerobic purposes), does it matter if the crock is not filled to the top? Couldn’t I use the 3 gal crock for smaller batches? I am a newbie, so this makes sense to me, but I am still learning the safety ropes of fermenting. Thank you.
Ideally, where you have a fermenting vessel with an airlock, you want to fill it fairly close to the top to ensure that the space above the ferment fills with carbon dioxide. The CO2 prevents oxygen from getting to the food that’s fermenting.
That said, obviously an open crock doesn’t have that protective carbon dioxide layer. If you want to make smaller batches, just make sure the fermented food is submerged, and keep in mind that there may or may not be enough CO2 to fill the headspace in the crock, so it may be slightly more prone to spoilage than if it was full. It’ll all good.
I am really thinking about trying this. I have a 5 gallon pickle bucket and a huge head of cabbage. I am good at messing things up…… How long do you let it ferment and how long do you water bath? Thank you in advance!
Ferment it for around 3-4 weeks.
Leave 1/2 inch headspace for water bath canning, and heat it up before packing it in jars.
Processing times:
Pints
0-1000 ft / 10 minutes
1001-3000 ft / 15 minutes
3001-6000 ft / 15 minutes
6001 ft- and higher / 20 minutes
Quarts
0-1000 ft / 15 minutes
1001-3000 / 20 minutes
3001-6000 / 20 minutes
6001 ft and higher / 25 minutes
On the question of other things to ferment, I have made a fruit ferment that used yogurt whey instead of salt. Fruits used were pineapple, apple and I believe cranberry. I am not home at the moment (where the recipe is), but I will post it in the future. I made it once for Christmas but never got to try it or get feedback on it because of other circumstances.
April
Sandor Katz has some good fermenting books, as does Wardeh Harmon. Wardeh has a course on fermenting, too. They do all sorts of fruit, veggies, grains, dairy, and fermented drinks.
I was wondering..does cooking the sauerkraut diminish the nutritional benefits?
Yes. Once you cook the kraut, it will no longer be a live culture food, and heat damaged vitamins like vitamin C will be reduced.
Ok Laurie,
Silly question, but how do you work this stuff into a meal? Like a garnish or small salad?
Most of the time I’ll add a couple of tablespoons and eat it like a condiment. The acidity makes a nice complement to proteins and fats.
24 hour update: no juice.
So I added salt water to cover after applying some pressure and mashing on it a bit.
Anybody know what a failure looks and smells like?
Pam
I highly recommend pounding the snot out of the cabbage until you get juice. See above crazed photo of boy with pounder. In all my years of making kraut, I’ve never failed to get enough juice to cover.
If you truly have a failure, it’ll start smelling rotten, not fermented, and mold bloom and off colors are likely.
Thanks Laurie. Pounding to commence momentarily.
Well, I’ve been planning this since last fall but one thing or another got in the way. I suppose I could have done it without the weights. I think, I am ashamed to say, I was afraid to try it. Why? I have no earthly idea.
But I just completed it minutes ago.
That feels incredibly good…to face something and complete it.
Silly, I know.
Anyhooo….was wondering, since most people use a drumhead type cabbage, if you have tried a savoy or Chinese cabbage? And you mentioned adding different things but could you try other brassicas as a base? I believe Chinese cabbage is used to make kimchi but what about bok choy or Brussels sprouts? That would be an interesting post and experiment. (If you couldn’t tell by my blog name, I do like to try experiments.) Whaddya say Laurie? Shall we have a joint post on making different types of sauerkraut? (Listen to me, like I actually know what I’m doing! hehehee)
Thanks for sharing with us Laurie. It makes it easier to try new things.
Pam
You can ferment just about anything, as long as you watch your pH and salt levels. People have even fermented whole heads of cabbage. I admit, I haven’t been a terribly adventurous fermenter to date, but there are lots of folks who are. I’m filling out mortgage refinance paperwork tonight, but I’ll hunt down a couple of my favorite fermenting reference books and post them tomorrow.
Laurie,
In the process of making my first batch of sauerkraut. It’s already 2 1/2 weeks along and seems to have passed through the first stage ok. Bubbled lightly for less than a week. Haven’t observed anymore bubbling or have had to spoon out scum residue. That was minimal. Smells pretty good. Not strong or foul. I’m using the water bag method to hold a clear crock lid down on top of the cabbage so I can see through to the top of the cabbage. Looks ok, too. I keep a towel over it all. Temp of the contents has been about 70-72°. In the meantime, I’ve had to check it every other day because of water evaporation. Missed it for 3 days, checked today, the level was down almost all the way to the top of the lid but thankfully no air reached the top of the cabbage. After I added more brine to top off, it occurred to me; Water is evaporating but not the salt. Wouldn’t you think that the more brine you add, the higher the salinity would get over time? Then that started me thinking that maybe the brine is too salty possibly halting the fermenting process? Would it? I’m adding about a cup or more of brine every other day. All these variables!
hmmm…..you might have an easier time of it with an enclosed fermenting vessel to virtually eliminate evaporation. Around here, our humidity is so high I haven’t had ever had to add water. In the grand scheme of things, having a little more salt really shouldn’t be a problem, but if you feel that you need to add a large amount, a weaker brine should be okay.
I happened upon this post while on pinterest… I have my first batch of sauerkraut in the works. My crock is like yours but bigger, I was able to fit 4 heads of cabbage in it. It’s been fermenting for almost 4 weeks and I’m seeing everything you have described, however, my husband is complaining of the smell… he wants me to get rid of it. I’ll admit, it does smell pretty strong. Is that normal? It is in the corner if my kitchen… so the temperature is probably 72-74*.
I was planning on canning it, especially since I have so much, but now I’m thinking maybe I should freeze it instead! Thanks for the great information.
You’re welcome. It will smell like fermented cabbage, which can be pretty funky, and at normal room temps, the fermentation is probably humming right along. Odds are, it’s just fine, but probably ready to be moved into cooler temps or long term storage.
You can certainly can it or freeze it, or both – your choice. As I mentioned, freezing puts the bacteria in stasis instead of killing them. That said, if you plan to use it mostly cooked, the bacteria will end up getting cooked anyway.
In My heavy canning times when i was younger, I came across a receipt for -Sauerkraut using ‘Juniper Berries’. I Did make some at that time & was excellent tasting. I have long lost the Receipt & hoping someone , or you might have it….would really like to fine one and try it again
Thank You & hoping you reply
Shirley
Most recipes I have seen simply call for mixing the juniper berries in with the kraut. For 5 pounds of cabbage, try 1 tablespoon of berries and adjust to taste with subsequent batches.
Thank You so much for the reply……Have a Good week-end & Stay Safe……
Should be uneventful, just working to finish harvesting the garden. Winding down, but we’re still not done. Dug onions today and will dig potatoes tomorrow.
When I made kraut I used the below jars (straight sided or wide mouth) and filled them about an 1″ from the top. Placed plastic baggies with a couple of soup cans(full) inside the jars flipping the rest of the baggie over the rim then put a rubber band around the rim over the baggie making sure the plastic was a bit loose so the cans could sink. The brine rose right to the top with out too much manipulation. Then I placed them in a brown paper bag with a pan to catch any leaks. It prevented the scum from forming on the tops of the kraut and made it easy to check on it too.
Thanks for sharing your experience.
I’ve tried for the last 3 years to make kraut. The first two was way to salty and turned a redish brown. Last summers kraut tasted good but it was mushy. I uses a box kraut cutter for cutting the cabbage. It was in a stone crock kept in the cellar. I removed the mold twice a week. Any ideas what I am doing wrong?
What climate are you in? Temps have a big impact on how it keeps. It sounds like you’ve got aggressive mold growth, and a true airlock system like the Veggie Master or Harsch crocks sold by Cultures for Health may give you better results. You’re looking for an oxygen free environment to breed the correct bacteria. Other fermenting container include the Pickle It and Fido jars(http://www.amazon.com/gp/product/B0001BMYH0?ie=UTF8&camp=1789&creativeASIN=B0001BMYH0&linkCode=xm2&tag=commosensehom-20).
Great post! I have done kraut in a glass jar with a bag of water as my weight but I was looking for other ideas since I don’t have a fancy fermentation crock with the lid and weights. I may try my crock pot insert with a plate though. I love making sauerkraut too 🙂
I like the plate because it helps to ensure all the vegetable matter stays down below the brine level much better than the water bag alone. I found some nice little stoneware plates at a thrift store, too, so now I’ve got less plastic indirect contact with the food, which I prefer.
Thank you for your submission on Nourishing Treasures' Make Your Own! Monday link-up.
Check back later tonight when the new link-up is running to see if you were one of the top 3 featured posts! 🙂
Five Seed – one thing I've found with fermenting is that most people with functioning taste buds can tell when something is "off". With this type of fermentation, the worst thing that's likely to happen is that something rots instead of ferments, which will give a distinctive (unpleasant) aroma and flavor. Properly fermented foods will smell musky and yeasty, but not nasty. If you're ever in real doubt, toss it out. If you're not sure, taste carefully in small amounts.
I made two batches of kraut last year – the first was just "off" – hard to describe. The second was WAY too salty! I made another batch this year and….not too bad! I used caraway seeds and it is pretty good. Very ferment-y tasting, but I think I like it. It's kinda hard to tell – I'm so used to eating the stuff from the grocery store which has such a mild flavor. And since I'm new at fermenting, I always worry about the process and whether or not I did it safely. But…I think I'm happy with this batch!
Laurie, again, you amaze me with your talents. Featured you on Domestically Divine. Your strawberry kombucha rocks.
Annette, I haven't had any troubles with mold, either in crocks or in mason jars with a lid, except for one batch of pickled cucumbers. I think that was due to a refrigerator malfunction – the basement minifridge had the door left open for an unknown amount of time. It was not good. Thankfully, it didn't have a lot in it at that point. I think our climate here is cooler and dryer, and I usually hold off on my vegetable ferments until fall. Last time a made kraut I probably removed less than 1/4 cup of "questionable" material from the top of the crock that was a little "off" in color.
Thanks for letting me know about the fermentation carnival. I will take a look.
LOVE the expression on his face! Do you ever have problems with mold on the surface that gets into the contents? I have that happen quite freqently and then they go bad. I've thrown out my fair share of stuff this year. It sounded like you just put the bag on top then brought it up and there was no mold? I have a harsch crock and those crocks you have too plus I use mason jars with carboys screwed into the lid that we made. The carboys and closed jars seem to work best in terms of mold. I have a whole lacto fermentation carnival over on my blog too if you want to see some other things folks have linked up. Lots of great ideas there!
Laurie, thanks for the tip about freezing the kraut. I only make/eat it during the winter as that's when cabbage is in season for us, but it would be great to have it all year long. I'm totally going to do that this year.
Also, I'm really the only one who will eat it regularly, so when I make a big batch, it'll spoil before it gets eaten.
Patty, I had to put some kraut in the freezer as my fridge was too full. I like to mark the date on my bottles using a piece of masking tape written on by a Sharpie. Easy on, easy off, and no guessing about how old that thing stuffed in the back of the fridge may be. I write with a Sharpie directly on my canning lids and freezer bags.
Thanks for stopping by!
I have been wondering about freezing some kraut, so glad I found your post (via Kelly). I made it a couple of years ago and canned it…what a waste if it kills all the good stuff, huh? The last time I made it (with caraway BTW!) I moved it from the crock to 1/2 gallon jars and stored it in the fridge. I think it has been a year now, and I have 1/2 of a jar left and it is still good! I really want to do the red this year. Wish I had a cute "tamper" like you do!
I don't know that you *have* to keep it dark/covered, but most guides I've seen recommend it. I think it helps to stabilize the temperature, keep bugs out, and is a "better habitat" for the critters we are trying to cultivate.
There's really only one way to test it – give it a taste. If it's bad, you'll know, and can spit it back out. My first batch had a little bit of scummy stuff around the edges, which I just scraped off, and smelled quite strong. I was a bit nervous, too! The longer it ferments, the mellower the smell/flavor tends to be, until it finally goes bad (but that takes a REALLY long time if refrigerated).
So exciting!
I made a batch two months ago but "harvested" it too soon and ended up tossing it in the composter. I now have another batch going, on Day 18. Here's the thing, though – I'm using those fermentation jugs from Cultures for the Health – the see-through glass with the air lock tops. You know the ones I mean? And I didn't realize you should keep it out of light, so it's been out in the light. Oops!
Mine got the "bloom" which the air lock is supposed to help prevent, though I don't think it's guaranteed. And that's fine – I scraped it off, but am kind of worried about getting all of it off and trying to keep it from seeping into the brined part of it.
This batch doesn't stink like my last batch did. It didn't smell rotten, mind you – just strong fermented cabbage! This batch has "mellowed." I think it may be ready, but now that it got moldy on top, I'm scared to try it!
Any suggestions?
Great post and pictures. Especially love the expression on your son!!!
It's my goal to step up fermenting this winter and I already have a posting in mind for a little later. Found it fun to see so many of seem to have the same thought lines going.