Pickled Beets Recipe – Just Like Grandma Used to Make
This post may contain affiliate links. Read my full disclosure here.
My eldest son and I are fans of pickled beets (and almost anything else pickled), so each year we turn some of our garden bounty into beet pickles. These make a great side dish (vinegar is good for digestion and helps fight acid reflux). If we have a good stockpile, sometimes we thinly slice some of the pickled beets and run them through the freeze dryer. The freeze dried beet chips make an interesting snack food. (And yes, these are gluten free, for anyone who is watching out for gluten.)
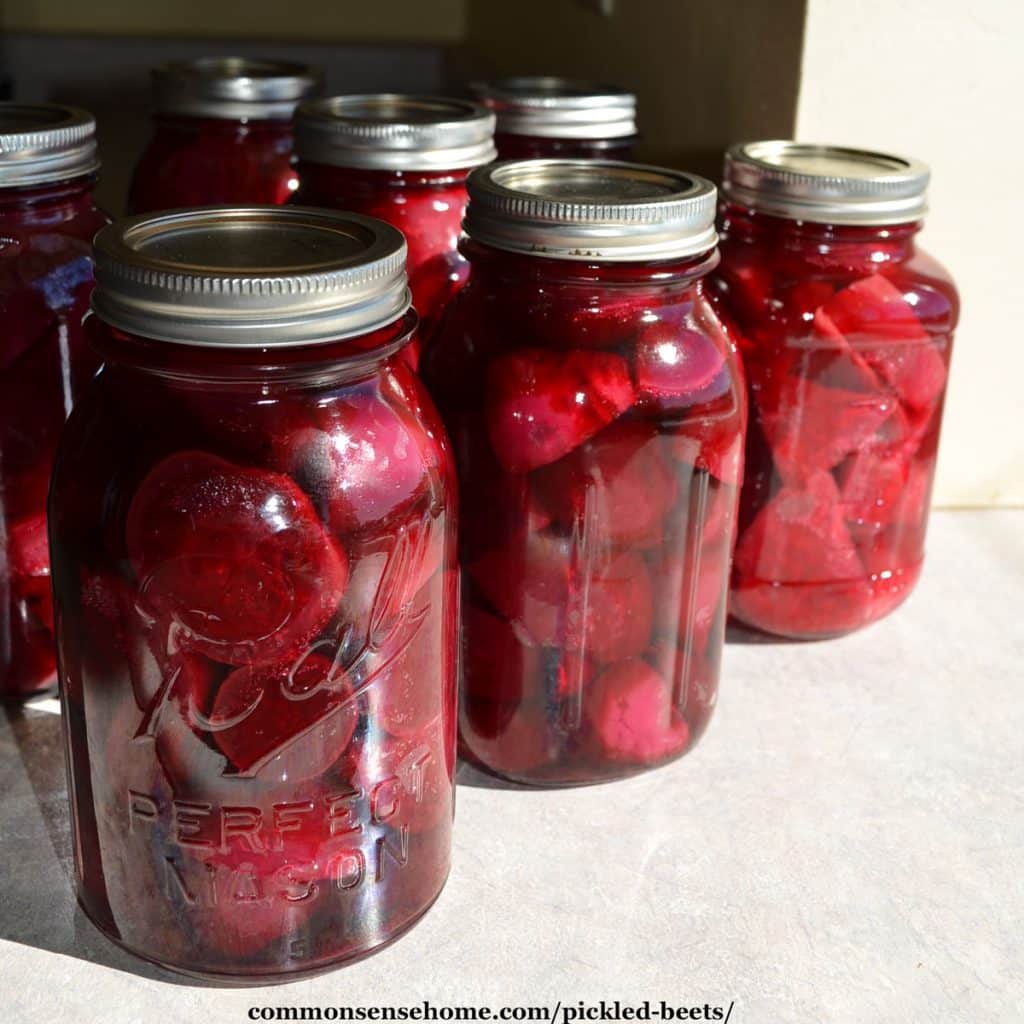
When I was growing up, I remember many afternoons of sitting on the porch steps with a canning kettle full of steaming beets, peeling off their slippery skins to get them ready for pickling. Although they been cooked, drained and covered in cold water, they could still hold a lot of heat, so tender fingers needed to toughen up in a hurry. (My boys still squawk about how hot I keep the dishwater. I think they need to peel more beets.) Soon the canning shelves would be filled with jewel-like red jars. There was always a jar of pickled beets in the fridge on hand for meals, and for the holidays they’d be served up in a fancy crystal dish.
Mom always canned up a big mess of beets each year, but I rarely made pickled beets since no one in the house would eat them except me. Fast forward, and my eldest son has decided that he loved beets. Given that he’s built like a linebacker, he can go through quite a few of them, so I figured it was time to dig out the pickling spice. Here’s momma’s recipe. It’s similar to the Ball Blue Book “Beet Pickles”, but a little simpler on the spices.
How to Make Pickled Beets
Yields about 6 pints or 3 quarts
Ingredients
- 3 quarts beets (about 24 small)
- 3 1/2 cups cider vinegar
- 1 1/2 cups water
- 2 cups sugar
- 1 tablespoon pickling spice
- 1 stick cinnamon
Prep Your Canning Area
Sterilize jars, fill water bath canner, prep canning area and lids. I like to heat my lids in warm water, which was previously recommended by Jarden. With the current lids, they say that heating the lids is now optional. Never boil your lids prior to canning. This may lead to seal failure.
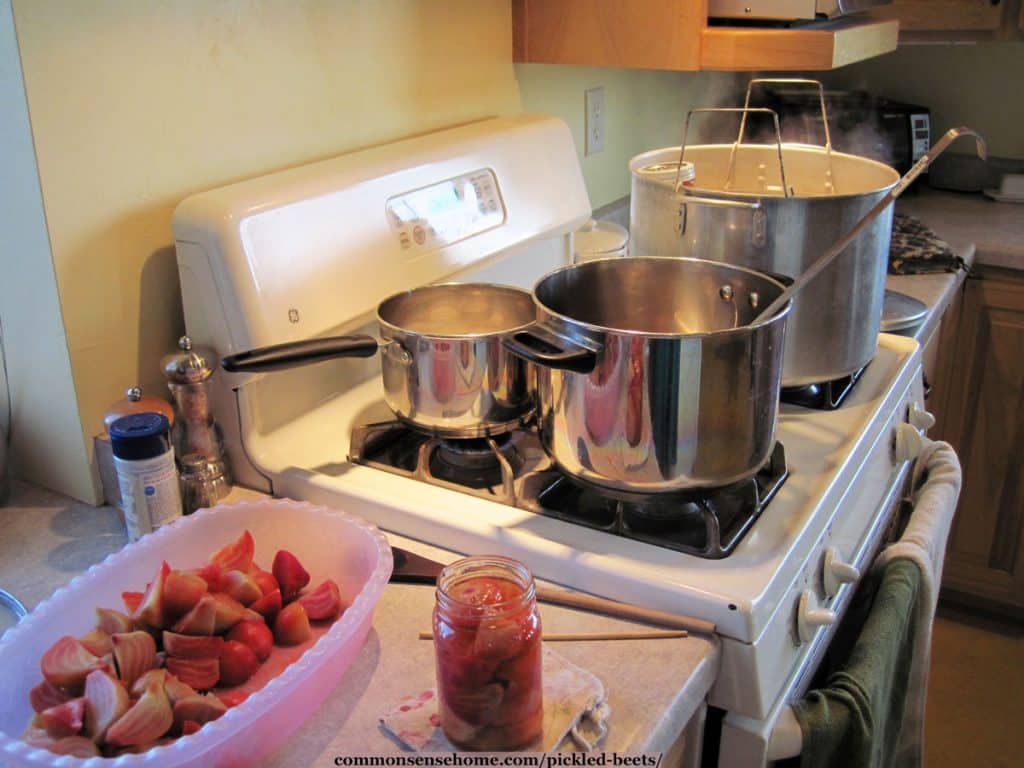
Here’s my canning set up. I like to work from left to right. My canner sits on my highest power burner at front right. The lids stay warm on the back left burner. I keep the brine on the front left burner, and fill the jars to the left of the stove. Once processing is finished, I place the jars on a clean cloth on the counter to the right of the stove and allow them to rest overnight or until completely cooled.
Prep your Picking Liquid
While the beets are cooking, prep your pickling liquid so it has time for the spices to infuse. To make your pickling liquid, combine all ingredients except beets in a large sauce pot. Bring you vinegar water mixture to a boil; reduce heat. Simmer 15 minutes. Remove cinnamon stick.
Prep Your Beets for Pickling
Before canning your beet pickles, you need to cook the beets and remove the skins. You can do this by boiling or roasting. Mom always boiled hers, but once I roasted the beets instead of boiling and was hooked. We’ll review both boiling and roasting and you can choose what works for you.
Before cooking, wash fresh beets and trim tops to about 1 inch.
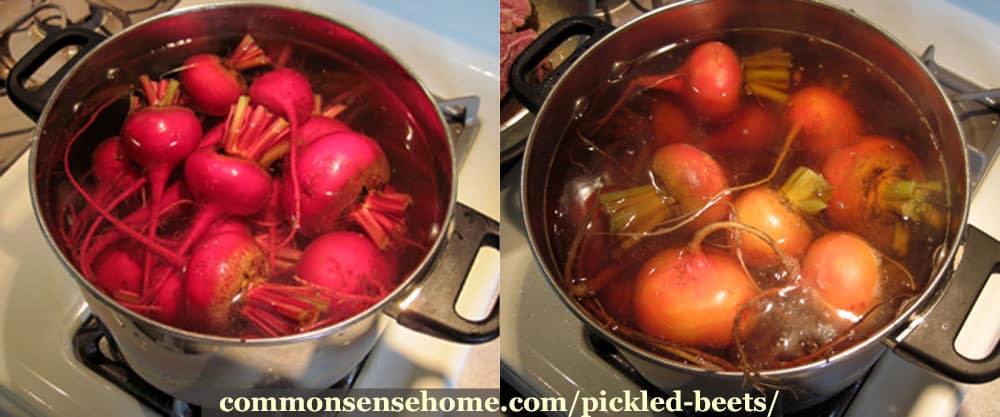
To boil beets: Place beets in a large stockpot with water to cover. Bring to a boil, and cook until tender, about 15 minutes to half an hour depending on the size of the beets. If beets are large, cut them into quarters.
Here are the beets before and after boiling. Note the color change and how you can start to see the skin is starting to separate from the flesh of the beet. They should be tender enough to pierce with a folk.
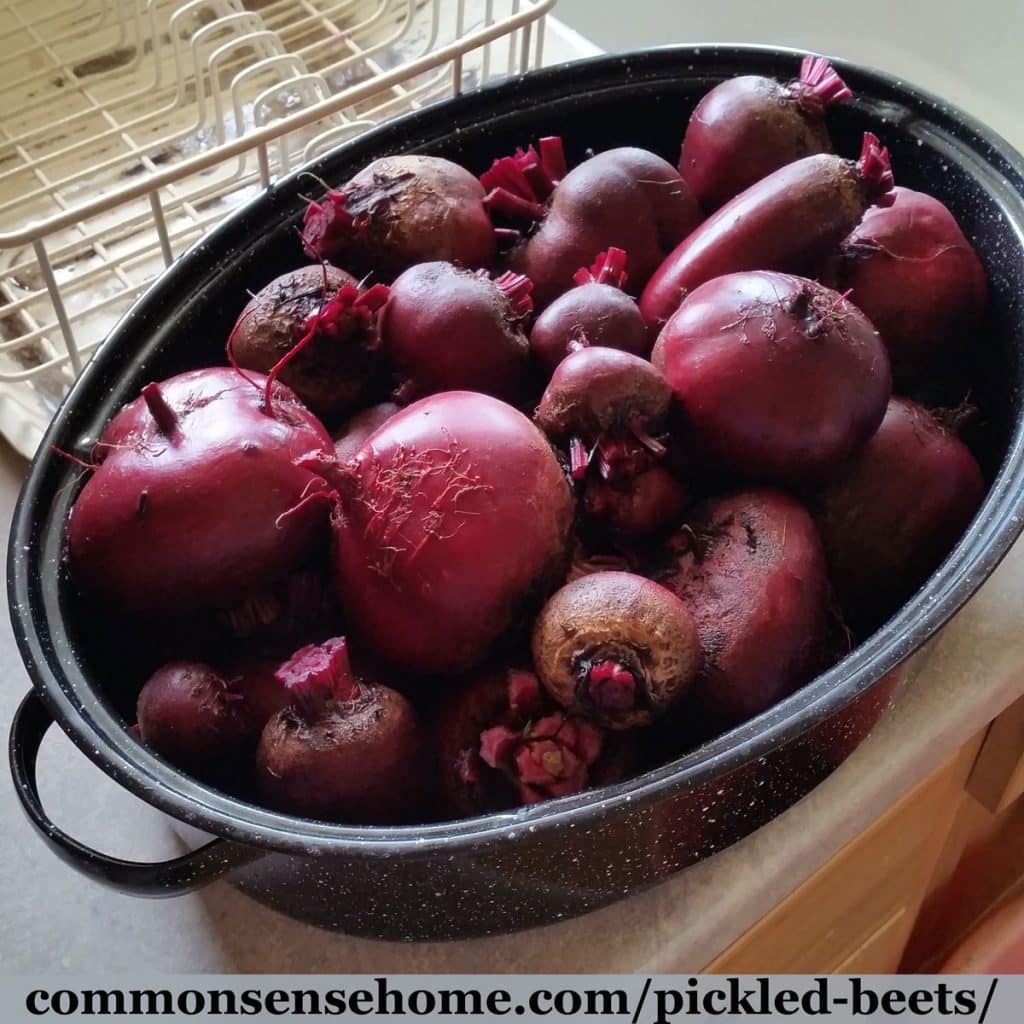
To roast beets: Place cleaned beets into a large roasting pan. Cover with lid and bake in a 350°F oven for 1 to 2 hours. (Very large beets may take longer.) When ready, beets should be easy to penetrate with a fork.
Would you like to save this?
To remove the skins: Drain boiled beets, remove roasted beets from oven and take off lid. Let cooked beets sit until cool enough to handle (or cover with cool water to speed up the process), then remove the skins. They should slip off easily, with just a little help from a paring knife on stubborn spots. Slice beets into evenly sized sections so they fit in the jars more easily.
Processing the Beet Pickles
Here are my beets, ready to go in jars. These are heirloom Chioggia beets, which when raw have red and white candy cane patterned stripes. After cooking, they look more golden/orange. With the addition of vinegar during canning, they turn pink. I found them a little more visually interesting than your typical red beets.
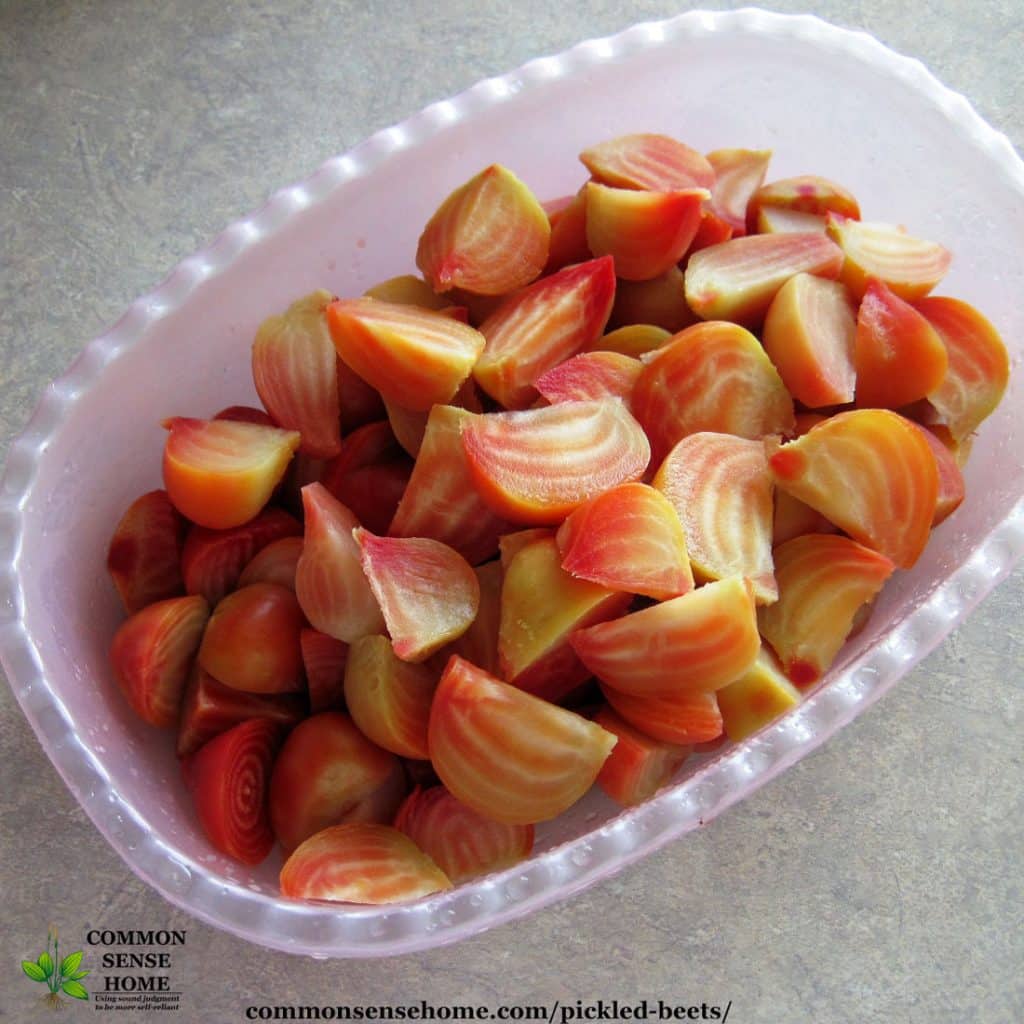
Pack beets into hot jars, leaving 1/4 inch head space. Ladle hot pickling liquid over beets, leaving 1/4 inch headspace. Remove air bubbles with a thin plastic spatula of chopstick. Never stick a metal knife into your jar because you can cause scrapes or nicks that may lead to jar failure.
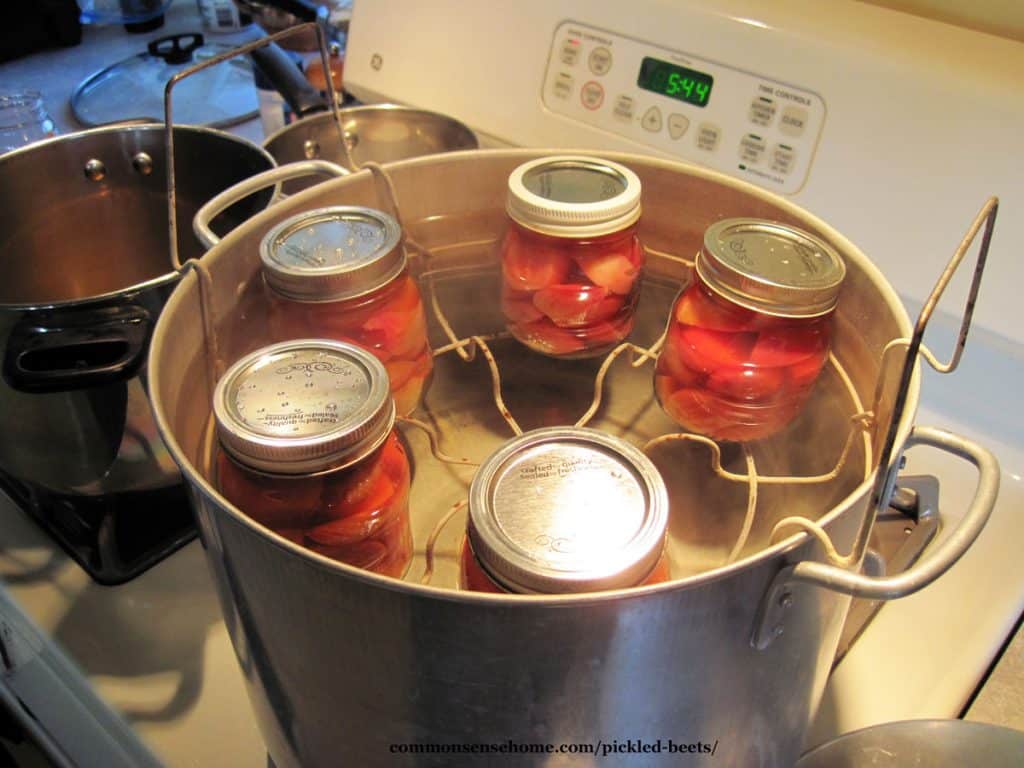
Wipe jar rims and screw on two-piece caps until finger tight. Process pints and quarts 30 minutes in a boiling water water canner.
Jars ready to lower into the canner. I was a little short of my six pints with this harvest. It’s fine to double the recipe if you have more beets to can.
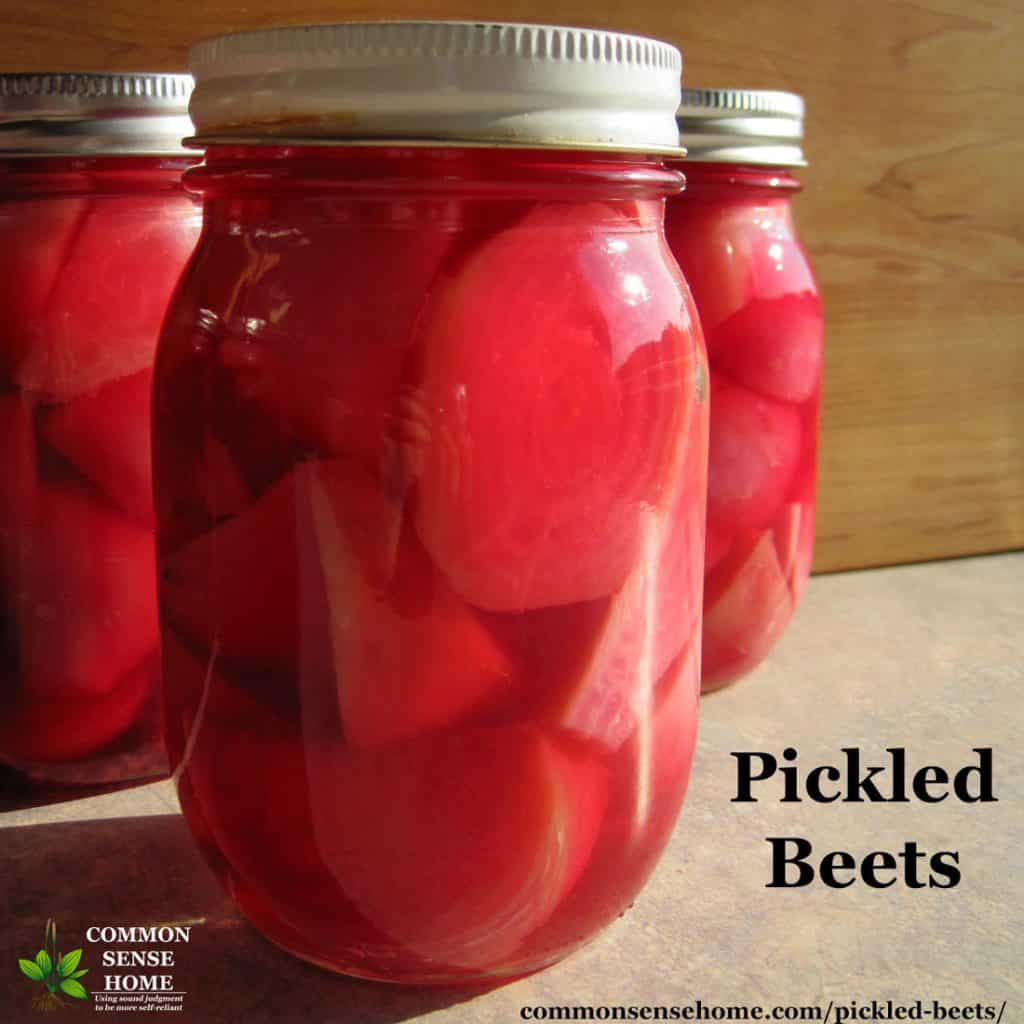
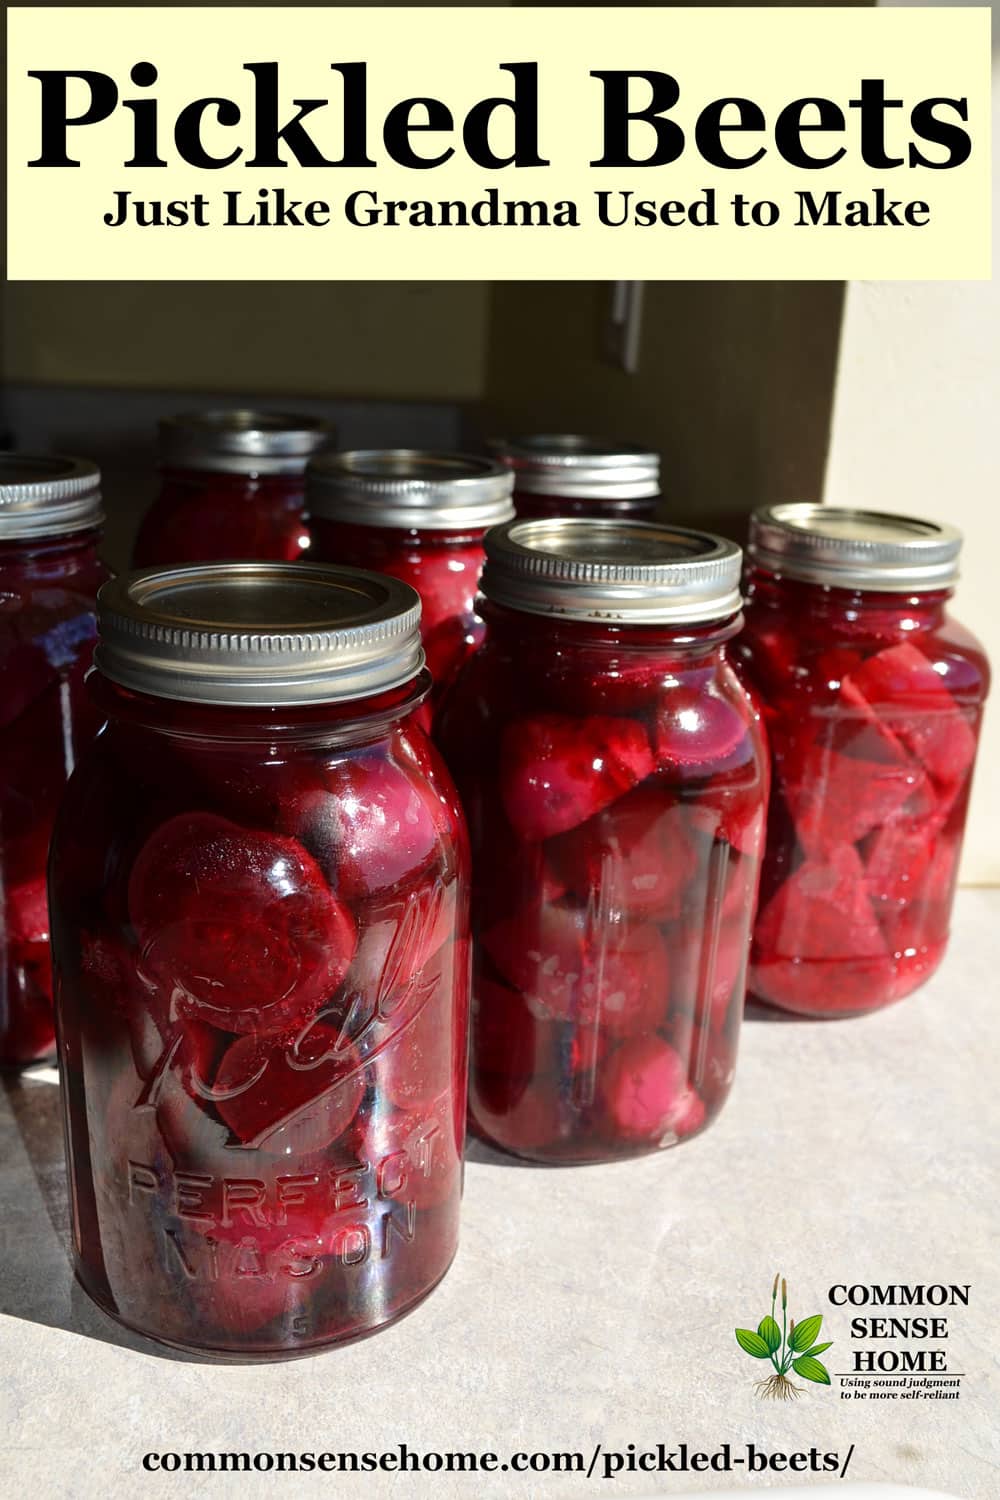
Remove pickled beets from canner and place on towel on counter top to cool. Once cooled, remove the rings before storage and wipe any spills or drips. Label the jar lids with the date and contents and store in a cool, dark location. I use a sharpie marker and store mine in the canning pantry or upper shelves in the root cellar. The Chioggia beets turn from striped to pink after pickling, as shown in the photo below. The top and bottom photos in the post show quarts of red pickled beets.
If You Don’t Want to Process the Pickled Beets in a Canner
If for whatever reason you don’t want to process these in a canner, they can be refrigerator pickled. Simply place jars in the refrigerator instead of processing. Let them sit for a couple days before eating to allow the flavor time to sink into the beets. You may want to cut the batch in half to save on fridge space. Jars that are not processed in a canner cannot be safely stored at room temp.
PrintGram Irene’s Pickled Beets (Beet Pickles)
Gram Irene’s Pickled Beets – This easy recipe delivers old fashioned flavor with safe canning guidelines for the modern cook.
Ingredients
- 3 quarts beets (about 24 small)
- 3 1/2 cups cider vinegar
- 1 1/2 cups water
- 2 cups sugar
- 1 tablespoon pickling spice
- 1 stick cinnamon
Instructions
- Sterilize jars, fill water bath canner, prep canning area and lids.
- Wash beets and trim tops to about 1 inch. Boil beets about 15 minutes to half an hour, depending on the size of the beets, or roast for 1-2 hours. Drain, cool and remove skins. Cut into bite size chunks or slices.
- Combine all ingredients except beets in a large sauce pot. Bring vinegar water mixture to a boil; reduce heat. Simmer 15 minutes. Remove cinnamon stick.
- Pack beets into hot jars, leaving 1/4 inch head space. Ladle hot liquid over beets, leaving 1/4 inch headspace. Remove air bubbles with a thin plastic spatula of chopstick.
- Wipe jar rims and screw on two-piece caps until finger tight. Process pints and quarts 30 minutes in a boiling water water canner.
- Remove jars from canner and allow to cool completely. Remove rings, wipe up any spills. Date and label jars and store in a cool, dark location.
I hope you’ve enjoyed this recipe and will consider giving pickled beets a try. Compared to over $8 per quart plus shipping for some brands of commercial pickled beets, making your own could yield some serious savings.
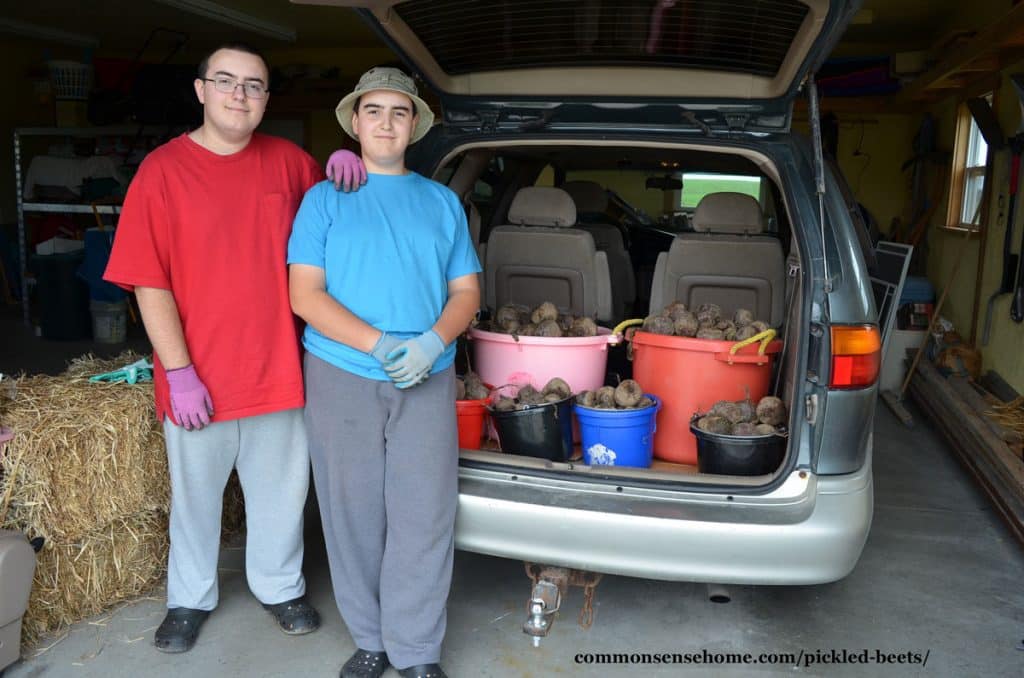
Sometimes we have the opportunity to glean farm fields for beets that were left behind by the harvesters. If you have beet growers in your area, you may want to watch for this, too. Here’s a photo from a couple years ago where we filled the whole back of the van with beets.
Do you have family canning recipes or stories that you remember from your childhood? I’d love to hear about them.
More Canning and Preserving Recipes
Be sure to check out the other Canning Recipes and Preserving Guides on the site, including:
- Pickle Relish Sweetened With Honey
- No Can Dill Pickles – Just Stick Them in a Jar!
- Pickled Peppers
- Green Tomato Pickles
- Pickled Dilly Beans with Garlic and Cayenne Pepper
- Pickled Cherry Tomatoes for Canning, Plus More Cherry Tomato Ideas
Originally published in 2014, updated in 2018.



I’m new to canning and pickling. I’ve prepped my beets picked from my garden this morning. Boiled, peeled and cut to the same sizes. But I can’t pickle and can until tomorrow morning. Did I jump too fast in the prep stage? If I cover and refrigerate, will this be a problem for canning them tomorrow? I’ve looked all over the Internet for guidance. I hope you can help this newbie?
Hi Linda.
It’s fine to prep the beets ahead, though you’ll want to bring them to room temp for canning, if possible, to reduce the chance of thermal shock in the jar. Get them out of the fridge before you start prepping anything else, and make sure your brine is piping hot.
The processing time is what it is to drive the air out of the headspace of the jar. Ideally, you do want the food in the jar to heat through completely during processing too, but with a food in brine, the salt, sugar, and acidity are more important than the heat. Salt, sugar and acid all inhibit spoilage. If you want, you could add 5 minutes to the processing time to make sure they’re heated through, but they’re already cooked and the brine is the preservative, so it shouldn’t be necessary.
I remember relishing the “Harvard” beets in my grade school lunch. No idea if they were cooked fresh or canned and glazed by the schoo ;cooks-. But when I got old enough to run my own kitchen, steamed or roasted beets would give me an odd sensation. Not a rash, but an odd shivery feeling as if my immune system were reacting.. Since then I have been very cautious around beets. I can occasionally sneak a pickled beet at a salad bar without detectable discomfort, but before I try growing them again, I would love to know if anyone has had that kind of a reaction, and if there is understanding about what might have been affecting me?
Are you sensitive to oxalates? That’s the first thing that comes to mind.
Hi,
Can beets be pickled with lemon juice for the acid?
It is safe to substitute bottled lemon juice, but the flavor will be different.
I steamed my beets for about 40 mins – keeps the colour and allows easy peeling.
This is my second year canning beets with this recipe. My Dad absolutely loves them! He buys a half bushel and I end up making 8 quarts to get him threw winter. I get the leftover beets for fermenting.
I have these adorable cute yellow goldfinch birds that keep eating at my beet leaves in the garden. They are almost ready to harvest, but want them a little larger…Do you know if this leaf damage will affect them from getting any larger? This is my first time planting beets and I’m planning to use your pickling recipe! I’m a younger mom and I love all these old recipes. I have mostly boys but it’s so fun as a family to grow, harvest, can, and eat our food!
If something is eating the leaves, it does tend to slow down the root growth. Maybe you could use a floating row cover for a while to keep the birds out.
Our duckies like to sneak into the beet patch and eat ours.
Am diabetic…how low can I cut the sugar??? Also can I use stevia as the sugar?
The sugar is hydrophilic, pulling water out of the beets and improving their texture. Stevia doesn’t do this. The sugar isn’t absolutely essential, because the vinegar keeps the pH in the safe range, but it does keep the beets firmer. Much of the sugar remains in the brine, so as long as you aren’t drinking the brine, the pickled beets themselves shouldn’t impact blood sugar significantly more than say roasted beets.
If you still want to reduce the sugar, try substituting only half stevia.
Haven’t made it yet but I plan following this recipe. However I have a question regarding the vinegar and water ratio. Why is the recipe calls for more vinegar than water?
Last year I followed another recipe but the beets turned out too acid. Can you please explain the chemistry here? Sorry I’m fairly new to canning but I would love to learn and do more canning. Thanks
Hi Sue.
For safe canning in a water bath canner, we need to keep the pH at or below 4.6, which means more vinegar than water in the brine. The pH of the brine itself is going to be even lower than 4.6, because it also needs to compensate for the pH of the beets (5.30 – 6.60).
I start with tested proportions when it comes to pickled foods, since I don’t have a reliable way to home test. This recipe is fairly acidic, and uses the vinegar ratio from the beet pickles in the Ball Blue Book. The Blue Book does have another recipe for spicy pickled beets that uses 2 1/2 cups vinegar, 1 1/2 cup water, and 2 cups sugar for the brine, so it should be safe to use those ratios if you prefer. I wouldn’t cut the vinegar more than that.
The sugar plays a role in preservation, too. It draws the water out of the beets and binds it, making the water unavailable for use my microbes. Sugar also helps to stabilize the color and texture of canned goods. (This is why less expensive canned fruits tend to be processed in heavy syrup. It extends shelf life.)
Awesome, made for fresh to eat. Flavor was exactly like my moms.
Ok, crazy question…my husband ambitiously peeled our beets before roasting. We roasted them…now, can we still pickle them? We roasted with some olive oil on them, as he had chunk ed them.
With the addition of the olive oil, I wouldn’t recommend pickling. It’s possible you might be able to do a safe version with a pressure canner, but I’ve never seen anything like that tested. If you had room in the fridge and were making a small batch, you could try it and keep them in the fridge.
Can onions be safely added to this recipe?
Yes, as long as you keep the brine the same.
Hi there! How long do the beets need to sit in a cool dark place before I can refrigerate and serve them? And what do you mean by “removing the rings” of the jars? This is my first time pickling so not sure! Thanks for your recipe 🙂
I’d let the beets rest for at least a week before serving to let the flavors develop.
Once jars are processed in a boiling water bath and have had a chance to cool completely, the rings that hold the lids in place before processing should be removed before the jars go into storage. All you need to leave on the jar is the flat round circle part of the lid.
There are a few reasons for this.
1. If the seal fails in storage for some reason (unlikely, but once in a while it does happen), it will be obvious, because the ring isn’t holding the lid on.
2. Sometimes food weeps out of the jar during canning and gets trapped under the ring, or gets spilled under the ring while you’re filling the jars. Once the ring is removed, you can make sure your jar doesn’t have any food residue on the outside that will spoil during storage. (I carefully wipe up any spills with warm, soapy water and dry thoroughly.)
3. The rings tend to trap moisture underneath. This leads to rust, and may even damage the lids if if got damp enough. (Not too likely, but could happen if they are stored in a damp cellar.)
My grandma made picked beets seem like she was at the stove along time I. Going to try a atch myself I love pickled beets thanks for sharing
My mom used to boil the beets – maybe your grandmother did too? I think roasting makes them even better.
How many grams of sugar in Gram Irene’s Pickled Beets?
Thank you
There are 450 grams of sugar in the entire recipe, but not all of that will be absorbed by the beets.
I love when people preserve their grandparent’s recipes for old-world type preservation that may not be as popular as it used to be! I feel like pickling has faded away a little bit in this modern age, so I love that you are keeping it going and sharing it with the masses! Thank you for this recipe, I definitely want to try it at home!
Hi Billy. Nice to see someone from Bubbies stopping in to my corner of the world. You folks have great products. I need to get back into more lacto-fermentation this year and expand beyond my big crock of sauerkraut.
We put boiled eggs in ours before serving. I’ve never used pickling
spice where do you get it and what is in it?
You’ll find pickling spice blends sold in most places where they sell canning supplies, or online. Blends will vary. The Ball Pickling Mix contains mustard seed, black peppercorns, dill seed, cardamom, Cassia, ginger, coriander, allspice, chili pepper, cloves, bay leaves.
Probably you’ll never see this but just in case….my mother and grandmother put hardboiled eggs in the pickled beet jars too! I have literally never met or heard of anyone else doing this 🙂
Me, too!
Good, easy recipe. My family loves ‘pickled’ eggs so I make them using my pickled beets. If you like this recipe and hard boiled eggs, try them!
Do you serve these at room temperature, cold or hot?
We always served them chilled or at room temperature.
have you ever roasted your beets for pickles? It is wonderful, you don’t lose all your nutrients in the water,and they come out with very intense sweet flavor. I did this one year when a friend gave me huge beets, one was 4lbs, and will never boil them again. for the biggest ones I wrap them loosely in foil to prevent burning. Depending on size they may take 1-4 hrs to cook but it is worth the extra time.
No, I haven’t, but given that roasted beets in general are pretty tasty, it sounds like a good idea.
Roasted beets are the best. I never boil them anymore. They’re also good shredded raw on a salad