“Clean the Garden” Kimchi (Easy, Probiotic, Vegan)
This post may contain affiliate links. Read my full disclosure here.

First off, I make no claims that this is authentic Korean kimchi – but it is tasty. The recipe is adapted from the original “Wild Fermentation” book by Sandor Katz. He called it “Baechu (Cabbage) Kimchi”.
We decided to give the recipe a try last year when we had a bumper crop of cabbage and an assortment of other bits like snow peas and radishes. Thus, “clean the garden kimchi” was born.
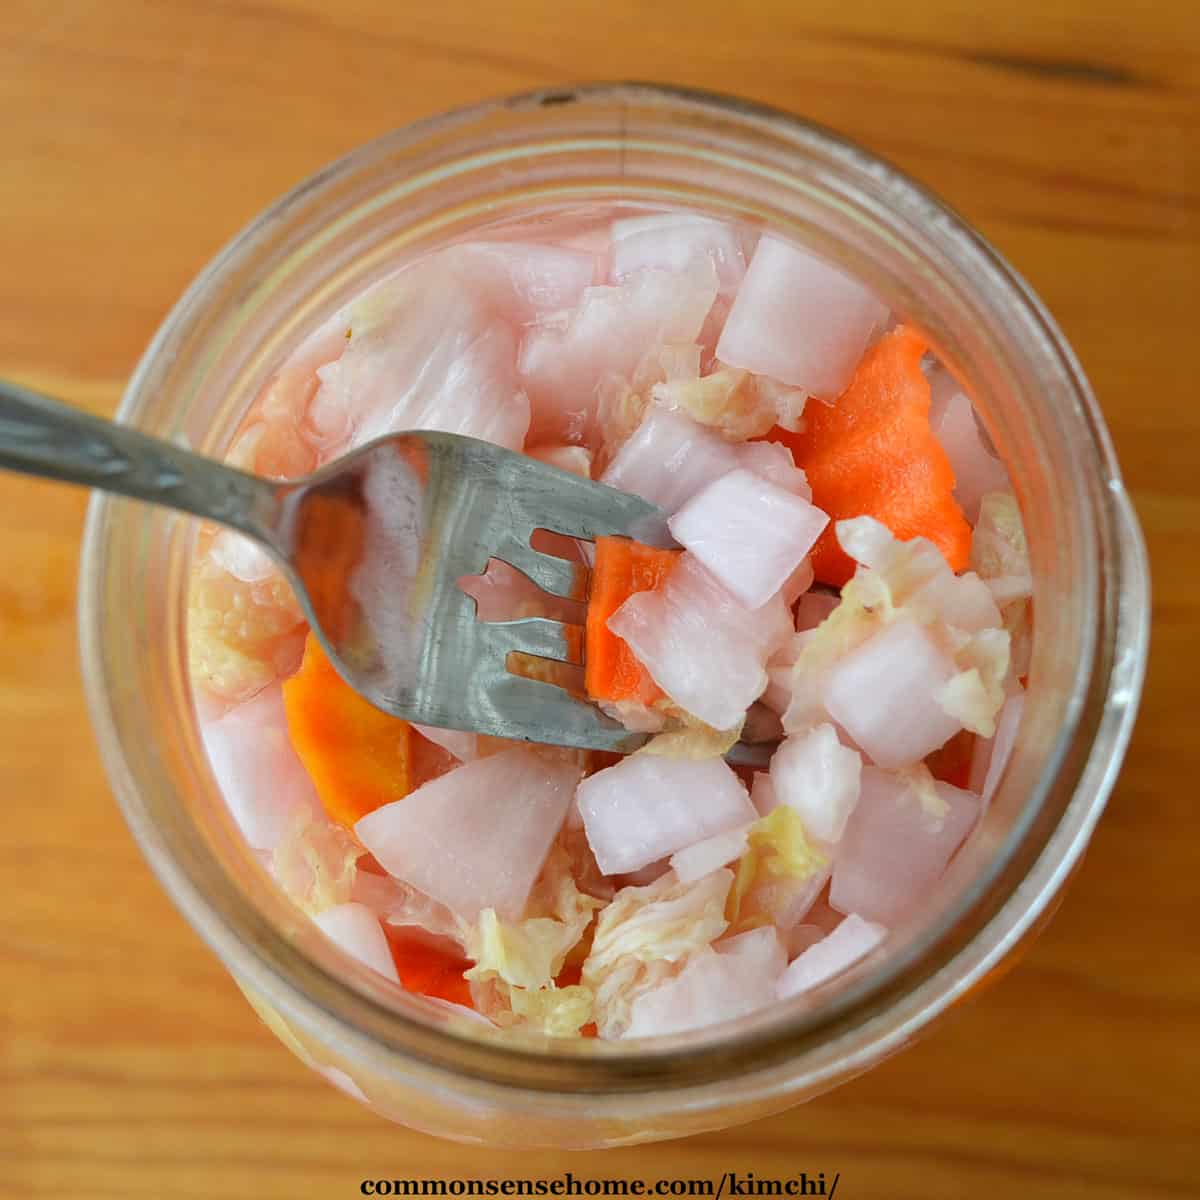
Sandor’s recipe starts with neutral flavored and mildly spicy veggies like napa cabbage, radishes and carrots, and then follows up with the spicy ingredients. In about a week, you have a probiotic side dish with much more zip than kraut.
Eldest son has become our kimchi guy, whipping up a gallon or so at a time in a big crock, and then storing in mason jars in the fridge. We’ll go through a little Q&A and then share the recipe.
What does kimchi mean? (What is it?)
Macmillan Dictionary says:
Kimchi is a Korean word which has its roots in the ancient form of the language, starting out in the 6th century as chimchae, with the literal meaning ‘soaked vegetables’. This was later modified to jimchi en route to the current form kimchi, with kimchee and gimchi as common variants in spelling.
My husband used to work with a Korean gentleman who happily took any extra large garden produce we had to make kimchi. He didn’t just use traditional Chinese cabbage or bok choi. Overgrown cucumbers and zucchini also got the same treatment.
Common veggies used include cabbage, radish and other root vegetables, and cucumber. The flavorings may include garlic, ginger, chili, spring onions and other strong spices. Many versions include fish sauce or seafood, so they are not vegan.
The distinctive red color common to many kimchee recipes is gochugaru, or red pepper powder.
Traditionally, it’s always fermented, which brings us to…
Is kimchi Japanese or Korean?
Kimchee was created in Korea and is Korea’s national dish, but it was enthusiastically embraced by the Japanese. There was quite the skirmish between the two countries some time back, because Japanese companies (and now some Korean companies, too) are mass producing kimchi with citric acid instead of using natural fermentation.
Korea appealed to the international food standards commission, Codex Alimentarius, to establish kimchi as a fermented food. The fermented version was set as the international standard, but the cheaper imitations are still popular.
How does it ferment? (What bacteria are involved?)
The vegetables soak in a salted brine and ferment by naturally occurring Lactobacillus bacteria, which create lactic acid. The acid lowers the pH of the vegetables, helping to preserve them (along with the salt and spices).
Would you like to save this?
Kimchi typically ferments more quickly than sauerkraut, because it starts with soaking the vegetables in a salty brine to soften them.
Is kimchi good for you?
We’re always being told to eat more veggies, and kimchi fills the bill. To get the most benefits, make sure you’re eating properly fermented kimchi to get the probiotic benefits.
Some of the health benefits of include:
- Protection from food borne pathogens
- Ability to lower cholesterol
- Anticancer properties
- Helps fight weight gain
- Promotes healthy bowel movements
- Boosts the immune system
- and more
See “Health benefits of kimchi (Korean fermented vegetables) as a probiotic food” for more information.

Tips for Making the Recipe
The recipe makes about four cups of kimchi as listed, but you can adjust it to use what you have on hand. Just use roughly the same proportions of mild veggies, spicy veggies and brine.
Coarsely chop the cabbage, and slice the carrots and radish into bite-size pieces. (We like to use a crinkle cutter for the root veggies.) Other commonly used mild vegetables include snow peas, seaweeds, and Jerusalem artichokes. Mix up your chopped vegetables before adding the brine.
For a fermentation container for your kimchi, use a crock or large glass jar. You want a container that is non-reactive.
If you don’t have an appropriately sized fermentation weight, use a ceramic plate with a non-reactive (glass/ceramic) heavy object on top of it.
We like the Microplane grater for breaking down the small fibers in the ginger root.
Traditionally, kimchi is placed in a cool location for the final ferment, like a cellar or buried in the ground. If you like, go ahead as use this option instead of fermenting on the counter and storing in the refrigerator.
Print“Clean the Garden” Kimchi (Easy, Probiotic, Vegan)

This easy kimchi recipe turns common garden veggies into a spicy probiotic ferment that’s loaded with good bacteria and health benefits.
- Prep Time: 30 minutes
- Total Time: 30 minutes
- Yield: 32 servings 1x
Ingredients
- Sea salt and water
- 1 pound Chinese cabbage (napa or bok choi preferred, but other cabbage will do)
- 1 daikon radish or a few red radishes
- 1 to 2 carrots
- Other vegetables (optional)
- Minimum 1 to 2 onions (or shallots, leeks, etc)
- Minimum 3 to 4 cloves of garlic
- Hot red chilies to taste (3 to 4 is standard – dried is fine, but don’t use anything with preservatives)
- Minimum 2 to 3 tablespoons fresh grated ginger root
Instructions
- Prepare brine in a non-reactive container, such as a glass bowl or large measuring cup. Mix 4 cups (1 liter) of water and 4 tablespoons (60 milliliters) of salt. Stir thoroughly to dissolve salt.
- Cut up the first batch of vegetables – cabbage, radishes, carrots, and any other vegetables you’d like to throw in.
- Mix your vegetables together and move them into your fermentation vessel. Cover them with brine.
- Use a fermentation weight or plate with heavy object to weigh the vegetables down and keep them below the brine. (Mix more brine if needed to make sure vegetables are completely submerged.)
- Put a cloth over your fermentation vessel and wait for the vegetables to soften – for a few hours or overnight.
- Prepare the remaining ingredients. Chop the onions and garlic; remove seeds from your chilies (if present) and chop, or throw them in whole; and grate your ginger.
- Drain the brine from the vegetables, reserving it. Give the vegetables a taste. You want them to taste salty, but not too salty. Sprinkle on some additional salt and mix the vegetables together if they are not salty enough; rinse if they are too salty.
- Mix the spicy ingredients into the drained vegetables and blend well. Pack the vegetable mix into your fermentation vessel. Use your fermentation weight or plate to press it down until the brine covers the kimchi-in-progress. Add a little brine back, if needed, to make sure the vegetables are completely covered.
- Cover the fermentation vessel with a cloth, and leave it out on the counter for about a week. Taste test to check the fermentation. if you’re happy with the flavor, then your kimchi is done. Store it in the refrigerator in a glass container to stop the fermentation.
More Vegetable Storage Tips
You may also find these articles useful: