Best Pie Crust Recipes Plus 10 Tips for Perfect Pies
The best pie crusts start with the quality ingredients, handled with care. We share ten tips for a perfect pie crust, plus six different homemade pie crust recipes (including gluten free options).
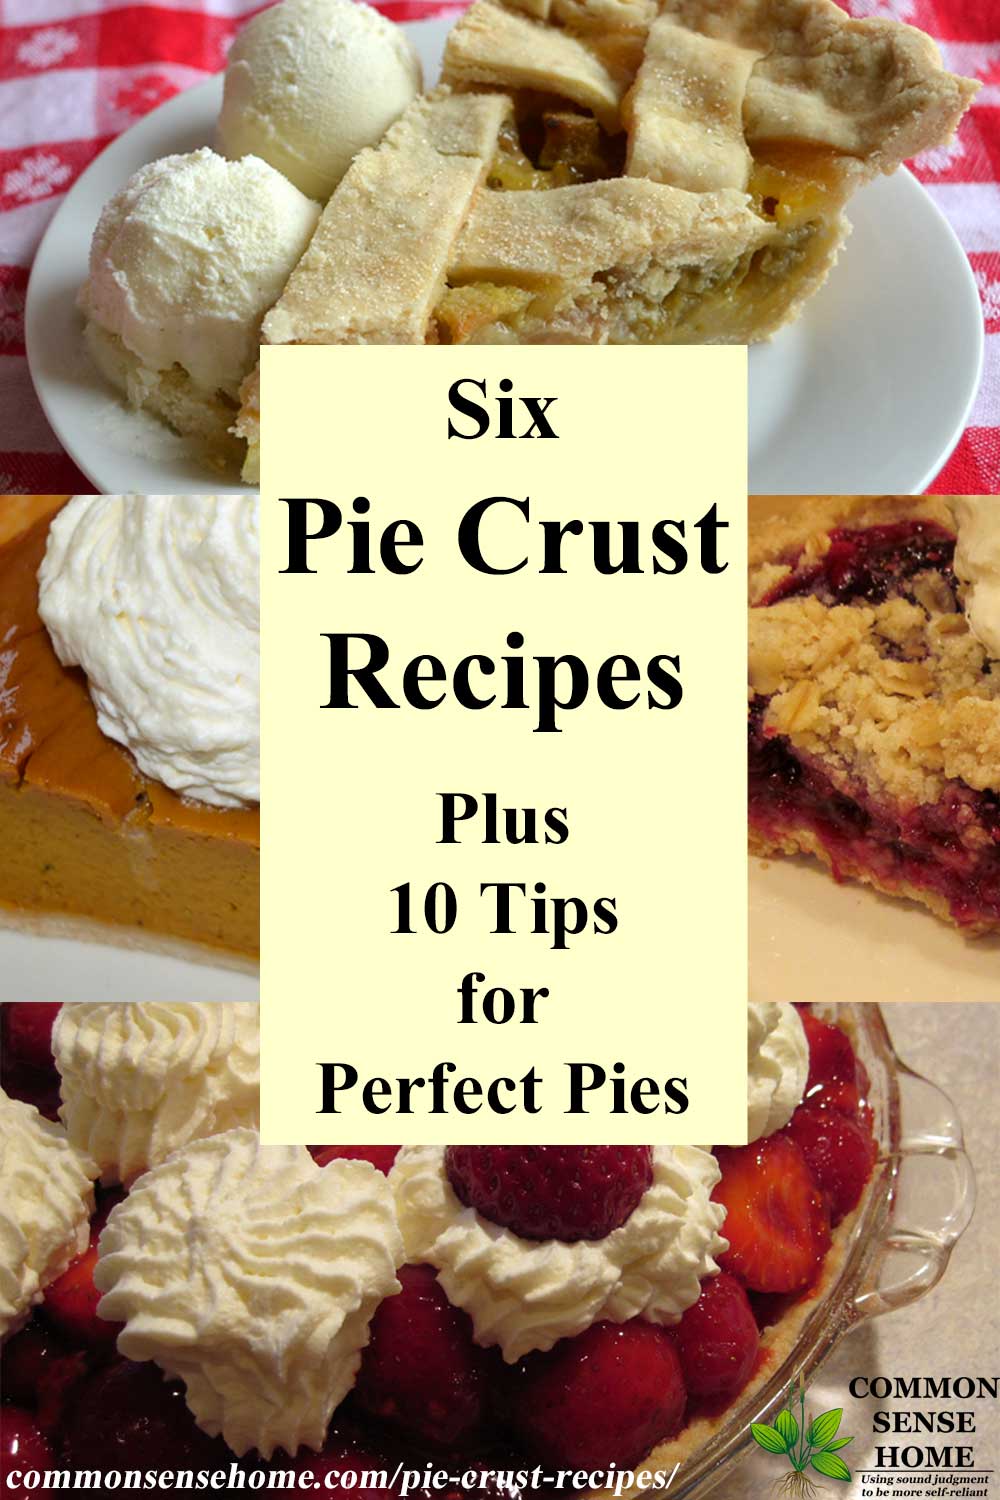
Pies have always been a part of our family's holiday meals. We also baked many pies at our family catering business, so over the years I've made a lot of pie crusts.
Each pie crust recipe (except mom's) makes a generous 9 inch pie, or a 10 inch pie with a thinner crust. Mom's pastry crust makes 3-4 pies, and is great for dessert or pot pies.
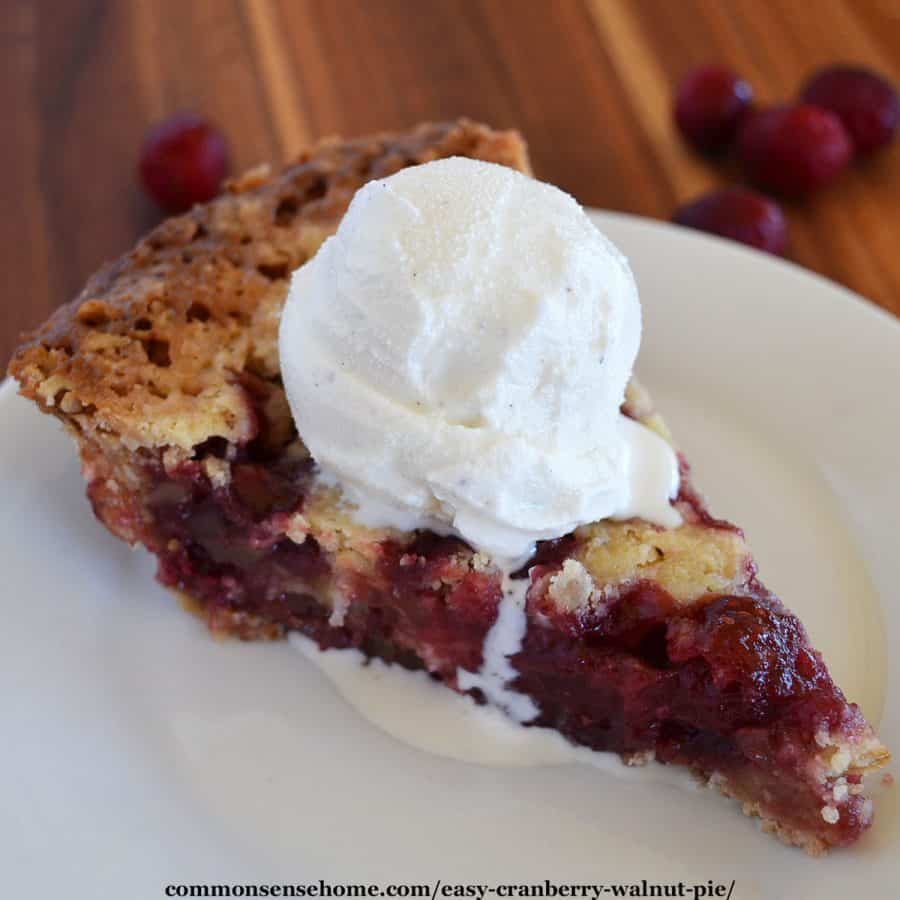
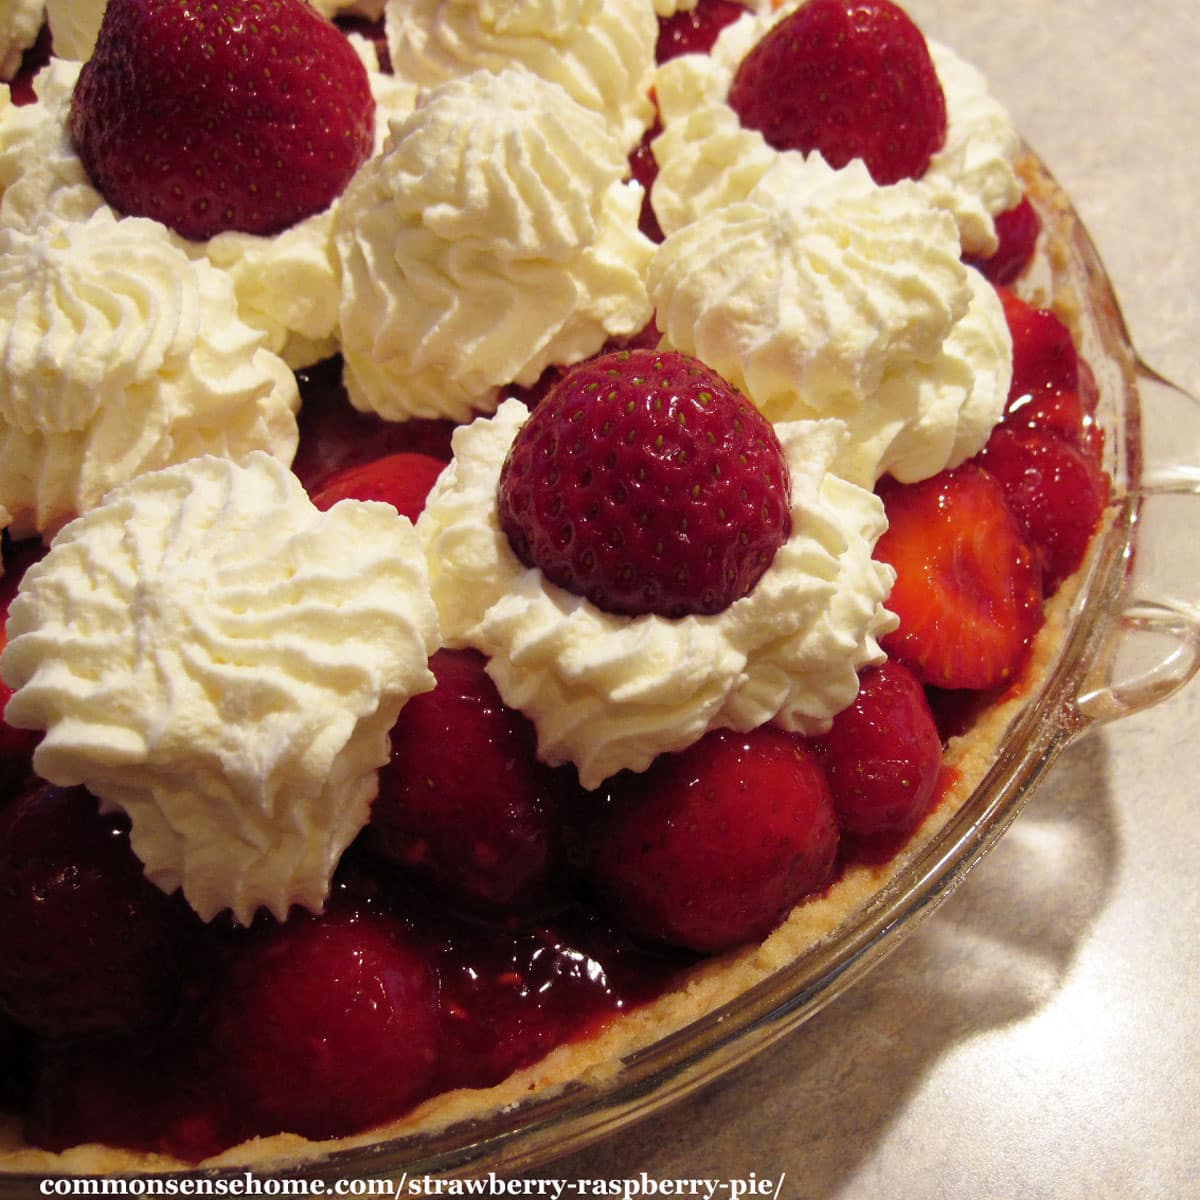
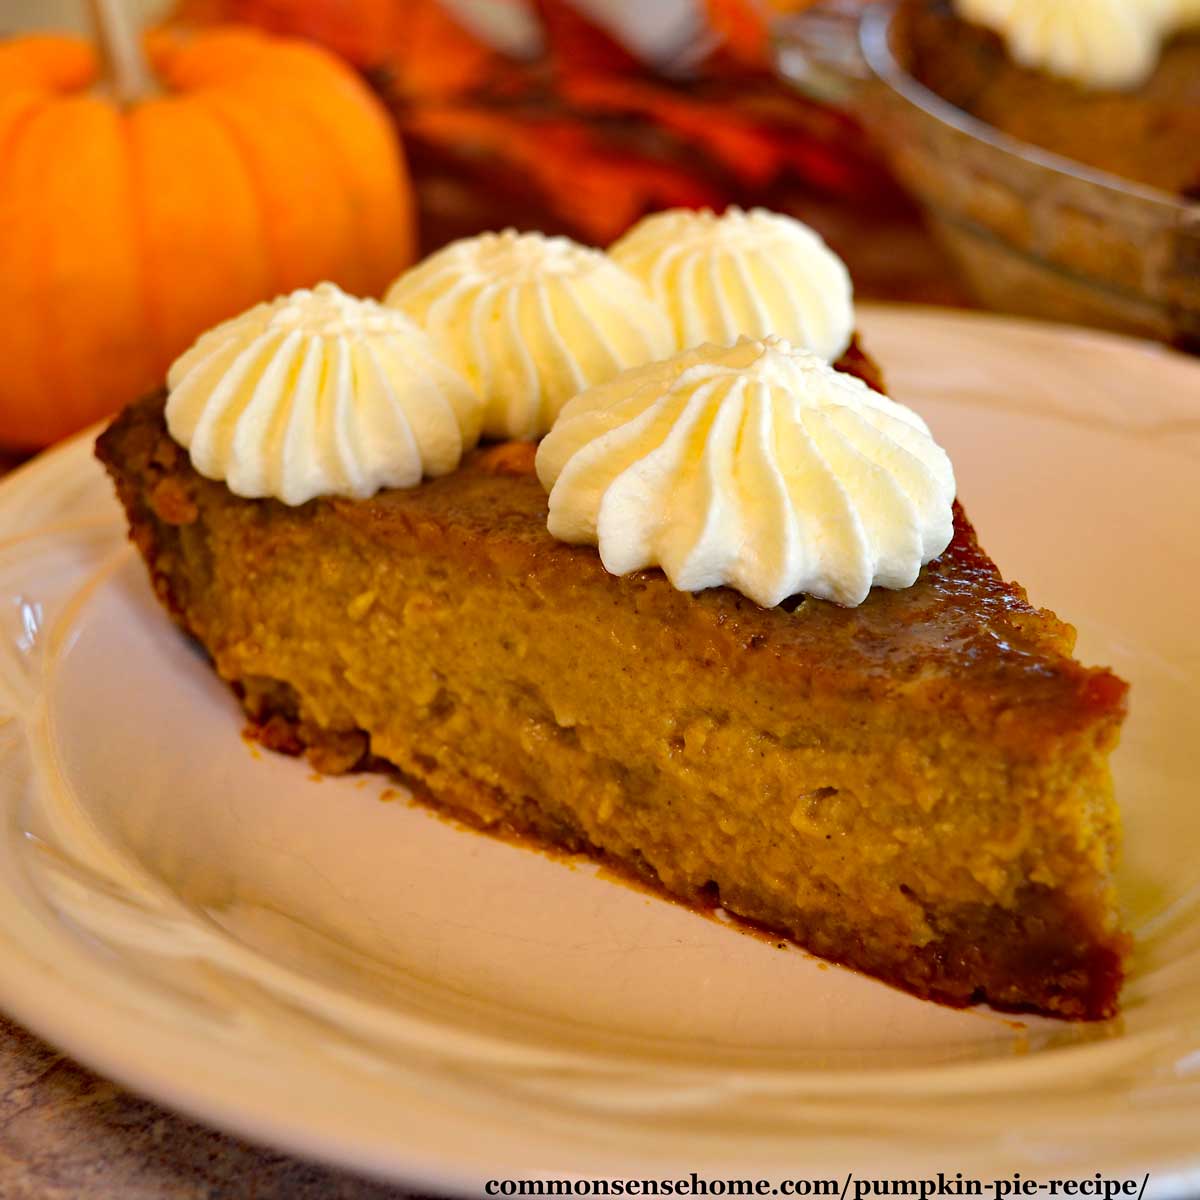
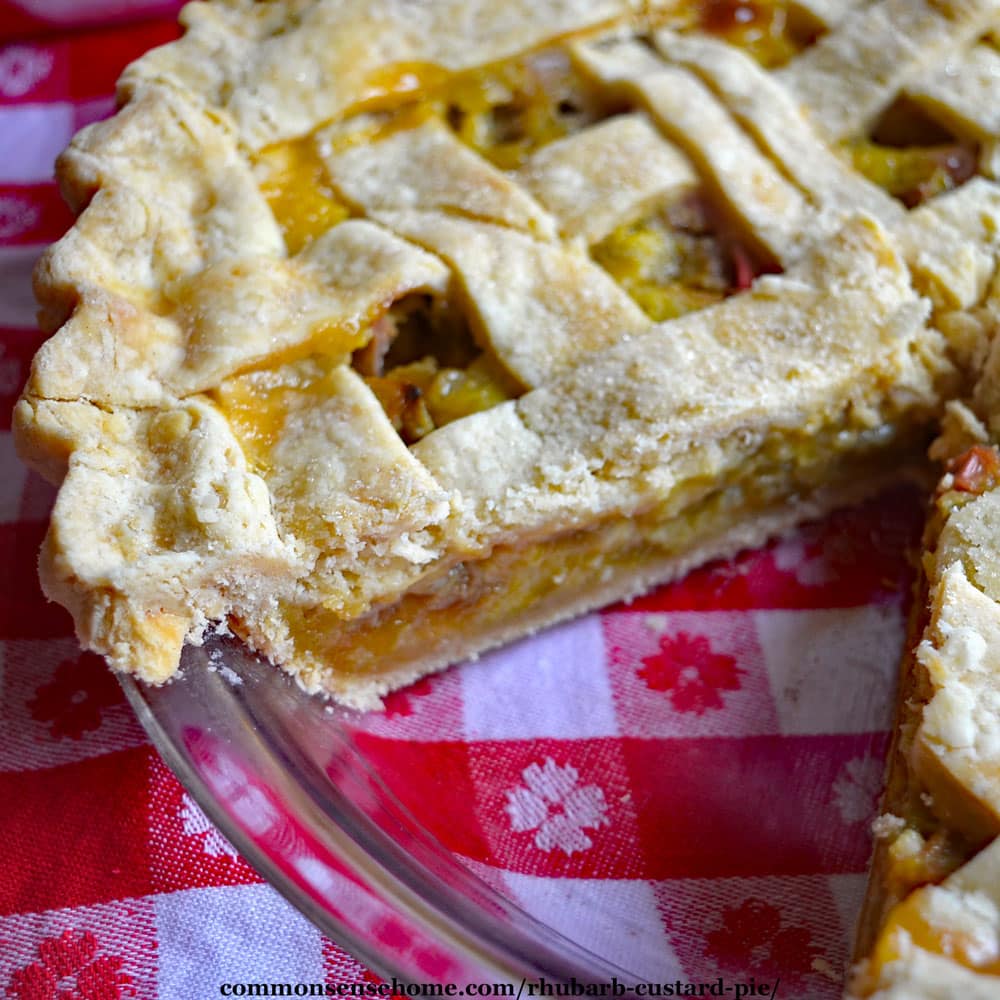
There are also links to several pie recipes on the website (click on the photos).
10 Tips for a Perfect Pie Crust
- Always keep your pie crust ingredients cold. The bits of cold fat (lard, butter or shortening) melt to form air pockets during baking. If your fat melts during mixing, there are no pockets, and no flaky crust.
- Always work gently with pie dough to preserve those fat pockets. Blend until just combined. It should resemble coarse crumbs. Too much handling makes the dough tough.
- To blend pie crust ingredients, use a pastry blender, or pulse in a food processor. Let crust rest for a time before rolling to relax the gluten.
- As your finishing the mixing of your pastry crust, add extra water one tablespoon at a time. The dough needs to be just wet enough to come together, not sticky.
- Roll the pastry dough to the correct size – don't stretch it! If you stretch the dough, it's more likely to shrink back during baking and slip into the pan.
- To blind bake a pastry crust, use wax paper and pie weights to keep the crust from puffing up.
- Crimp pastry dough just slightly around the edge of the pan to keep it from slipping down into the pan.
- Prevent excess browning around the edges of your homemade pie crust by covering with aluminum foil or a pie crust shield. (You can keep drips out of the bottom of the oven with a pie drip catcher.)
- I prefer Glass pie plates over metal. They transfer heat more evenly, and the pie doesn't pick up a metallic taste from the pan.
- If the top of your pie or pie crust cracks, serve with whipped cream to cover the cracks. 🙂
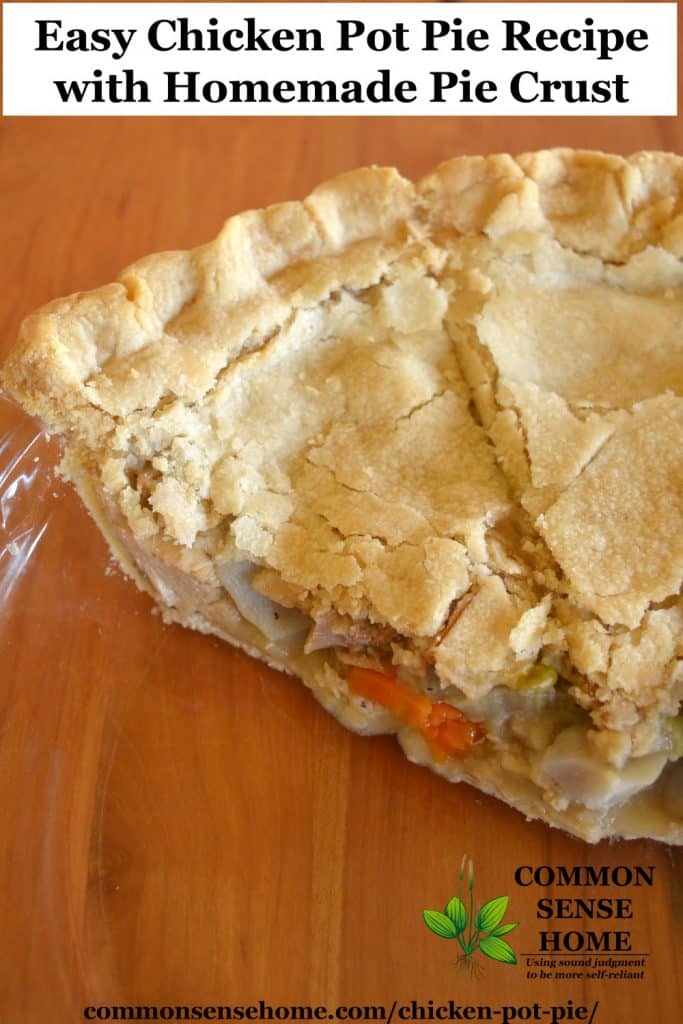
Gluten Free Pie Crust Options
The nut pie crust and coconut pie crust are gluten free by default. You can make the graham cracker and cookie crusts gluten free by starting with gluten free crackers/cookies.
To make the pastry and shortbread crust gluten free, use an all-purpose gluten free flour blend such as Namaste. Note: using gluten free flour does make the crust a little more crumbly and challenging to handle.
Which Fats to Use
Lard and butter are my top two choices for pie crust. You can use salted or unsalted butter – your choice.
When selecting lard, look for non-hydrogenated. You can usually find this at butcher shops or specialty grocers.
If you need a vegan option, go for a reliable brand of palm shortening or coconut oil. Shortening is easier to work with, coconut oil tends to be more messy.
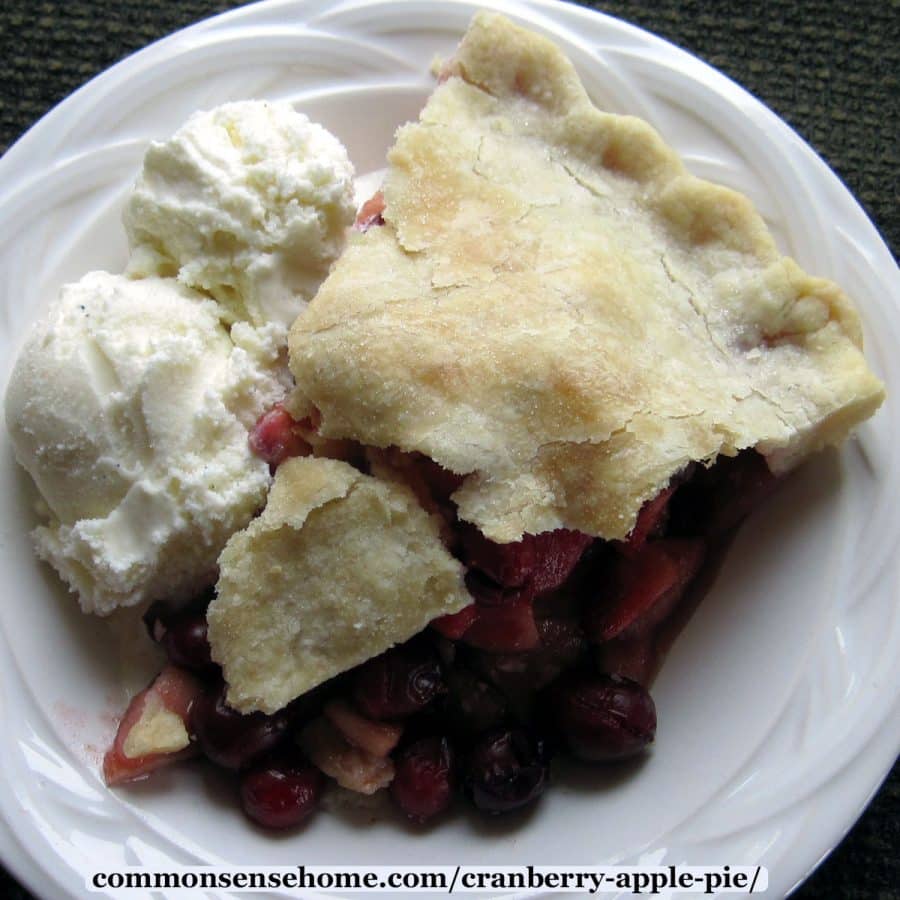
Mom's Pastry Pie Crust with Vinegar Recipe
This pie crust recipe with vinegar is the one my mom used for as long as I can remember. The vinegar makes it lighter and flakier. (I tried vodka like they recommend on some foodie sites. Vinegar is better.)
The egg makes it a little more elastic and easier to form. This pastry recipe makes enough for 3-4 for crusts, depending on the pie size how thick you roll the dough. It can be made ahead and refrigerated or frozen.
PrintMom's Best Pastry Pie Crust
This pie crust recipe with vinegar is the one my mom used for as long as I can remember. The vinegar makes it light and flaky, and the egg makes it a little more elastic and easier to roll.
- Prep Time: 15 minutes
- Cook Time: 15 minutes
- Total Time: 30 minutes
- Yield: 3 pie crusts 1x
- Category: Dessert
Ingredients
- 3 cups flour
- 1 cup lard or palm shortening, or half butter/half lard, cold
- 1 teaspoon salt
- 3–5 tbsp cold water
- 1 egg
- 1 tablespoon vinegar
Instructions
- Cut together flour and lard with a pastry blender or pulse in food processor to form pea sized bits.
- Mix together salt, 3 tablespoons water, egg and vinegar. Cut wet mix into flour mixture with a fork to form a dough. Add more water if needed.
- Divide, shape into disks and chill. Use a rolling pin to roll out between two sheets of wax paper or on a pastry cloth.
To Blind Bake (Bake Without Filling)
- Preheat oven to 375°F.
- Roll out pastry and fit into pie pan. Use a fork to poke small holes in bottom of pie crust.
- Place a sheet of wax paper in crust, weighted down with dried beans or pie weights, to keep crust from puffing up.
- Bake for 10 minutes, then remove pie weight and bake until lightly browned, about 5-7 minutes more.
- Remove from oven and cool on wire rack.
Notes
This recipe makes enough for 3-4 for crusts, depending on how thick you roll the dough. It can be made ahead and refrigerated or frozen.
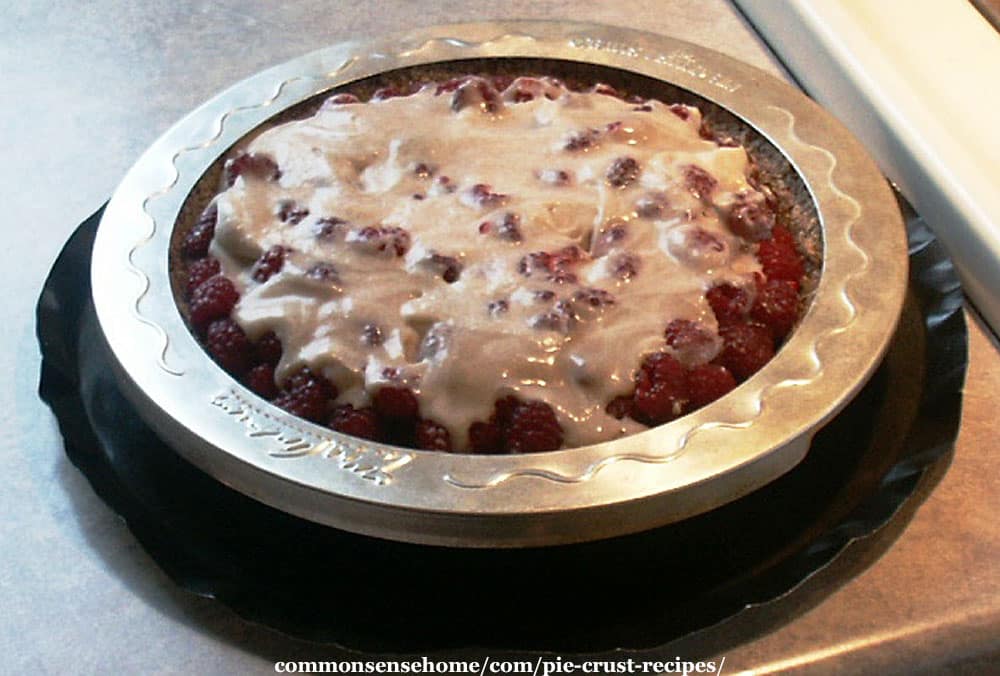
Easy Nut Pie Crust – Gluten Free
With just three ingredients, this nut crust is easy to make and goes together in minutes.
- Prep Time: 5 minutes
- Cook Time: 5 minutes
- Total Time: 10 minutes
- Yield: 1 pie crust 1x
- Category: Dessert
- Method: Baking
Ingredients
- 2 cups ground pecans or almonds
- 3 tablespoons butter, softened
- 1 tablespoon sugar
Instructions
- Combine the ground nuts, butter and sugar with a pastry blender or by pulsing in a food processor.
- Press the mixture evenly into the bottom and sides of a 9-inch pie plate.
- Bake at 350°F for 5 to 7 minutes to par-bake crust, 10-12 minutes to blind bake.
Coconut Pie Crust – Gluten Free
This coconut pie has only two ingredients so the coconut flavor shines through.
- Prep Time: 5 minutes
- Cook Time: 5 minutes
- Total Time: 10 minutes
- Yield: 1 pie crust 1x
- Category: Dessert
- Method: Baking
Ingredients
- 1/2 cup coconut oil (or butter)
- 2 cups dried unsweetened coconut meat, finely shredded
Instructions
- Combine the oil and coconut meat.
- Press the mixture evenly into the bottom and sides of a 9-inch pie plate.
- Bake at 350°F for 5 to 7 minutes to blind bake crust.
Shortbread Pie Crust
This pie crust tastes just like a favorite shortbread cookie.
- Prep Time: 5 minutes
- Cook Time: 5 minutes
- Total Time: 10 minutes
- Yield: 1 nine inch pie crust 1x
- Category: Dessert
- Method: Baking
Ingredients
- 1 cup flour
- 2 tablespoons sugar
- 6 tablespoons butter
Instructions
- Sift flour and sugar together into large mixing bowl.
- With pastry blender or food processor, cut in butter until mixture resembles cornmeal.
- Chill 30 minutes, then press firmly into 9 inch pie pan.
- Blind bake at 350°F for 5-7 minutes.
Graham Cracker Pie Crust
This simple graham cracker crust pairs well with custard pies, frozen pies or pies with whipped filling.
Ingredients
- 1 1/2 cups graham cracker crumbs (about 18 crackers)
- 3 tablespoons sugar
- 6 tablespoons butter, melted
Instructions
- Mix graham cracker crumbs and sugar in a medium mixing bowl or food processor. Add butter and mix thoroughly.
- Press mixture firmly and evenly against bottom and sides of pie pan.
- Bake 10 minutes at 350°F. Cool and fill with whipped or custard filling.
Notes
This recipe works fine with gluten free graham crackers.
For variety, add a teaspoon of cinnamon or pumpkin spice.
Any Cookie Pie Crust
Make Graham Cracker Pie Crust as above, but substitute chocolate or vanilla wafer cookies or gingersnaps in place of graham crackers.
Leave a comment to share your favorite baking tips, or any questions you have about baking pies or recipe requests.
More Made from Scratch Recipes
Visit the Recipes and Kitchen tips page for a full listing of all our recipes, sorted by category.
Originally published in 2009, last updated in 2019.


The idea for making an “apple” pie with zucchini is incredible! Even better that I can use those gigantic zucchini that are too big for anything else. Can’t wait to try it. One question though; my crust always seem gummy and under cooked, even when I over bake my pies. Will blind baking help this?
I’d try blind baking, and/or shifting your pie one rack lower in the oven to direct a little more heat to the bottom. You may also want to experiment with thickening your fillings before adding them to the pie. Each oven bakes a little different, and different brands of ingredients cook differently, so it may take some experimentation to find your best option to get the texture you want.
YES!!! Heck, baking anything from scratch is a dying art in this country. I learned to make pie crusts when I was in college. My college boyfriend’s family had a defunct apple orchard but we managed to bring home 5 or 6 paper grocery bags (no plastic back then) full of falls and I learned to make pies as gifts…since we had no money. Since then, I have experimented with all lard, all shortening, all butter and variations of those three. I have also tried all whole wheat and found that to be not only difficult to work with but not “good eats” either. So…
my current recipe is 1/2 lard, 1/2 butter, 1/2 whole wheat and 1/2 KAF special flour. I like it. My family likes it.
One thing I have found is that although I may LOVE my recipe and my family too…others find it doesn’t match what they “know”. Meaning how their mother/grandmother used to make it. So I stopped saying how good my pies are. If they like it, great. If it doesn’t match what they “know” then they are usually polite about it and I am none the wiser and happier all the same.
Actually, I have found that is also true with all “comfort” foods. If it isn’t how mom/grandma made it…then for that person, it isn’t as good as you may think it is…so for meatloaf, mashed potatoes, pies, cookies, etc..
I also use ice cubes in my water to chill it thoroughly and I freeze my marble rolling pin to make it easier. I use to use a pastry cloth but have switched to a graded silicone mat from PC.
I have tried to share with young people…you know 20 to 30 y/o’s.. this dying art of pie making from scratch and haven’t found anyone who is interested. So, hopefully you will encourage some from that generation to take up the practice. I know the KAF blog has lots of tutorials and there are plenty of folks on that blog but it’s KAF. So, I am so glad to see you post about it. Wish I could taste your pies and pastries in person. I learn new stuff all the time.
Thanks Laurie!!
My default for company is standard KA all purpose. For home I’ve been using Namaste gluten free flour, but, boy, that can be tough to work with. It’s so crumbly that it’s a real challenge to make a crust without it falling apart. For fat, it’s either lard or half lard/half butter. The butter melts even quicker than the lard, so keeping everything cold is even more important.
We always rolled between two sheets of waxed paper, so I thought that’s how everyone did it. I really need to make time to make a video soon. I don’t know how the ladies who regularly do videos make time to do the videos and their regular cooking. Okay – yes I do – most of them have someone else record and edit the video. I need minions!
We have so many raspberries, I have been looking for the perfect pie recipe. I think I found it. Thank you! Thank you!
You’re welcome.
I love my pie crust shield! It's so much easier than trying to use foil or some other way to protect the crust.
I came back to this post to get the name of the pie crust shield…I am making a Christmas wish list. 🙂 Now to figure out if I need the 9 or 10 inch…
Thanks so much for the crust recipes! I have never made a crust before, but your recipes really inspire me. The raspberry cream pie looks so delicious!
lisa
Wow, that looks delicious! Your raspberries looks amazingly yummy!
Shawntele, you have got to try it. It's a dying art, and homemade pie tastes SO MUCH BETTER than store bought, even on the simple stuff. If you want to start simple, try the homemade shortbread crust, bake it completely for 15-20 minutes at 325 F until it is lightly browned, then fill as usual.
Laurie, I have never made a pie, unless you count buying a keebler crust and adding some sliced bananas, pudding, and whipped cream! lol Your recipes sound so good and make me want to attempt one from scratch, thank you. 🙂