When Should I Start Seeds? Indoor and Outdoor Charts
This post may contain affiliate links. Read my full disclosure here.
I have quite a few new gardeners ask me, “When should I start seeds?” It really depends on where you are and what you are planning to grow. Seed starting charts can help keep your gardening a little more organized.
A planting schedule can help you to spread your planting out so you don’t feel rushed. When you try to cram too much to do in too little time, it’s messy and stressful. Vegetable gardening should help relieve stress, not cause it.
In this article, I’ll share when to start seeds indoors and outdoors, with charts for fall and spring. We also cover tips for happier transplants and grouping your seedlings into crop families.
Seed Starting Tips
If you need tips on how to start seeds, please see, “Starting Seeds Indoors – Step by Step Guide with Troubleshooting Tips“. We cover choosing seed starting mix or potting mix, when to use a heat mat, proper air circulation, drainage and grow lights.
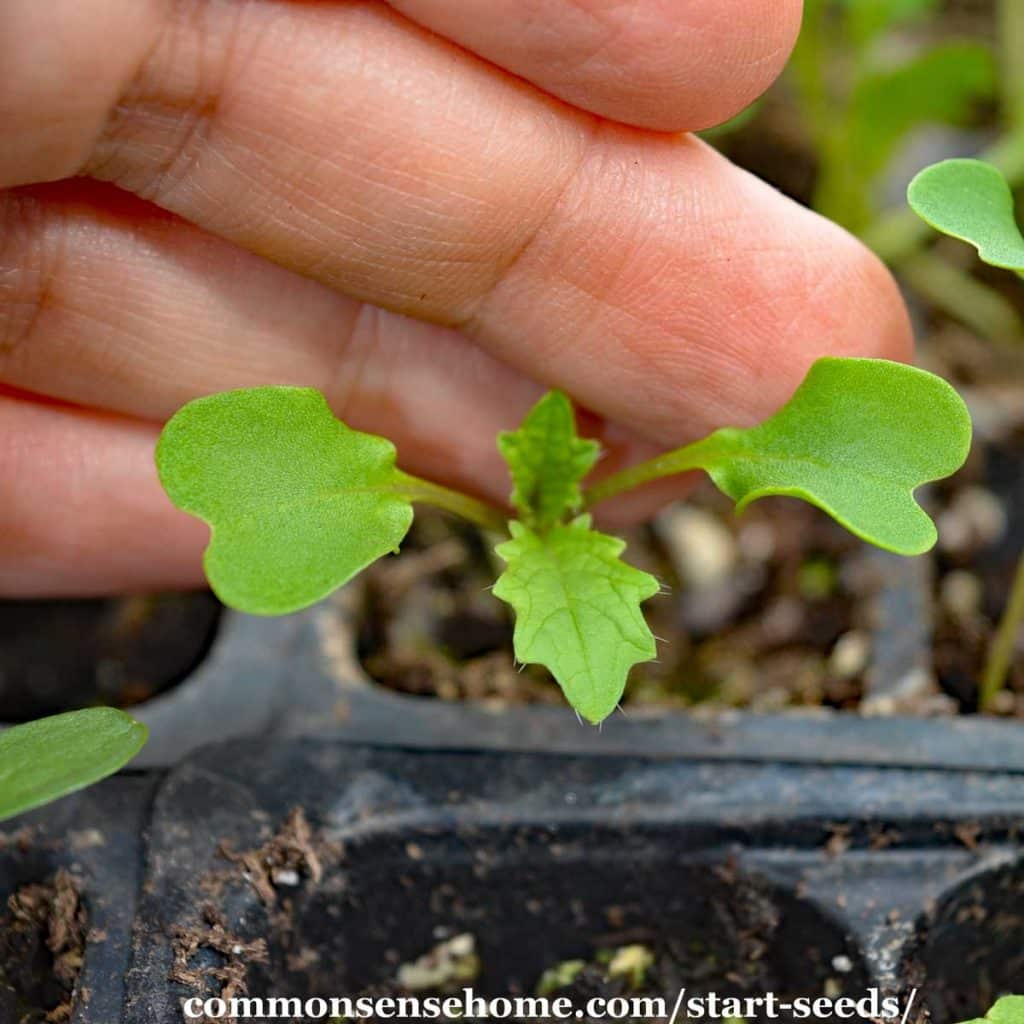
Remember, a rule of thumb is to plant seeds roughly 3 times as deep as the diameter of the seed. Don’t bury tiny seeds, or they’ll have a tough time reaching the surface.
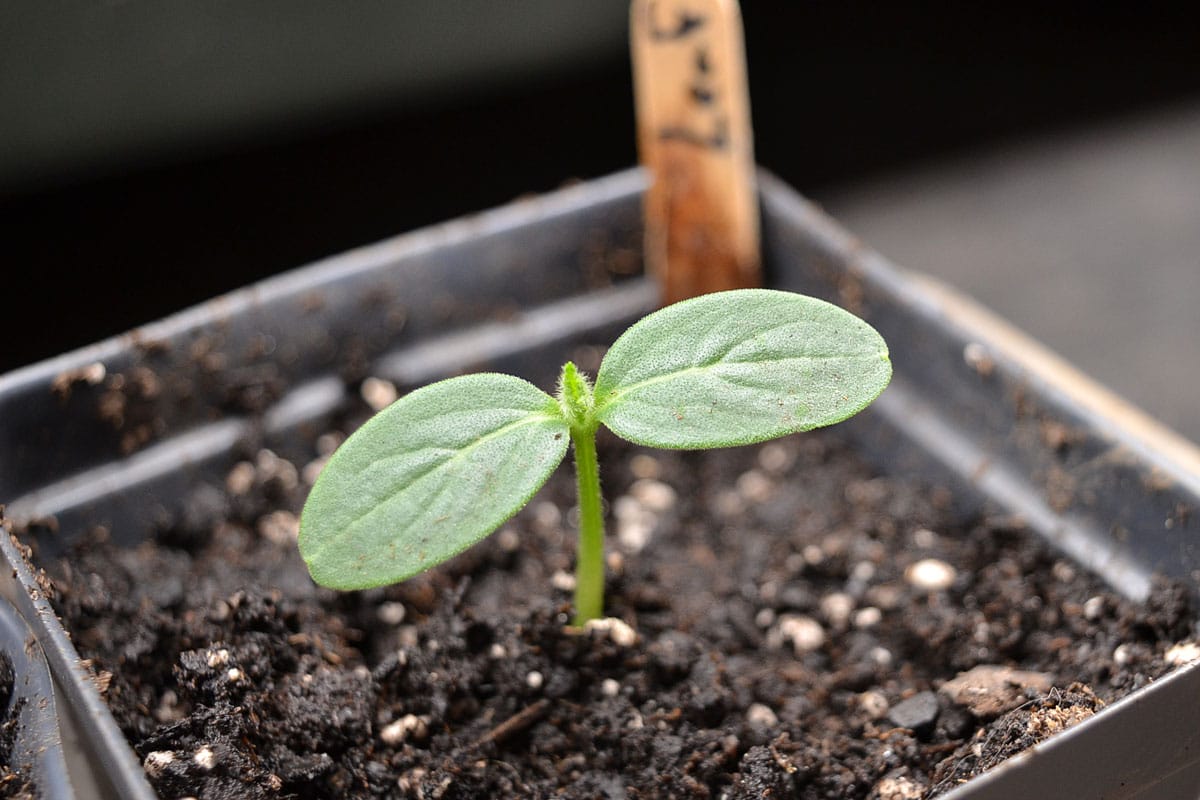
Some seeds germinate in as little as three days, while others require weeks. It’s good to be mindful of when to expect your seedlings, so you know you’re on the right track.
Using Plant Families to Plan When to Start Seeds
If you’re anything like me, you have dozens of little seed packets waiting for you to give them some quality dirt time. I like to sort my seeds into crop families, because when you grow plants that are similar, they have similar care needs.
The Crop Families I use are:
- Herbs – Start Indoors and Direct Sow
- Flowers – Start Indoors and Direct Sow
- Tomatoes – Paste, slicing and small-fruited
- Other Nightshades – Peppers, Eggplant, Tomatillos, Ground Cherries, Cape Gooseberries, Huckleberries
- Leafy greens – Spinach, strawberry spinach, mache, lettuces
- Brassicas – cabbage, broccoli, kale, Brussels sprouts, cauliflower
- Cucumbers – pickling, slicing, and Armenian
- Melons – Muskmelon, Watermelon, Honeydew and other heirloom melons
- Root vegetables – Carrots, turnips, beets, parsnips, rutabagas, kohlrabi, radishes
- Onions
- Beans – Snap and Shell
- Peas – Snap, Shell and Snow
- Corn
- Squash and Pumpkins
- Potatoes
I mix flowers and herbs in with my fruit and veggies as companion plants. For more information, see “Companion Planting for the Garden (The Easy Way)“.
Stratification (Cold Time Before Planting)
Some herb and flower seeds require stratification (time in the freezer) for germination. Check your seed packages or garden catalog for this information when trying new varieties.
Also, if you want really early flower blooms, you have to do like the nurseries and start your plants very early. In some cases they start the decorative spikes for flower baskets nearly a year in advance.
I don’t like the extra hassle of starting seeds super early, so I don’t sow seeds until around mid March. The exception is onions, which I sometimes start in February.
How to Use the Seed Starting Charts
To use the seed starting charts, determine the average last spring frost and the average first fall frost in your area.
You can do this based on experience, or check a site like NGA Frost Date by Zip Code calculator.
Please note that these dates are somewhat like a serving suggestion – what you see may not always be what you get. Mother Nature has her own ideas about each given year.
I’ve had to scramble several times to cover transplants when an extra late frost hits. See “Protecting Plants from Frost – 12 Ways to Beat the Cold Weather” for tips to deal with wonky weather.
When to Start Seeds Indoors and Transplant Seedlings Outside
You need to know your local growing season. Once you find your average frost free date, plug that date into the chart and use it to calculate when to plant vegetables.
If you plant the seeds too early you will likely lose your crop. Planting your seed to late and you may not get ripe vegetables. Timing is everything.
For example, my average date of last frost is May 26. I start seeds over the spring months based on that date.
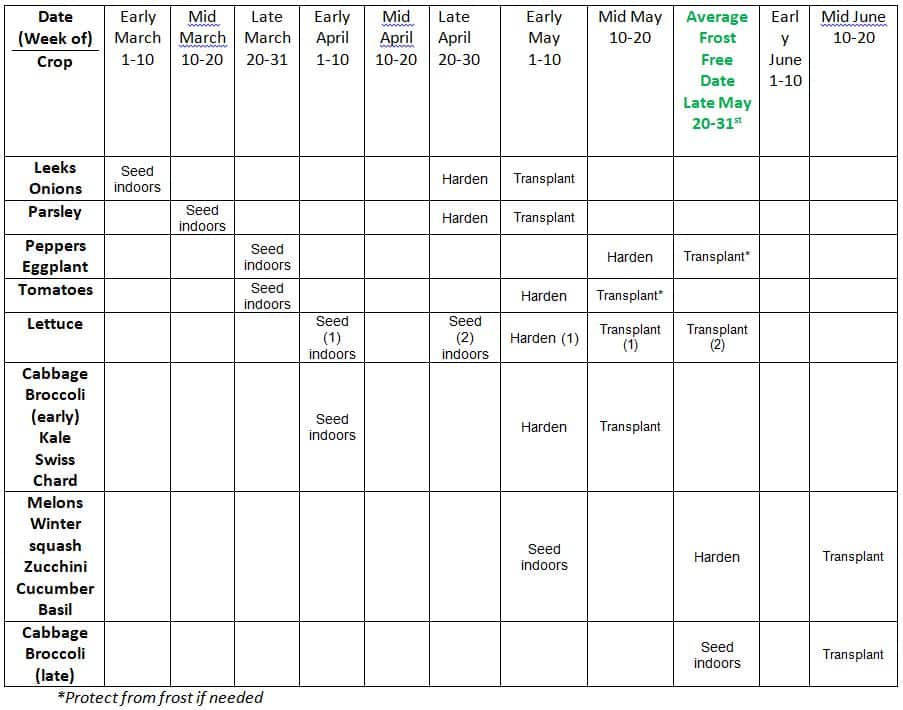
Adjust your planting schedule based on your average frost free date. For instance, if your last frost free date is May 15, you should:
- Seed early cabbage indoors in Late March
- Harden in Late April
- Planted outdoors in Early May
What Does “Harden” Your Plants Mean?
In the chart, you’ll see the word “harden”. When you start plants inside, they need a gentle adjustment period before moving out to the garden full time. This is called “hardening off”.
You make your plants tougher (harden them) so they are able to withstand the wind and sun of growing outdoors.
Would you like to save this?
To harden off seedlings, I place them outside in a protected location on a nice day. Indirect sunlight out of strong winds is best to start. Make sure they are not in strong direct sunlight. Too much sun bakes little seedlings very quickly.
One the first day they go out for a few hours, then longer as they have a chance to get used to the change. Be mindful that small seedling containers may dry out much faster outside than indoors.
I usually move mine out to my cold frame, and then lift the lid to expose them to moving air. Once they are used to that exposure, I move one batch out of the cold frame and the next batch in.
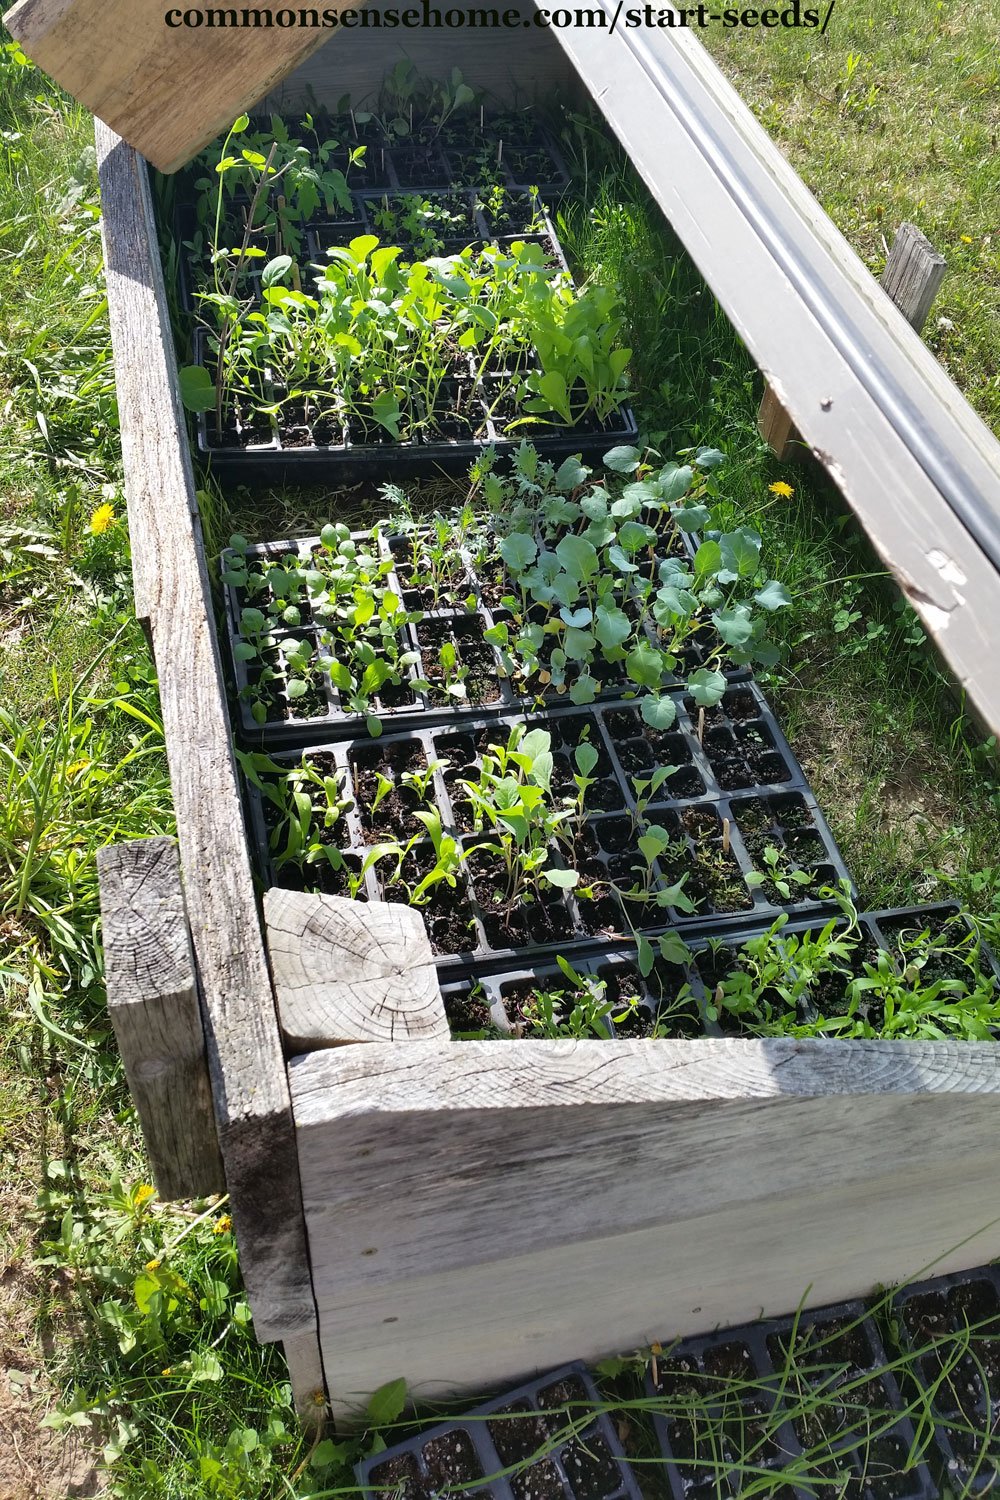
We have a lot of wind, so I still tend to keep seedlings near our home or cold frame until transplanting out in the garden.
When transplanting into the garden, it’s best to pick a slightly overcast with little wind, if possible. I plant towards evening, so the small plants don’t get full midday sun on their first day out.
For a more detailed explanation of how I plant out my tomato transplants, visit “How to Grow Tomatoes Organically“.
Spring Schedule of Outdoor Seed Sowing
Start these seeds directly in the garden in spring, or start indoors and transplant at the times listed below.
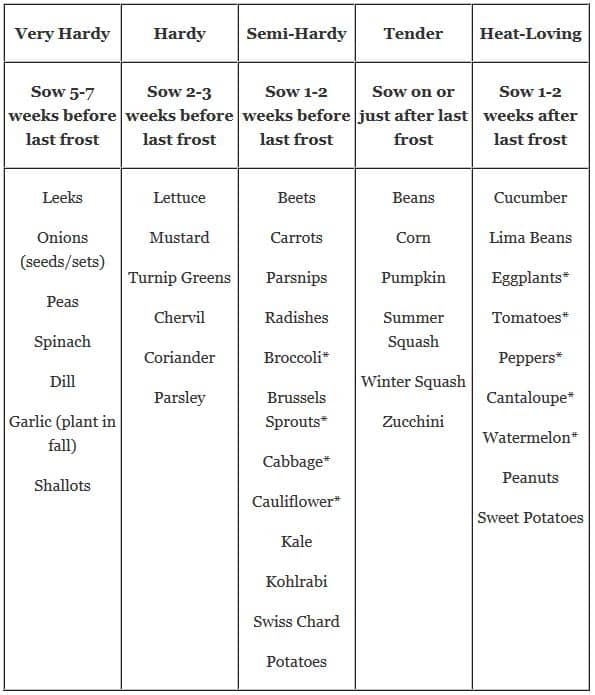
* Best as transplants
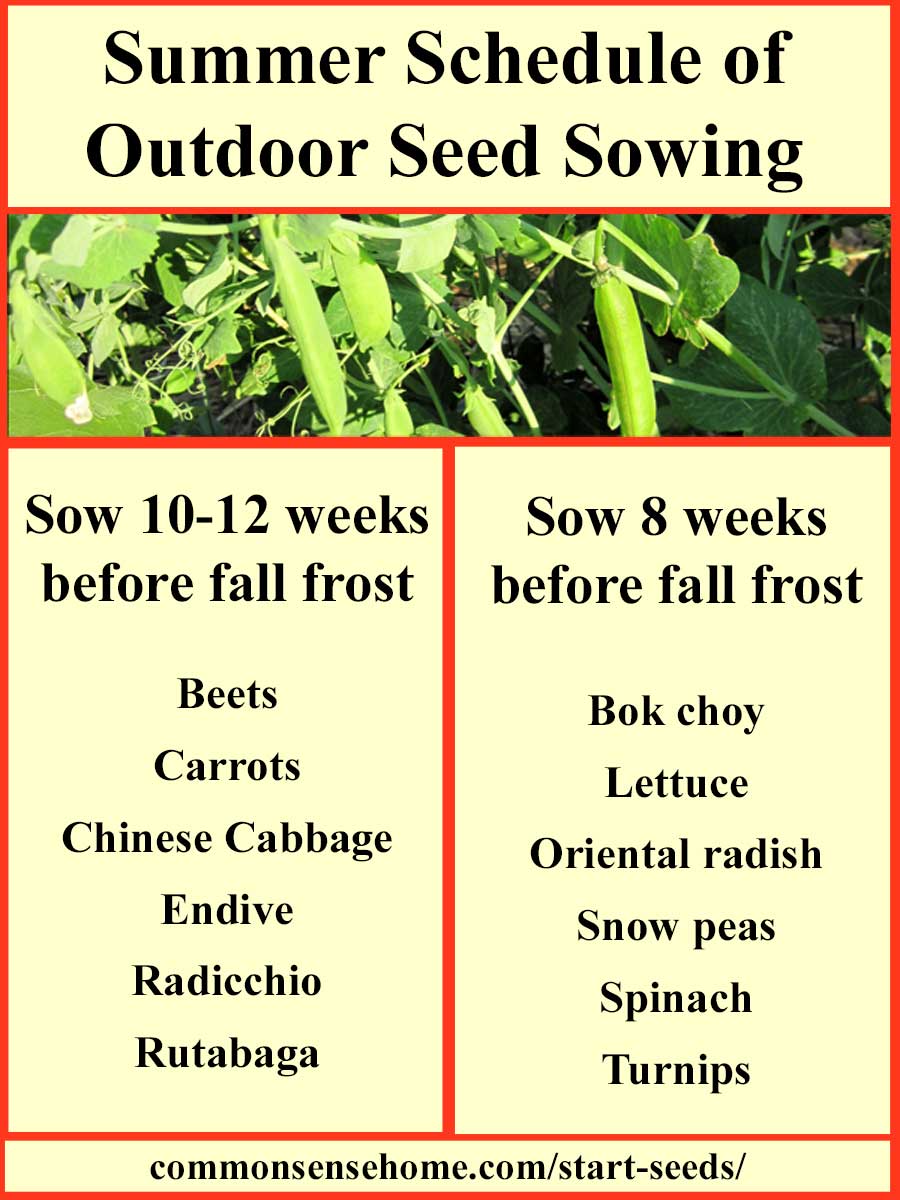
Summer Schedule of Outdoor Seed Sowing
You can start seeds directly in the garden for the plants listed below to get an extra late season harvest. Keep in mind that you’ll need to keep the soil moist and not too hot for germination. (Light mulch such as grass clippings can help.)
Consider planting your low growing fall crops inside a small cold frame, so that you can cover them to extend growing and harvest.
To get the printable version of the charts, you can use the link below. The pdf displays the calendars more nicely than they display on screen.
Adjust the dates for your area and keep them in your garden planner.
Get the Printable Seed Starting Calendar PDF here (dates left open)
More Gardening Tips and Information
You may also enjoy our Gardening page, which lists all of our gardening articles, including:
Build Your Own Simple Seed Starting Shelves
Best Heirloom Seeds – Recommended by Home Gardeners
How Long do Seeds Last? (with Printable Seed Viability Charts for Veggies, Herbs, and Flowers)
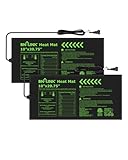
Some handy seed starting supplies.
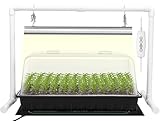

Some of my favorite garden helpers.
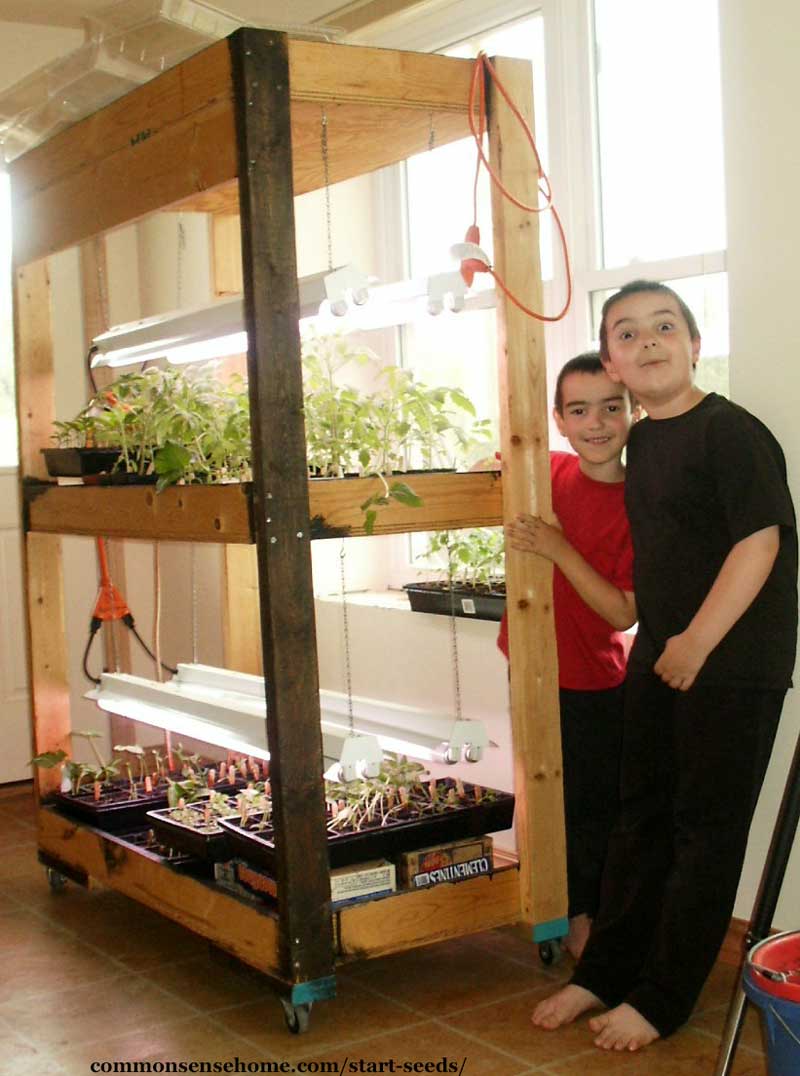
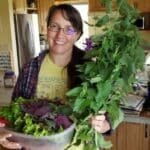
I was hunting through old photos for this post, and this was too cute not to share. Now they’ve grown into strapping young men. 🙂
This article is written by Laurie Neverman. Laurie and her family have 35 acres in northeast Wisconsin. They grow dozens of varieties of fruiting trees, shrubs, brambles, and vines, along with an extensive annual garden. Along with her passion for growing nutrient dense food, she also enjoys ancient history, adorable ducks, and lifelong learning.
Originally published in 2014, last updated in 2026.
Hi Laurie, another good calculator to use is https://soilcalculator.com/gardening/frost-calculator
One benefit it adds over Dave’s is that it can show you the elevation of the weather station where the data came from. It also allows you to choose different weather stations to see their data. This helps in more mountainous areas.
Another great, fundamental article, Laurie! I am curious about your cold frame design. Do you still use it, or does the greenhouse make it unnecessary? We get strong crosswinds in the zone where a greenhouse would be most practical, and a high groundwater table, which I think might make a concrete foundation subject to extreme frost heave. W have tried making a couple of cold frames and feel like we are missing pertinent information to to build one suited to our Zone 3 climate and northern latitude. thaks!
Hi Sandy.
We still have our cold frames, though we’ve defaulted in recent years to using the greenhouses more often than not. Given their size, the cold frames are a little more awkward to work with than the greenhouses. Our frames are getting older, too, and need to be rebuilt or replaced soon, as some of the boards are in rough shape.
For a colder climates, I’ve seen people form boxes out of straw bales for insulation, with a window on top. Of course, the height of the bales reduces light penetration to the plants compared to a low front/high back setup. You could also try adding insulation to the walls.
I probably just missed it, but what zone are you in? I’m in zone 5, coastal southern Maine. Thanks, Laurie! Great and very helpful article.
We’re on the boarder between zones 4 and 5, about 15 miles west of Lake Michigan. In theory, we’re 5 on many maps, but we have high winds and some frost pocket issues, so I plan more towards zone 4.
You should be able to find your local last frost and first frost dates by searching “frost date (city near your location)”.
Can you post any suggestions (or write an article) using a greenhouse? We purchased a small one from Costco, and it is too hot and too cold. Or it is just right and we have no clue how to use a greenhouse in the spring. As the temp inside (on a sunny cold day) gets into the 90’s even with the (single) window open and the vents at the bottom open. Then at night when it goes down to freezing, it goes to freezing, even with the windows and vents closes. We have bricks as floor, black 5 gallon buckets of water all around inside to keep in heat, but it does not work. HELP!
Unfortunately, I don’t have a quick fix for that. The small plastic greenhouses have so little thermal mass and thin walls that even with the steps you’ve taken (which would be what I would recommend to start), the temps are difficult to moderate. They are affordable and easy to install, and they sell a ton of them, but they don’t work very well.
As a workaround, if it’s possible to move the greenhouse, putting it snug against a building or heavy wall on the south may help moderate the cold swings. You use the thermal mass off the building or wall to buffer the greenhouse. To buffer high temps, throwing a shade cloth over the top to block the sun can help.
Bigger greenhouses have more thermal mass, so they hold heat better, and normally have thicken walls or even double walls to deal with freezing temps, and heaters. Even my polycarbonate greenhouse that is protected on the north by a shed will only keep frost tender plants from damage a few degrees below freezing, and that’s 10×20 with insulated walls and water jugs for extra mass. Right now I only have cold tolerant plants out there, as we are expecting snow this weekend. If it gets too cold, I’ll bring them inside.
I’ve found that an old fashioned cold frame is a more robust alternative. We have two built with wooden box frames and old patio doors. I prop up the doors to vent, and the double pane glass provides insulation even though the seals on the doors were broken. Since the boxes are close to the ground, the ground also helps moderate the temperature swings. If there’s a company that replaces doors and windows in your area, you can put in a request with them for salvaged materials. They might be glad to have someone take some instead of hauling it to a landfill.
Hi Laurie, Thanks for adding the part about hardening off. This is perhaps the trickiest part of starting indoors, because you can’t mess up and leave them out too long. It’s like cooking…you have to set a timer sometimes. A coldframe or greenhouse is ideal, for sure. Thanks for a thorough article.
HI. I would like to start my seeds inside. They are called Calceolaria uniflora seeds.
I’ve never worked with those, but this site has instructions for related species – http://www.thegardenhelper.com/calceolaria.html
This is great! I have started my own plants from seed before, but only a few. I really want to plant a little bigger garden this year. And would love to start most of my plants from seed. Thank you for sharing this!
You’re welcome, Bethany.
Hi Laurie! All of the information here is exactly what I’ve been looking for. I’m fairly new to starting seeds indoors, so I’m learning as I go. I have my own little setup going, but I’m really hoping to expand and build my own greenhouse within the next few years. I love reading all of your wonderful posts!
Hi Angie. Thanks for stopping by. I love all the beautiful garden photos you share.
I’ve been reading your site since last fall. I was looking forward to your spring information and got it. Yours is the first one that is written with specifics – that can be modified to use with your own locale. I too have a 4-tier plastic covered greenhouse that I put in a southeast facing window. Evidently what I have been doing to get spindly frail starts is that I’m starting them too early for the hardening off and transplanting – according to my “new” schedule. Last year my tomatoes got so tall I had to remove a shelf to give them room. Then when I planted them in my raised beds I had to lay them down. So this year I will contain my enthusiasm and wait, wait, and then wait some more before starting my seeds. Thanks so much for your help.
Laying tomato seedlings down into a shallow trench and covering them with soil is a technique for developing a stronger root system and getting more nutrition into the plant. Tomato stalks will root readily with this technique. I tried it years ago where soil was very shallow, I used raised bed planters,and it worked well. Just be mindful about not stepping on that zone.
Love that picture of your garden helpers! Thanks for all the great information you provide.
You’re welcome, Michelle, and thank you. My helpers are much bigger now, but still my planting partners.
I live in Reno, Nevada (near Lake Tahoe) and while I have a nice sized lot, I just can’t seem to grow much of anything. My fruit trees do well (if we don’t get a late frost, which happens alot) but as for growing vegetables and such, meh! However, I faithfully follow your blog and wanted to pass on a funny something I saw on Pinterest. Being LDS, we are encouraged (alot!) to have a supply of food and supplies and such for emergencies…of whatever nature. I adhere to this and my basement looks like a small 7-11. I follow Pinterest alot and was noticing that several early planting pins are showing up. One just made me chuckle…use old stale ice cream cones for starting the seedlings! Makes perfect sense to me…have you ever tried this?
If everyone would stock up as much as the LDS folks, I think many people would be much better off.
On the stale ice cream cones – nope, haven’t tried it. I’m sure it would work, but you’d have to be careful not to ever get your seedlings too wet, or the cone would fall apart. The same goes for the toilet paper tubes, and newspaper planters. I start hundreds of seedlings each year, so I appreciate the durability of my plastic trays, which I reuse for many years.