Elderberry Jelly Recipes – Low Sugar and Sure-Jell Options
This post may contain affiliate links. Read my full disclosure here.
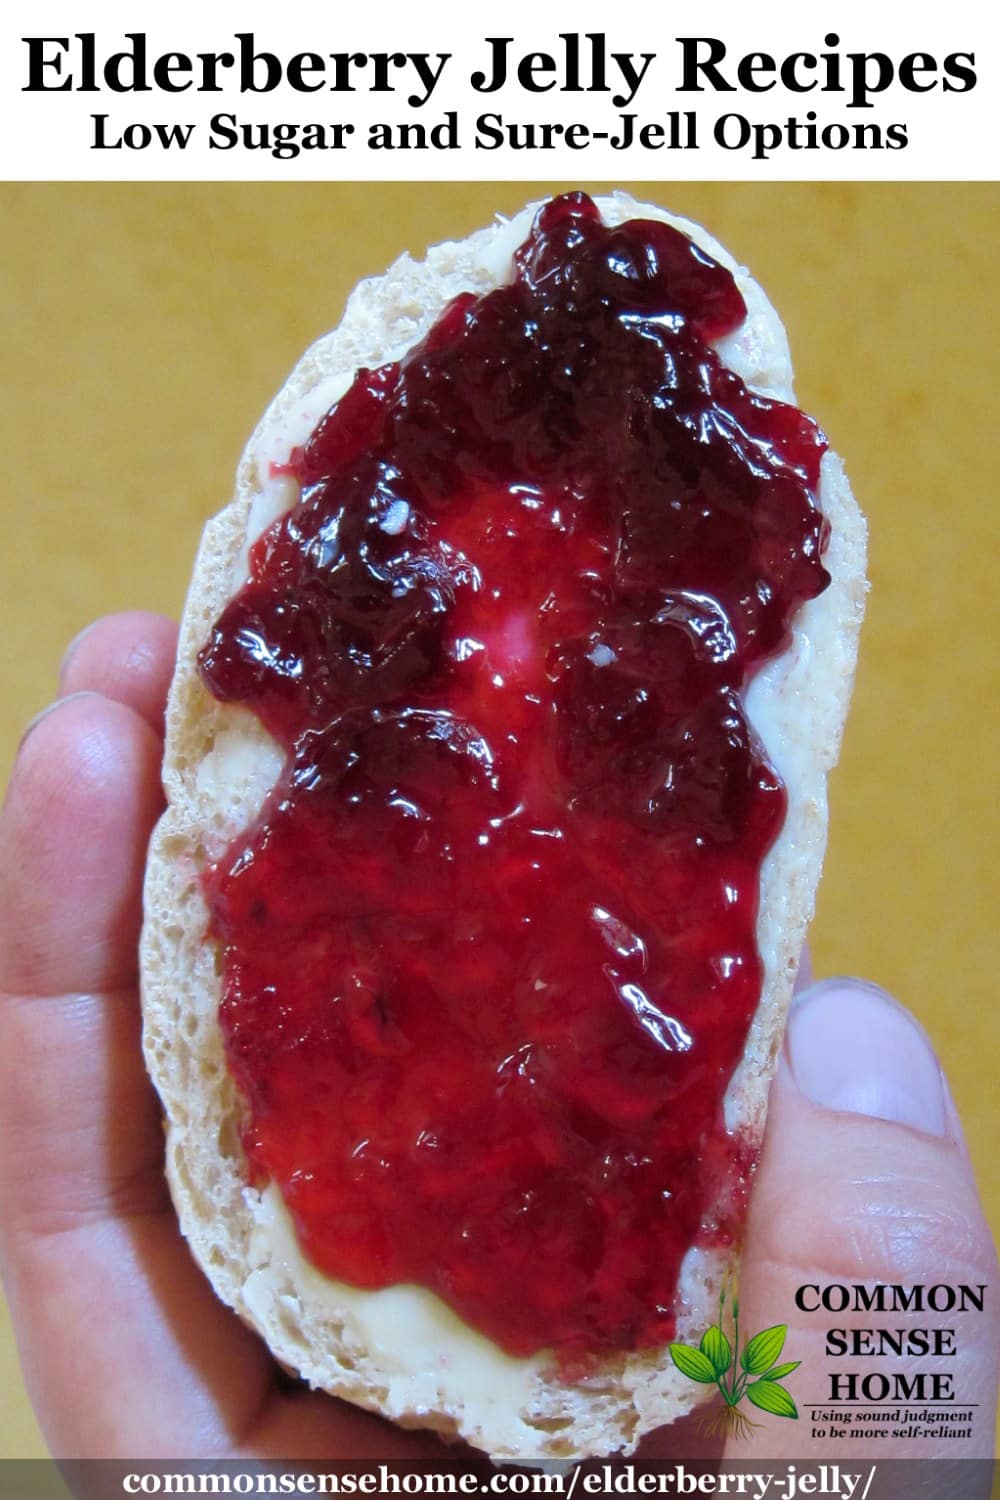
When we had a banner elderberry harvest, my friend, Tami, and I experimented with a variety of elderberry recipes. We made wine, syrup and elderberry jelly.
One recipe is low sugar elderberry jelly, and the other is a traditional elderberry jelly made with Sure-Jell pectin.
If you don’t have your own elderberries, you can buy juice, but it’s expensive. We also share elderberry foraging tips here.
You can buy elderberry jam from Norm’s Farms and other retailers. Norm’s jam is made with the whole fruit (except seeds) and natural cane sugar, not high fructose corn syrup.
Note – the elderberry cough and cold syrup recipes now have their own post, which you can find here.
Elderberry Jelly Recipes – Low Sugar and Sure-Jel
It’s important to add acid to your prepared juice when making elderberry jelly. This is because elderberries may have a pH above 4.6, making them unsafe for water bath canning.
We add lime juice in one recipe and lemon juice for the other.
The low sugar elderberry jelly recipe is based on the “Make Your Own Recipe” instructions included with the Pomona’s Pectin. Calcium water is mixed up from a calcium powder that is included in the box of Pomona’s Universal Pectin.
We had a little incident while making this jelly. I forgot to add the pectin into the honey before dumping it into the hot juice. Instead, I added the pectin separately. This is the result – pectin lumps.
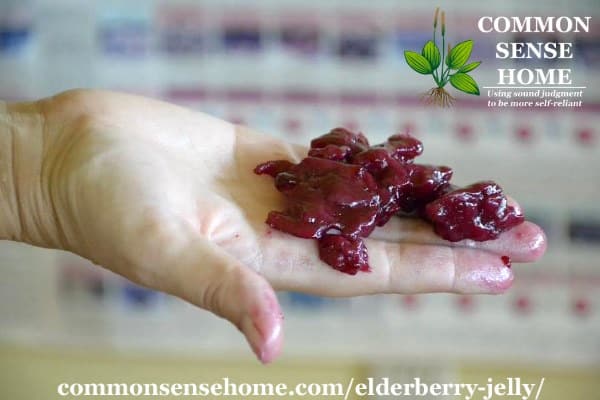
We fished the lumps out, and I mixed another 4 teaspoons of pectin with 1/4 cup sugar. Then I mixed that into the hot liquid while stirring briskly. It worked like a charm and the jelly was saved.
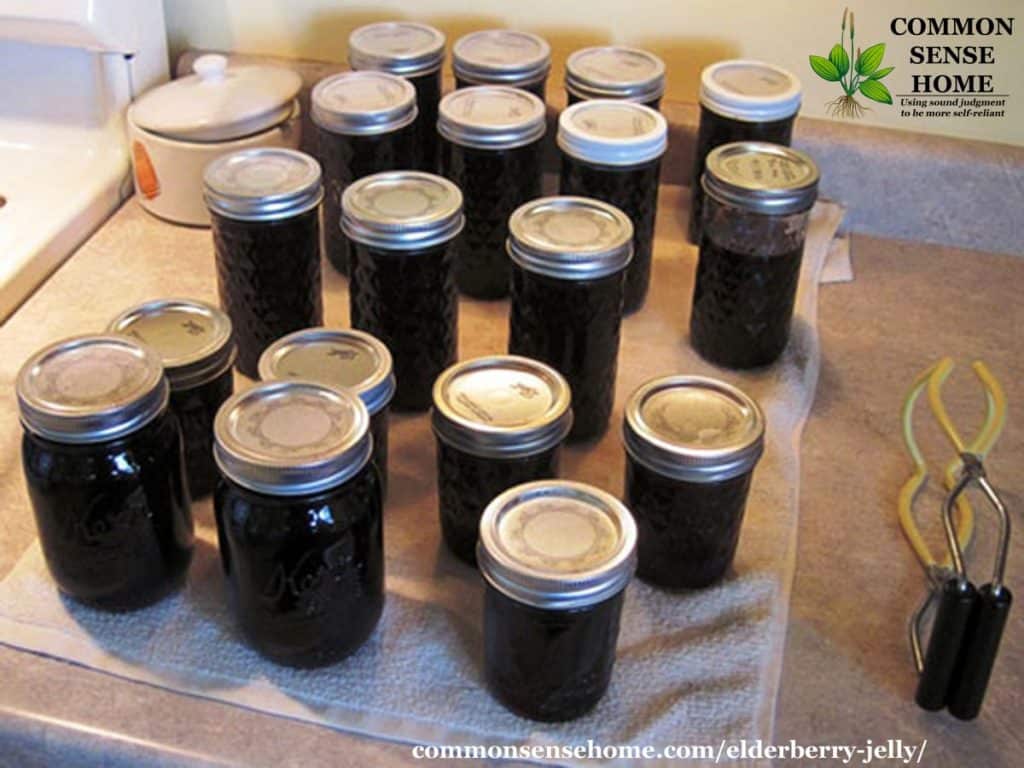
After a busy day, we ended up with a nice assortment of syrups and jellies for our families.
Low Sugar Elderberry Jelly
Lightly sweetened with a bit of lime juice for acidity, this elderberry jelly is sure to please.
Ingredients
- 1 quart elderberry juice
- 1/4 cup lime juice
- 4 teaspoons calcium water
- 2 cups honey
- 4 teaspoons Pomona’s Pectin
Instructions
- Sterilize 4-5 8-ounce jars, keep hot. Heat lids and rings in hot water, keep warm but not boiling. Fill water bath canner and bring to boil.
- In a small bowl, mix together honey and pectin powder. Don’t skip this step, or your pectin will clump. Set aside.
- In a large, non-reactive pot, combine elderberry juice, lime juice and the calcium water. Bring to a full boil.
- Add honey-pectin mixture, stir vigorously 1-2 minutes while cooking to dissolve pectin. Return to boil and remove from heat.
- Ladle hot jelly into sterilized jars leaving 1/4″ headspace. Wipe rims clean and screw on the lids. Process for 10 minutes in water bath canner (add 1 minute for every 1,000 feet above sea level). Makes around 4 cups of jelly.
Notes
Calcium water is mixed up from a calcium powder that is included in the box of Pomona’s Universal Pectin.
Homestyle Elderberry Jelly Made with Sure-Jell
This old fashioned elderberry is a full sugar recipe thickened with Sure-Jell pectin.
- Yield: 5–6 cups 1x
Ingredients
- 1 quart elderberry juice
- 1/4 cup lemon juice
- 4 1/2 cups sugar
- 1/2 teaspoon butter
- 1 package Sure-Jell pectin
Instructions
Sterilize 5-6 8-ounce jars, keep hot. Heat lids and rings in hot water, keep warm but not boiling. Fill water bath canner and bring to boil.
Place elderberry juice and lemon juice into stock pot. Stir in pectin. Add butter to reduce foaming. Bring mixture to full rolling boil (boil that doesn’t stop bubbling when stirred) on high heat, stirring constantly.
Stir in sugar. Return to full rolling boil and boil 1 min., stirring constantly. Remove from heat.
Ladle into prepared jars, filling to within 1/8 inch of tops. Wipe jar rims and threads. Cover with two-piece lids. Screw bands tightly.
Place jars on elevated rack in canner. Lower rack into canner. (Water must cover jars by 1 to 2 inches. Add boiling water, if necessary.)
Cover; bring water to gentle boil. Process 10 minutes.
Remove jars and place upright on towel to cool completely. After jars cool, check seals by pressing middles of lids with finger. (If lids spring back, lids are not sealed and refrigeration is necessary.) Makes 5-6 eight ounce jars of jelly.
How to Remove Elderberries from the Stems
My friend, Tami, saw my comment on the Common Sense Home Facebook page about elderberries, and embraced the challenge with gusto. She and her family went picking, and came home with the entire car trunk filled with elderberries.
I didn’t have time to help her process them immediately, so she stuck them in the freezer. Then she tackled processing them herself.
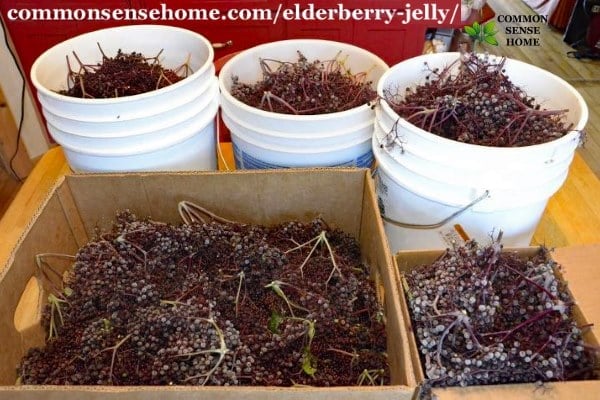
Yes, those are FIVE GALLON BUCKETS – full of elderberries, plus the two boxes. It was a very, very long day.
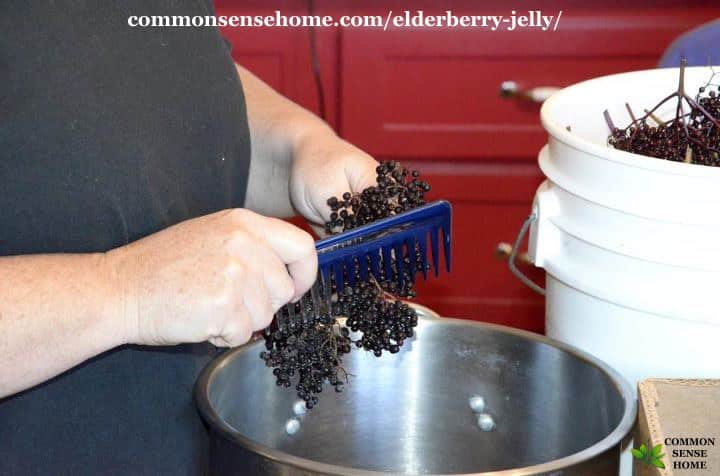
Tami said that she found the fastest way to strip the berries from the stems was using a large comb.
Would you like to save this?
Freezing helped loosen the berries, too. (I can’t remember who suggested freezing on the Facebook page, but thanks!)
How to Make Elderberry Juice
Steam juicers are safe and easy to use if you have one. If you don’t, you can cook down the berries on the stove top like we did.
Do not use juicers that leave the fruit raw to prepare elderberries for jelly. Heat deactivates the cyanogenic glycosides and alkaloids in the elderberries, which makes them safe to eat.
First, strip the berries from the stems and rinse to remove debris. Then, load the stemmed elderberries into a heavy bottomed pot.
Squish the berries with potato masher to help release the juices. Add a little water to the pot before turning the stove on low heat.
Cook down the berries until soft and remove from heat. Load them into a jelly bag, old kitchen towel or pillowcase and place over a large bowl to drain. (The berries will stain.)
Let the berries drain until juice stops dripping, usually several hours or overnight.
Discard the skins and stems and use the elderberry juice for jelly or elderberry syrup.
Why do you need to remove elderberries from the stems before juicing?
Stems, bark, leaves, and roots contain a cyanide-producing glycoside, as do the berry seeds. While the other parts of the elderberry plant can be used medicinally, it’s best to keep them separate from the berries. The berries also contain the alkaloid, sambucine.
Heating deactivates these compounds, but it’s better to keep the excess glycosides out of your pot in the first place.
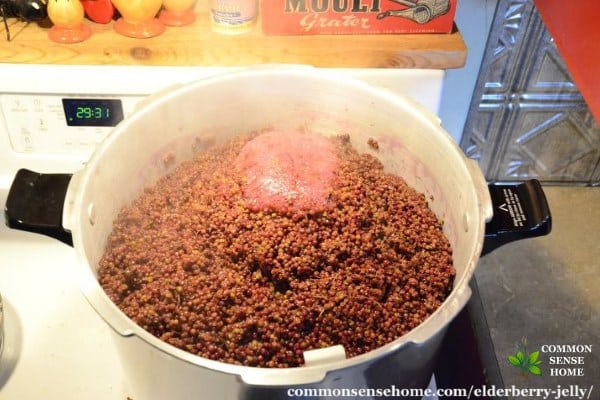
Once the elderberries were removed from the stem, Tami cooked them down in a large pot.
After that, she stuffed them into a pillowcase, which she hung from under a stairway.
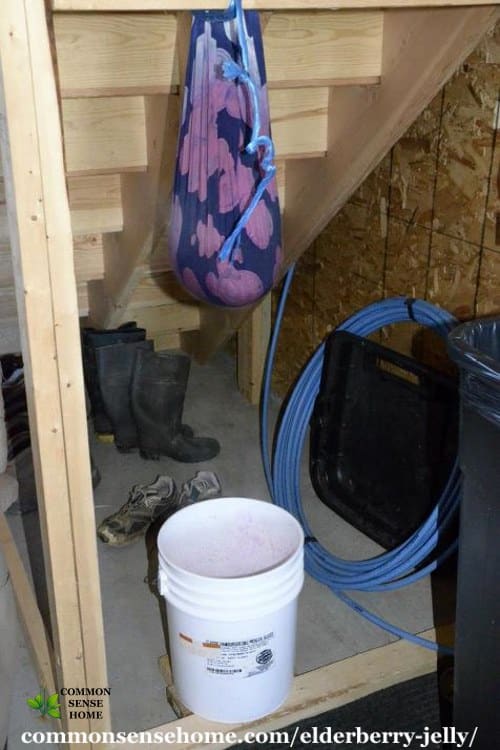
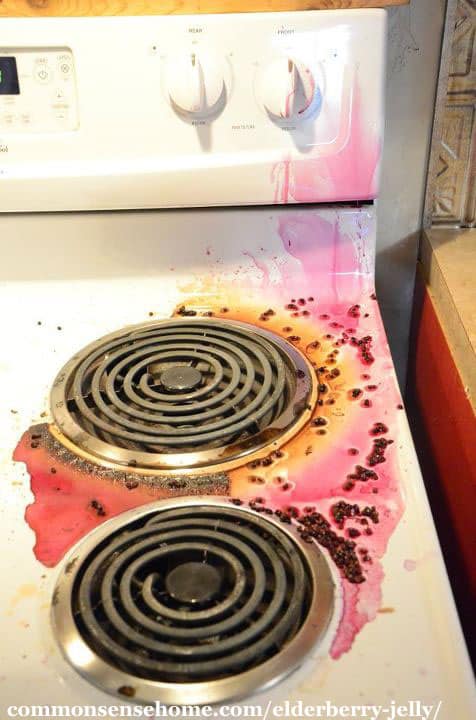
You know that pillowcase is never going to be non-purple again. There was a smidgen of fallout, too. With so many elderberries, juice ended up everywhere, even on the toilet seat in the bathroom.
I feel so honored to have a friend that’s willing to completely trash her house for me. 😉 Big hugs and kisses, much love.
More Posts You May Find Useful
We have over 100 recipe posts on the site, including many on home food preservation. You can find them all indexed by category on the Recipes and Kitchen Tips page.
They include:
- Home Food Preservation – 10 Ways to Preserve Food at Home
- How to Make Elderberry Wine
- How to Make Elderberry Syrup with Fresh or Dried Elderberries
Originally published with the syrup recipes in 2011, last updated in 2020.

I have been making jelly for many years but have never made Elderberry jelly. I found your recipe and the taste is amazing but it will not set up. After more research I found that all the other recipes only use 3 cups of juice not a quart with the same amount of sugar. The ratio is incorrect. It’s been 2 days and it is still syrup.
Did you make the regular or low sugar recipe? Which brand of pectin did you use? Did you use wild or domesticated elderberries? Did you bring the jelly back to a full boil and maintain the boil for a minute?
I’ve made the recipes as listed several times, and have not had an issue with it setting up, but different brands of pectin and different berries can impact results.
It is possible to recook unset jelly with a little more sugar and pectin.
I hope you get this, as it has been a few years since the last post.
1) Can a steam juicer be used to extract the elderberry juice? If not, why? Don’t flies and such get into the juice and on the bag while drip extracting?
2) What is the name ,and Where can I get one, of that wonderful spoon that is in the picture? I’ve never seen a spoon like that. Is it used to drip the jelly onto a plate to check for consistency? This would also be great for my salve making!
I thank you.
Hi Kathy.
Yes, a steam juicer is okay for extracting the juice, as it still uses heat, which is noted in the section about about juicing:
(Maybe I can rearrange that section to make it more clear?)
We don’t have many flies around in the house, and it only sits for a matter of hours, so I’m not overly concerned about dust. There’s not likely to be anything in that juice that I’m not already breathing. I have never in all the years I’ve been drip straining had a fly end up in my juice.
If flies are a serious concern, you could hang the towel off a spoon that sits across the top of a larger container, and cover the whole container with another towel.
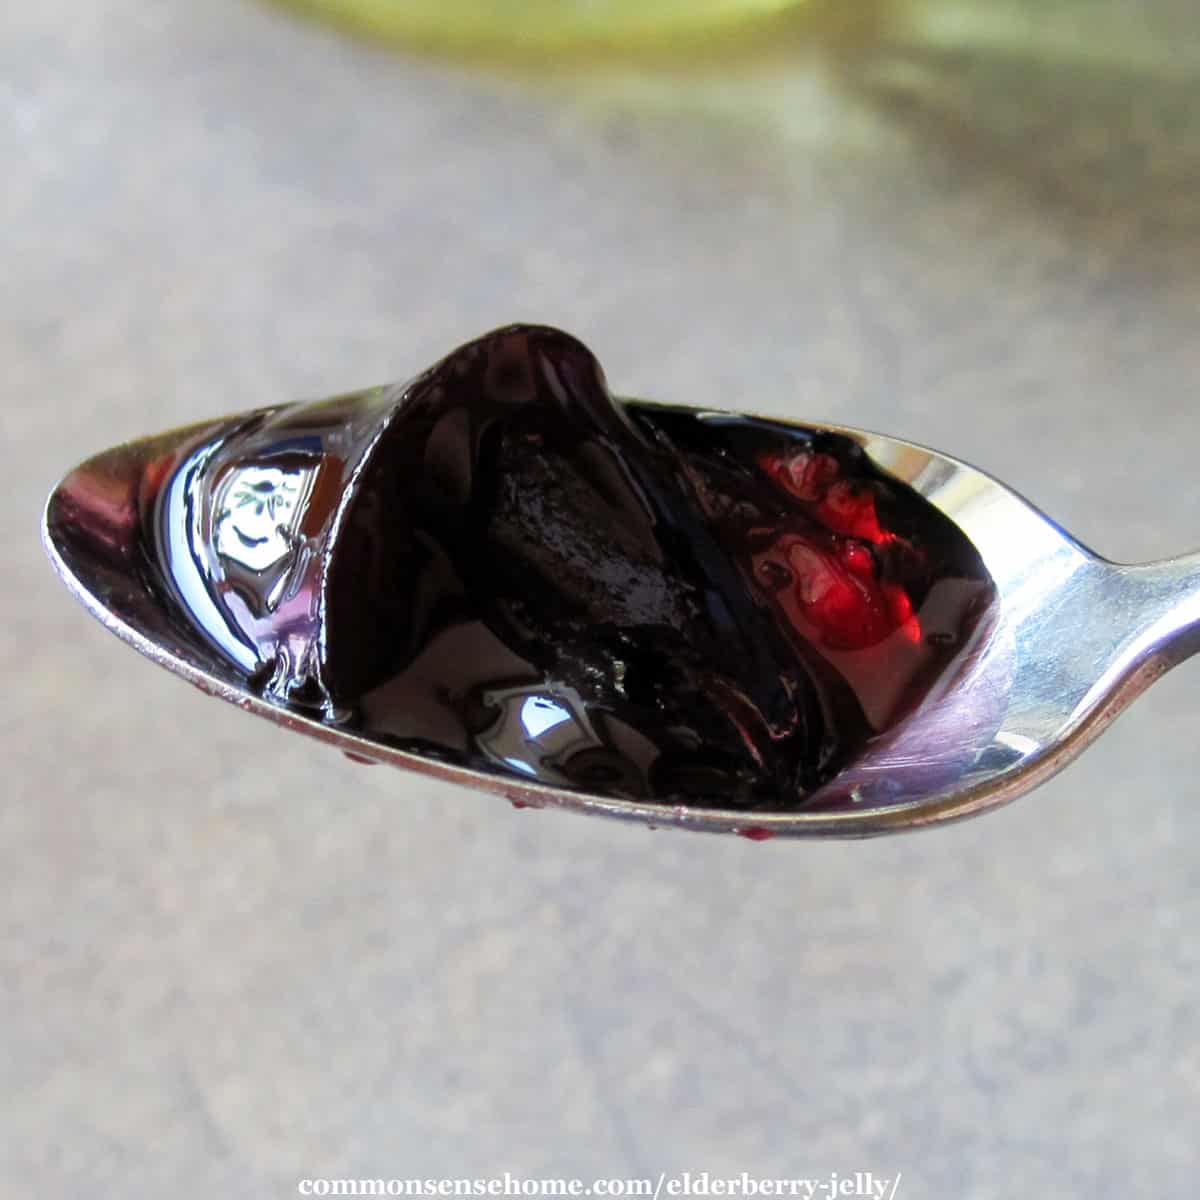
2) Could you clarify which spoon you are talking about? The spoon with jelly on it in the photo between the two recipes is just one of our regular eating teaspoons. The pattern is Oneida Flight.
I switched the order of the sentences around and bolded it in the article, so hopefully it is a little clearer that steam juicers are safe to use.
An efficient way of destemming Elderberries id to use a stainless steel screen with about 1/4 to 3/8 inch mesh stretched over a frame and put over the top of a bucket. Umbels of berries are then gently rubbed across the screen, dropping the berries into the bucket and leaving the stems.
See it here: https://www.facebook.com/Fangthorn/videos/411392696137685/
That looks like a useful method for processing larger amounts of elderberries. Hopefully one day our bushes will take off and we’ll have need for larger scale processing.
American Elderberries DO NOT contain measurable cyanide. European Elderberries do. American Elderberries contain less cyanide , by far, than commercially prepared apple juice. There is a report coming out soon from the University of Missouri regarding this. Another way to remove the berries is tu freeze them first. They will fall off easily and release their juice after freezing.
I would like to make sugar free Elderberry jam. I would like to use honey. Can I use the sure jell pectin.
Carol
Just to be clear, honey is still sugar, so if you need a truly sugar free option, for instance, for someone who is diabetic, honey will still spike their blood sugar.
Honey tends to be sweeter than sugar, so when substituting in a recipe, you want to use 1/2 to 3/4 as much honey as sugar. Unfortunately, when using standard Sure Jell pectin, this is not likely to work well. Odds are that you will end up with elderberry syrup instead of jelly, or a very soft set jelly. Sure jell does have a low sugar pectin that may work better, and Pomona’s Pectin can be purchased online and in many natural food groceries or departments.
You said, “honey is still sugar”. Thank you for saying this. I’m on a low carb / very low sugar diet for my heart and it irks me to search for sugar free recipes and find all kinds of recipes using honey, maple syrup, agave nectar, and the like. All of these are sugar! Stevia extract, monk fruit extract, and the like are sugar free sweeteners. Honey simply is NOT. People like me and diabetics and people on low-carb and keto diets cannot use honey to replace white or brown sugar.
I think people have good intentions, but yeah, if you truly need to cut out sugar, using less processed or natural sugars doesn’t get the job done.
Side note – since Pomona’s uses the calcium water to promote jelling (and not the sugar), you can substitute the non-sugar, heat stable sweetener of your choice in the jelly recipe. That said, sugar based spreads will have a longer shelf life, as the sugar binds differently with the free water in the fruit/juice than the non-sugar alternatives.
What is calcium water?
Calcium water is mixed up from a calcium powder that is included in the box of Pomona’s Universal Pectin. I’ve added a note in the post to clarify. It helps the recipes to gel with little to no sugar.
the recipe i have includes lemon juice but i noticed yours doesnt. Why? i never thought of using a pillow case!!! will us!!
You can substitute lemon for the lime if you prefer. I just like the flavor combination. The low sugar jelly needs more acid (because it has less sugar) for preservation. You can add lemon to the regular jelly, too, if you like.
I am looking for a recipe for elderberries that is very similar to elderberry syrup (with elderberries, honey, ginger, cinnamon) but I am not an experienced canner.
Do you know if ginger and cinnamon can be added to thr recipe when I make the elderberry juice and still canned safely?
Adding a small amount of dried spices will not affect canning properties, i.e., yes, you can can safely with added spices if the food is safe to can without spices.
Thank you so much.
Unable to find the recipe to make fresh elderberry cough syrup or the juice!
The juice is made as demonstrated at the bottom of the post. Remove berries from stems, cook until soft, drain in flour sack towel or pillowcase.
The elderberry syrup recipes are also linked at the bottom of the post. Here’s the url – https://commonsensehome.com/elderberry-syrup/
I use double cloth diapers to drain mine in
As long as they are clean, I’m sure that would work well.
I also had a hard time finding instructions for juice, then found the following in this post:
“Once the elderberries were removed from the stem, Tami cooked them down in a large pot and then stuffed them into a pillowcase, which she hung from under a stairway.”
Not sure if water is added, the pot is covered, how hot the stove is, or how long to cook, but it looks like fun!
Sorry for any confusion on that. I’ve cooked fruits down for jelly (like elderberries and currants) for so many years that I didn’t give much thought to sharing the details, but I’ll go back and edit that post to make it more clear.
Steam juicing with a steam juicer is probably the easiest way to extract the juice, but I don’t have a steam juicer – yet.
When we cook down elderberry fruits for juicing, we strip them from the stems and rinse to remove debris. Then, they’re loaded into a heavy bottomed pot (to help prevent scorching). I squish them with potato masher to help release the juices, and add a little water in the bottom (around a half inch) before turning the stove on low heat.
Once they get heating, you can cover them or not while cooking – your choice. Covering will speed up the cooking process at bit. Simmer, stirring regularly, until they are soft and mushy.
Load the berry mush into a cheesecloth lined strainer, old flour sack towel or old pillowcase. Let drain until juice stops dripping, usually several hours or overnight.
Thank you for the instructions (and your time)! Perfect. No doubt you will have a steam juicer soon to add to your arsenal of homesteading tools. They sound intriguing.
I may have to add on to the house to have more room for kitchen tools…
Looking to make some Elderberry freezer jam, has anyone tried making It ?? I only really like freezer jam thats how I make all my jams, I have only seen the other way on all recipes thankyou
Elderberry jam takes a little more work, as you need to remove the seeds, so you end up with just puree instead of whole fruit. I haven’t tried elderberry freezer jam, since my freeze space goes mostly to bulk meat purchases, but I would think that the freezer jam instructions included with Pomona’s Pectin could be used for elderberry puree as well.
how do you remove the seeds. Brenda
Please see the section “How to Make Elderberry Juice” for instructions on making the juice (removing the seeds and skins).
Hey there
Wowsers, that is some scrummy looking jelly. I love Elderberries, and Elderflowers actually. The berries are plentiful at the moment here in Dorset, England. Must harvest some soon 🙂
I haven’t made any jams of jellies for a long while, must start up again. Crab Apple jelly is one of my faves. Still, I do a lot of fermenting, kimch, sauerkraut, Kombucha etc. Do you make any of those?
I’ll pass this post onto my wife, she’s the Elderflower champagne gal and I’m sure she’ll be up for some jelly making, if not, wine will be a certainty 🙂
PS, Blackberries looking pretty abundant round here, how about where you are?
All the best
Steve
I haven’t found any local blackberry thickets as of yet, but am always on the lookout. Mom used to make some lovely blackberry wine back on the farm.