Canning Headspace – Guidelines, Chart & Troubleshooting
This post may contain affiliate links. Read my full disclosure here.
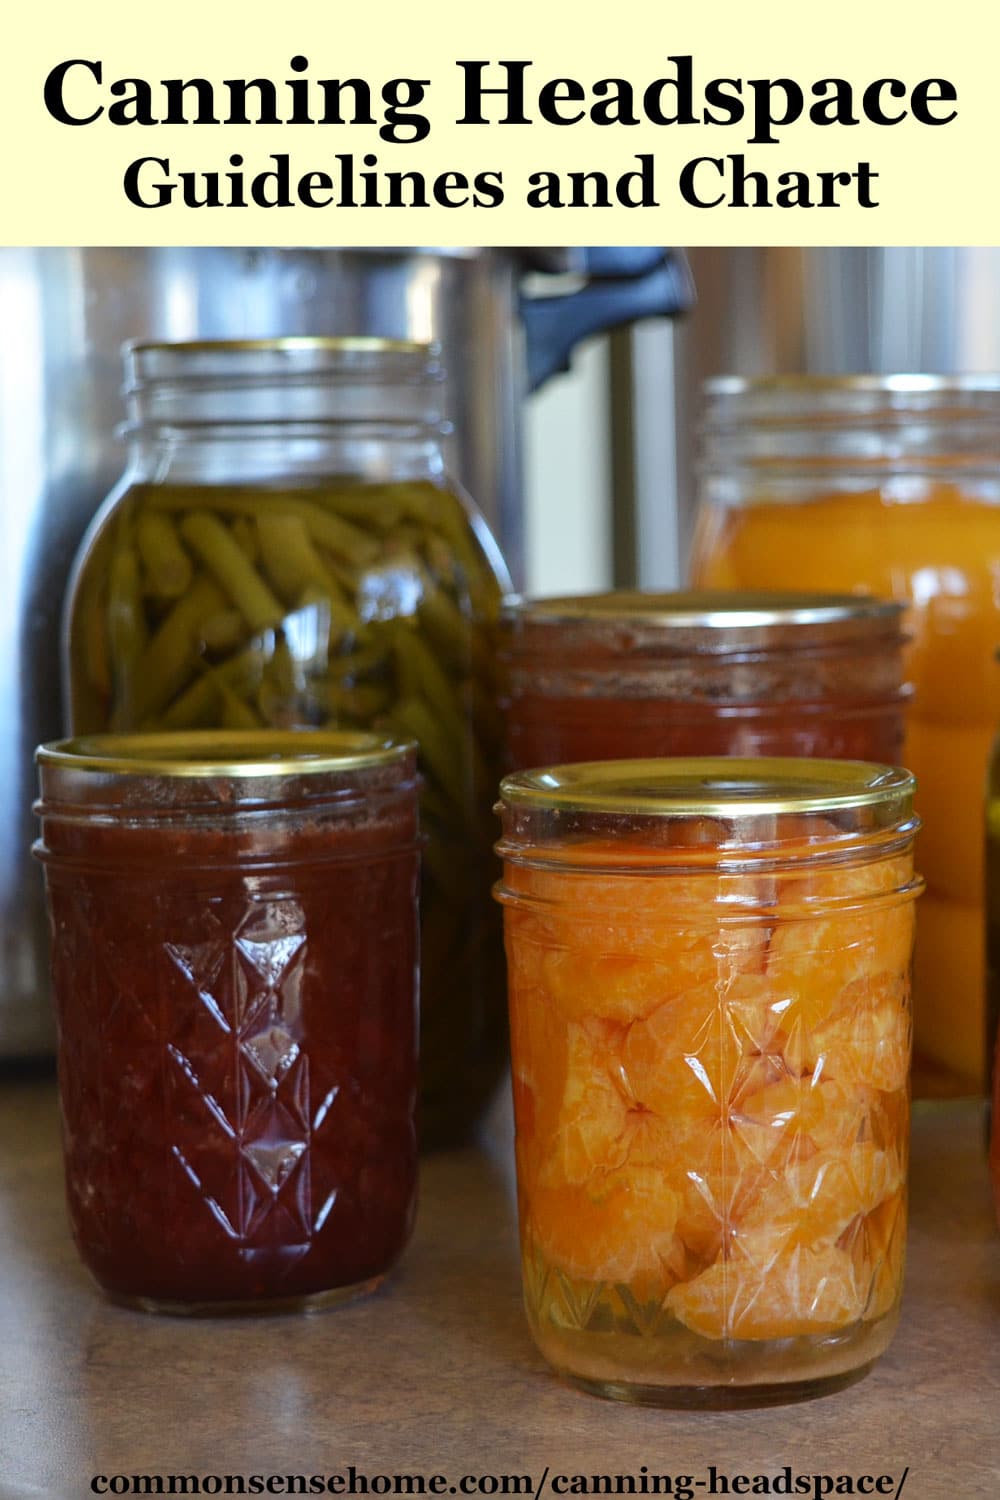
Canning headspace is the unfilled space in the top of the jar between the food or liquid and the rim of the jar. Sometimes people refer to it as the space between the food and the underside of the lid (but you should check it before the lid goes on).
We’ll share the science behind proper headspace, basic guidelines, and troubleshooting tips.
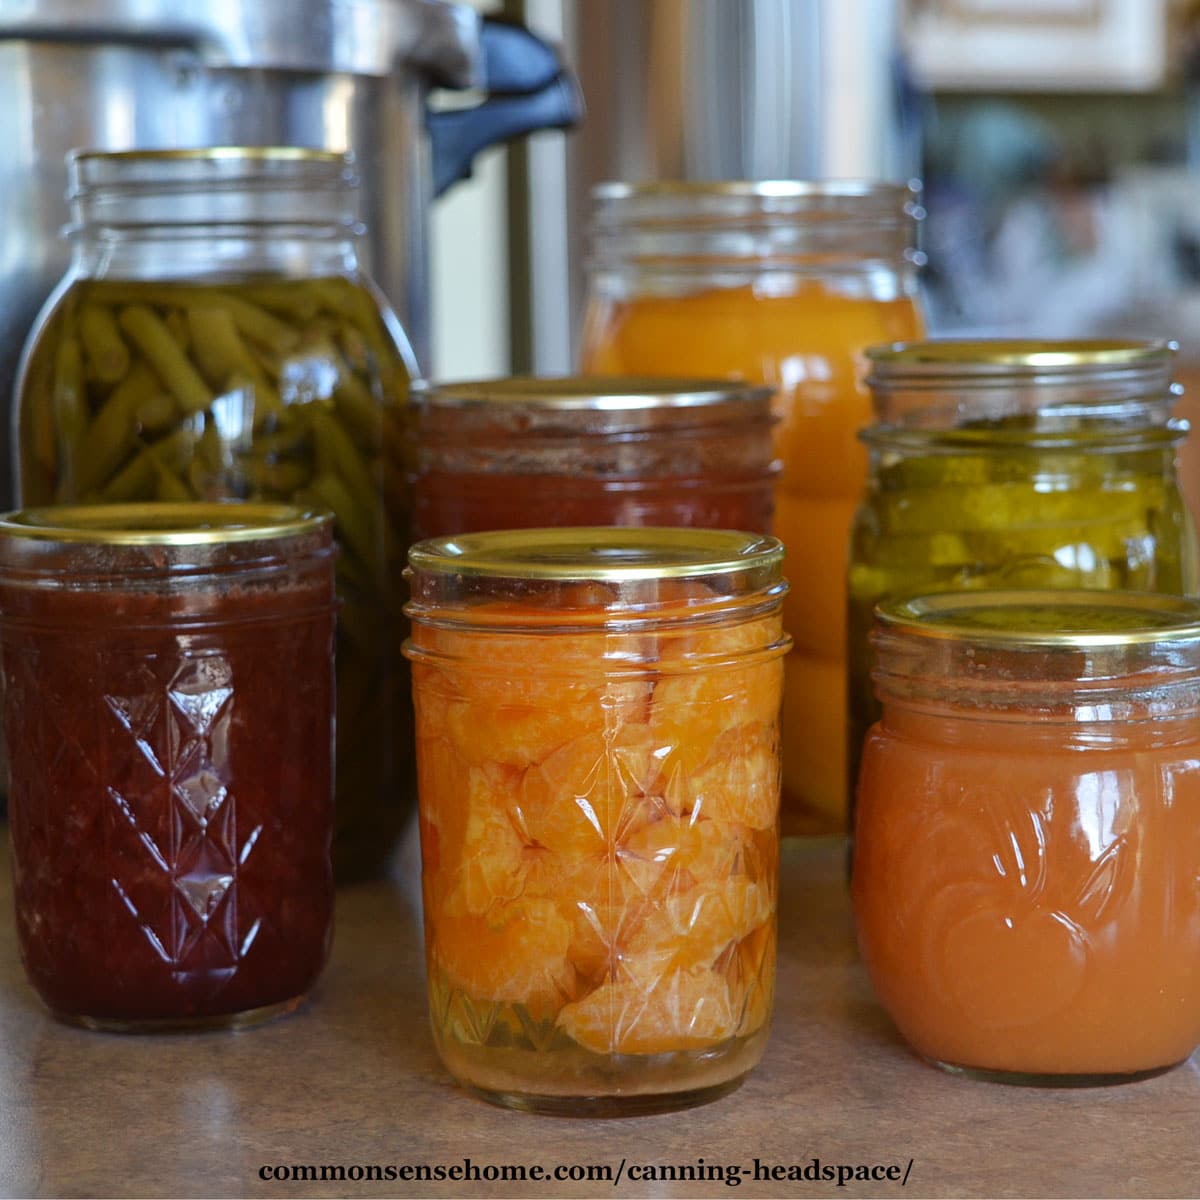
Table of contents
How to Measure Canning Headspace
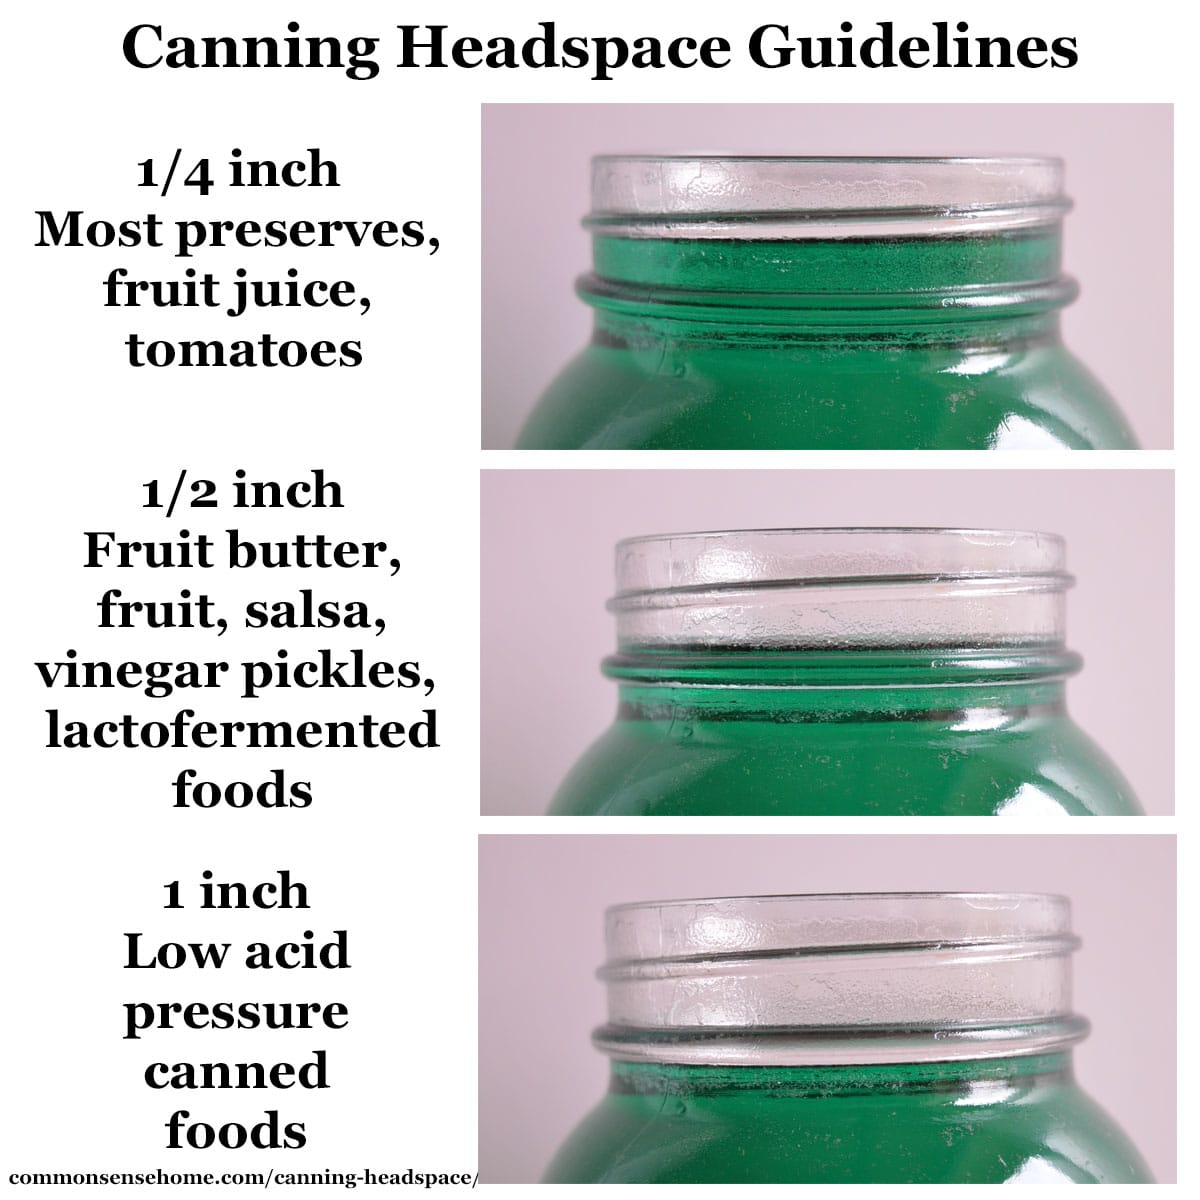
If you are using standard canning jars (mason jars), the easiest way to measure canning headspace is to look at the side of the jar.
One inch headspace hits just below the bottom ring. Half inch hits just above the bottom ring, and quarter inch hits about midway up the jar neck. They also make special tools for measuring that you can stick into the top of the jar.
Make sure to measure headspace after you have removed bubbles from the jar and topped off the liquid. If you don’t remove bubbles for chunky food, odds are a fair amount of air will remained trapped. During processing, this air will bubble up, making the headspace larger. This can leave food exposed at the top of the jar.
As a general rule:
- Use 1/4 inch headspace for most preserves, jams, jellies, fruit juice, and tomatoes
- 1/2 inch headspace for fruit butter, salsa, vinegar pickles, lactofermented foods
- 1 inch headspace for low acid foods processed via pressure canning
Why is headspace important in canning?
If you look at the headspace guidelines, you’ll notice that foods with shorter processing times have smaller amounts of headspace. Conversely, foods with longer processing times have more headspace.
The processing time is designed to be long enough to drive the air out of the headspace between the food at the top of the jar and the lid. This naturally creates a vacuum, which helps seals the jars.
Do not retighten rings after processing the jars (unless you are using Tattler lids). It’s normal for the rings to get loose as the jars cool, and tightening the rings may give a false seal.
The food expands during processing, and shrinks as it cools. This food shrinkage, in combination with the air being driven out of the headspace, drops the pressure inside each jar below atmospheric pressure within minutes after processing. At this time, the lids will suck down and seal tightly, giving their distinctive “ping”.
During the canning process, the food and air expands inside the jars. The more starch in the food, the greater the expansion. This is why low acid pressure canned foods need more headspace.
Foods processed in a boiling water bath canner also don’t reach the same high temperatures of pressure canners. (Water bath canners can’t get above boiling, while pressure canners reach 240°F (116°C) at sea level.)
If we look at some basic physics, we find that Charles’ Law indicates that the volume of a gas is directly proportional to its temperature in Kelvin. Higher temperature = the air inside the jars expands more.
If you fill the jars too full, food is more likely to bubble up between the jar edge and lid and the jar may not seal. If you have too much headspace while canning, processing times may not clear the air out of the headspace, giving a weak or failed seal.
Would you like to save this?
What if I lose a lot of liquid during processing?
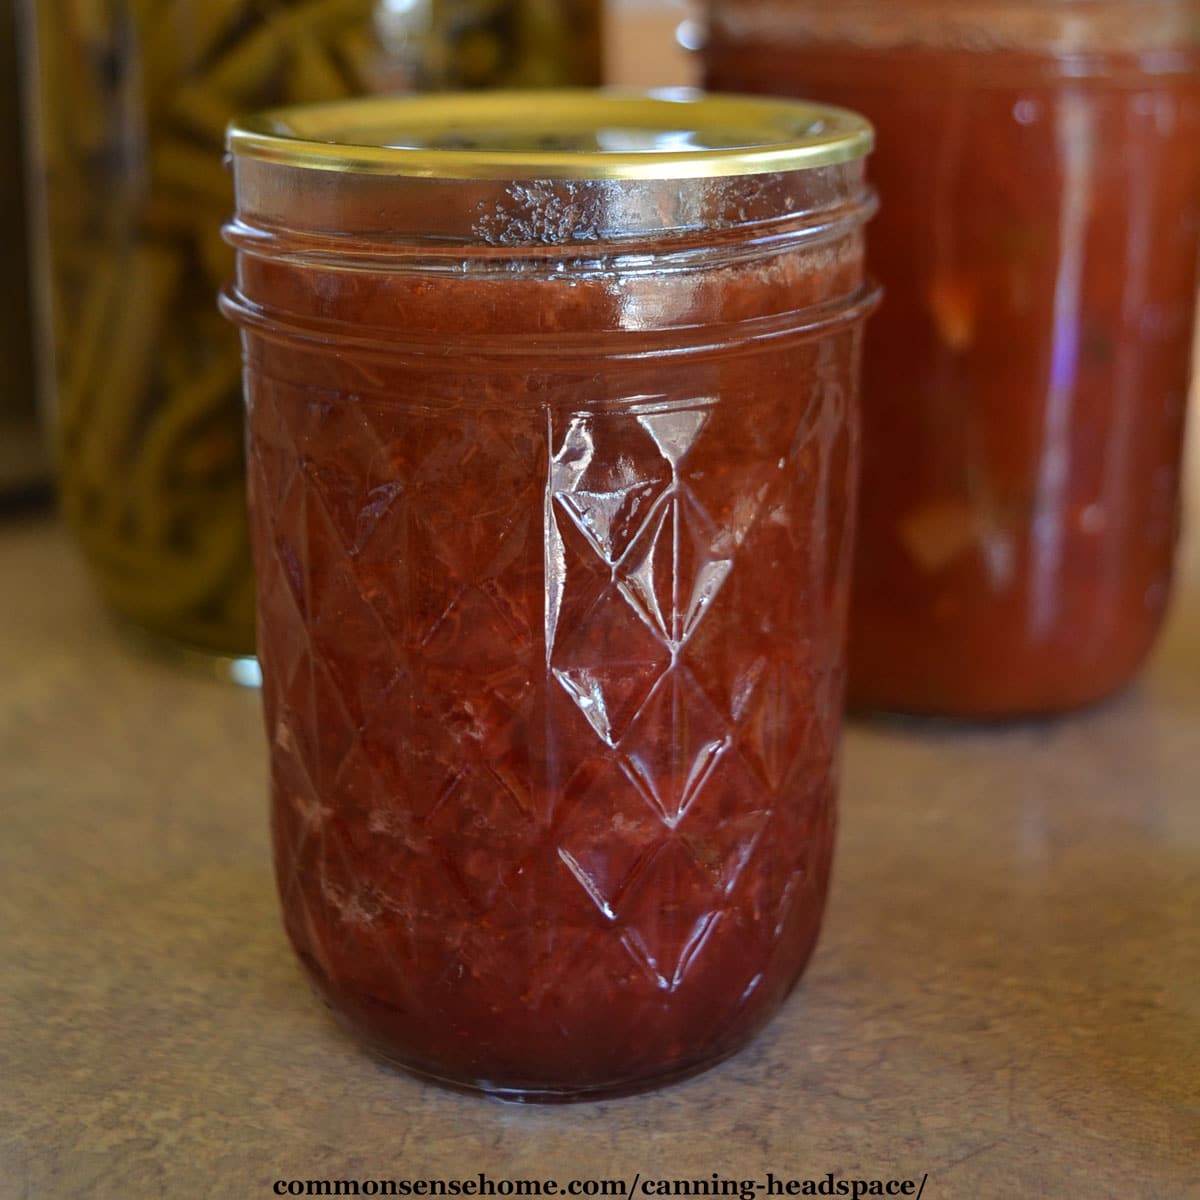
As I mentioned earlier, it’s important to remove air bubbles and check liquid levels before sealing the jars. That said, there’s still likely to be some air trapped in the food, especially for raw packed items. During processing, this air can come out of the food, increasing headspace.
Usually, this will only increase headspace slightly, and is not a concern. As long as the food was processed following proper canning guidelines, it’s safe to eat. Food left sitting above the canning liquid will discolor more quickly and should be eaten sooner rather than later.
If you have more than a small amount of liquid loss, you’re probably dealing with siphoning.
Siphoning occurs when there is excess liquid loss from canning jars. In cases where more than half the liquid is lost, the food should be refrigerated or reprocessed.
To reduce siphoning, try to reduce temperature differences and abrupt temperature swings.
Keep your canning jars and product hot and lids warm. If you are raw packing, make sure your canning liquid is piping hot.
During processing, bring temperatures up and down gradually. Keep your water bath canner at a steady rolling boil, not boiling over set to “turbo”. Maintain your pressure canner just above the desired pressure, not creeping towards dangerously high pressure.
When you finish water bath canning, turn off the heat, remove the canner lid, and let the jars rest for 5 minutes before taking them out of the canner. For pressure canning, let the pressure canner cool until the lid is safe to open. Remove the lid, and let the jars rest in the canner for 10 minutes before taking them out.
More Canning and Preserving Articles
- Altitude Adjustments for Canning (Includes Printable Chart)
- Home Canned Salsa Recipe + 10 Tips for Canning Salsa Safely
- Botulism – Causes, Symptoms, Treatment, Tips for Safe Home Canning
- How to Can Food at Home – Quick Guide to Safe Home Canning
- Home Food Preservation – 10 Ways to Preserve Food at Home

This article is written by Laurie Neverman. Laurie grew up in the kitchen, learning baking and home cooking from her momma. At age 15, she and her mom and two sisters created Irene’s Custom Cakes & Catering. This was her summer job through most of high school and college.

Thanks so much for discussing the science behind head space guidelines. If I read it in instructions, it must have gone over my head the first time.
My Grandma didn’t can, so I missed the homespun version of why head space will vary and how important the variations are.
Makes all the difference!
I’ve been hanging out in some canning groups online, and unfortunately there’s a lot of “I’ve been doing it this way for years” and not much information on why things should or should not be done, so I tried to pull together some explanations that would be helpful and easy to follow.
I’ve been canning for 25 years and never knew this! I’ve been compiling a sort of home resilience book for my children and grandchildren and I’m happy to have actual guidelines instead of just winging it, to put in the canning section. I love your emails, Laurie, you always have great content!
I’m glad you found it helpful. Most canning recipes offer no explanation of why the headspace is what it is, so I thought it would be helpful to explain the “why”.