11 Vertical Garden Advantages You’ll Love
This post may contain affiliate links. Read my full disclosure here.
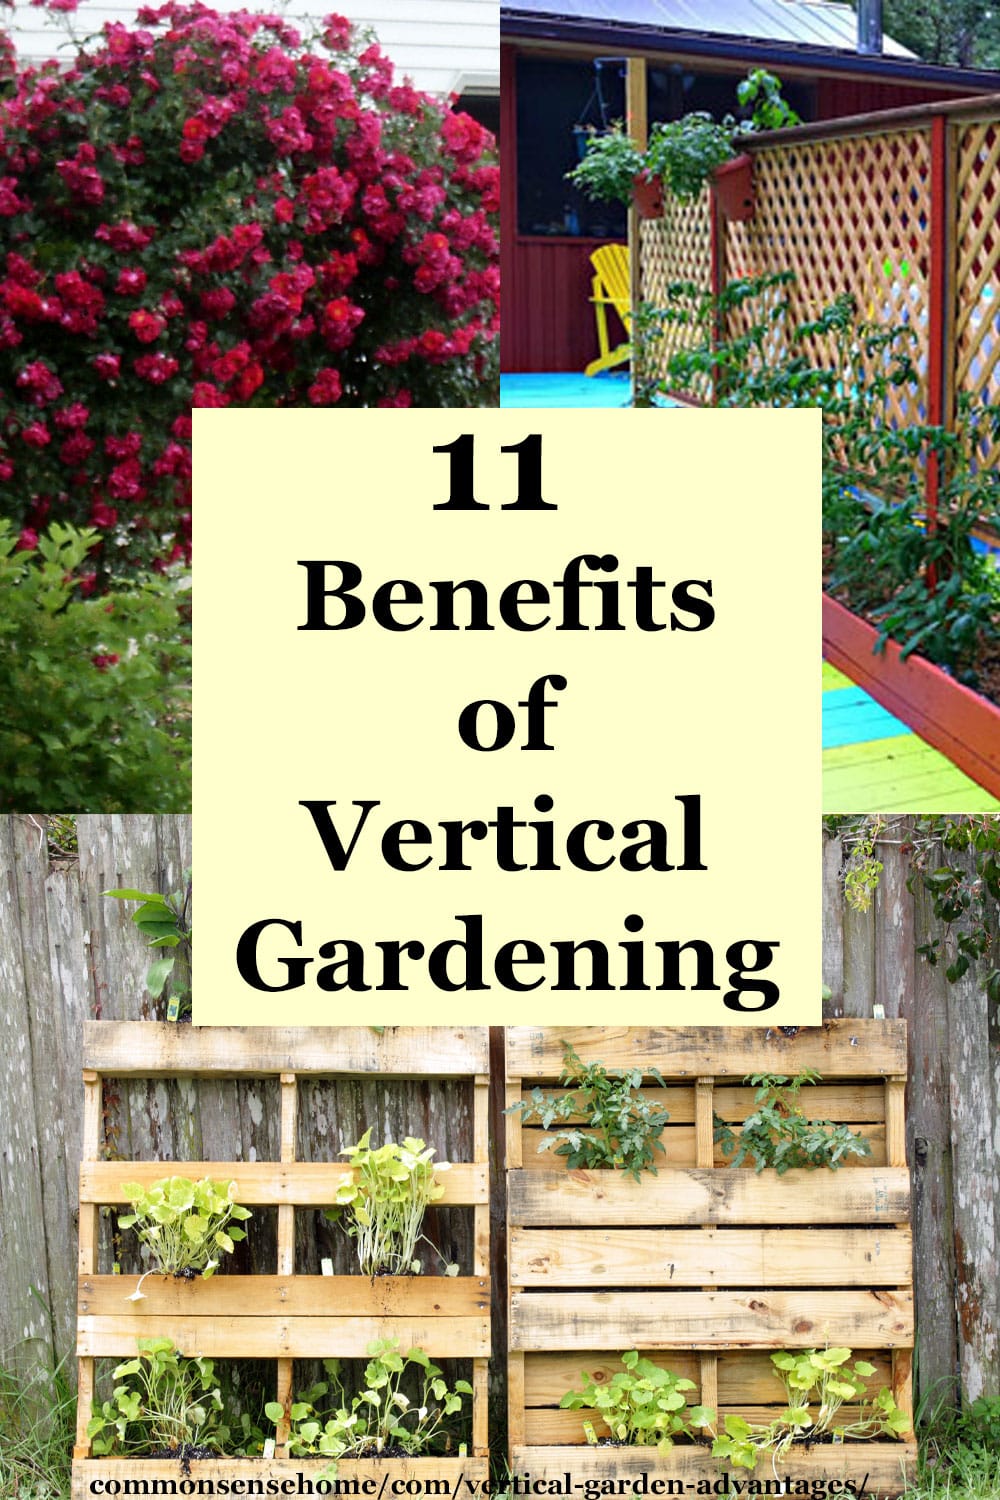
There are many benefits of vertical gardening, from growing more food in less space to making your garden more beautiful. We’ll share some of our favorites vertical garden advantages to inspire you to give it a try.
What is vertical gardening?
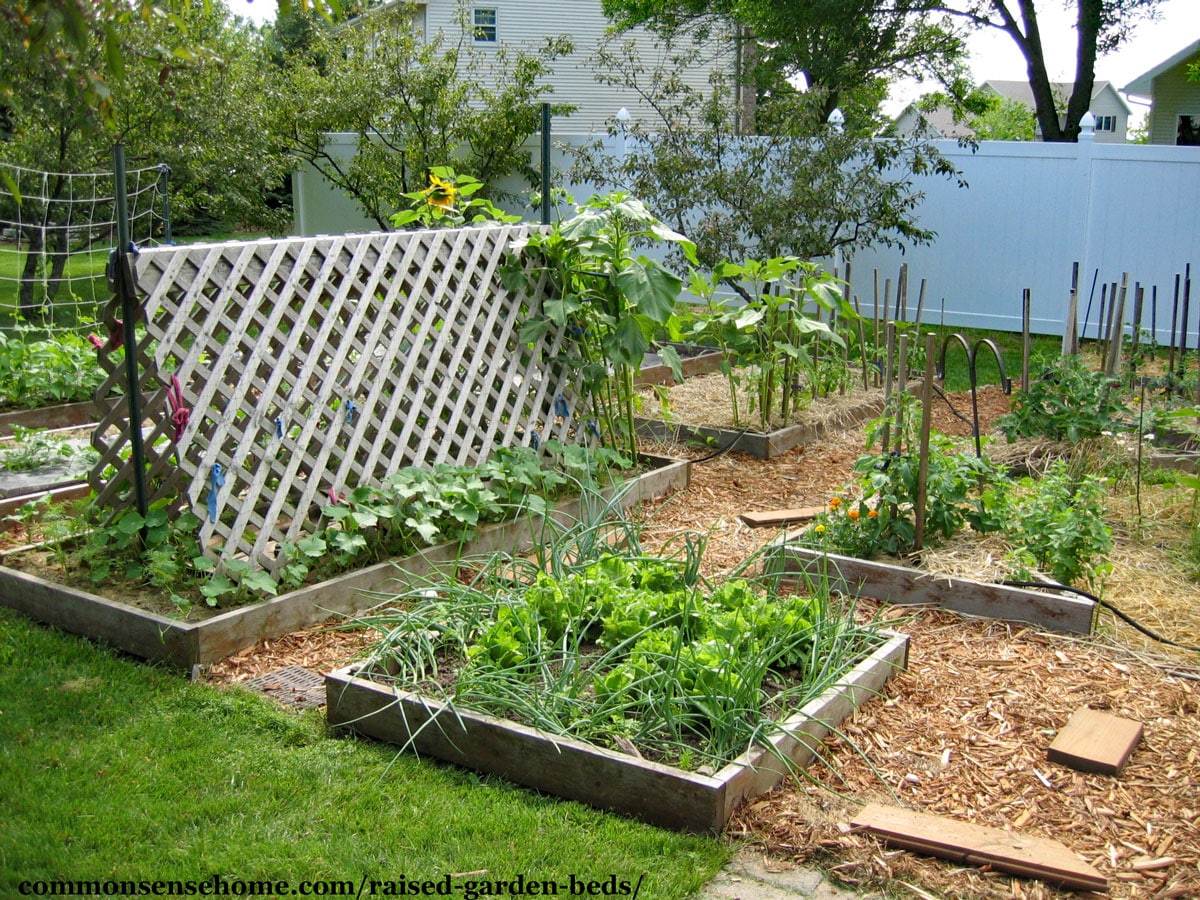
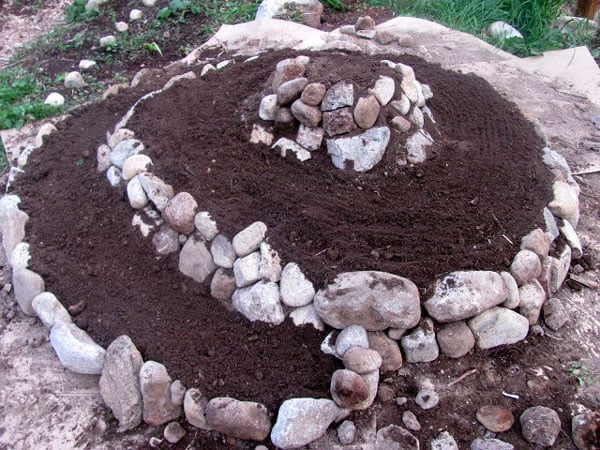
Vertical gardening is growing plants “up” instead of “out”. It includes everything from indoor vertical hydroponic setups, to hanging pots, to raised beds and trellises. Trees, tall shrubs, and “green walls” can also help turn empty space into useful space.
11 Vertical Garden Advantages
I use vertical gardening to make plants easier to care for, reduce disease and predation, and produce a larger crop in less space. Vertical elements add visual interest and focal points.
See “Vertical Vegetable Garden Ideas (Over 20 Photos)” for more ways to use vertical gardening.
1. Grow More in Less Space
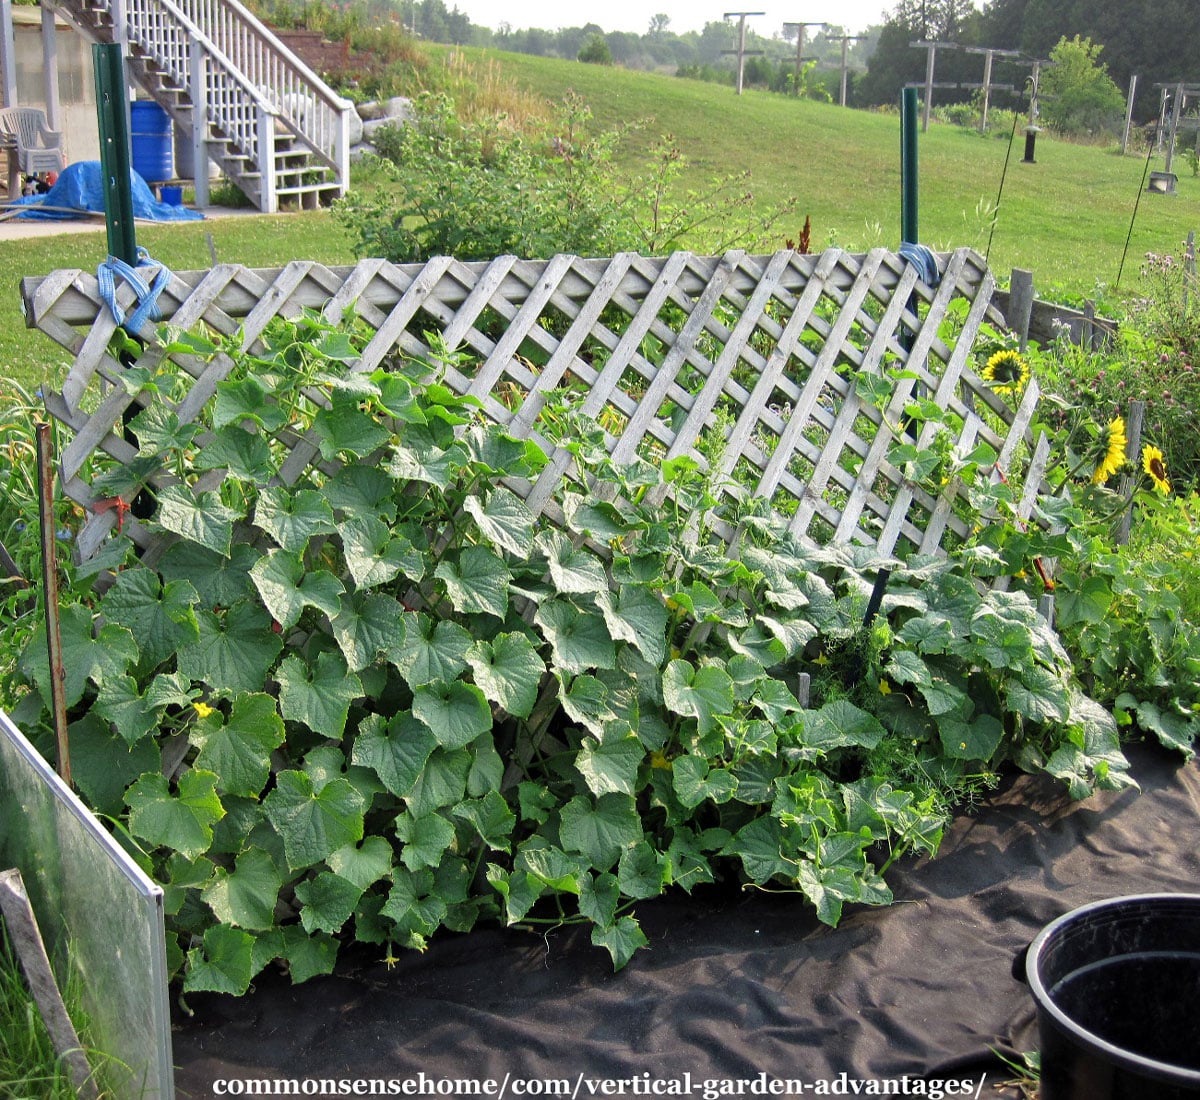
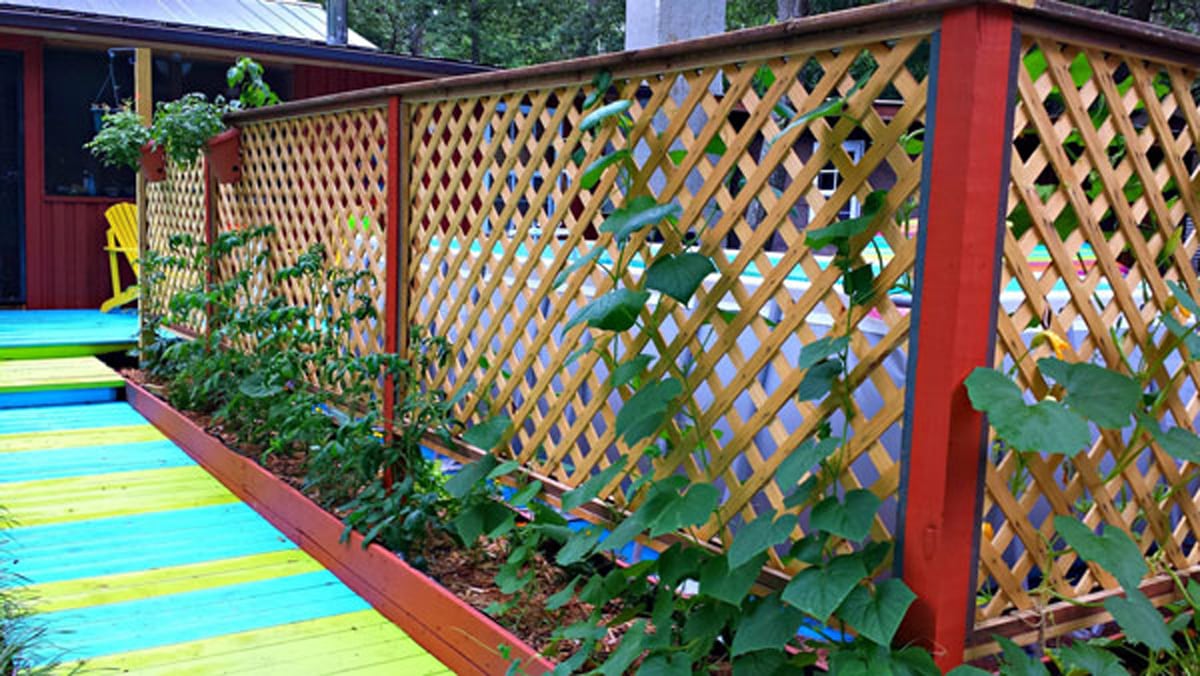
Growing plants vertically means you can have a wider variety of plants in the same footprint. You can either stack containers with small plants, or train larger vining plants on trellises so they don’t take over the whole garden.
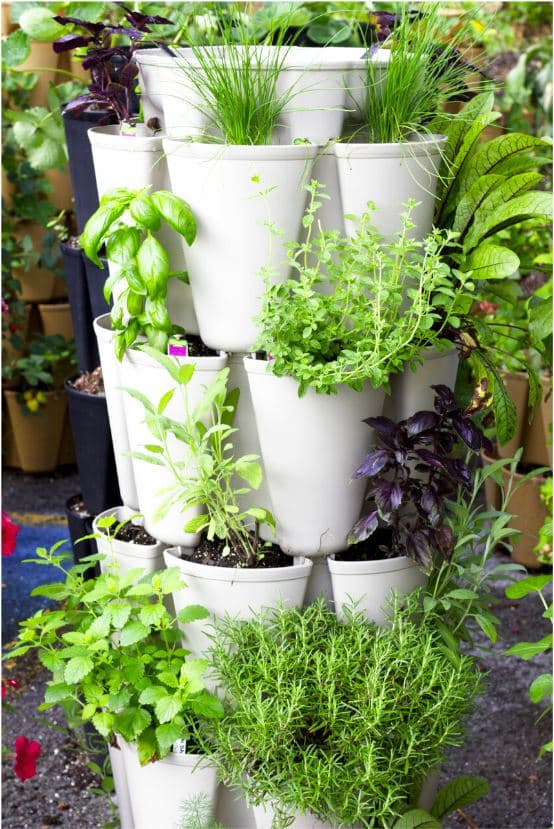
Good options for stacked containers include: lettuces and other leafy greens; radishes, carrots, and other smaller root vegetables; herbs, and strawberries. Potato towers are a good fit in some areas.
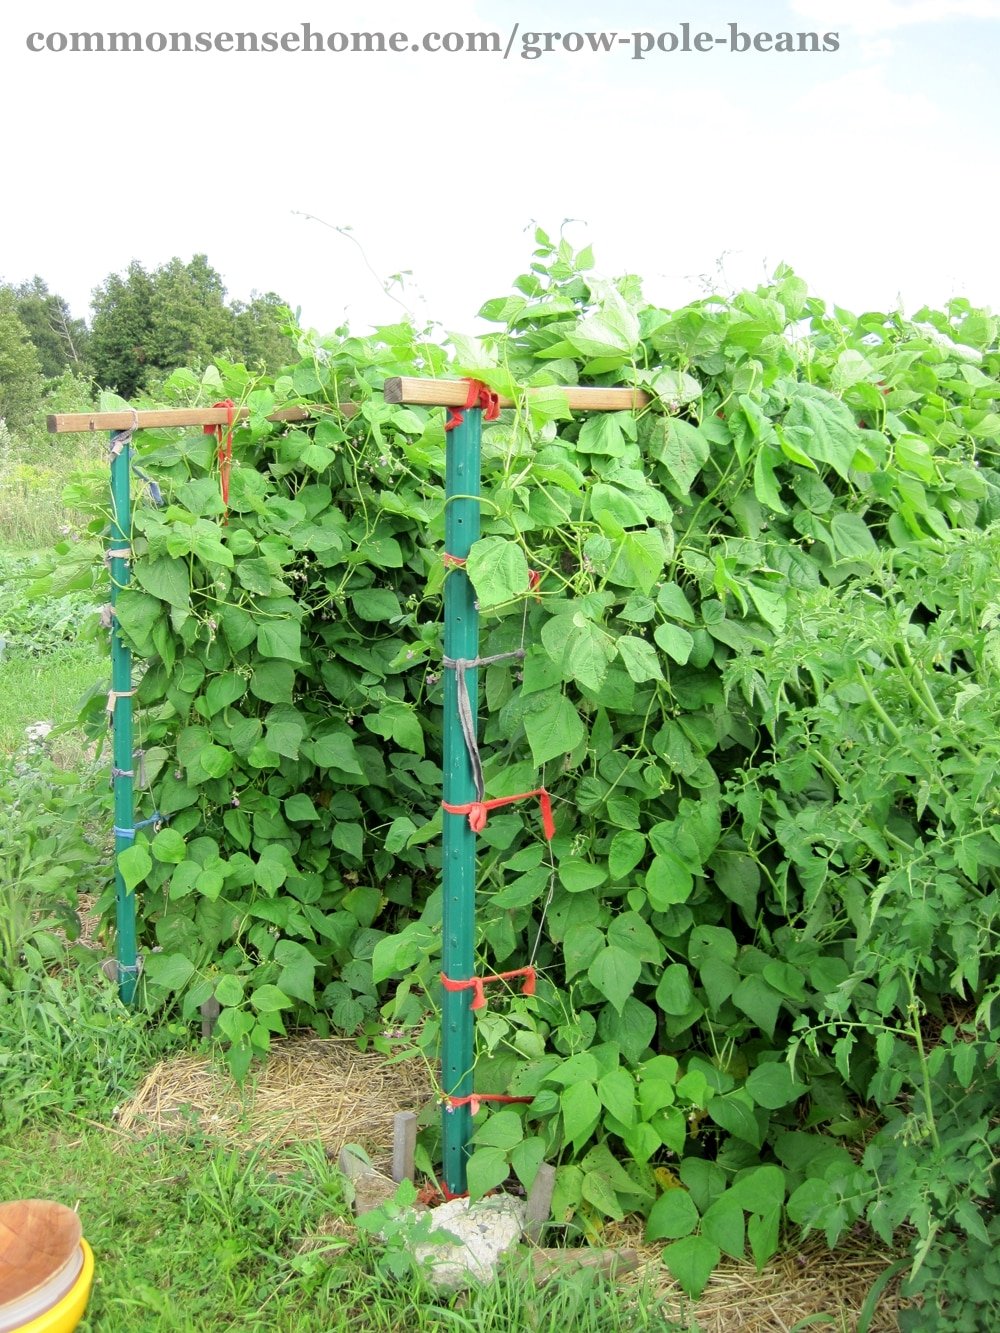
See “5+ Terrific Tomato Trellis Ideas” and “How to Grow Lots of Pole Beans for Easy Picking and Preserving” for more detailed information.
2. Better Air Circulation
Trellising improves air flow so leaves dry more quickly. This reduces the risk of fungal diseases.
Vertical gardening is also an advantage for fighting soil borne pathogens. When used in combination with mulch, soil diseases spread much more slowly. (Or they don’t spread at all.)
3. Less Pest Pressure
Reducing pest damage is another vertical gardening advantage. My mom rarely took time to trellis her tomatoes, and we always found tomatoes with damage from mice and slugs at harvest time.
Training your crops up protects the plants from ground dwelling pests. It doesn’t completely eliminate the damage, but it does help.
4. Compensates for Poor Soil
Raised beds and container gardens are a great option where soil is poor – or you have no soil (like patio gardens).
I thought this time lapse video of making a lasagna garden bed was a great example of creating something out of nothing with an afternoon of effort and a mix of mostly recycled materials.
5. Easier Weed Control
I use some of my weeds for food and medicine, but I don’t let them grow completely out of control.
When plants are trained up, it’s easier to mulch around them. This is another benefit of vertical gardening.
6. Easier Garden Access
For those with limited mobility due to health reasons, raised beds can make gardening possible again. Self watering containers and hanging planters placed at a convenient height enable even those with wheelchairs or walkers to tend plants.
Would you like to save this?
7. Creates Microclimates
In our area, we plant taller crops and place trellises to the north to block the wind. If you have crops that need cooler temperatures, you can place tall crops and trellises to provide shade from the sunlight.
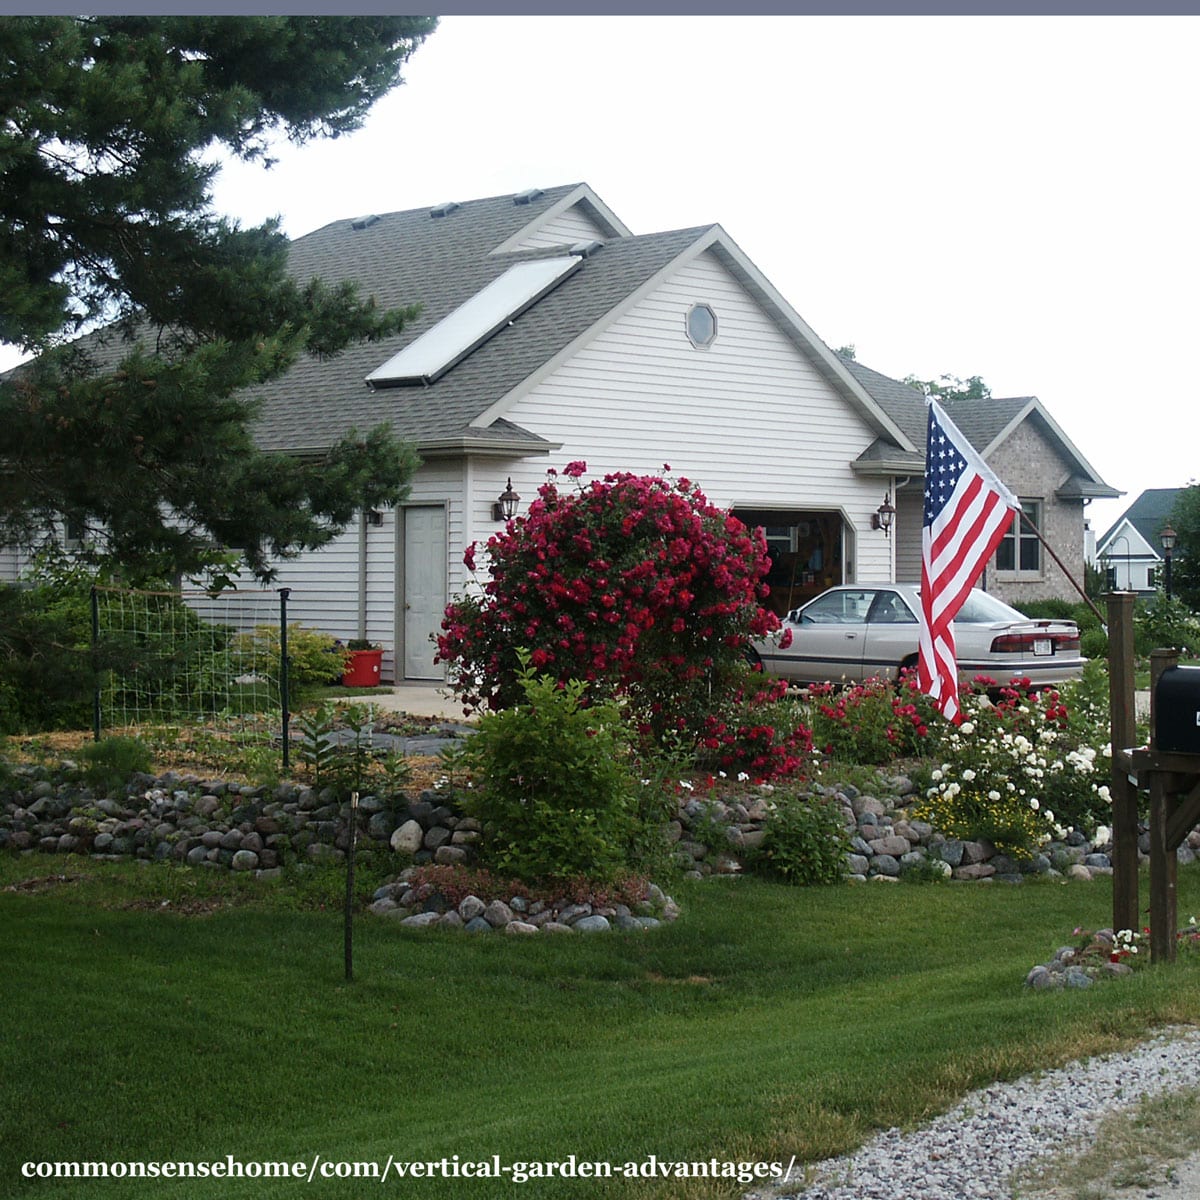
Planting edible landscape plants as a protective green wall around your garden can help shelter tender seedlings and moderate extremes of both hot and cold temperature.
8. Shelters and Protects your Home
Planted on the south side (north side in the southern hemisphere), deciduous vines, trees and shrubs shield your home from the summer sun. Leaves give off moisture, which also creates a cooling effect.
See “9 Tips Everyone Should Know for Keeping Your House Cool” for more information.
In cold climates, plant trees and shrubs to block prevailing winds to reduce your heating load. Planting wind break evergreen trees was one of the first tasks we tackled after moving out to the country.
Plants absorb carbon dioxide and release oxygen, so they can also help improve air quality.
9. Adds Privacy
Strategically placed hedges and trellises can shield with windows of your home and outdoor spaces from overly curious passersby.
You can also used hanging or tiered planters inside near the windows to bring green spaces inside. Vertical garden plantings can shield unsightly views, such as garbage cans or a busy roadway.
10. Cleaner, Easier Harvest
Another vertical gardening advantage is that my trellised tomatoes, beans and cucumbers are clean right off the vine. This is a far cry from the mud and dust covered produce I remember gathering as a child. It’s so much easier to pick pole beans than to spend hours bent over rows of bush beans.
Vertical gardening makes it easier to spot any damaged produce and use it up before it spoils, because bumps and bruises aren’t hidden under grime.
11. Vertical garden elements look cool!
I love looking at my garden almost as much as I like eating the crops. Wandering through the garden, it’s a pleasure to see the vines trailing up the trellises and see salad greens protected from bolting in the shade. Low, mid and tall crops hum with pollinators.
These are some of my favorite benefits of vertical gardening. Growing up instead of out takes a little more work initially, but the end result is well worth it.
Disadvantages of Vertical Gardening
As much as I love the advantages of vertical gardening, there are a few disadvantages, too.
If you opt for pots or other raised planters, they will dry out faster than in ground beds. You’ll need to water regularly, use drip irrigation, or try self watering planters.
Greenstalk tower planters have a central watering conduit that waters evenly throughout the planter. They may be a good fit for a deck or patio with a flat, level surface.
Use discount code “COMMONSENSE10” to get 10% off your Greenstalk purchase.
Beware of high winds! I’ve seen a ton of vertical garden ideas with containers stacked up on old ladders or pots arranged like a toddler’s set of blocks. These would not work in my garden, because of damage due to high winds.
All my trellises are securely anchored, and any planter that can’t be anchored comes inside during rough weather.
Fabric pocket planters are trouble. If you choose a planter that mounts on a wall, make sure it’s not going to damage the wall. Soil needs to be moist, so a fabric planter on a wooden wall will cause rot.
If they have enough room, plants will grow roots that are as big or bigger than their parts above ground. Small pocket planters don’t have enough root room for plants to grow and thrive.
More Gardening Tips
We have over 100 gardening articles on the site, including:
Small Garden, Big Yields – 10 Tips for a Great Harvest
How to Start a Garden – 10 Steps to Gardening for Beginners
Companion Planting in the Garden (The Easy Way) – Includes Printable Chart
Originally published in 2010, last updated in 2022.

My father would plant sweet corn very early, then when the corn was ready to pick he would plant what the old timers called cow peas (black eyed peas) at the base of the corn stalks about a week before the corn was harvested ! After corn harvest the corn stalks start to dry giving the peas something to climb on ! I guess you could plant a crop of pole beans in the same manner ? ?
If you had enough season, you probably could. In The Resilient Gardener, the author talked about planting pole beans and corn together, but starting the beans shortly after the corn, and allowing significantly wider spacing so that the beans got enough light.
Hi Laurie: I love your website and emails, thank you for some great ideas that I will definitely be using. I have 3 acres, but most of it is wooded, so my gardening space is limited (until I can clear more land). I was wondering if you have ever tried growing beans by training them to grow up corn stalks and if so, how did it work out for you?
Hi Debi. Glad you enjoy the site and newsletter.
I’m 0 for 2 on the beans and corn stalks combo. I think there are three main hiccups.
1 – The timing has to be just right, so your beans don’t get ahead of your corn and strangle it. (This happened the first time I tried.)
2 – You need to spread out your corn so it takes up more space than normal in order for the beans to get enough light. (I plant my corn in rows that are in a block, with narrow pathways, for good pollination and to conserve space. This was the demise of bean planting attempt #2. The corn was too close and shaded out the beans.)
3 – I think that the arrangement works best with shell beans and flint (dried) corn, so that all can be harvested together and you don’t need to get into the patch during the season. If the beans (and squash, if you add them in for a full Three Sisters planting) grow big enough to act as a good ground cover, the patch becomes nearly impossible to walk in without stepping on something.
Now if you only had a couple rows of corn in a smaller bed, #2 and 3 would be less of an issue.
Love the idea to use cloth to tie! I’m always happy to learn a new use for old things.
Have you tried growing strawberries vertically? And if yes, did you get good results with them?
We have two beautiful strawberry farms just minutes from our home, so I haven’t grown strawberries here.
I’ve used the P.V.C. pipe with holes up and down the length with one end buried in the ground or a large tub and have used hanging baskets ! Either method works just fine and keeps the ground critters from eating the delicious berries, but remember they have to be watered fed nutrients more frequently than the ones grown in the ground (the basket and pipe method has less soil and nutrients to hold water) Try either methods and see which one you prefer !
have you grown squash vertically?
Not yet, because we get a lot of strong winds, and I have the space to grow it on the ground.
If growing squash on trellises or cattle panels, heres an old trick that’s been used for years and it works to keep squash from pulling lose from the vine ! take some old pantyhose or nylons, cut the legs into two pieces (one piece will have an open end and need to be tied, slip over the squash and tie to the trellis or panel, the hose will expand with the squash but won’t let it tear or pull the vine (I’ve used this method before and it works( try it if you wish
I’ve also seen the pantyhose fashioned into slings to secure the squash. Thanks for sharing your experience, Lester. It sounds like you do quite a bit of vertical gardening.
I would love to know how too make the vertical hanging garden you have on pintrest with succulents in it made from pvc piping
That’s not a project I did. Someone made up an unrelated photo and linked to my site. Why, I don’t know. I’ve been talking to a friend of mine who raises succulents to see if she can duplicate the project.
Thanks for the great ideas! We’re adding more vertical elements to our garden this year. We’ve foraged some great bamboo and have been making some bean tepees out of them.
No bamboo here, but I hear it makes really sturdy trellis.
Your video, with **great** music, showing planting lasagna garden with hay bales etc is wonderfully encouraging! Just wonderfully!
Your post gives me a lot to think about when I get a yard of my own (hopefully!) someday.
I’m thinking vertically with my balcony container garden by adding hanging plants this year as well as creating bamboo stick tipis for my cucumbers and beans.
Sounds like a great place to start! 🙂
Love that you are sharing this! I use cattle panel for my garden. It is very difficult to unroll fencing. It is also a bit flimsy. Panel last for many many years. they run around $20 a panel but they are well worth it. they also come in different sizes, I think they start at 12′ and go to 20′. Place them with T-post and zip ties. So quick and easy!!
Again, love that you are sharing this! BTW, loved loved loved you post confessions-of-a-messy-gardener that is so me!! And your wild-crafting series!
Please have a look at my web page if you have time http://blog.cherylsdelights.com/
I know a number of people use cattle panel and love it. For me in the storage space I have, it’s easier to roll up the fencing and just use a few extra posts.
Just popped over to your site – looks like lots of fun recipes and tips. 🙂
thank so much!
Hi Annette! Always good to hear from you. 🙂 I hope all is well on your urban homestead. I'm so excited for you and your upcoming book.
ha! The first post that caught my eye and of course if was yours. Thanks for linking up Laurie!
I heart you! xo, Sustainble Eats
Hi Andrea! Thanks for stopping by. I had to start moderating posts because I was getting some really weird spam showing up, so I see any new comments, even on old posts.
The "tethers" I use are generally fabric strips of some sort (I cut up our old sweatpants). I like fabric because it seems to be gentler on the plants, and can be untied and reused for several seasons (especially if you use slip knots). I use all cotton fabric, so when it rots it can just go right into the compost, too.
You could also use twine and get cut the whole thing down and throw it in the compost pile at the end of the season.
Back when I was still able to garden I used a lot of welded cattle panels for cucumbers, peas and anything that liked to climb ! I also used cattle panels for my tomatoes, I used steel posts to have something to tie the panels to. I set one row of posts and panels, planted the tomatoes then set another row of posts and panels about 10-inches from the first row (sandwiching the plants between rows of posts and panels) ! This will naturally keep the plants from falling over but allows picking of the produce (this also goes for peas and cucumbers) ! The posts and panels can be used for many, many years ! Believe it or not, during an electrical storm the panels and posts take the small electrical currents from the air caused by the lightening and transfer them into the ground and form nitrogen in the soil that keeps the plants growing ! If you don’t believe me check it out at the library or on the Internet ! Have you ever noticed that plants and grass look greener and taller after an electrical storm ? ? I’m now in a power wheelchair and on oxygen 24/7 ! I will have to ave someone build some raised beds (the bottoms about 30-inches off the ground so I can get my legs under them), about 48-inches wide (so I can reach the center from both sides), 8-feet long with sides about 8-10 inches tall ! I know someone in a neighboring town who has raised beds like these and he has some of the most beautiful gardens I’v ever seen ! ! !
I believe I heard something about the nitrogen buildup from electrical storms some years ago, but never pursued it. Started searching a bit on it and came across this article from 2017, “Nabbing nitrogen from the air to make fertilizer on the farm“. Sounds like it may be promising technology that could be implemented on a small scale in lieu of well placed electrical storms.
I hope you find your raised bed builder and can keep gardening. It sounds like you have a lot of experience.
I love your blog! I added it to my reader.
This is an old post, so I don't know if you'll receive this question, but would you mind explaining what you mean by dropping "tethers" down from your crossbeam for the tomatoes? I am always trying to improve my tomato staking, and this sounds really promising.
Thank you!