
Homemade Marshmallow Recipe (No Corn Syrup)

This post may contain affiliate links. Read my full disclosure here.
There’s something magical about homemade marshmallows. Whether you’re gathering around a backyard fire pit on a cool autumn evening or stirring mugs of hot cocoa after shoveling snow, marshmallows have a way of making ordinary moments feel a little more special.
The good news is that you don’t need corn syrup or a long list of mystery ingredients to make soft, fluffy marshmallows. With just a handful of pantry staples, you can make marshmallows that have a cleaner flavor and melt beautifully into hot drinks.
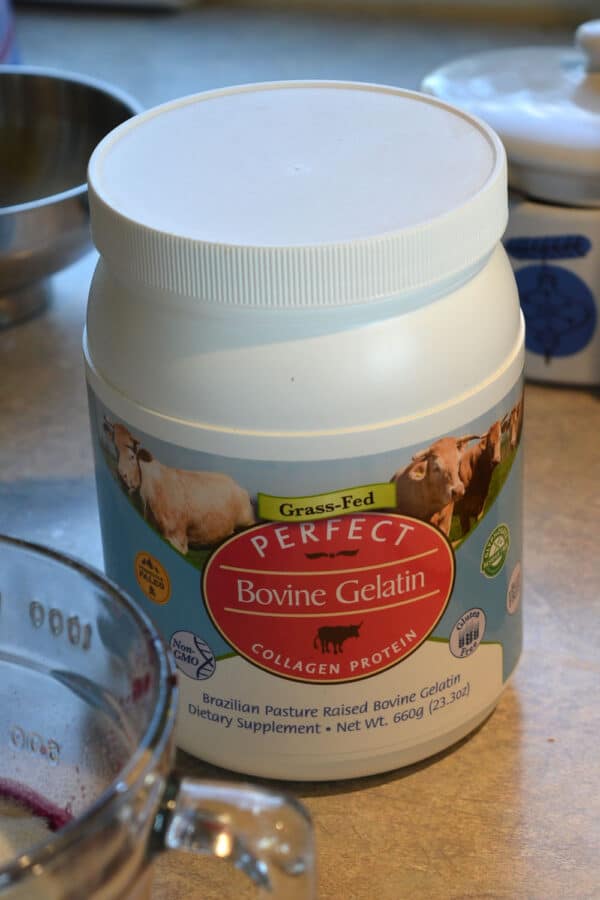
I make mine with Perfect Supplements glyphosate-free grass-fed gelatin. Gelatin provides the structure that allows marshmallows to whip up light and fluffy. Grass-fed gelatin is made from pasture-raised cattle and is minimally processed. This produces consistent results while avoiding the artificial colors, flavors, and preservatives found in many commercial marshmallows.
Would you like to save this?
Table of Contents
Why Make Homemade Marshmallows?
Most commercial marshmallows rely on corn syrup to prevent crystallization and create a smooth texture. While it certainly works, it isn’t the only option.
Making your own allows you to:
- Skip the corn syrup, tetrasodium pyrophosphate, and Blue #1
- Control the quality of ingredients
- Adjust the sweetness
- Flavor them naturally
- Make seasonal variations
Once you’ve made marshmallows from scratch, you’ll probably be surprised at how much better they taste than the store-bought version.
Ingredients
- 3 tablespoons gelatin
- 1 cup cold water, divided
- 2 cups granulated sugar
- ¼ teaspoon cream of tartar (helps prevent crystallization)
- Pinch of sea salt
- 2 teaspoons vanilla extract
- Powdered sugar and arrowroot powder (or cornstarch, if preferred) for dusting
Equipment
You’ll also need:
- Stand mixer with whisk attachment
- Heavy saucepan
- Candy thermometer
- 8×8-inch prepared pan
- Parchment paper
- Oil or butter for greasing
- Offset spatula (helpful, not essential if you don’t mind a more rustic look)
- Sharp knife or kitchen scissors
- Large sieve for dusting
Prepare the Pan
Before you begin cooking, line your pan with parchment paper. Lightly grease the paper and sides of the pan.
Mix together:
- ½ cup powdered sugar
- ½ cup arrowroot powder (or cornstarch)
Dust the bottom of the pan generously. This keeps the marshmallows from sticking.
Bloom the Gelatin
Pour ½ cup cold water into the bowl of your stand mixer with whisk attachment. Sprinkle the gelatin evenly over the water to create the gelatin mixture.
Allow it to sit for 10 to 15 minutes while you prepare the syrup. Blooming gives the gelatin time to fully hydrate for the fluffiest finished marshmallows.
Cook the Sugar Syrup
In a heavy saucepan combine:
- 2 cups granulated sugar
- Remaining ½ cup cold water
- Cream of tartar
- Salt
Heat over medium high heat, stirring only until the sugar dissolves. Once dissolved, stop stirring and allow the syrup to cook until it reaches 240°F (soft-ball stage) on a candy thermometer. Avoid scraping sugar crystals from the sides of the pan into the syrup.
Whip Everything Together
Turn the mixer on low to loosen the bloomed gelatin. With the mixer running, carefully pour the hot syrup down the side of the bowl.
Once incorporated, gradually increase the mixer speed. Continue to increase the speed until the mixer reaches high. Whip for approximately 10-12 minutes.
The mixture will:
- Triple in volume
- Turn bright white
- Become thick and glossy
- Hold soft peaks
Finally, add the vanilla and mix for another 30 seconds.
Spread into the Prepared Pan
Working quickly, transfer the sticky mixture into the prepared pan. An offset spatula lightly greased with oil makes this much easier. Use a regular spatula if you don’t have an offset one.
Smooth the top as evenly as possible. Dust generously with additional powdered sugar mixture. Allow the marshmallows to sit at room temperature for at least 6 hours or overnight. Do not refrigerate, as excess moisture can make them sticky.
Cut the Marshmallows
Once fully set, lift the slab out using the parchment paper. Place it on a dusted cutting board. Use a lightly oiled sharp knife to cut the marshmallow into squares. After cutting, toss each marshmallow in additional powdered sugar mixture until coated on every side.
Homemade Marshmallow Variations
Once you’ve mastered the basic recipe, it’s easy to customize. Sprinkle in the flavor powders with the mixer running on low after the extract has been added. Mix just until evenly combined (15–30 seconds).
- Peppermint Marshmallows – Replace half the vanilla with peppermint extract for holiday treats.
- Maple Marshmallows – Replace part of the sugar with pure maple syrup. The texture will be slightly softer with a wonderful maple flavor.
- Cinnamon Spice – Add roughly 1-2 teaspoons (total) of cinnamon, ginger, and nutmeg for fall.
- Chocolate – Whisk 2–4 tablespoons of cocoa powder into the finished marshmallow mixture before spreading.
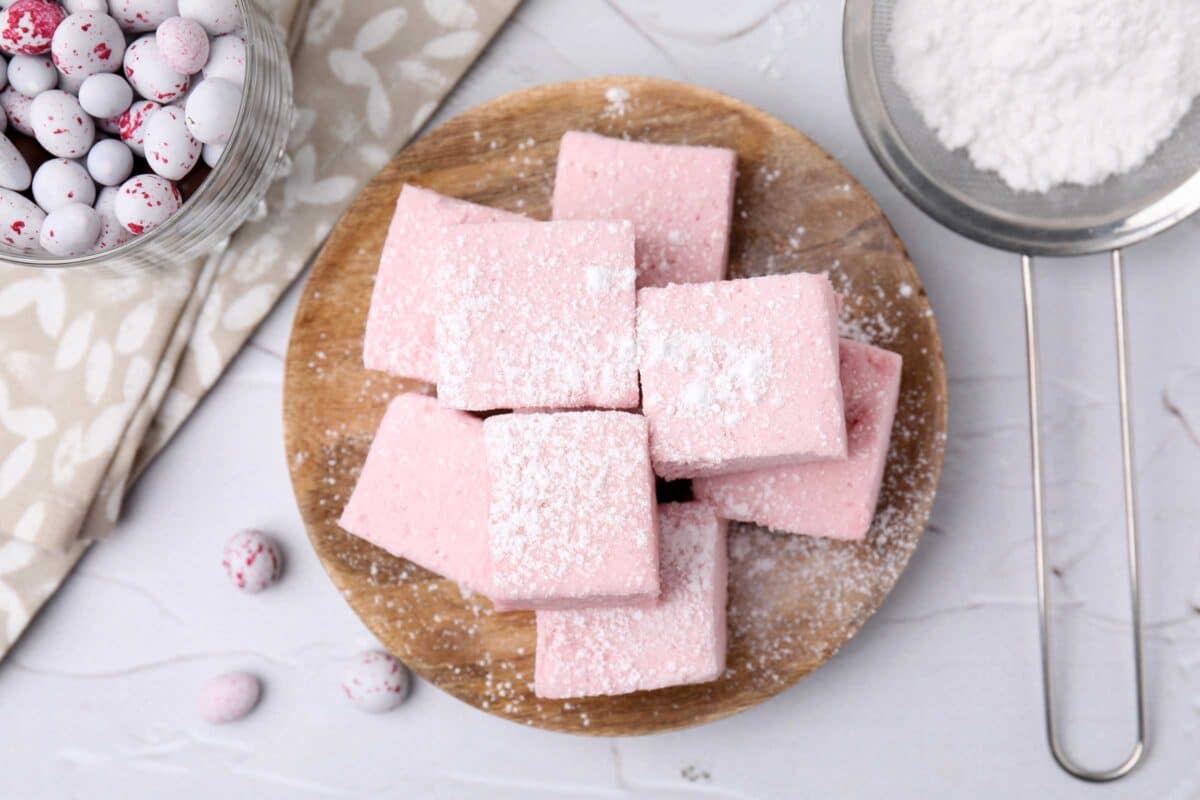
- Strawberry – Use 2–4 tablespoons of freeze-dried strawberry powder for naturally pink marshmallows. The color gets darker as the marshmallows rest.
How to Store Homemade Marshmallows
Store marshmallows in an airtight container at cool room temperature.
Properly coated marshmallows generally stay fresh for:
- 2-3 weeks on the counter
- Up to one month in a cool pantry
Avoid humid conditions whenever possible.
Can You Freeze Homemade Marshmallows?
Yes. Freeze them in a single layer before transferring to airtight freezer containers. Allow them to thaw at room temperature before serving.
Troubleshooting
If at first you don’t succeed – try these troubleshooting tips.
My Marshmallows Didn’t Set
Usually the sugar syrup didn’t reach 240°F, or the gelatin wasn’t measured accurately.
They’re Too Sticky
Dust with additional powdered sugar mixture. High humidity also makes marshmallows sticky.
They’re Grainy
Sugar crystals likely formed while cooking. Avoid stirring after the syrup begins boiling.
They’re Too Dense
Whip longer. The mixture should nearly triple in volume before pouring into the pan.
Frequently Asked Questions
Traditional recipes often use corn syrup to prevent sugar crystals from forming. This version uses cream of tartar and careful temperature control instead. I avoid corn syrup because most corn in the United States is genetically modified.
A powerful hand mixer can work, but a stand mixer with whisk attachment makes whipping much easier. The mixture becomes extremely thick as it cools.
A candy thermometer gives the most reliable results. Reaching the correct soft-ball stage (240°F) is one of the biggest factors in getting fluffy marshmallows that set properly.
Absolutely. Almond, peppermint, maple, orange, coffee, or lemon extracts all work well. Add them after whipping, along with or instead of the vanilla extract.
They’re still a sweet treat. Homemade marshmallows let you choose higher-quality ingredients, avoid corn syrup, and skip preservatives, artificial flavors, and unnecessary additives.
Homemade Marshmallow Recipe (No Corn Syrup)
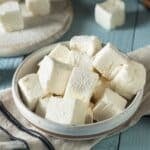
These fluffy homemade marshmallows are corn syrup free and sure to make a memorable treat.
- Prep Time: 20 minutes
- Rest Time: 360 minutes
- Cook Time: 10 minutes
- Total Time: 6 hours 30 minutes
- Yield: About 64 1-inch marshmallows 1x
Ingredients
- 3 tablespoons gelatin
- 1 cup cold water, divided
- 2 cups granulated sugar
- 1/4 teaspoon cream of tartar (helps prevent crystallization)
- Pinch of sea salt
- 2 teaspoons vanilla extract
- Powdered sugar and arrowroot powder (or cornstarch, if preferred) for dusting
Instructions
- Prepare the Pan – Before you begin cooking, line your pan with parchment paper. Lightly grease the paper and sides of the pan. Mix together: ½ cup powdered sugar, ½ cup arrowroot powder (or cornstarch). Dust the bottom of the pan generously. This keeps the marshmallows from sticking.
- Bloom the Gelatin – Pour ½ cup cold water into the bowl of your stand mixer with whisk attachment. Sprinkle the gelatin evenly over the water to create the gelatin mixture. Allow it to sit for 10 to 15 minutes while you prepare the syrup. Blooming gives the gelatin time to fully hydrate for the fluffiest finished marshmallows.
- Cook the Sugar Syrup – In a heavy saucepan combine: 2 cups granulated sugar, Remaining ½ cup cold water, Cream of tartar, Salt. Heat over medium high heat, stirring only until the sugar dissolves. Once dissolved, stop stirring and allow the syrup to cook until it reaches 240°F (soft-ball stage) on a candy thermometer. Avoid scraping sugar crystals from the sides of the pan into the syrup.
- Whip Everything Together – Turn the mixer on low to loosen the bloomed gelatin. With the mixer running, carefully pour the hot syrup down the side of the bowl. Once incorporated, gradually increase the mixer speed. Continue to increase the speed until the mixer reaches high. Whip for approximately 10-12 minutes. The mixture will: Triple in volume, Turn bright white, Become thick and glossy, Hold soft peaks. Finally, add the vanilla and mix for another 30 seconds.
- Spread into the Prepared Pan – Working quickly, transfer the sticky mixture into the prepared pan. An offset spatula lightly greased with oil makes this much easier. Smooth the top as evenly as possible. Dust generously with additional powdered sugar mixture. Allow the marshmallows to sit at room temperature for at least 6 hours or overnight. Do not refrigerate, as excess moisture can make them sticky.
- Cut the Marshmallows – Once fully set, lift the slab out using the parchment paper. Place it on a dusted cutting board. Use a lightly oiled sharp knife to cut the marshmallow into squares. After cutting, toss each marshmallow in additional powdered sugar mixture until coated on every side.
Notes
Store marshmallows in an airtight container at cool room temperature. Properly coated marshmallows generally stay fresh for: 2-3 weeks on the counter, up to one month in a cool pantry. Avoid humid conditions whenever possible.
Ways to Enjoy Homemade Marshmallows
These marshmallows are wonderful:
- Floating in homemade hot cocoa
- Toasted over a campfire
- Sandwiched into classic s’mores
- Added to sweet potato casserole
- Chopped into homemade rocky road
- Mixed into popcorn treats or rice cereal treats
- Packaged for holiday gifts
- Included in preparedness pantry treats for morale during stressful times
Sometimes resilience isn’t just about having enough food stored away. It’s also about preserving traditions and creating moments that remind us life is still worth celebrating. A batch of homemade marshmallows on a snowy afternoon or around an autumn bonfire brings people together in a way that store-bought treats rarely do.
You may also enjoy:
- Zucchini Gummy Candy (Fruit Juice Sweetened)
- Easy Pumpkin Dip – Fluffy and Delicious
- Finger Jello Made with Fruit Juice and Gelatin
- Cozy Mulled Apple Cider with Flavor Variations
- Easy Elderberry Gummies

This article is written by Laurie Neverman. Laurie grew up in the kitchen, learning baking and home cooking from her momma. At age 15, she and her mom and two sisters created Irene’s Custom Cakes & Catering, which was her summer job through most of high school and college.