Growing Rhubarb – How to Plant, Grow and Harvest the “Pie Plant”
This post may contain affiliate links. Read my full disclosure here.
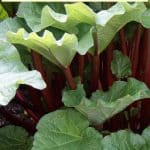
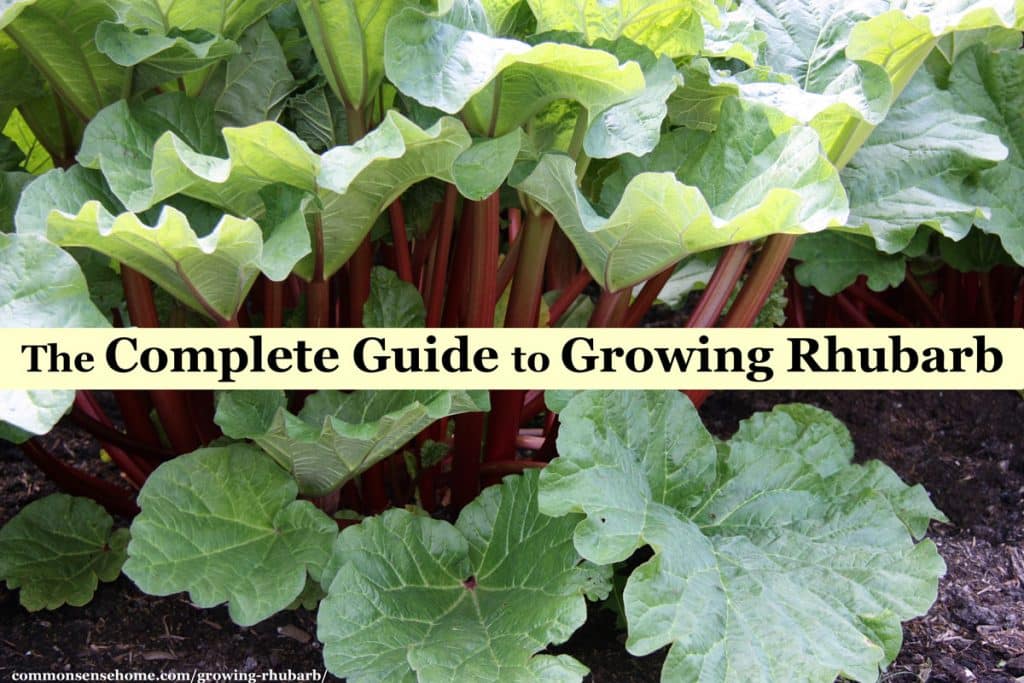
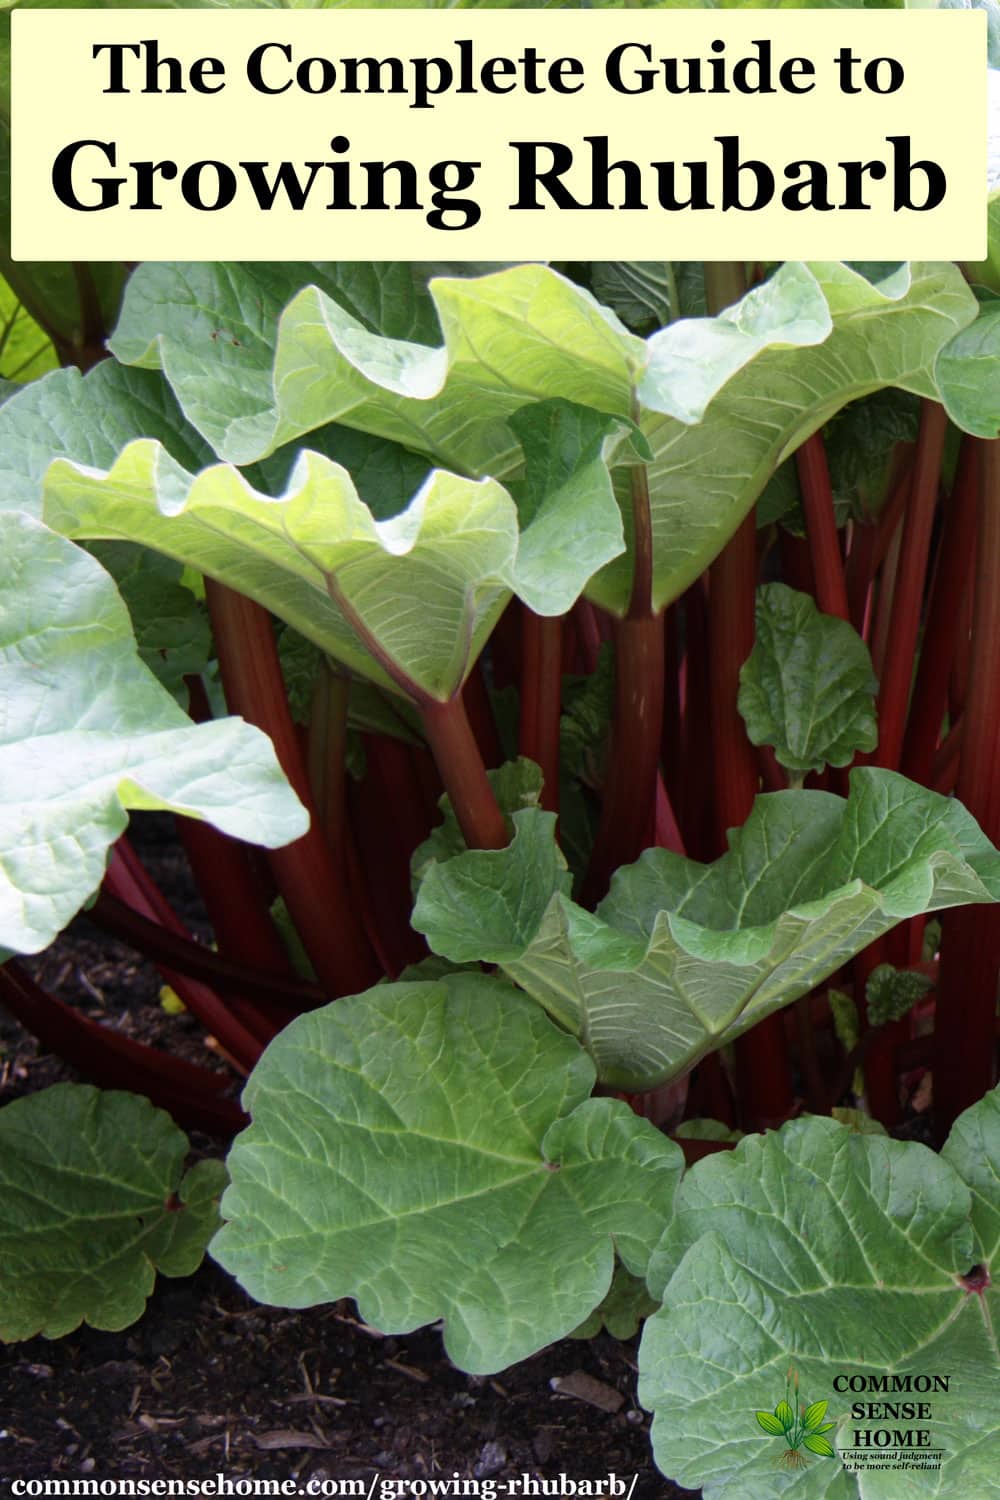
Rhubarb is a perennial vegetable used for both sweet and savory recipes. The crisp, tart stalks are one of the first harvests of spring. Like asparagus, a well-tended rhubarb patch may last for decades, so it pays to start your plant out right. We’ll walk you through growing rhubarb, from planting to harvest, and share tips to keep your plants healthy producing an abundant harvest for years to come.
How to Grow Rhubarb – Preparing the Planting Area
Rhubarb needs:
Cool growing conditions – Rhubarb is classified as a cool season perennial. It needs winter temperatures below 40F/5C and growing season temperatures less than 75F/24C. (Sorry southern readers!)
Slightly acidic pH – Rhubarb can tolerate a pH down to 5.0, but prefers a pH of 6.0 to 6.8.
Well-drained soil – Use raised beds or large containers where standing water may be an issue. Water logged roots will rot.
Sunlight – Like asparagus, rhubarb prefers full sun, but will tolerate light shade. (See below about season extension.) Try to plant where you have five or more hours of daylight exposure.
Fertile soil – Rhubarb plants are heavy feeders. Before you set in new plants, work composted manure or other organic matter into the soil. Don’t use fresh manure. The high level of nitrates can kill the plants.
Low or no weed competition – As with asparagus, it’s best to smother weeds/clear the area before planting. Because rhubarb grows more densely than asparagus, it has an easier time out-competing weeds once established, but you’ll have a healthier, more productive patch if you clear the weeds.
Space to Grow – Space plants about 2-3 feet apart.
Planting Rhubarb
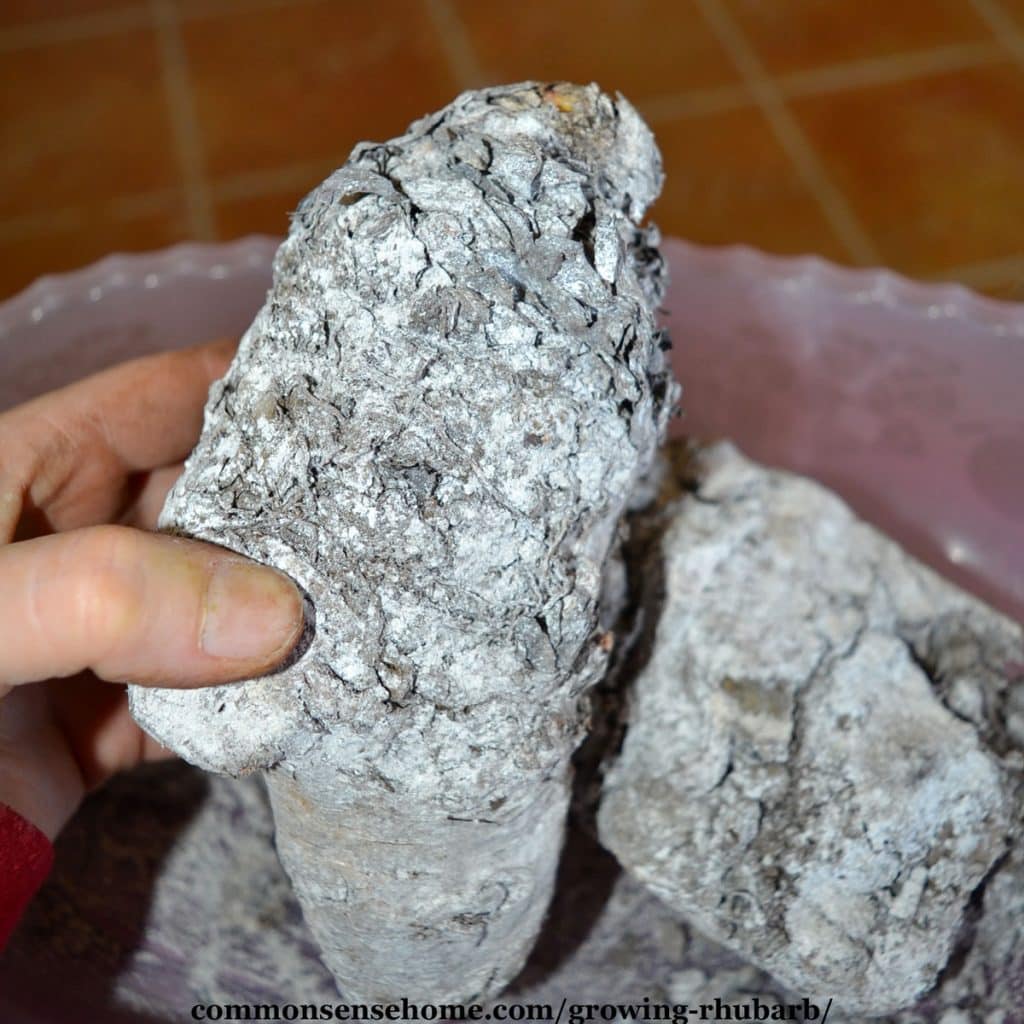
Establish a new patch with purchased rhubarb crowns, plants from a nursery, or a start from an older plant. As with asparagus, rhubarb seeds may not grow true to type and would take a very long time to be ready to harvest.
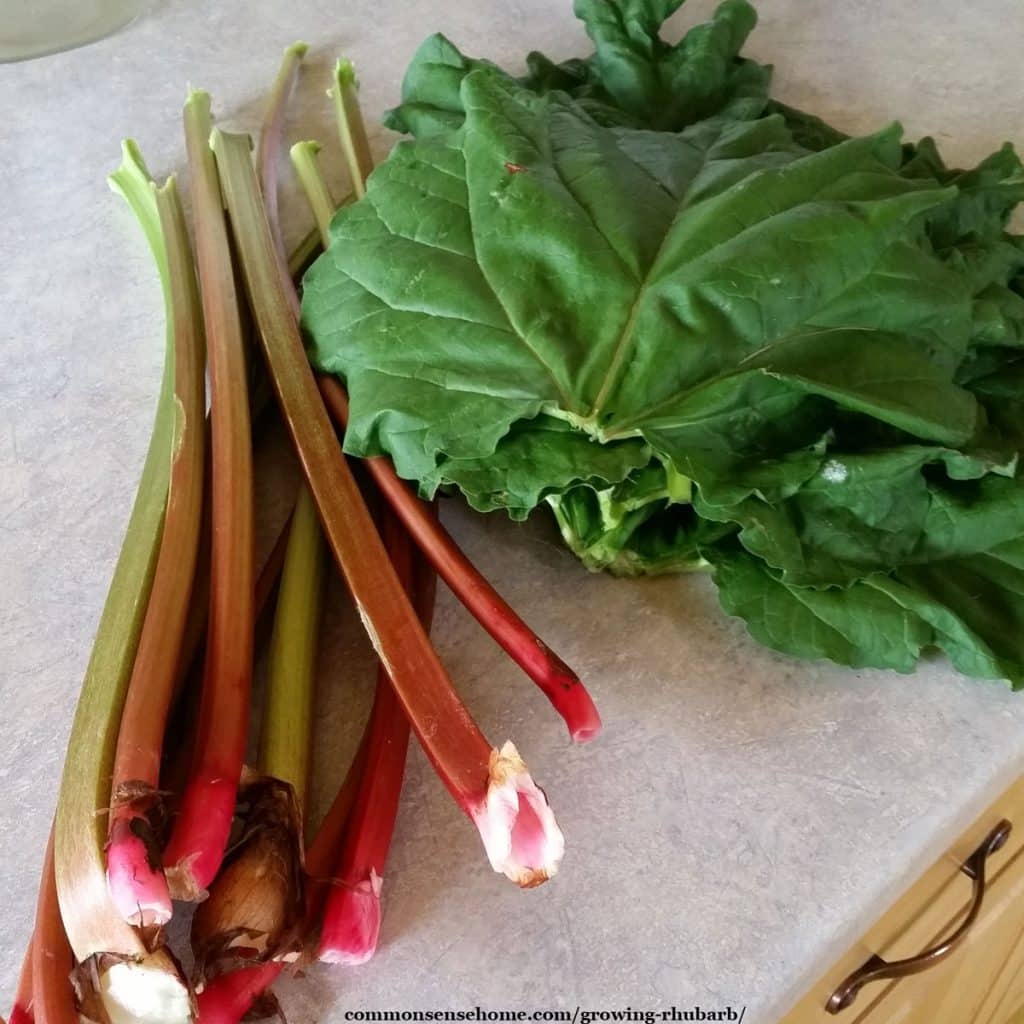
To take a start from an established plant, use a sharp garden spade to slice down through the crown of the plant. Do this in early spring, before the leaves start to unfurl. Lift out a section of the crown. Cut the crown into portions with at least two vigorous buds (pink knobs) each.
Plant the crowns 4 to 6 inches deep and spaced 2 feet apart in rows 3-4 feet apart. As the plant mature, the leaves will create a wide canopy. If you live in a humid area, wider spacing is better to improve airflow around the plants.
Mulch the plants with straw, leaves or other organic matter. This reduces weed pressure and retains moisture. Mulch also helps to reduce temperature swings in the soil, and keeps the plants from breaking dormancy too early and being injured by frost.
Care of Rhubarb Plants
Fertilize. Growing rhubarb is growing a big, leafy green (even though we don’t eat the leaves). To encourage vigorous growth, pull back the mulch and add a nitrogen rich fertilizer such as rotted manure in early spring. Another light feeding after the harvest finishes is also helpful.
As the plant starts to fade in fall, you can top dress with some rock phosphate every couple of years to boost root growth. Do not use a high nitrogen fertilizer late in the season. The plant needs to rest for the winter.
Make sure plants get adequate water. The rhubarb plants are deep rooted and will survive with minimal water, but the stalks will be tough and bitter.
Remove flower stalks as they appear to keep the plants producing. As the season goes on, established rhubarb plants shoot up a thick stem from the center of the plant. If left, this stem will produce flowers, which triggers the plant to stop producing leaves. Twist and remove flower stalks.
To extend the season, plant some of your rhubarb in partial shade. It will start growing later in the season, but will stay tender a month after plantings in full sun have gotten woody and tough.
Rhubarb should be relocated or divided every 6 to 8 years according to the book, but I have a planting that is still holding its own after 30 years. Good care goes a long way towards crop health.
Rhubarb does not die off in winter, but it does die back to below ground level. It can be helpful to mark young plants until your patch is well established so they don’t get stepped on.
Rhubarb Pests and Diseases
My plants don’t have many troubles – even the deer don’t bother them. Crown rot can be a problem in wet soils. It damages the buds and causes weak, spindly stems. Dig and burn infected plants.
Would you like to save this?
Leaf spot appears as lesions on the leaves that cause tissue death, leaving the leaves looking as though they were shot full of holes. It’s spread by spores that overwinter on debris, so clearing out infected leaves is recommended. The stalks are still edible even if the leaves don’t look great.
Rhubarb curculio, a small, dapple grey insect with long snout, sometimes attacks the stems. Hand pick to remove.
Slugs and flea beetles may also attack rhubarb, especially young plants. See “The Ultimate Guide to Garden Pest Control” for tips on controlling these pests.
When to Harvest Rhubarb
Do not eat the leaves of the plant, eat only the stalks.
The broad green leaves contain large amounts of soluble oxalates and are poisonous. The stalks contain harmless malic acid. According to The Rhubarb Compendium, it would take around 11 pounds of leaves to kill a person, less than that can make you sick.
It’s also best to avoid eating rhubarb stalks after frost, as the frost can cause oxalic acid to migrate from the leaves to the stems. Too much oxalic acid can cause kidney stones, abdominal pain, nausea and other nasty symptoms.
Is rhubarb safe for dogs?
Like humans, dogs can eat the stalk but should not eat rhubarb leaves. For small dogs, it’s best to avoid rhubarb altogether, and even large dogs shouldn’t eat a large amount. See “Can my dog eat rhubarb?” for more information.
Don’t harvest during the first year of growth. Begin harvesting rhubarb the second year after planting. Choose firm stalks that are 12 to 18 inches long.
Harvest the stems by pull and twisting upward and to one side. Don’t leave stubs of leaves behind. Cut off the leaves and use them as mulch in the patch, compost or to make bug spray.
Harvest may extend through spring and into early summer. (8-10 weeks) Stop harvesting when stems get thinner and less vigorous, to let the plant charge up for the next season. Never harvest all the stalks.
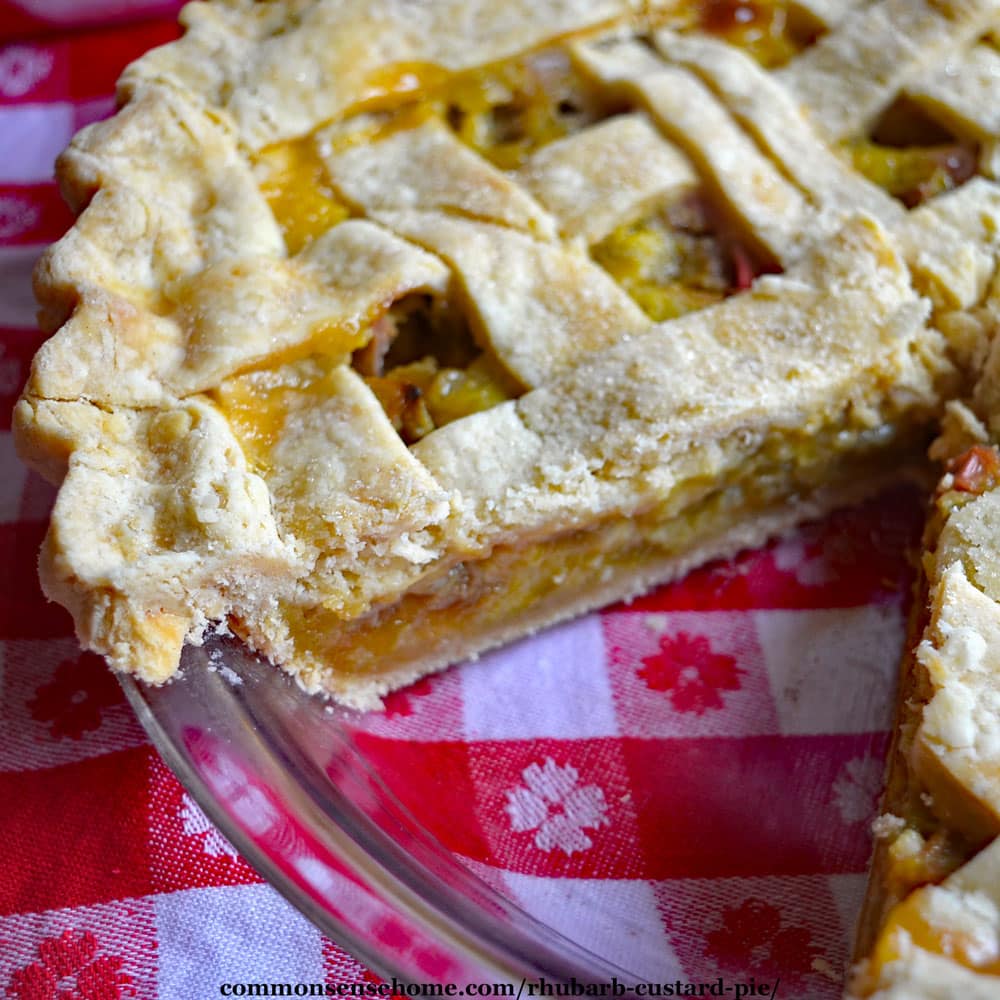
The first rhubarb stems of spring will be the sweetest and most tender – perfect for rhubarb pie or rhubarb pudding cake. Use later harvests in recipes that require longer cooking, like strawberry-rhubarb jam, rhubarb barbeque sauce and rhubarb-orange compote or rhubarb wine.
If you don’t use your rhubarb right away, you can store stalks in the crisper drawer of the fridge for about a week.
Freeze rhubarb by washing, chopping and storing in freezer bags or containers. Frozen rhubarb works well for making rhubarbade. Rhubarb can also be dehydrated or freeze dried.
There you have it – the basics of growing rhubarb. It takes a bit of an investment of time but you will be rewarded for years to come!
More Gardening Ideas
We have over 100 gardening posts on the site, listed and sorted by category on the Common Sense Gardening page.
They include:
- Starting Seeds Indoors – 11 Steps to Help You Plant Seeds with Confidence
- Grow Your Own Pepitas (Hulless Pumpkin Seeds)
- 5+ Terrific Tomato Trellis Ideas

This post is by Laurie Neverman’s brother, Richard Poplawski. Since his service in the Marines, Rich has been a mechanic, fabricator and “fix just about anything” guy for over 20 years.
He lives in northwest Wisconsin in the farmhouse that was owned by his grandparents, and maintains a large orchard and perennial plantings, as well as a vegetable garden. He loves spending time with his grandkids, introducing them to gardening or getting in some fishing with “Papa Rich”.
Other article by Richard include:
- Thawing Frozen Pipes – 3 Ways to Safely Thaw Out Frozen Pipes
- Car Won’t Start in the Cold? Check Out these Troubleshooting Tips
- 5 Things You Need to Know Before You Buy a Wood Burning Stove
Originally published in 2012, updated in 2019.
where do you get rhubarb from? I never see it for sale anywhere.. thank you
Do you mean rhubarb plants? Many mail order nurseries have them. Some of our local nurseries sell live plants.
Grocery stores sometimes stock fresh rhubarb seasonally, or frozen rhubarb year round.
Very informative and interesting. How do you make bug spray from rhubarb leaves and what bugs does the spray work on?
The text that is in a different color on the site is a link to more information. In this case, it links to the bug spray instructions here – https://commonsensehome.com/homemade-bug-spray/
The spray works best on soft bodied insects like aphids, spider mites, thrips, and the eggs, larval and nymph stages of other garden pests such as squash bugs and cabbage worms.
I’ve heard you should not pick rhubarb after the 4th of July in Minnesota. What are your thoughts?
It depends on how large and how vigorous your planting is.
My mom had a huge old patch that would keep going well into the summer, but ours is just getting established, so we harvest more likely earlier in the season.
You never want to over-harvest your rhubarb, so you should always leaves ample stalks behind no matter when you harvest. Stalk production will naturally slow as the season progresses.
We are in MN also and have some ‘large’ plants that are a strawberry/rhubarb type. They are pushing up thru the snow in late March/early April and we take stalks all year into late October, but not after first 40F nights. Later pickings usually end up as sauce or chopped and frozen for use during winter.
Great point about pulling off stalks, don’t cut them. Pulling stimulates the root to grow a replace the stalk. Cutting off a stalk does not.
Yours must be a well established patch. I’ve noticed that the younger patches die back sooner in summer, but older patches can hold up to longer pickings. I figure most folks just getting started should allow plenty of time for the stalks to charge up the roots for winter.
Can I grow rhubarb in a pot, I don’t have a large backyard?
Probably, but you should use a large pot, probably 2- 5 gallons.
I’m in San Diego zone 10 and planted 6 Glaskin roots and 2 Victoria plants this year for the first time. I had fruit from 6 out of 8 of them while the others 2 (glaskin) were stunted. Some were in full sun and others with varying sun/shade. I watered them all the same, everyday (my whole garden gets water everyday because it “never” rains). The temperature has been in the high 70’s-80’s in July and a few days of 90. My question now is what do i do with the plants that have died back to nothing? Some of them are in pots, others the ground. My two victoria are still thriving. Do I continue to water the plants with no leaves or put them in the shade and water occasionally. Or, does such an early die off mean the plants are dead?
I’d put them in the shade and water occasionally. They may have just gone dormant for the season.
I loved this article! I am new to rhubarb having just moved to the North GA mountains where rhubarb can grow. I bought a beautiful plant this spring and it is doing very well! I do have a beetle I’ve never seen before – kind of an iridescent blackish goldcolor and they seem to be constantly mating! I do mot use pesticides, so I pick them off and kill them. There are holes in the leaves the size of seeet peas, yet the plant seems unfased.
Thank you for sharing your knowledge!
You’re welcome. You might be able to use diatomaceous earth to slow down the beetles, or go out in the morning and knock them into a bucket of soapy water to keep their numbers down.
I wish that I could grow rhubarb here in So. Nevada, but to hot unless I could get it up and ripe (if that’s the right word) before mid-May. Mine would have to be in a big pot. Can’t hardly find in the frozen foods here either…..sad.
What a great idea to use the leaves for bug control, I will have to try that! I inherited a few crowns split off my mom’s plants, was needing a resource to figure out why some of the plantings were doing better than others. The one in the most shade seems to be doing best, but I think I may have deprived the full-sun plants of water… I’m going to get some more water and fertilizer on all of them STAT. Thanks for a great article!
Great article.
We have old drums with top & bottom cut out placed around our rhubarb. They help to encourage long stems.
Interesting. I have not seen that for rhubarb.
can I grow horseradish near rhubarb?
They can grow near each other in a perennial area of a yard, but both will require some room to spread. Horseradish is an aggressive grower, so harvesting the horseradish on the side closest to the rhubarb and making sure it doesn’t take over will be important.
My stalks don’t turn pink(except at the base). How do I know when it’s ready to pick?
Many varieties don’t have pink stalks. Simply harvest when the stalks are of good size. if you watch your plant, you’ll get an idea of normal max growth per stem. Some people end up with HUGE plants in certain growing areas (waist height), others have plants that are only a couple feet tall.
This was a great article. Very informative. Will be trying on our plant as it has been struggling to mature..