Grow Tomatoes from Seed – Save Money, Get More Varieties
This post may contain affiliate links. Read my full disclosure here.
When you grow tomatoes from seed, you grow many plants for the same amount of money you’d spend on just a few plants from the garden center.
You also have access to HUNDREDS of different tomato varieties – cherry tomatoes, paste tomatoes, slicers, heirlooms – in nearly every color of the rainbow.
We’ll walk you through the steps to grow tomatoes from seed, and then get into planting details and troubleshooting some common problems.
If you’re interested in saving seeds from year to year, see “How to Save Tomato Seeds“.
10 Steps to Growing Tomatoes from Seed
- Choose the right tomato varieties for your garden.
- Start seeds six to eight weeks before average last frost date.
- Use good seed starting mix and label your containers.
- Plant seeds 1/4 inch deep, and keep soil moist but not soaking wet.
- Use bottom heat to improve germination, but grow plants at cool room temperature. (Remove heater when sprouts appear.)
- Keep seedlings in a sunny window, or use a grow light for more consistent lighting. Turn off light at night (or use a timer) to let plants rest.
- Add a fan to provide gentle movement and strengthen stems.
- Move seedlings to larger pots as they grow.
- Harden seedlings before moving them to the garden.
- Plant deep in fertile soil with full sun and water well.
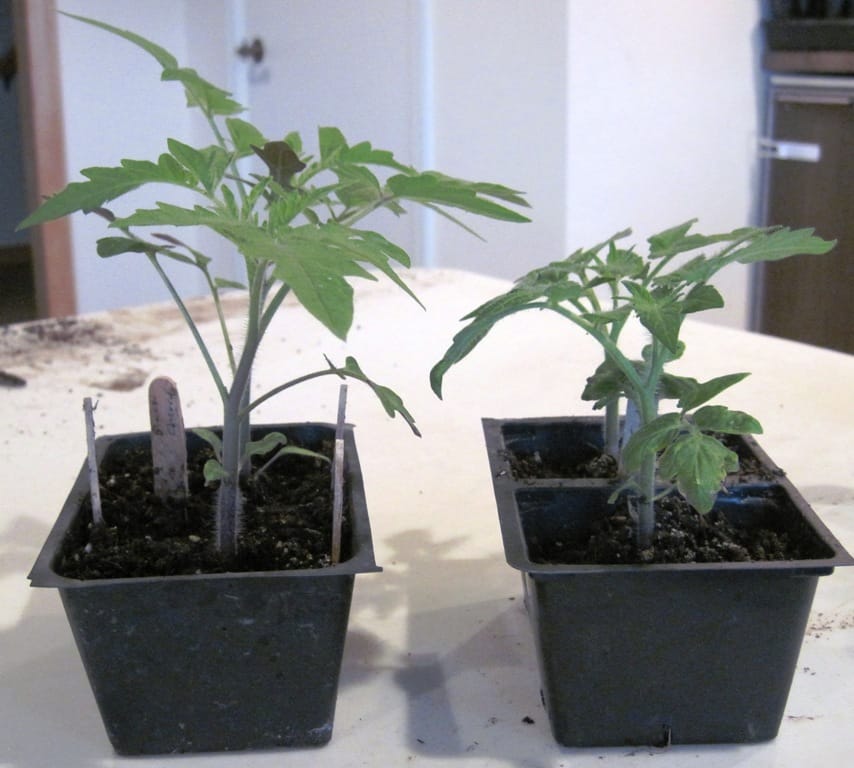
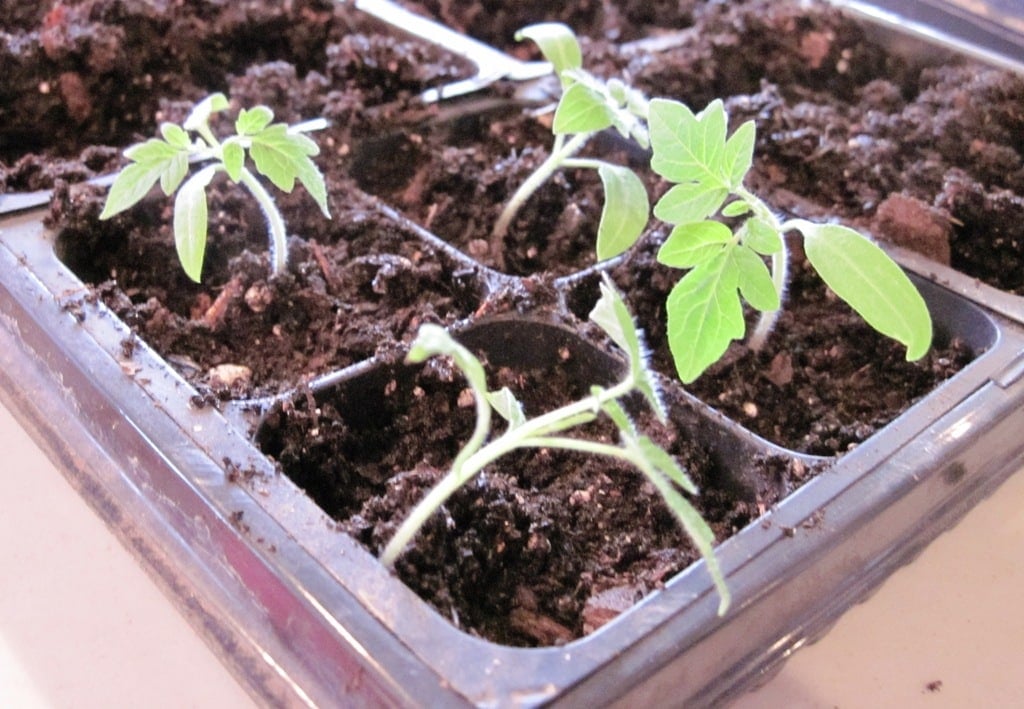
What’s the Difference Between Determinate and Indeterminate Tomatoes?
Indeterminate plants continue to grow and set fruit until frost – mine commonly reach six feet or more in height.
Determinate plants will grow to a more modest size (they may not require staking). They set all their fruit at roughly the same time and are ready for harvest during a narrow window of time.
Most heirloom varieties are indeterminate, while many modern hybrids are determinate.
Comparing indeterminate to determinate tomato seedlings, the indeterminate on the left is taller and leggier, while the determinate plant is smaller and stockier.
Which Potting Soil to Use to Grow Tomatoes from Seed
My favorite potting mix is FoxFarm Organic Potting Soil, which contains worm castings and other organic fertilizers right in the mix.
You can also make your own potting soil mixes, if you are so inclined.
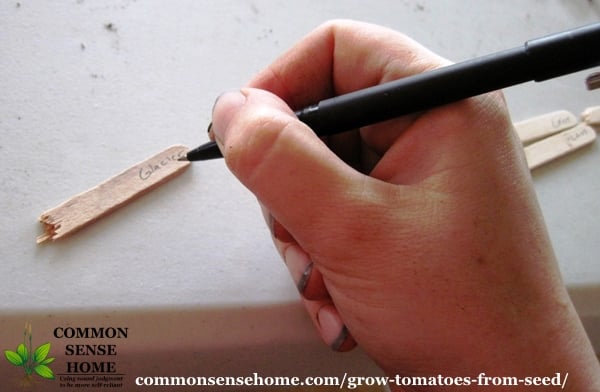
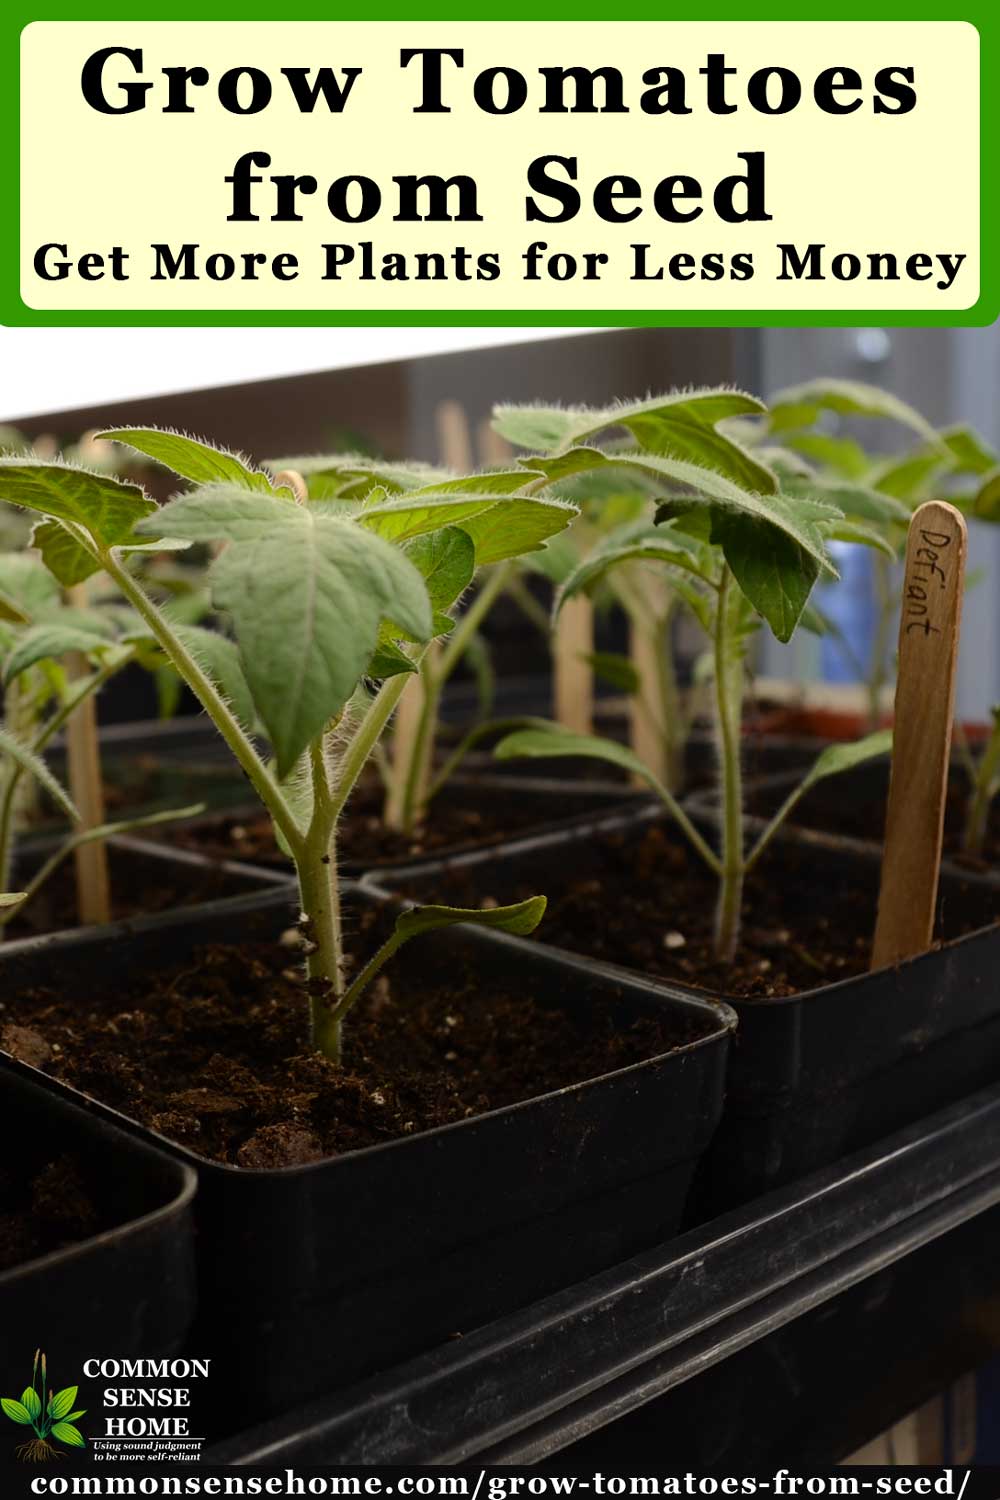
Marking Seedlings
I mark my seedlings using popsicle sticks broken in half. Popsicle sticks are cheap, durable, and can be tossed in the compost when they are no longer needed.
When Should I Start My Tomato Plants?
Start your seedlings inside about 6 to 8 weeks before your average last frost date. This helps you get a jump on the growing season, which is especially important for cold climate gardeners.
Check out the post When Should I Start My Seeds? Printable seed starting calendar to get a schedule for seed starting, hardening and planting out to the garden.
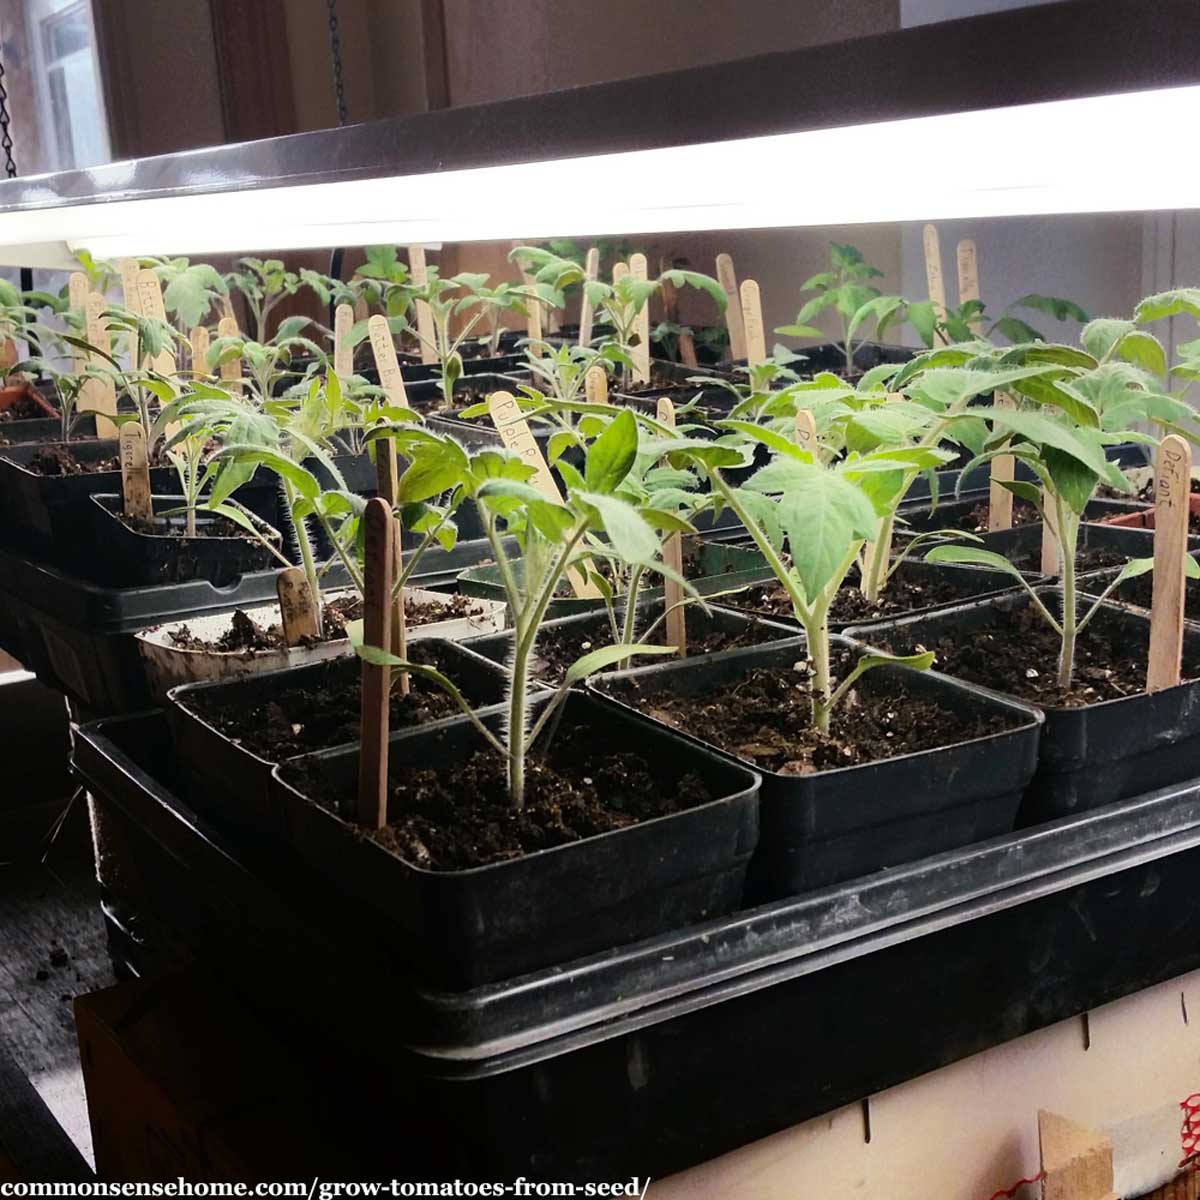
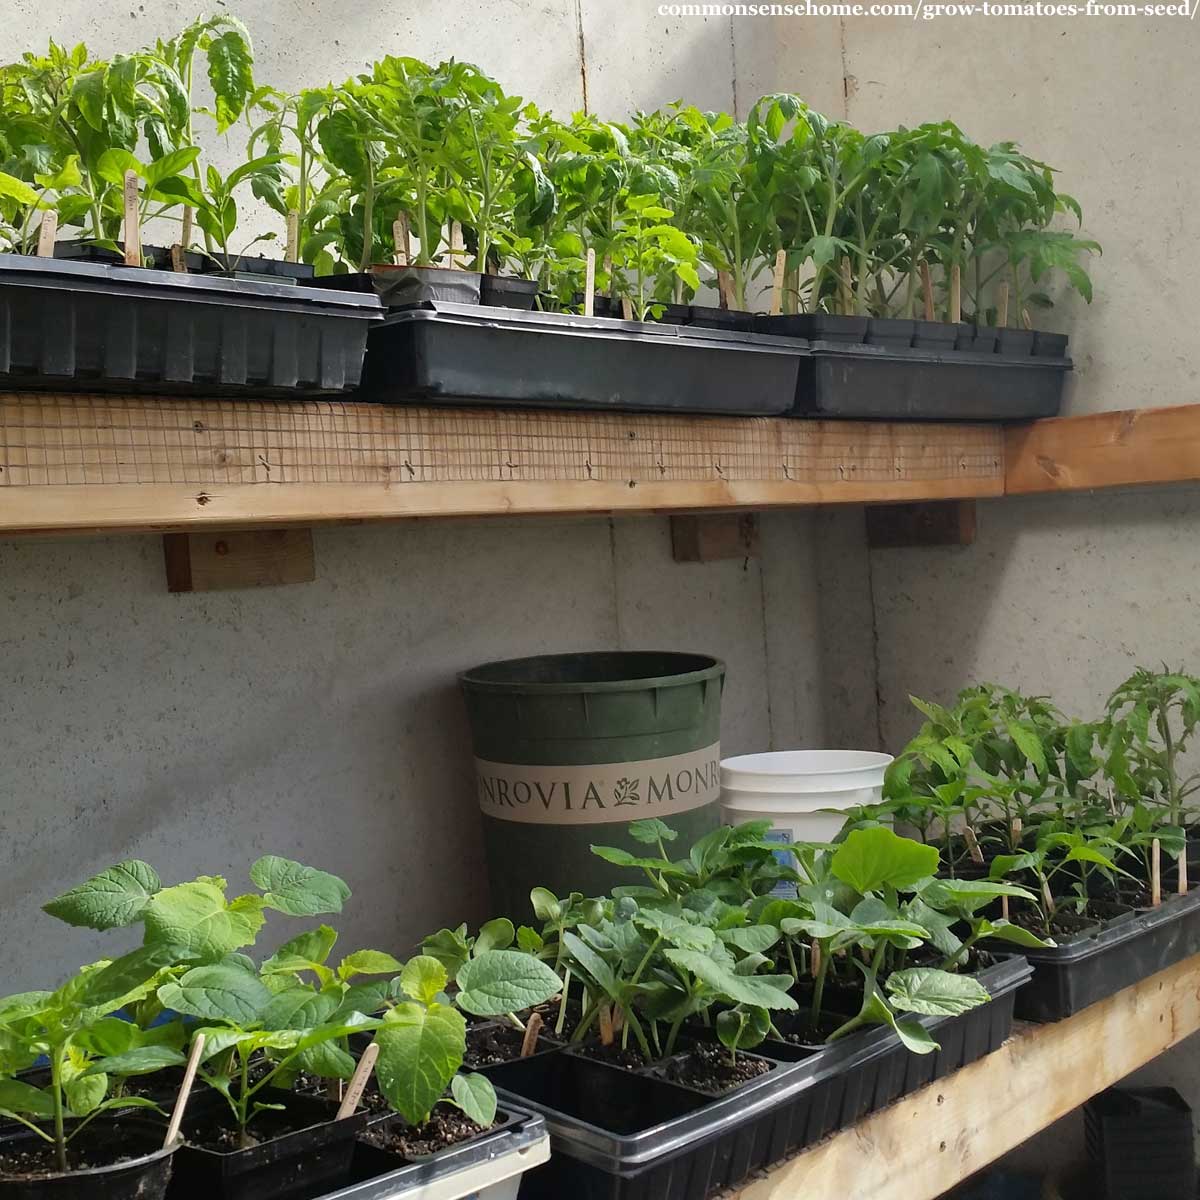
Containers for Starting Tomato Seedlings
I save the black plastic pots that you get from the greenhouse. They fit neatly in seedling trays (and under my grow lights on my seed starting shelves).
They also have drainage, last for many years, and stack easily for storage at the end of the season.
If it holds dirt and allows drainage, you can probably use it to start seeds, so use what you have available.
How Deep Should I Plant My Tomato Seeds?
As a rule of thumb, you want to plant seeds roughly three times as deep as the seed is wide, so tiny seeds stay on or near the surface, and larger seeds go a little deeper.
Plant tomato seeds around 1/4 inch deep, and gently tamp down the soil around the seeds.
Getting the Tomato Seeds to Germinate
Cover the seeds with a clear plastic cover, and put them in a well lit location. I like to give them a little jump start with a seedling heating mat underneath, since they like a little extra warmth to get going.
Can I Use Old Old Tomato Seeds (Left Over from Previous Years)?
Yes, you can use old seeds when you start tomatoes from seed.
Tomato seeds generally store quite well, but the germination rates decrease over time. Plant extra seeds to compensate for reduced germination.
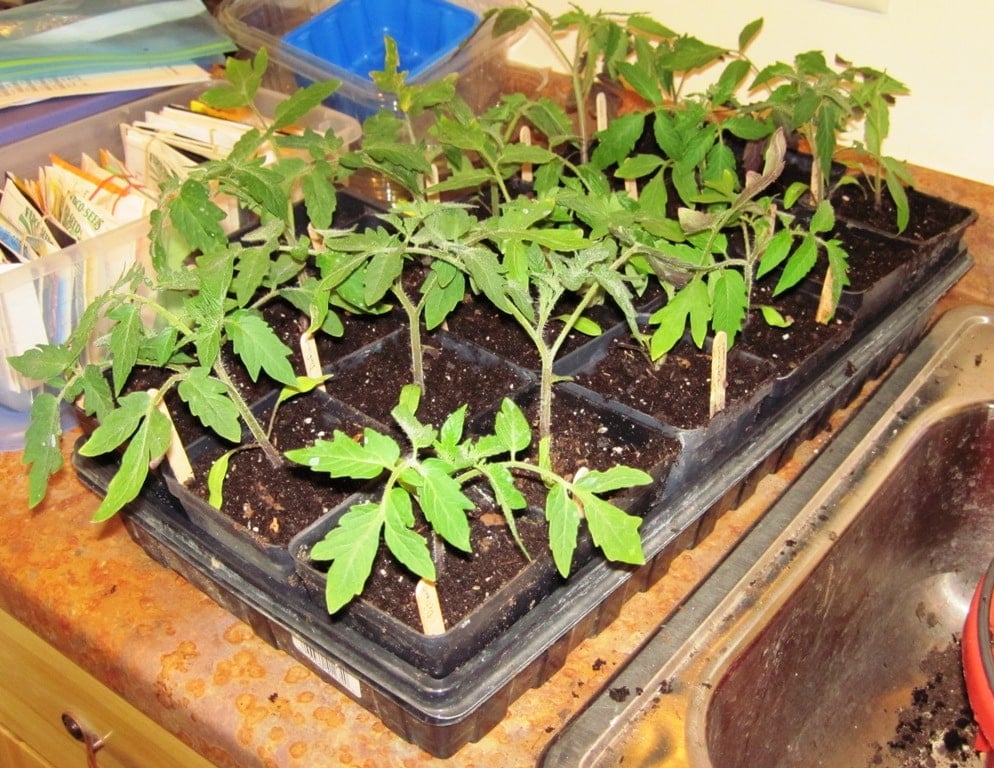
Transplanting Tomato Seedlings to Larger Pots
It’s fine to start with several baby tomato plants in one pot, but once they get true leaves, they need room to grow.
You can clip off extra seedlings at ground level and leave the healthiest plant, but I prefer to give each plant its own spot.
Would you like to save this?
When repotting, transplant seedlings as deep as possible in their new container. This will help support the stems. Yes, it’s okay if bottom leaves are covered.
In a few weeks, I graduate the plants to the larger pots.
Hardening Off Your Tomato Seedlings
When it’s getting close to the time to plant them outside, start hardening your tomato plants.
“Hardening off” gently introduces plants to outside weather to toughen them up enough to survive in the garden.
I prefer to harden plants off over 3-4 days, starting them out with no more than an hour or two of direct sun the first day and increasing exposure each day. Make sure they are protected from the wind and adequately watered when you set them out.
Planting Tomatoes in the Garden
After the danger of frost is over and you’ve hardened off your seedlings, it’s time to move them to the garden.
Plant tomatoes deep, and they grow new roots from the buried stem. I leave about 1/3 of the plant above ground.
Add a balanced fertilizer with calcium to the planting hole. Avoid excess nitrogen (manure), which promotes more leaves but less fruit.
I also mulch, trellis and often add a soaker hose under the mulch for watering.
To get the full scoop on planting and TLC for your best tomato crop ever, visit Growing Tomatoes (Organically) – 11 Tips for Success.
Troubleshooting Common Problems When You Grow Tomatoes from Seed
Sometime when you grow tomatoes from seed, your little seedlings fail to thrive. We cover some common problems below.
Tomato Seedlings Drop Dead
Once your seedlings emerge, uncover them within the first 24 hours. Keeping them covered can lead to damping off.
Damping off results from fungal infection. It generally comes from keeping your seedlings too wet. One day they’ll look fine – then WHAM – the seedlings are laying there dead.
Generally the stem shrinks up near ground level, and the soil is very wet. Sometimes here will be mold or fuzz growing on the surface of the soil.
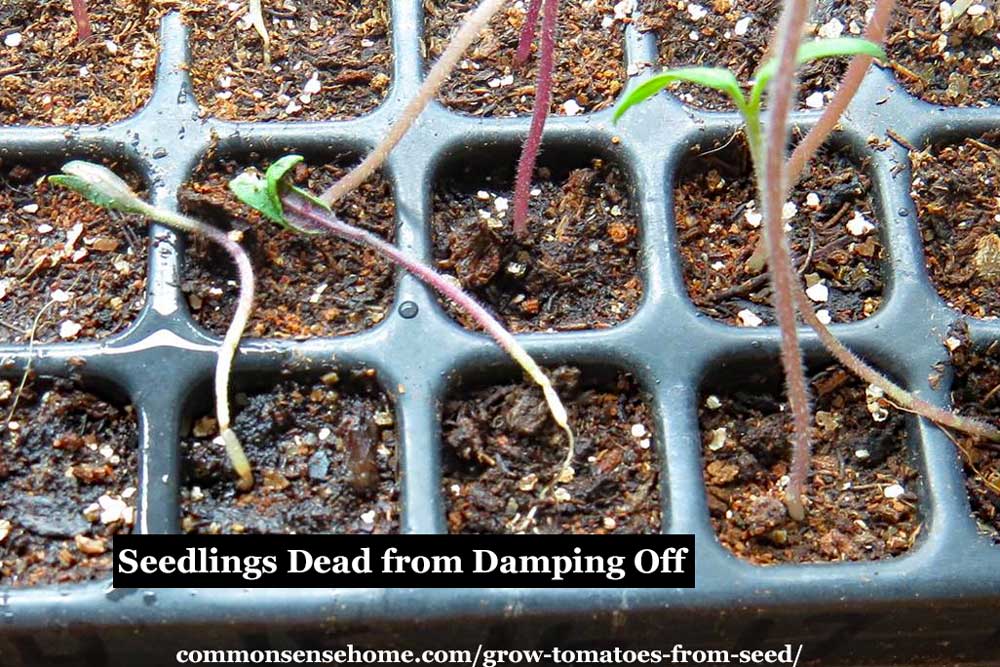
A sprinkle of cinnamon or a spritz of chamomile tea may help save the remaining seedlings, but once a plant has keeled over, it’s a goner.
To help prevent damping off, some folks sprinkle sand over the dirt when they plant seeds. If you maintain proper moisture levels and good circulation, damping off shouldn’t be a problem.
Tomato Seedlings are Pale or Yellow
If the color of your seedlings is off – check moisture levels. You want damp soil, not too wet or too dry.
If the moisture level seems fine, try a soil test. Some commercial potting mixes can have too much or two little fertilizer.
Tomato Seedlings are Skinny and Flop Over
If your seedlings are really tall, skinny and floppy (also known as “being leggy”) – chances are your lighting is inadequate. Try a different location or more artificial lighting.
Putting a fan on a timer and having it blow on the seedlings off and on through the day will also help toughen up stems.
Alternatively, you can run your hands lightly across the tops of the seedlings from time to time during the day. Proper lighting is the first step, but movement will help, too.
More Gardening Articles
We have over 100 gardening articles on the site, including:
- 5+ Terrific Tomato Trellis Ideas
- 4 Reasons Your Tomatoes Are Not Ripening + How You Can Help
- 7 Tips to Stop Blossom End Rot and Save the Harvest
- Tomato Flowers But No Fruit, or No Tomato Flowers – 9 Troubleshooting Tips
- How to Start a Garden – 10 Steps to Gardening for Beginners
There are also a wide array of tomato preserving recipes, including:
Originally published in 2011, last updated May 2020.
Just joined this site. It is very informative. I have been indoor planting tomatoe seeds for past five years with poor success. I shall try many of the suggestions. I noted comments of planting tomatoe seeds in small containers then transplant to larger containers as needed. I usually plant in larger container from the beginning. Is there an advantage in planting seeds in smaller container or is this just a logistical practice.
In my case it’s a bit of both. Because I plant a lot of seedlings, keeping the little ones in small pots at first means that more fit under the grow lights. With tomatoes, I start them inside well before they go out in the garden, so over time they tend to get a little leggy. As I pot up, I can bury part of the stem, keeping the plant a little sturdier. With abundant light and a shorter amount of time until transplant, there’s no problem with going directly to larger pots.
Hi,
Newbie question here, when you transplant to bigger pots, do you use the same mix as you did in the small cell packs, or do you eventually change the potting mix?
I’ve struggled post transplant to get the plants to continue to grow. They appear to be stunted and can’t figure out why. Starting a new batch now, albeit later than I’d like, just to get a win under my belt .
Thanks!
Andy
Yes, I use the same potting mix when transplanting to bigger pots. If plants are failing to thrive, do a soil test on your potting mix. Some I’ve tried in the past have been completely devoid of nutrients. Also, watering with diluted fish emulsion or kelp based fertilizer every couple of weeks will help give the seedlings a jump start.
When we were living in Texas, thankfully it was warm enough to sow my tomato seeds straight to the garden. Now that we’re in Colorado, I have this challenge to try. I’ve never had any luck with starting seeds indoors but hopefully with the help of your post, this year will be different. Thank you and wish me luck!
Entertaining and informative post! Thanks a bunch. I can relate to the mess of downed bedding plants! Lucky for the cat he was not involved this time! For some reason the entire free standing shelf shifted to one side and went down. Luckily most were still in the pots and little damage but my determination to have everything labeled and organized in the garden this year went down with the mess! It will be interesting to see what kind of cross pollination developers with the squash in particular.
An strange thing happened with the tomato bedding plants this spring and wonder if you have had any experience like this. I was so excited to have 100% germination but when the plants got to about 1 1/2″ tall growth stopped and they did not grow anymore! I ended up purchasing replacements of what ever variety I could find once it was obvious growth was reluctant to come. We have started our own tomato plants for years and this is the first time anything like this has happened! Maybe the thud as they hit the floor scared the life out of them! Ha! Ha!
There are studies that indicate plants do “feel” trauma, but I suspect it might be your potting soil. Some of the brands I’ve used have given me exactly that effect, even when I use water with added fertilizers like fish emulsion. I stopped using Espoma and have switched to Fox Farm organic and have gotten much better results.
I really liked reading this post. A friend of my grandmothers told her many years how to plant tomatoes and be successful. First you make a hole about 6 to 8 inches deep. Mix together soil, manure (old and fresh), and sawdust. But make sure it’s mixed together really well because the manure can burn the tomatoes if you don’t. Next, making sure you have a hole 6 to 8 inches remove the suckers off the main stem and lay the tomato in the dirt on its side. Bending so slightly cover the tomato with soil. Don’t worry if its not standing straight up because the sun will help it straighten up. Not sure if this is useful but here it is. 🙂
Not sure about the sawdust, but everything else sounds very similar to the way I plant tomatoes myself.
hi one of the things i learned years ago from my mom.how to stop damping off. yes i said stop damping off, after planting sprinkle clean sand over the top of the dirt . just cover the dirt so the fungus cant grow.and dont heat or cover with plastic. this increases the bactiria growth.its the best way i have found to stop the loss of babys. hope this helps you. i come from a long line of farmers in illnois.i have had my own garden at the age of 3.
With such a scarcity of bees, how do the tomato plants get pollinated?
They will self-pollinate and wind pollinate to some extent, but if you notice you have blossoms and no tomatoes, you may want to start hand pollinating.
Nice article, are you a member of our TomatoMania Group? Great info files, free seed bank, and help for gardeners from novice to seasoned. Since you are using our registered name of Tomato Mania I thought you must be a long time member, but I don’t recognize your name.
Sorry, no, I’ve never heard of the group. Tomato mania was just what came to mind as my home got overgrown by tomato plants.
One of my gardening ‘Bibles” is SECRETS OF COMPANION PLANTING…’ By Louise Riotte and you can find a copy at Bakers Creek.. Anyways from them I learned to place two or thrre white icicle radish seeds in all my winter, summer squash, MELONS, and cucumbers hills and let then grow and even go to seed. I have a LOT less bug problem when I remember to plant the radish with them!
I, too, have had a year of trails. I had two crop failures of broccoli and cabbage,(dampening off ) and almost a total crop failure of 200 tomato plants! I FINALLY got things figured out and growing in the right direction. Then planted the cucunbers and left them in the green house over night. Where the seeds were ALL dug up and the hulls pulled apart and sinsides eaten! MICE! Replant leaving them in the house it they were up. Fianlly planted the about a week before Memorial weekend. Memorial weekend blew in with 50-70 mile an hour winds! Half of the 3 dozen plants killed! At this moment, knock on wood cross fingures pray and every thing else, things are going and groing well!
Instead of popcicle sticks I write on one side of a wooden clothes pin with a sharpie the next year new color and a straight line through old label. Always have tons of clothes pins as I hang our wash year round.
Oh no! We’ve had crazy weather again this year, alternating between too wet and too dry and extremes of hot and cold. All we can do is make the best of it, but it sure is frustrating. Something’s been eating my melon seedlings, too. 🙁
Thanks for stopping by, ladies. 🙂
I've used the mini blinds before when we got some old ones from a friend, but don't have any handy at the moment. They work pretty well.
Cassie – I'd be interested in hearing how your worm casting enhanced plantings turn out. I've had very good results with mine. I planted a test plot this year with side by side plantings with castings and without, and will be monitoring the progress.
Very helpful! I can't wait to try some from seed next year. I am using worm castings for the first time this year. Thanks!
Cassie
Awesome article Laurie. I noticed the Popsicle sticks to mark the plants and I wanted to share that I use old mini-blind slats. They are easy to cut and you can write on them really easy with a Sharpie. Just another way to reuse something that would otherwise end up in the trash!
Great idea with the mini blinds!! I had a dollar store cutting board, the super thin white kind that come 2 in a pack, left over from a project, and I cut it into small strips to use as plant labels. It too is very Sharpie friendly!