Glazed Maple Leaf Cookies Made with Real Maple Syrup
This post may contain affiliate links. Read my full disclosure here.
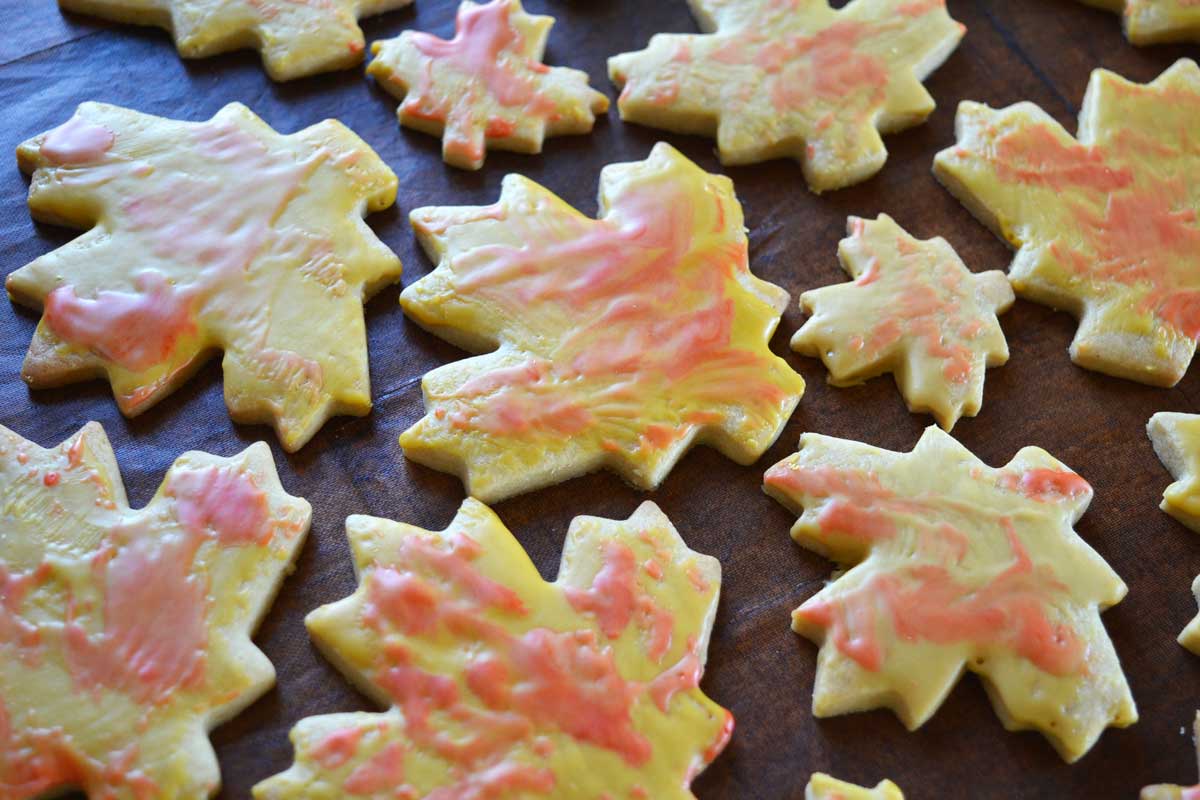
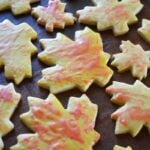
These maple leaf cookies are a maple twist on traditional sugar cookies. The brush on glaze is easy to apply, and dresses up your cookies without special decorating tools. These are great for fall gatherings paired with mulled apple cider.
We start with a butter and sugar blend that reminds me of the caramel sauce from my mom’s favorite cinnamon roll recipe. Then we add a dash of spice and light maple glaze for a simple but tasty cookie.
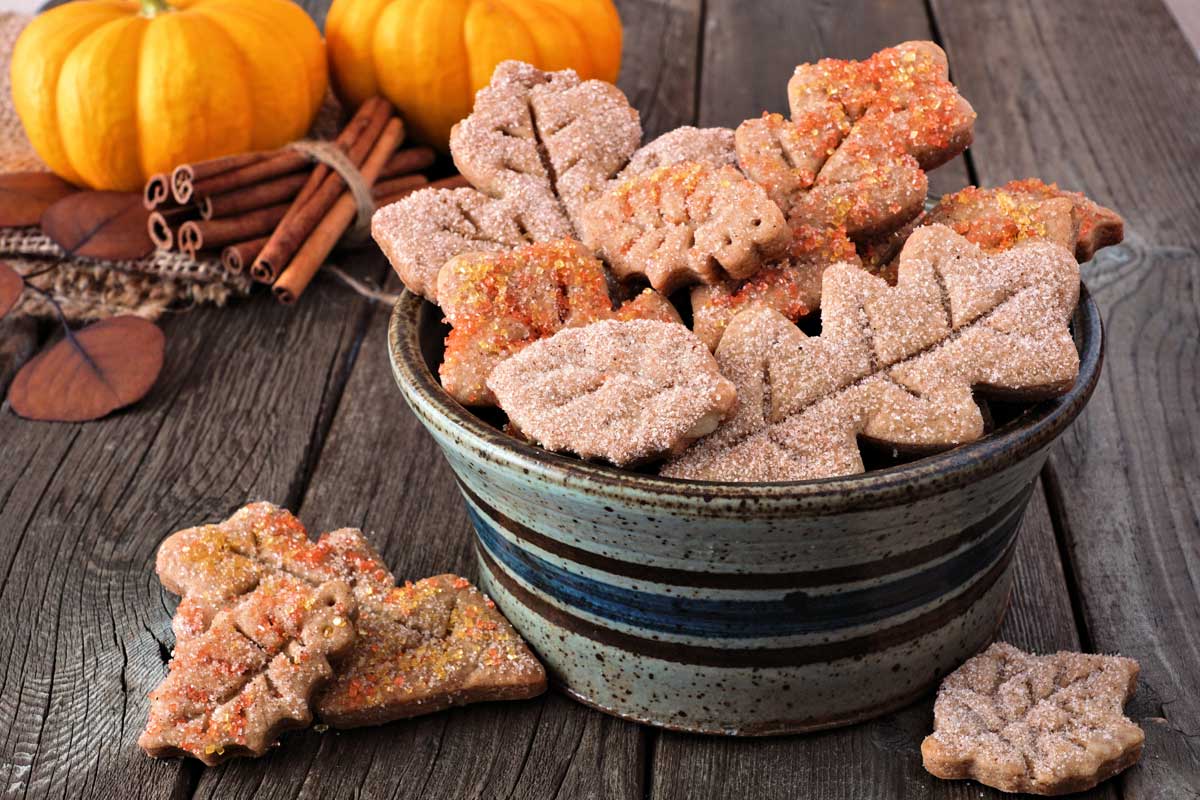
The glaze sets firm so you can stack the cookies in storage. You can skip the glaze entirely, but it brings out more maple flavor in the cookies. Another option for decorating is to press in leaf veins in the cookie tops before baking, and apply clear glaze with seasonal sprinkles to finish.
Maple Leaf Cookies Made with Real Maple Syrup
These tender melt in your mouth cookies have just the right amount of sweetness and real maple flavor. Recipe adapted from the Wisconsin Pure Maple Syrup Cookbook. This makes around 3-4 dozen cookies, depending on the size of your maple leaf cookie cutter.
Ingredients
Cookies
- 1 cup butter
- 1/2 cup maple syrup
- 4 1/2 cups all purpose flour or gluten free flour blend
- 1/4 teaspoon ground ginger
- 1/4 teaspoon ground cinnamon
- 1/2 teaspoon baking soda
- 1/4 teaspoon salt
- 2/3 cup granulated sugar
- 1/3 cup milk
Maple Glaze (optional)
- 1/2 cup sifted powder sugar
- 3 tablespoon maple syrup
- food coloring (optional)
Directions
In a medium saucepan, combine butter, sugar and maple syrup.
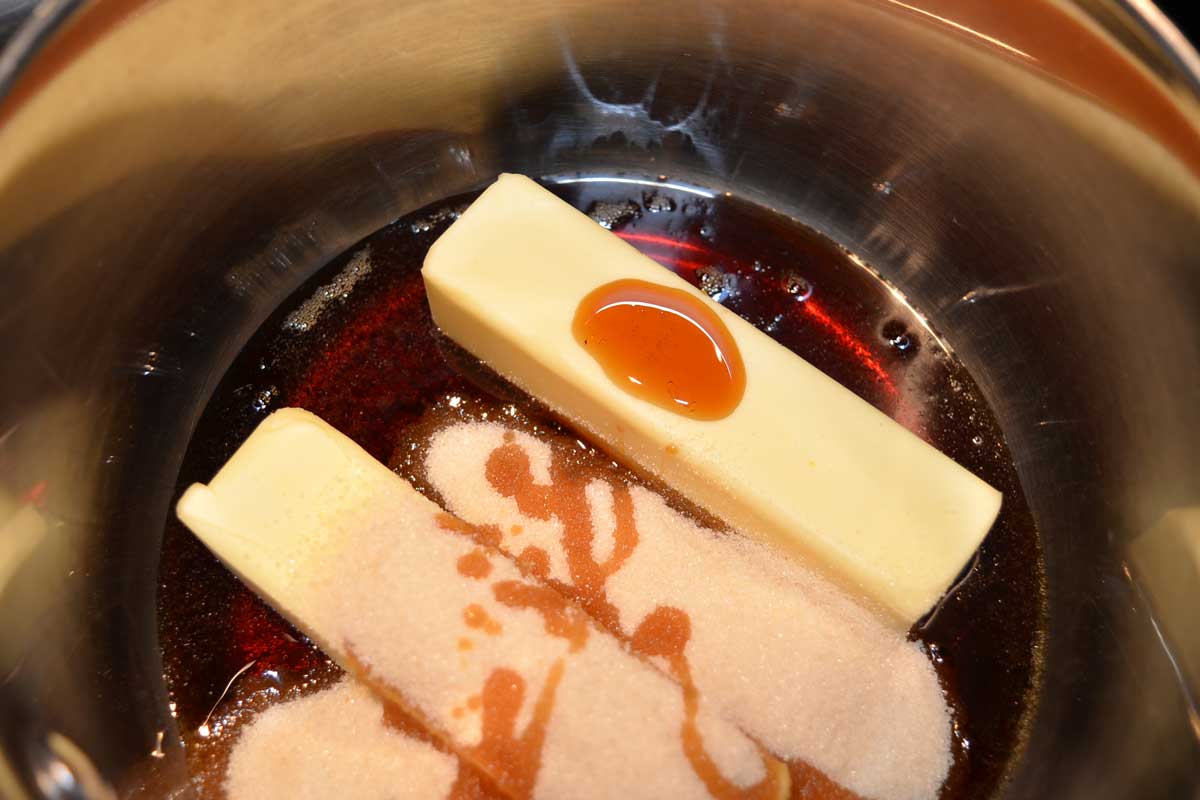
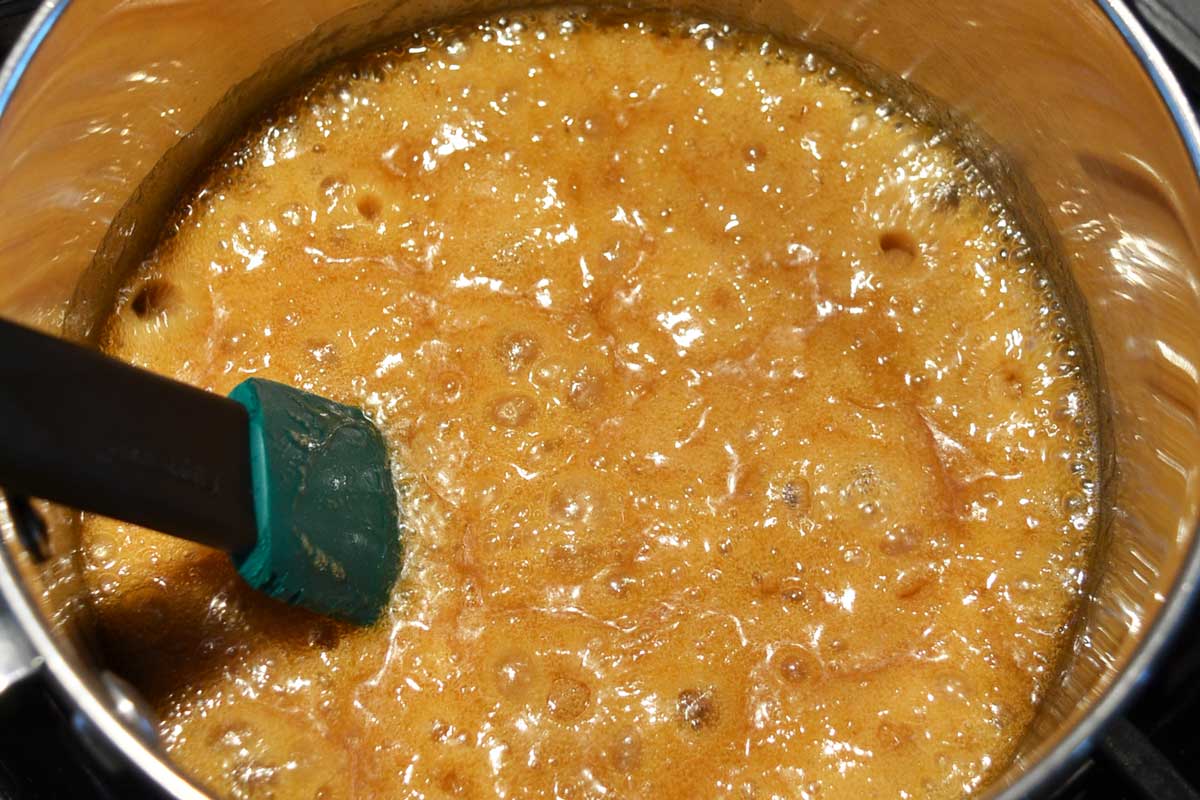
Bring to a boil and then remove from heat. Cool to room temperature.
While butter mix is cooling, measure flour, ginger, cinnamon, salt and baking soda into a mixing bowl.
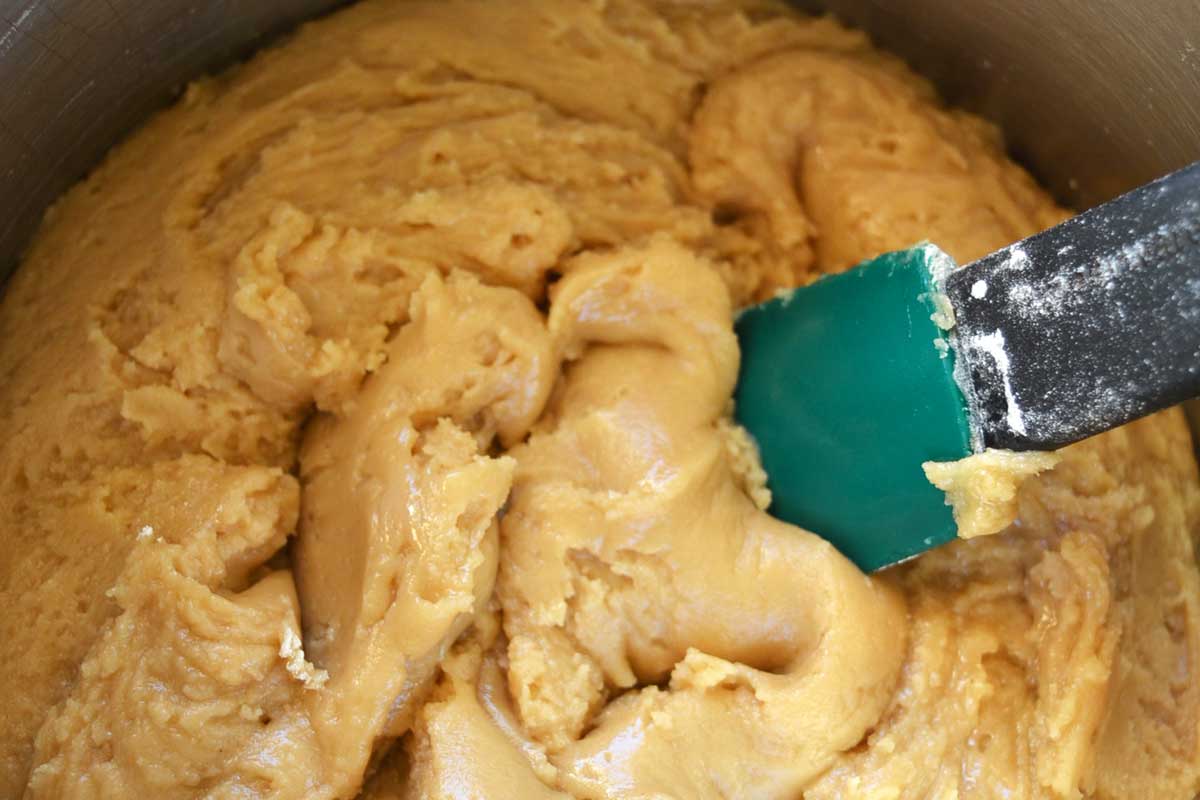
Stir milk into cooled butter mixture. Add dry ingredients and mix until well blended. Dough will be soft.
Would you like to save this?
Divide dough into two disks, wrap or place in closed container and chill for 2-4 hours.
Baking and Decorating
Roll out the dough on a lightly floured surface or parchment paper, working with half at a time. Dust top with flour if needed to prevent sticking.
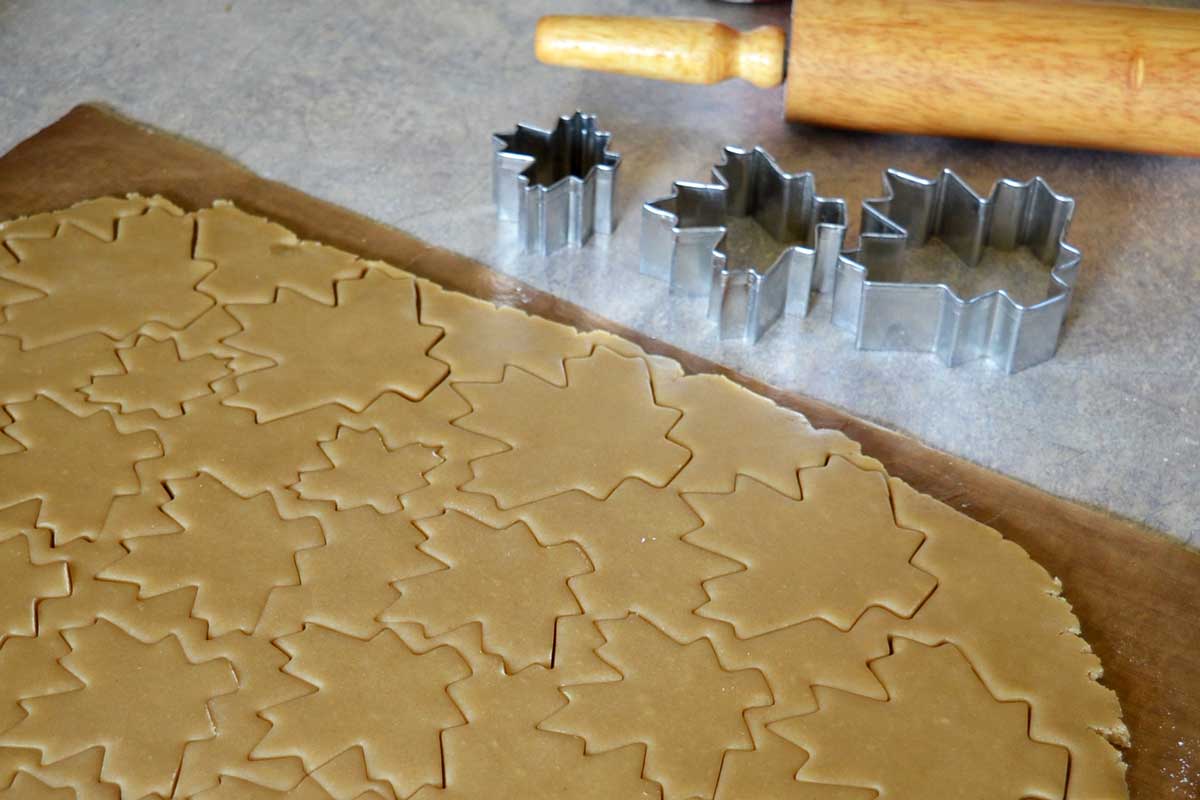
Roll 3/16″ to 1/4″ thick. (Aim for an even thickness for all cookies on one baking sheet.) Cut with a maple leaf cookie cutter. Reroll and cut remaining dough as needed.
Place cookies on an ungreased cookie sheet. (I use my Airbake pans covered in reusable parchment paper.) Bake at 375°F for 8-10 minutes, until light golden brown. Transfer to cooling rack covered in wax paper to catch any glaze drips.
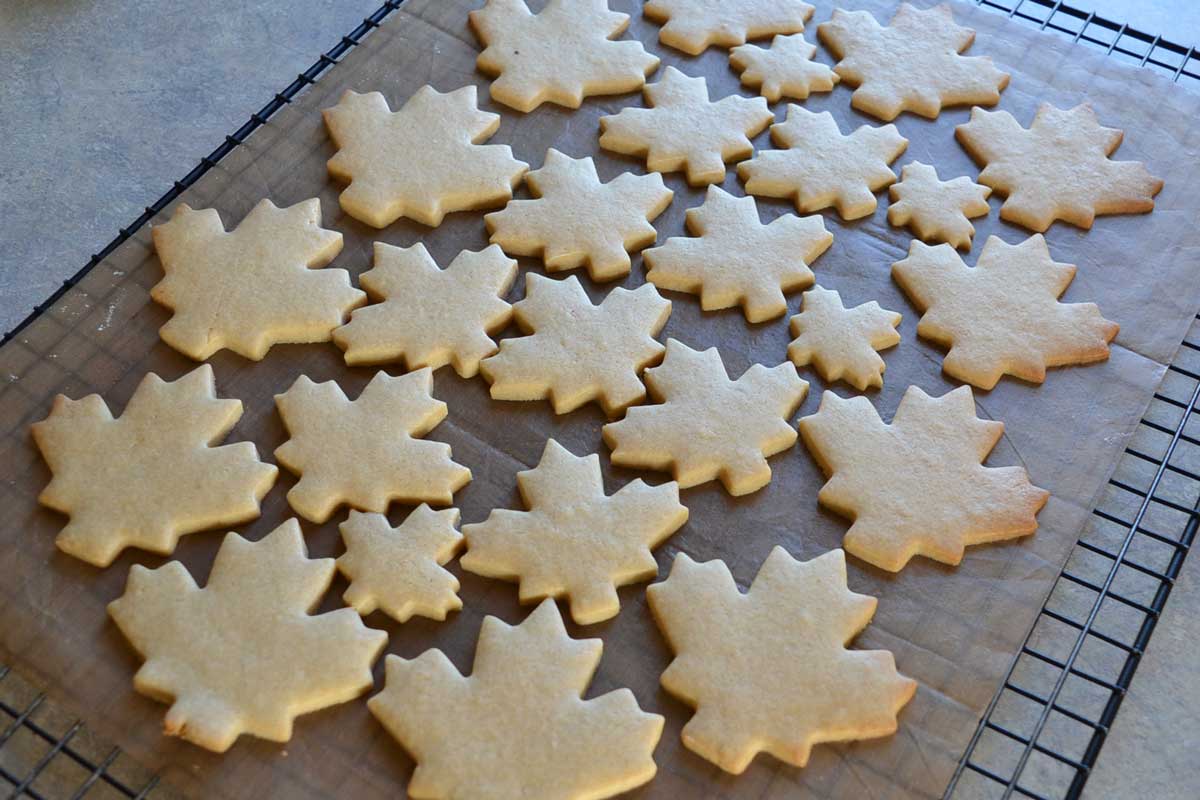
While cookies are baking, prepare maple glaze by combining powdered sugar and maple syrup in a small bowl. Brush on cookies while still warm.
To dress up your cookies, divide the glaze in half before using and tint half yellow and half red. Dapple the colors over the leaf cookies with a pastry brush or small clean paint brush.
Allow cookies to cool completely before storing in an airtight container. Use within a week or so for best quality.
More Maple-y Goodness
Each spring, we buy local maple syrup in bulk during maple syrup season. Then we use our maple syrup storage for baking year round.
- How to Make Maple Syrup and Maple Syrup Substitute
- Pumpkin Spice Waffles with Maple Cinnamon Whipped Cream
- Easy Maple Candied Walnuts
- Maple Macaroons
- Indian Pudding Recipe with Cranberries and Maple Syrup
Glazed Maple Leaf Cookies
These light, crisp cookies with a touch of real maple syrup are fun for holidays but easy enough for an anytime treat.
- Prep Time: 20 minutes
- Chill Time: 120 minutes
- Cook Time: 8 minutes
- Total Time: 2 hours 28 minutes
- Yield: 3 to 4 dozen 1x
- Category: cookies
Ingredients
Cookies
- 1 cup butter
- 1/2 cup maple syrup
- 4 1/2 cups all purpose flour or gluten free flour blend
- 1/4 teaspoon ground ginger
- 1/4 teaspoon ground cinnamon
- 1/2 teaspoon baking soda
- 1/4 teaspoon salt
- 2/3 cup granulated sugar
- 1/3 cup milk
Maple Glaze (optional)
- 1/2 cup sifted powder sugar
- 3 tablespoon maple syrup
- food coloring (optional)
Instructions
- In a medium saucepan, combine butter, sugar and maple syrup. Bring to a boil and then remove from heat. Cool to room temperature.
- While butter mix is cooling, measure flour, ginger, cinnamon, salt and baking soda into a mixing bowl.
- Stir milk into cooled butter mixture. Add dry ingredients and mix until well blended. Dough will be soft.
- Divide dough into two disks, wrap or place in closed container and chill for 2-4 hours.
- Roll out the dough on a lightly floured surface or parchment paper, working with half at a time. Dust top with flour if needed to prevent sticking. Roll 3/16″ to 1/4″ thick. Cut with a maple leaf shaped cookie cutter. Reroll and cut remaining dough as needed.
- Place cookies on an ungreased cookie sheet. Bake at 375°F for 8-10 minutes, until light golden brown. Transfer to cooling rack covered in wax paper.
- While cookies are baking, prepare maple glaze by combining powdered sugar and maple syrup in a small bowl. Brush on cookies while still warm. To dress up your cookies, divide the glaze in half before using and tint half yellow and half red. Dapple the colors over the leaf cookies with a pastry brush or small clean paint brush.
- Allow cookies to cool completely before storing in an airtight container.

This article is written by Laurie Neverman. Laurie grew up in the kitchen, learning baking and home cooking from her momma. At age 15, she and her mom and two sisters created Irene’s Custom Cakes & Catering. This was her summer job through most of high school and college.
Originally posted in 2017, updated in 2024.




Hi Laurie,
Could I substitute the maple syrup for honey, and if so, would the directions change in any way ? Also, can I just mix the batter by hand instead of using a mixer ? Thank you very much for your help and God bless you.
Honey tastes sweeter than maple syrup and tends to finish a little more sticky. The only way to know for sure how well it works is to give it a try. I’m sure the results would be edible as is, but the amount of flour and liquid might end up being tweaked a bit.
I mix almost everything by hand. It’s quieter. In the photos, I dumped the dry ingredients into the wet ingredient pot instead of vice versa. I’m guessing that shot might look like the inside of a mixing bowl, but I did indeed mix by hand.