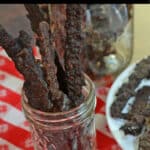
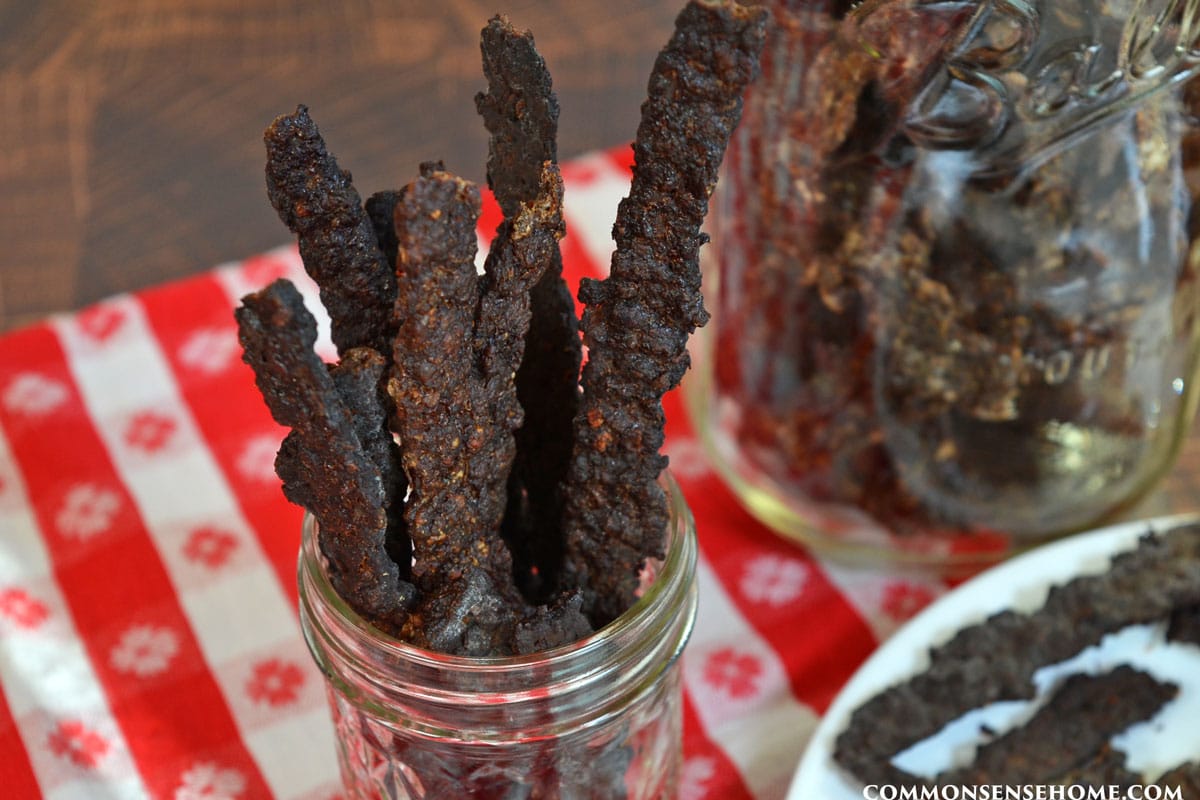
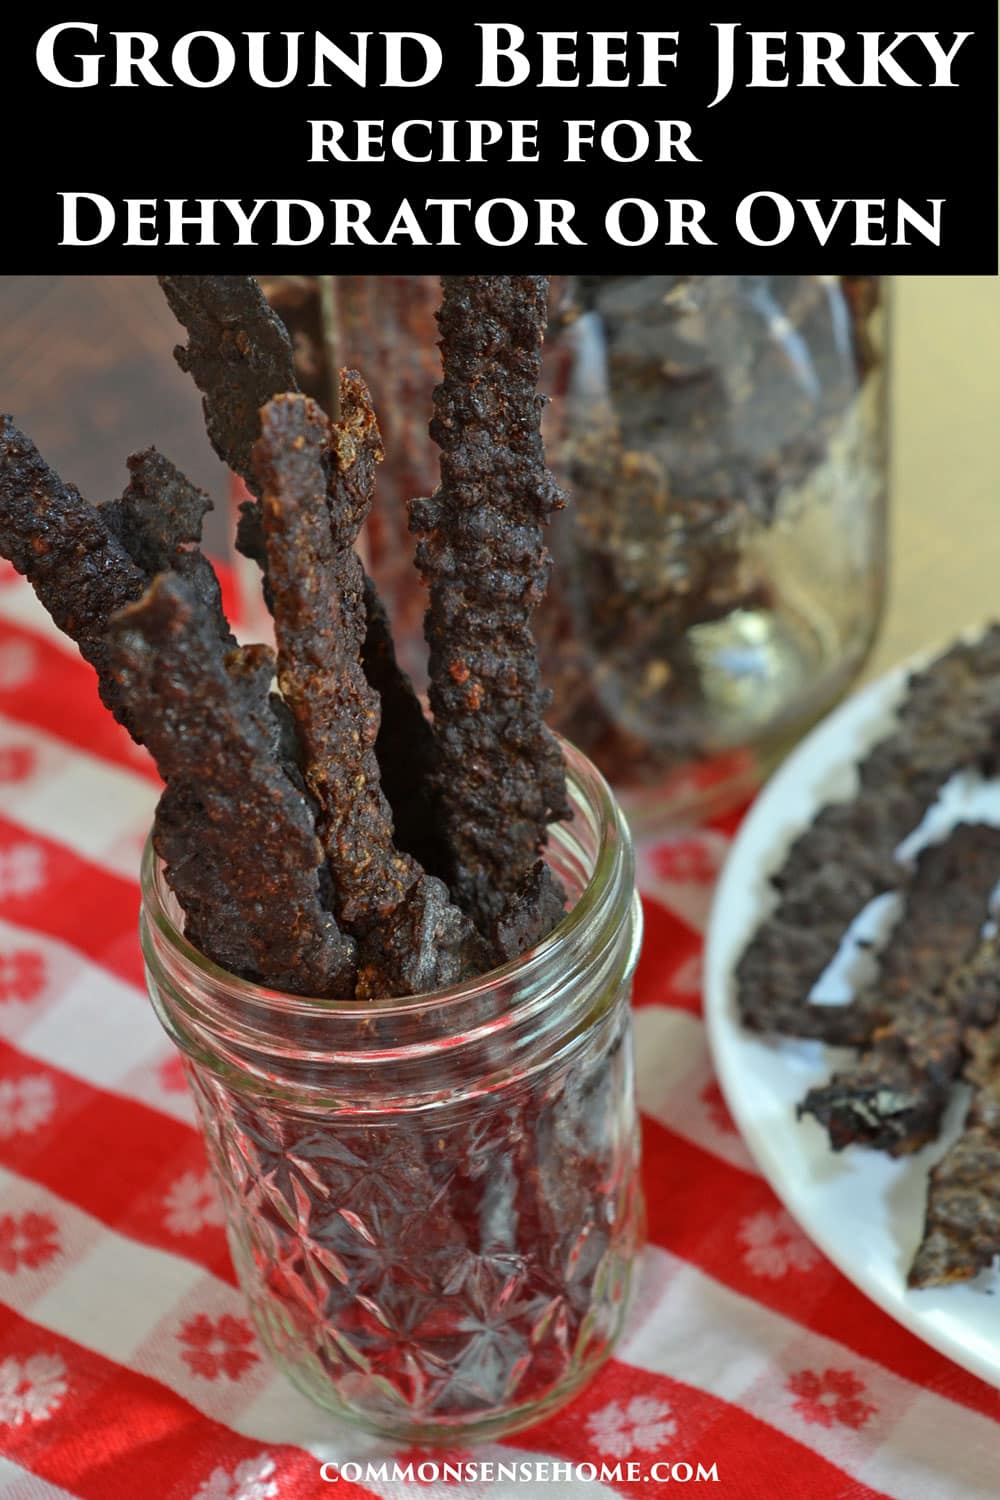
Homemade Ground Beef Jerky Recipe (For Dehydrator or Oven)
This post may contain affiliate links. Read my full disclosure here.
Ground beef jerky is easy to make and less expensive than store-bought jerky. You can make it with a dehydrator or dry it in the oven. Use your choice of ground meat – lean beef or venison – whichever you have available.
My jerky gun came with seasoning and cure packets. Unfortunately, these were full of ingredients I’m trying to avoid in commercial jerkies (MSG, hydrolyzed soy protein, nitrates, etc.). (Those little packets are expensive, too, if you purchase them separately.)
This recipe uses soy sauce and sea salt for preserving instead of curing salt. It doesn’t contain nitrites or nitrates.
Do you need a jerky gun to make jerky with ground beef? Nope! You can make jerky without a dehydrator or a jerky gun, but the jerky gun is handy and entertaining.
We have a basic Nesco jerky gun. For those who want to make big batches of jerky, try the LEM jerky cannon.
Why Use Ground Beef for Homemade Jerky Instead of Beef Strips?
I prefer ground beef jerky for three main reasons:
- It’s cheaper. I can get ground beef or venison much cheaper than a roast.
- It’s easier to make. Working the jerky gun or rolling the meat out thinly goes quickly. Wrestling to cut strips out of a piece of meat with bone and connective tissue intact is tough.
- It’s easier to chew. Eating a piece of regular muscle jerky can sometimes be like chewing on an old shoe, especially when there’s a lot of connective tissue. Ground beef jerky has the meaty, salty jerky taste we love, without getting stuck in your teeth.
This recipe is adapted from Mary Bell’s Complete Dehydrator Cookbook – “All American Marinated Beef Jerky”. Mary makes hers with beef strips, but it worked well as a ground beef jerky recipe, too.
How to Reduce Sodium in Beef Jerky
For the soy sauce, I prefer grain free organic tamari. Most US non-organic soy is genetically modified, and may have glyphosate residue. Non-organic wheat may be sprayed with glyphosate prior to harvest.
I use San-J, which has 940 mg of sodium per tablespoon. In comparison, La Choy has 1330 mg. A tablespoon of regular table salt has 6976 mg of sodium(2325 mg per teaspoon).
If you use a saltier soy sauce, it’s easy to overdo the salt in the recipe. Stick with a soy sauce that has less sodium. If you want to skip the teaspoon of sea salt, store the finished jerky in the fridge or freezer. Salt is a preservative.
If your finished jerky is still too salty, you can soak it for 15-20 minutes to remove surface salt, then dry it again. Store the de-salted jerky in the refrigerator or freezer. Another option is to use the salty jerky for flavoring another dish, so the saltiness is diluted.
Homemade Ground Beef Jerky Recipe
Ingredients
- 1/2 cup soy sauce
- 1 teaspoon liquid smoke
- 1/2 teaspoon onion powder
- 1/2 teaspoon garlic powder or 1 teaspoon minced garlic
- 1 teaspoon sea salt
- 1 pound lean ground beef or venison, at least 93% lean
Directions
In a glass bowl, combine all ingredients and let sit (refrigerated) for at least two hours. I mixed this up at bedtime and let it sit until after lunch the next day, and it wasn’t too strong.
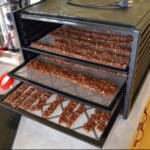
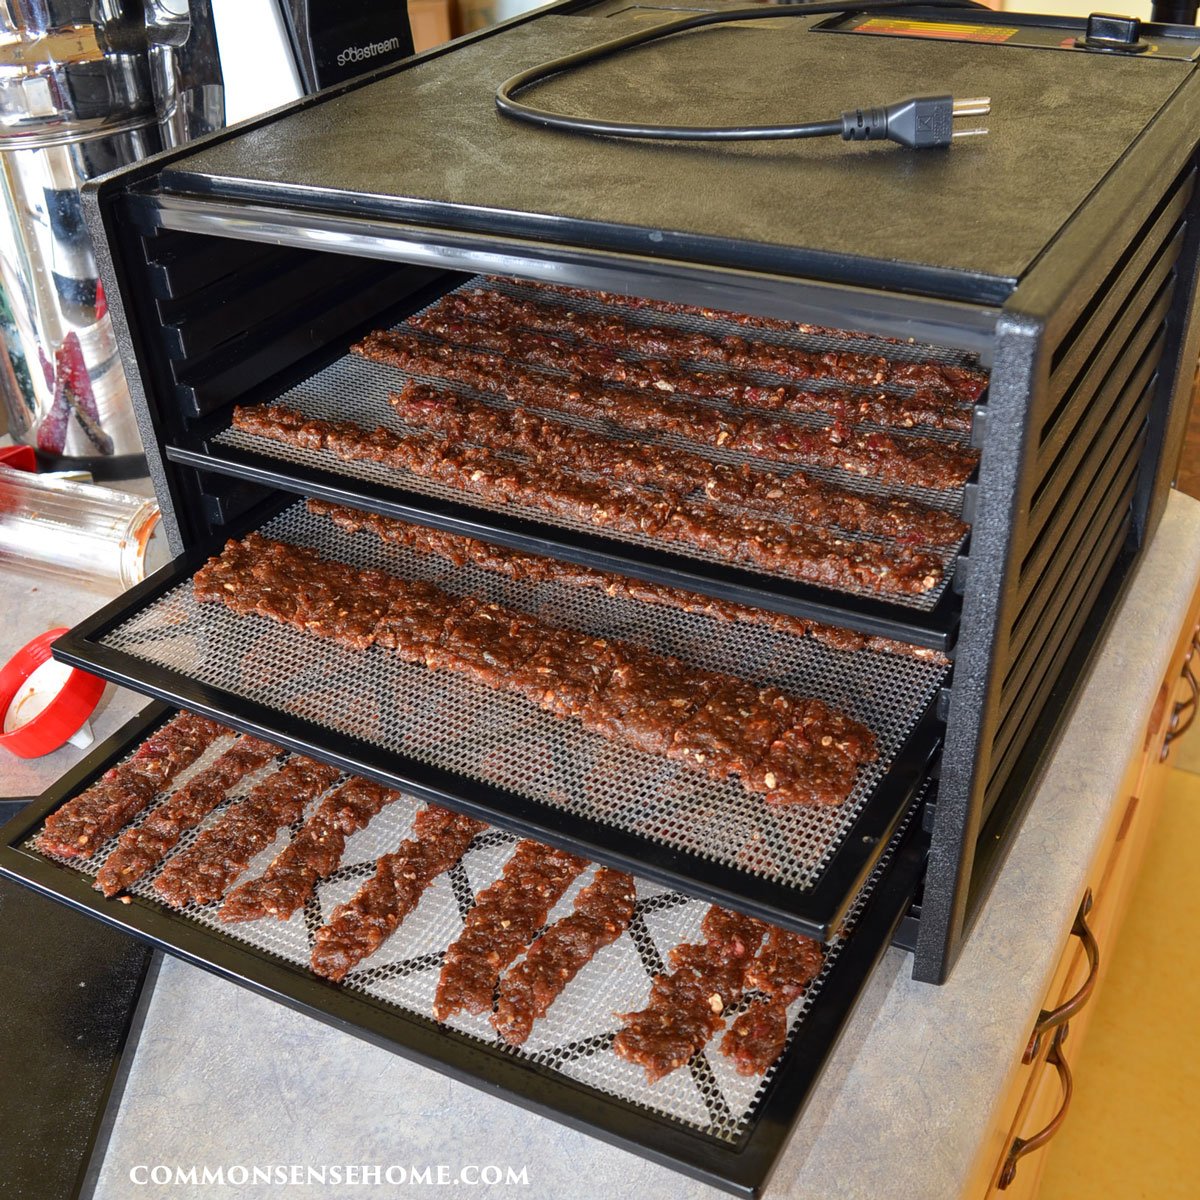
Load the mixture in the jerky gun and use the gun to load your dehydrator trays. I do recommend using the mesh inserts or fruit leather trays for your dehydrator. This mixture is fairly soft because of the liquid ingredients, which makes it easier to fire through the gun.
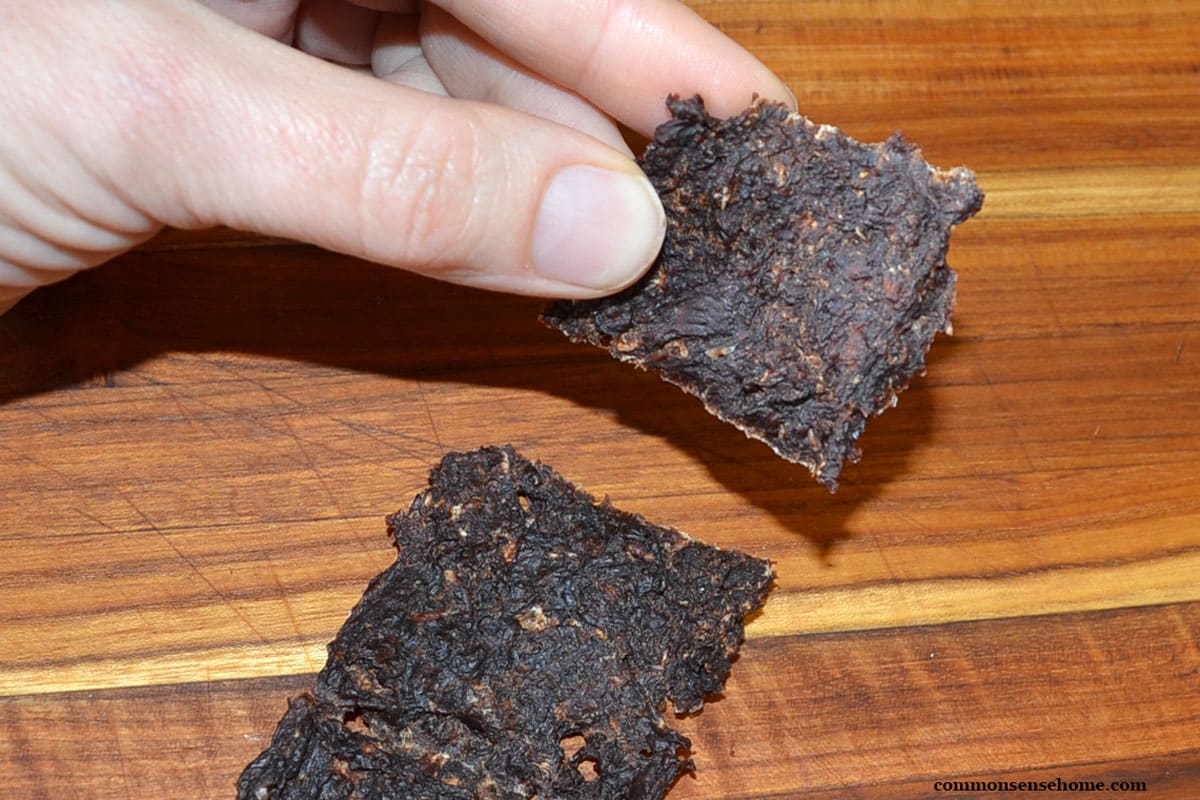
If you don’t have a jerky gun, use a rolling pin to roll the mixture out very thinly (1/8 inch thick). Score lines to form long strips of jerky.
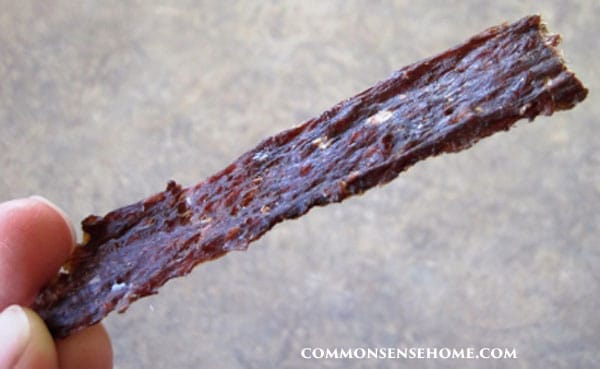
Dry at 145° – 165°F (63° – 74° C) for 4 to 12 hours. The jerky should be hard but still flexible and contain no pockets of moisture. For extra safety, heat finished jerky in a 275° F (135° C) oven for 10 minutes.
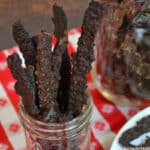
Jerky will last in an airtight container at room temperature for 1 – 2 months. For longer storage, place in an airtight container in the refrigerator or freezer. Vacuum sealing extends shelf life.
How Much Homemade Jerky Do You Get from One Pound of Raw Meat?
The weight of the jerky decreases by about two-thirds during the drying time. So for every pound of raw meat you use, you’ll get around one-third pound of finished homemade jerky.
How Can I Be Sure My Jerky is Safe to Eat?
The University of Wisconsin suggests the following two options for safe jerky making at home:
- Dry meat at 145° – 155°F for at least 4 hours followed by heating in a preheated 275°F oven for 10 minutes. Drying meat at a temperature below 145°F produces a product that looks done before it is heated enough to destroy pathogens, and before it has lost enough moisture to be shelf-stable.
Only a few dehydrators currently on the market will maintain the necessary temperature of 145° – 155°F. The Gardenmaster by Nesco/American Harvest and the Excalibur are two such units.
Each of these units has a large heating element, strong air flow, and adjustable temperature setting. Dry for at least 4 hours (6 hours is preferable) and remove jerky from the dehydrator.
Place dried strips on a baking sheet, close together but not touching or overlapping. Heat in a pre-heated 275°F oven for 10 minutes to an internal temperature of 160°F. Strips thicker than ¼” (when raw) may require longer to reach 160°F.
In our research, strips removed from the oven were sizzling hot. Remove oven-heated samples from the oven, cool to room temperature, and package. Always include the post‐drying oven‐heating treatment as a safety precaution.
- Steam or roast meat strips in marinade to an internal temperature of 160°F before drying. Heat poultry to 165°F (internal temperature) before drying. The USDA Meat and Poultry Hotline currently recommends this method for making safe jerky.
The pre‐heating step assures that any bacteria present will be destroyed before drying. This allows a lower dehydrator temperature (130° to 140°F) to be used. After boiling, dehydrate meat for 4 to 6 hours. No post-dehydration oven-heating is necessary.
Since it can be impossible to accurately measure the internal temperature of a thin strip of meat, consumers can boil meat in marinade (or water) for 5 minutes before drying. Unfortunately, this USDA recommended method produces a dried, crumbly product. It would be judged inferior by Wisconsin standards for chewy, flexible jerky.
Holding meat above 145°F for over an hour pasteurizes the meat. Pathogens start dying at temperatures above 130°F, but the lower the temp, the longer they take to kill.
Would you like to save this?
We get our beef or venison from a single animal, so I use the dehydrator above 145°F and call it good. If you had ground beef from unknown animals, I’d suggest some time in the oven to finish it.
Do I Need a Dehydrator to Make Jerky?
It’s possible to make jerky without a dehydrator. Here’s how to make jerky in the oven.
Roll out the jerky on a piece of parchment paper and place it on a baking sheet (or use a jerky gun). Dry the homemade jerky at your oven’s lowest temperature with the door slightly open for 2 hours. Our oven’s minimum temperature is 170°F (77°C).
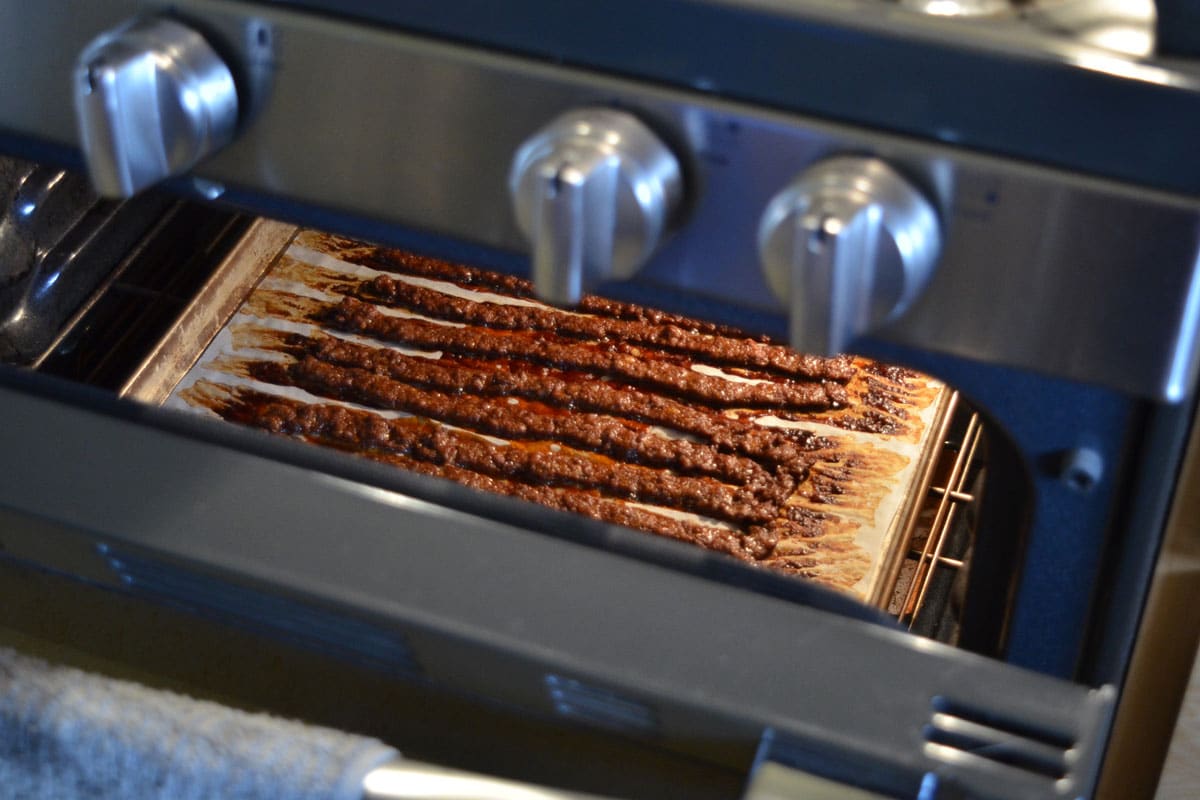
Flip the jerky and rotate the baking sheet. Bake for 1-2 hours more, until jerky is dry but flexible. Oven drying jerky shrinks it up faster and plumper, and creates more of a salty crust.
Using the Excalibur Dehydrator and Jerky Gun
With the Excalibur dehydrator, a batch of jerky is done in about 4-6 hours, depending on the humidity level. Drying overnight gets the jerky a little too dry for my taste. It’s still good, but a little too crumbly.
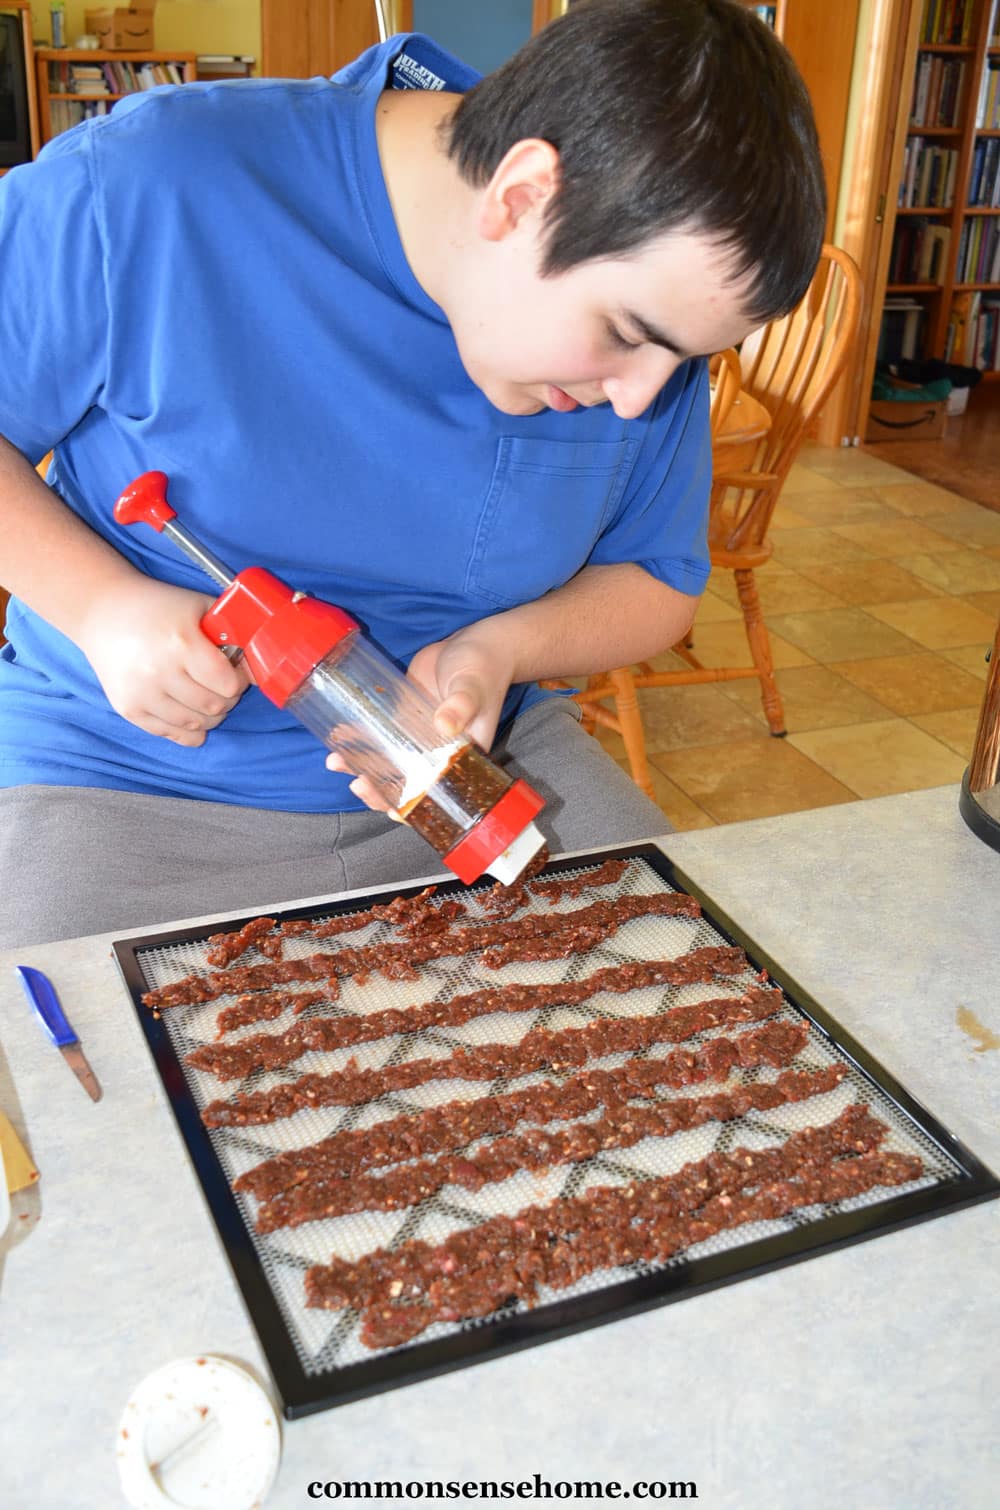
The last time we made jerky, my eldest mixed up the jerky marinade and meat the evening before drying. My youngest loaded up the Excalibur the next morning.
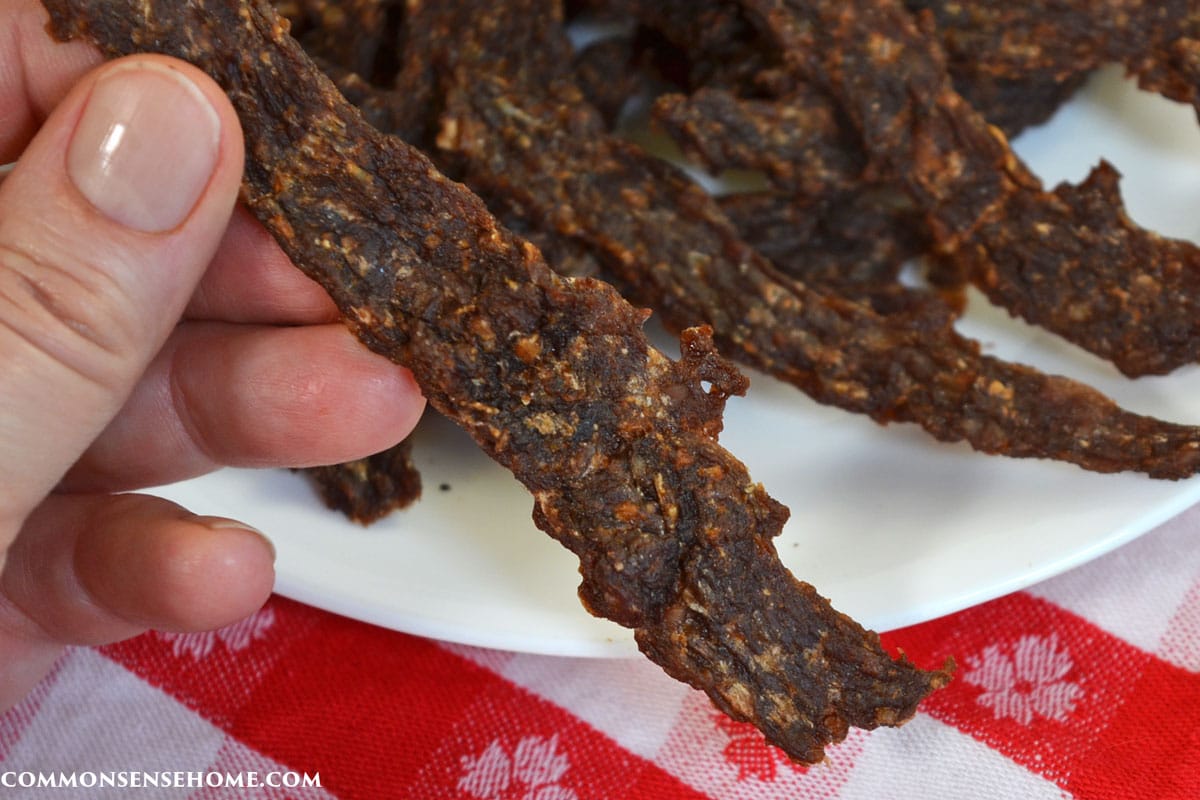
Make sure to pack the ground meat tightly into the tube to avoid air pockets. The jerky gun shoots strips about an inch wide when you use the “double barrel” attachment. The gun also has option of a single wide strip or a tube shape.
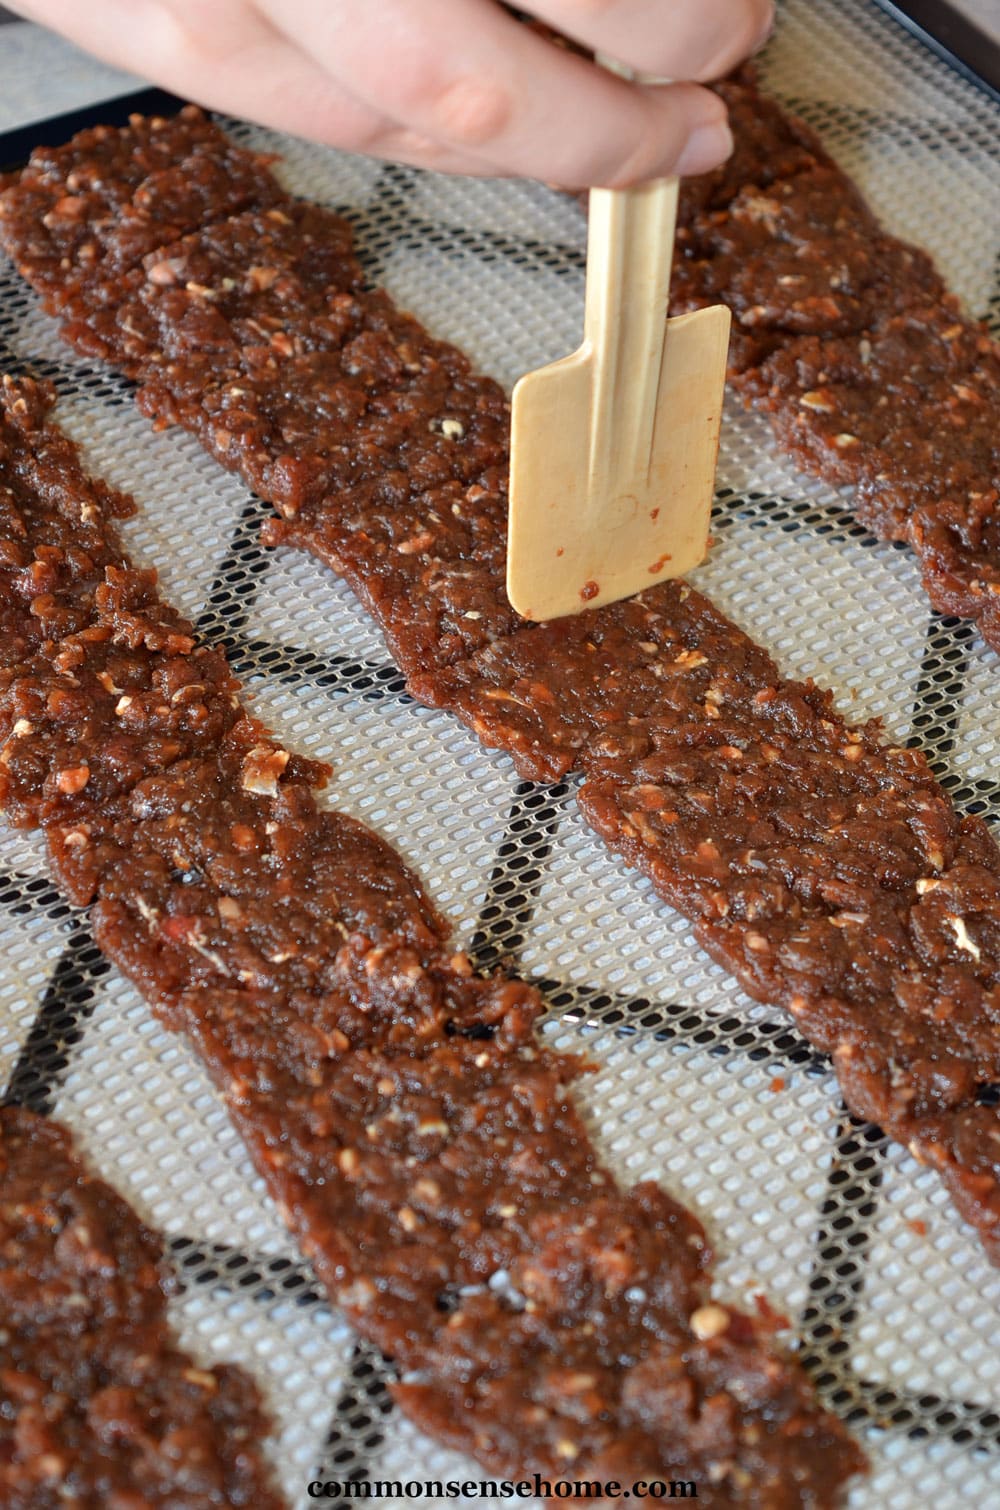
We made wide strips and scored them with a thin spatula. This makes them easier to break apart once dry. (You can use this same scoring technique for jerky made with a rolling pin.)
This has become one of my favorite snack foods since we’ve been working to reduce our carbohydrate and grain intake. It’s relatively quick and easy to make, and the gun was pretty inexpensive.

Homemade Jerky without Soy Sauce (Gluten Free, Soy Free Option)
For those who avoid soy and/or gluten, substitute liquid coconut aminos for the soy sauce. Coconut aminos have a similar flavor profile, and are gluten free and soy free.
Beef Jerky Recipe with Ground Beef
Easy and economical jerky recipe that’s great for lean beef or venison.
- Prep Time: 10 minutes
- Drying Time: 4 hours
- Total Time: 4 hours 10 minutes
Ingredients
- 1/2 cup soy sauce
- 1 teaspoon liquid smoke
- 1/2 teaspoon onion powder
- 1/2 teaspoon garlic powder or 1 teaspoon minced garlic
- 1 teaspoon sea salt
- 1 pound lean ground beef or venison, at least 93% lean
Instructions
- In a glass bowl, combine all ingredients and let sit (refrigerated) for at least two hours. I mixed this up at bedtime and let it sit until after lunch the next day, and it wasn’t too strong.
- Load the mixture in the jerky gun and use the gun to load your dehydrator trays. I do recommend using the mesh inserts or fruit leather trays for your dehydrator. This mixture is fairly soft because of the added liquid, which makes it easier to fire through the gun.
- If you don’t have a jerky gun, roll the mixture out very thinly (1/8 inch thick) and score lines where you would like the pieces to break apart.
- Dry at 145° – 165° F (63° – 74° C) for 4 to 12 hours, until jerky is hard but still flexible and contains no pockets of moisture. For extra safety, heat finished jerky in a 275° F (135° C) oven for 10 minutes.
For oven drying:
Roll out the jerky on a piece of parchment paper and place it on a baking sheet (or use a jerky gun). Dry the homemade jerky at your oven’s lowest temperature with the door slightly open for 2 hours. Our oven’s minimum temperature is 170°F (77°C).
Flip the jerky and rotate the baking sheet. Bake for 1-2 hours more, until jerky is dry but flexible. Oven drying jerky shrinks it up faster and plumper, and creates more of a salty crust.
Notes
Jerky will last in an airtight container at room temperature for 1 – 2 months. For longer storage, place in an airtight container in the refrigerator or freezer. Vacuum sealing extends shelf life.
Do you have a favorite jerky recipe? Have you tried making jerky with ground beef? Has anyone tried making jerky out of organ meats? I’d love to hear from you.
Recommended Dehydrators
- Nesco Gardenmaster Dehydrator
- 9 Tray Excalibur Dehydrator – This is the unit we have.
More Snack Recipes
More Food Storage
Home Food Drying – 6 Things you Need to Know
Food to Stock Up On (For Daily Use or Emergencies)
Dehydrator vs Freeze Dryer – What’s the Difference?

This article is written by Laurie Neverman. Laurie grew up in the kitchen, learning baking and home cooking from her momma. At age 15, she and her mom and two sisters created Irene’s Custom Cakes & Catering, which was her summer job through most of high school and college.
Last updated in 2024.
To get the thinner strips, I use the end that makes two strips at once. I tried using the single strip (as show in the photo with the gun and the tray), but those strips were a little too thick and chewy.
I have a Jerky Gun. I can not get the peices as thin as yours that are in the pictures. What's the secret!
Thanks for visiting, Jill. I really enjoy the Barn Hop. My youngest enjoys helping with the jerky because he gets to use "mommy's gun". 😉
Your "gun" photo just cracked me up! 🙂
And your jerky looks delicious, my mouth is just watering. I adore jerky!
Thanks for sharing this with the Homestead Barn Hop this week!
I love the jerky gun because it's easy enough for the kids to use. Sometimes slicing the meat thin enough can be a little tricky, and then there's the fat and connective tissue to deal with. Using the ground beef, it's an economical meat to start with, and there's no waste. The finished product is also a bit easier to chew than strips.
(As for the photo – I'm a bit of a ham at times. 😉
Love your photo with the jerky gun cocked and loaded! I have only done it with this slices of meat. AS a matter of fact we get a large amount of it sliced up that way at the butcher when we get our beef from the farm (It's great to use for stir fry!). Any, way this jerkey gun is a new thing for me… I only learned about it this year. I think you have inspired me to try it! (That means we can have more stir fry!) 🙂 Thanks for the inspiration. I LOVED your finished pictures. I am looking forward to giving it a try!
It would be a great investment if you eat a lot of jerky! 🙂
I hope my husband doesnt see this post. 🙂 We'd be getting a dehydrator and buying a half a cow in no time!
Great post! 🙂
I have a basic Nesco dehydrator. There's a link in the post to a similar model. I think an Excalibur would be great, but this was more in my budget range. I've had it for years (at least 10?), and it stills runs just fine. I did get extra trays. I have six trays now and will fill them up with a double batch (two pounds) of jerky.
What type of dehydrator do you have? I want one to make my own dehydrated fruit/ and jerky but wasn't sure what to get. The excaliburs are $$ but if it is worth it- I will save for it.
Kim
I LOVE my excalibur <3 it was expensive but I found a better deal on amazon!
Thanks for stopping by, Jennie. I like the mesh inserts best for these best, as they dry a little bit faster. If you use fruit leather trays, be sure to flip the pieces midway through so they dry thoroughly.
Oh I cannot wait to try this! How fantastic! Now I just need to get some more fruit leather trays and a jerky gun! FUN! Thanks for posting! Found you over at Real Food Wed. I would love for you to stop by sometime and say hello!
I have been making beef jerky for years but never even thought to make it from ground beef and I never heard of a jerky gun either. I'm definitely going to give this a try. Thanks for the inspiration!
I really like the gun. It makes it so easy to get a consistent end product.
lol – he just laughed about the green boogers. I haven't ordered my sprirulina yet. Our next order to the buying club will likely be going in next week and I will order some then. I can't find it locally in quantity.
You make me want to run out and buy a gun 😉 I need to make some for our big road trip this summer. Heaven forbid we get hungry on the road and resort to store-bought "food."
Also, on another note, I hope your son is not walking around with a nose full of spirulina powder! LOL
I highly recommend the jerky gun if you've got a lot of ground meat you'd like to jerk (…er…jerky-ize…). With the added moisture in this recipe (because of the soy sauce), it take a bit longer to dry, but it makes the very lean ground beef easier to extrude. The trays load up very fast.
Megan – I've got liver awaiting use in the freezer and could use a way to camouflage it. I may have to try that the next time I make jerky. I don't mind the flavor/texture, but the boys are not fans.
I made some ground lamb jerky last year – it was delicious, but it took some time to flatten it out on the trays by hand… I think I need to get one of those jerky guns…. 🙂
A jerky gun! That's what I need. I once tried making jerky from ground beef by flattening it out, but you can imagine the mess that was.
Hopped over from Real Food Wednesdays, did a post on this not to long ago, we use venison instead of beef usually and add in a little liver. I think the thing I like the most is that my nine year old has mastered the jerky gun!
Found you on Real Food Wednesday! Thank you so much – this is exactly what I have been looking for – I'm excited to try a ground meat jerky. I have a ton of ground venison, and thought it would make great jerky, if I could just find a recipe!