Dehydrating Pears (With Tips for Prep and Storage)
This post may contain affiliate links. Read my full disclosure here.
Dehydrating pears is one of the easiest ways to preserve the fall harvest. Dried pears make a naturally sweet snack with no added sugar, and they store for months (or even years) with very little space. Unlike canned pears, they’re lightweight and portable, and unlike frozen pears, they won’t turn mushy if the power goes out.
On our homestead, we dry several batches each season—some for snacking right away, and some tucked into storage jars for winter.
We’ll share tips to help prevent browning (without artificial preservatives) and keep them yummy in storage.
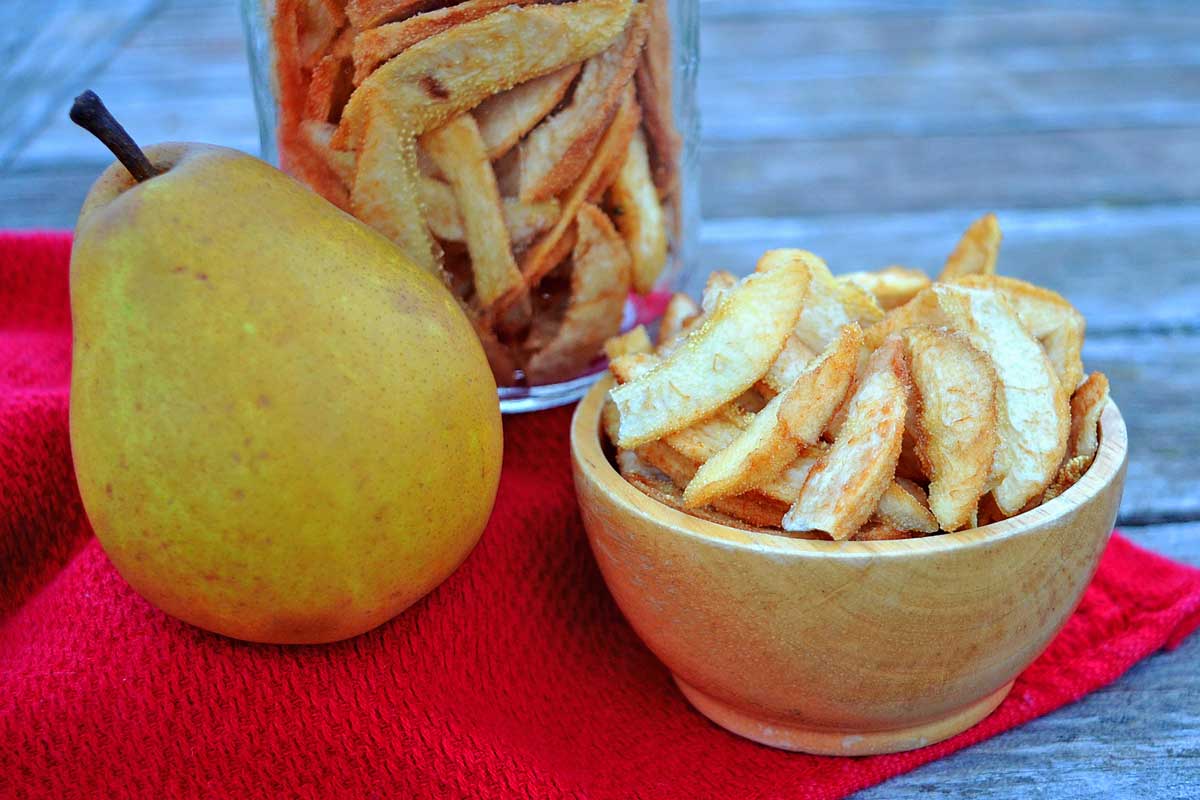
Table of Contents
How to Dehydrate Pears
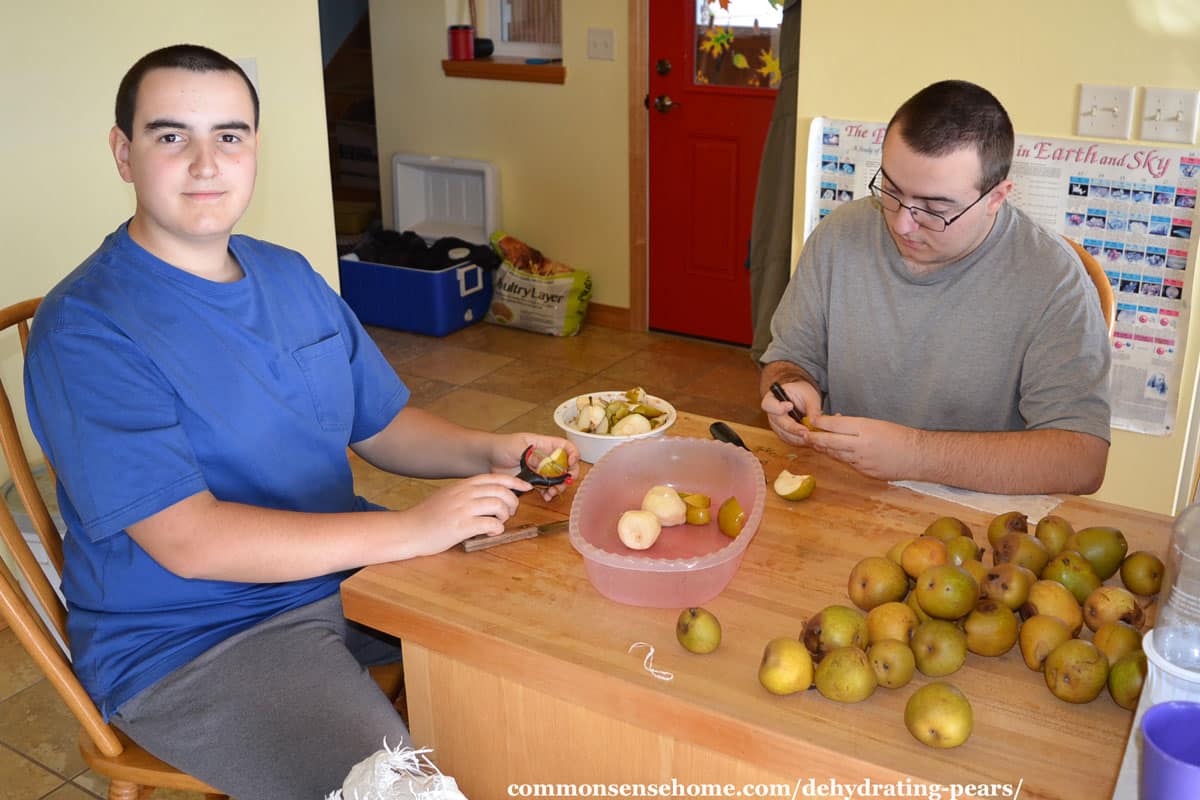
Select ripe but firm pears. Overripe pears get mushy and don’t dry evenly.
- Wash and peel if desired (the skin adds fiber but can be chewy, and increases drying time). Cut out any damaged sections with a paring knife.
- Cut pears about 1/4 to 1/2 inch thick (thinner slices dry faster). For the quickest, most even drying, core and peel the pears and slice into thin wedges. You can also prep them with an apple corer, or slice with a food slicer (mandoline).
- Avoid pieces that are too thick, as these will retain moisture inside that could lead to spoilage in storage.
Pretreating to Prevent Browning
You don’t need to pretreat for safety, but it helps to keep the fresh pears from browning.
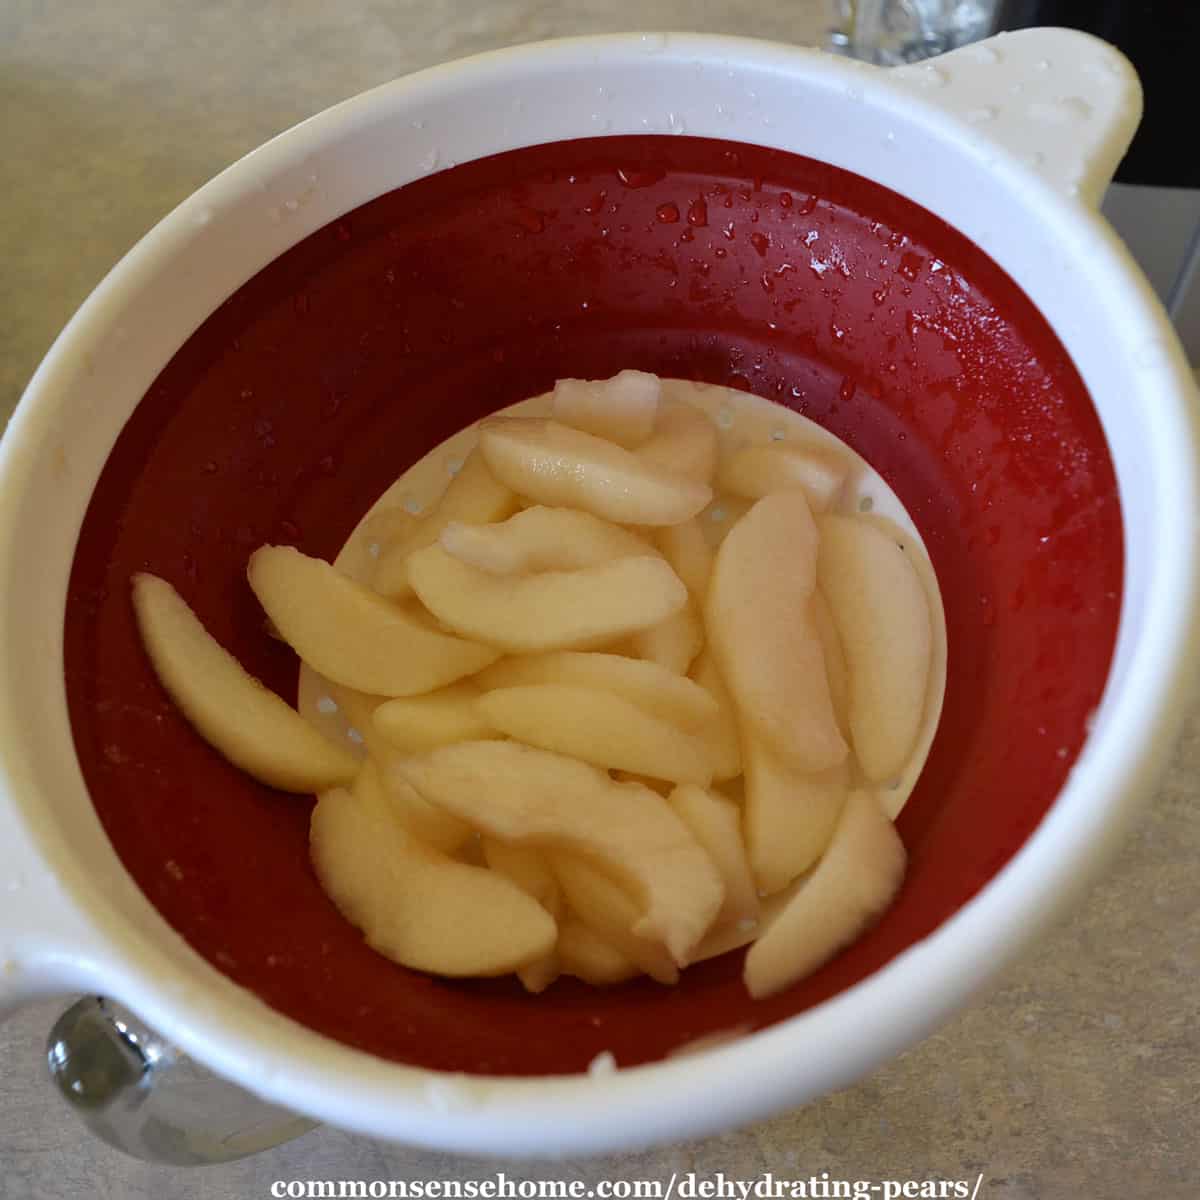
To pretreat – Dip the sliced pears in lemon water for around 3-5 minutes. I use around 1/4 cup lemon juice and 2 quarts of water. (This works well for other dehydrated fruit like dried apples, too.)
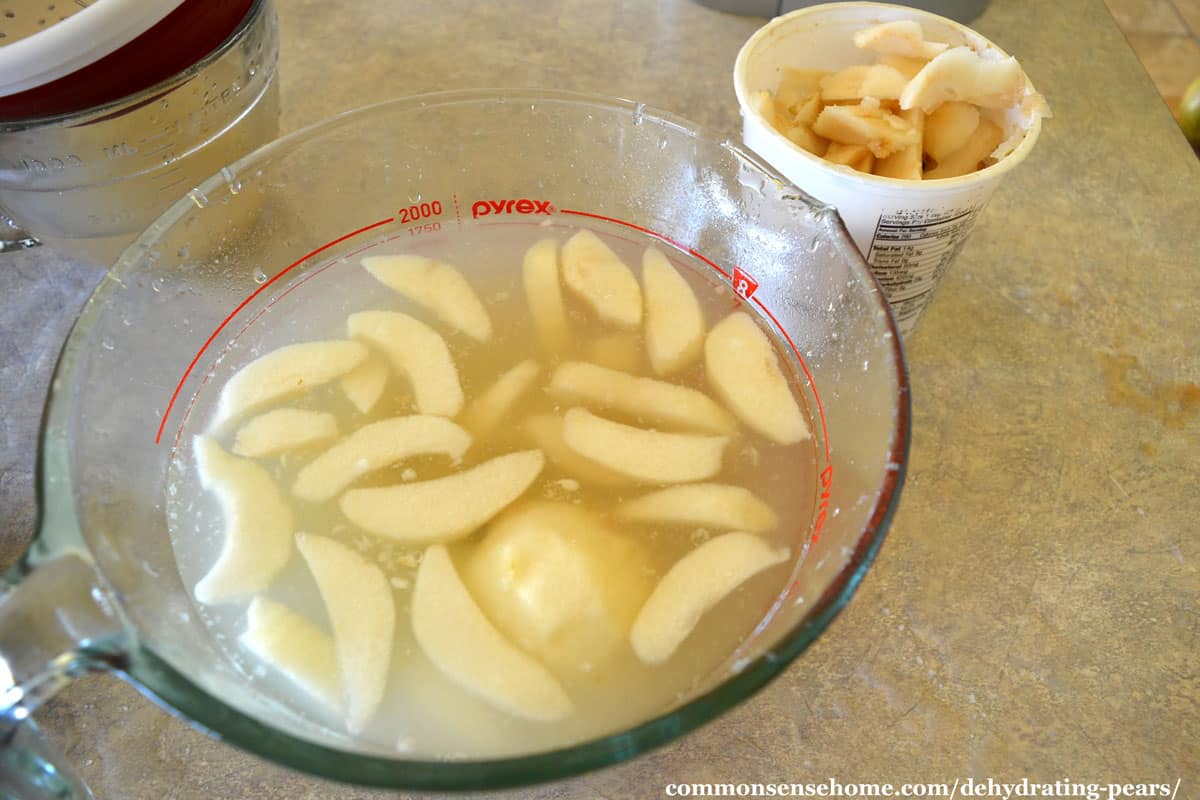
If you would like sweeter dehydrated pears, dip the slices in undiluted orange or pineapple juice. Note: With undiluted juice, the finished dried pears will be quite sticky. You can also sprinkle on a little cinnamon, nutmeg or other spices to mix things up.
Drying the Pears
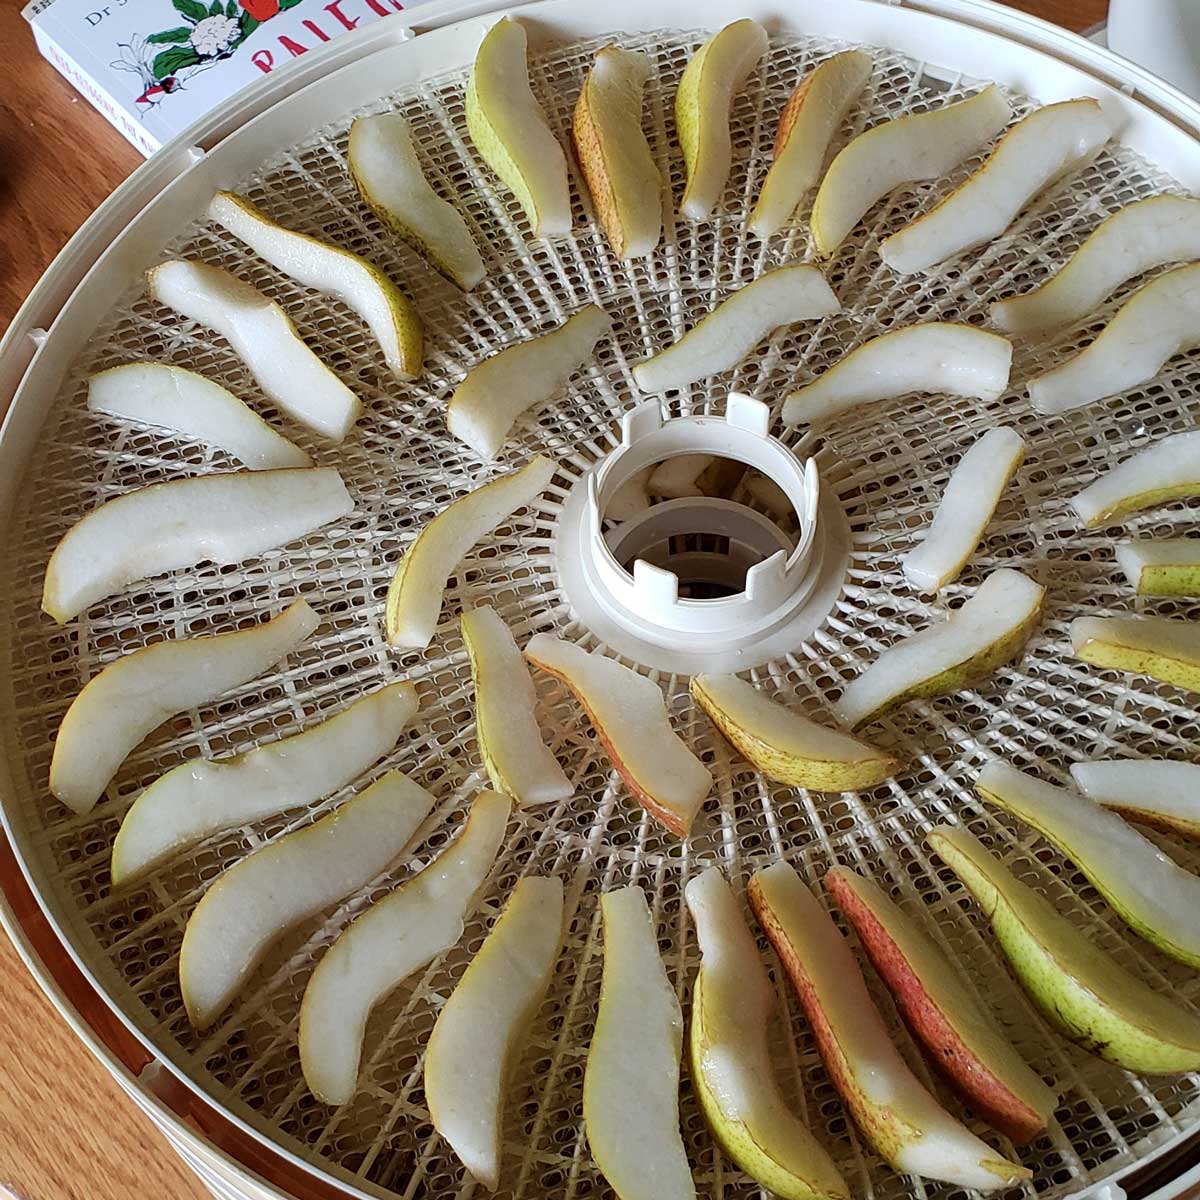
Drain the pears before loading them in the dehydrator. I find it helpful to coat the trays with a bit of coconut oil to keep the fruit from sticking.
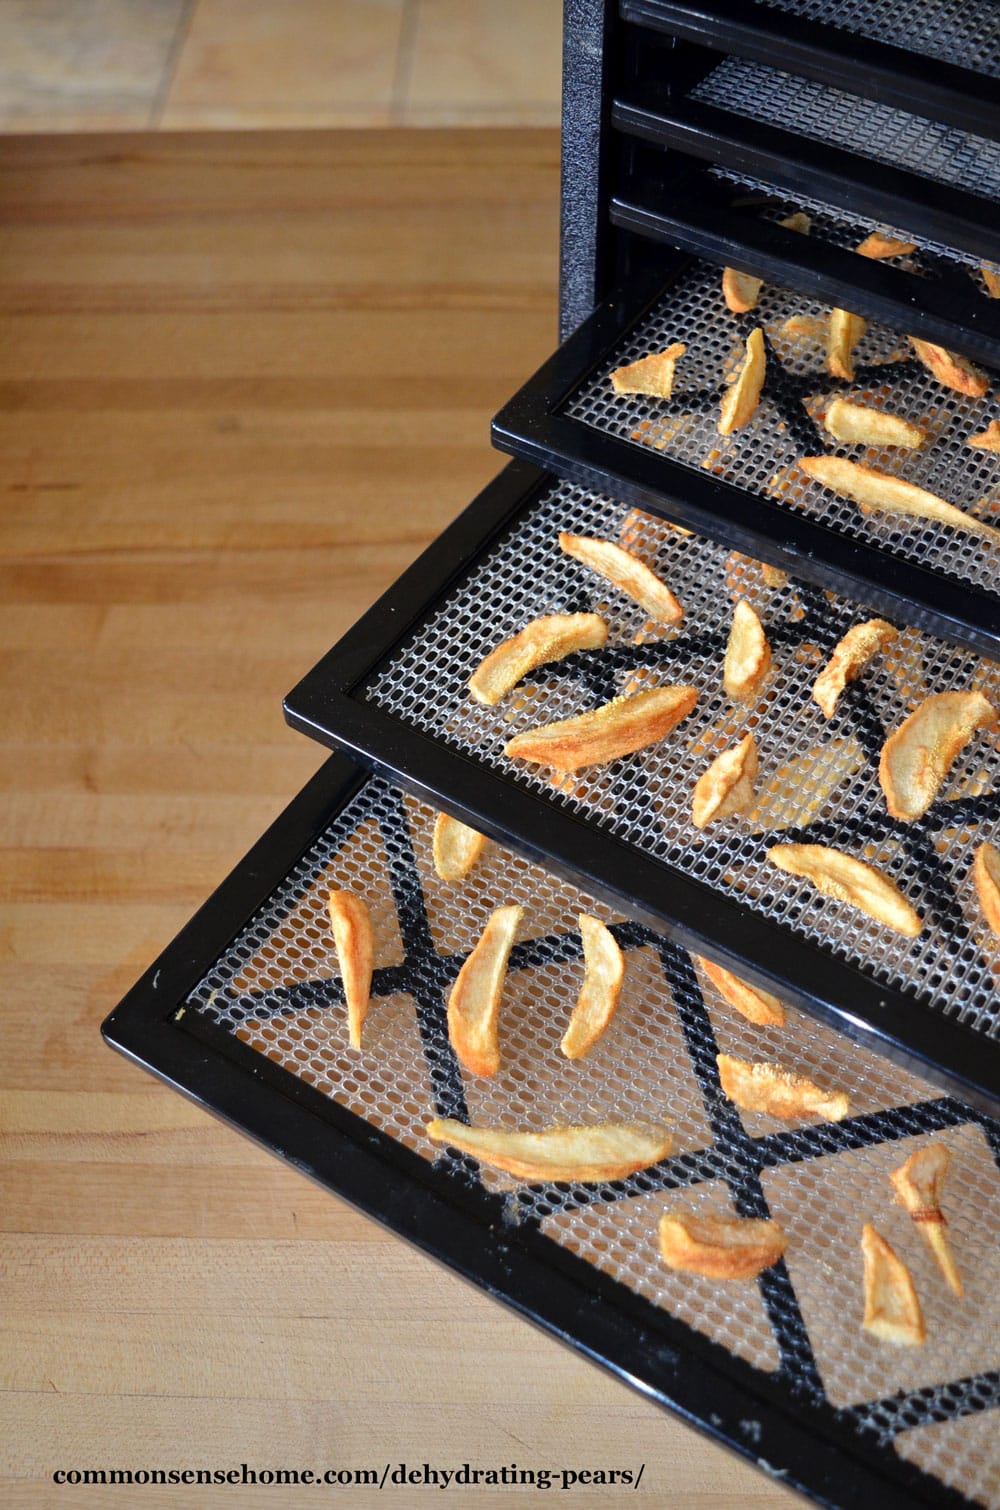
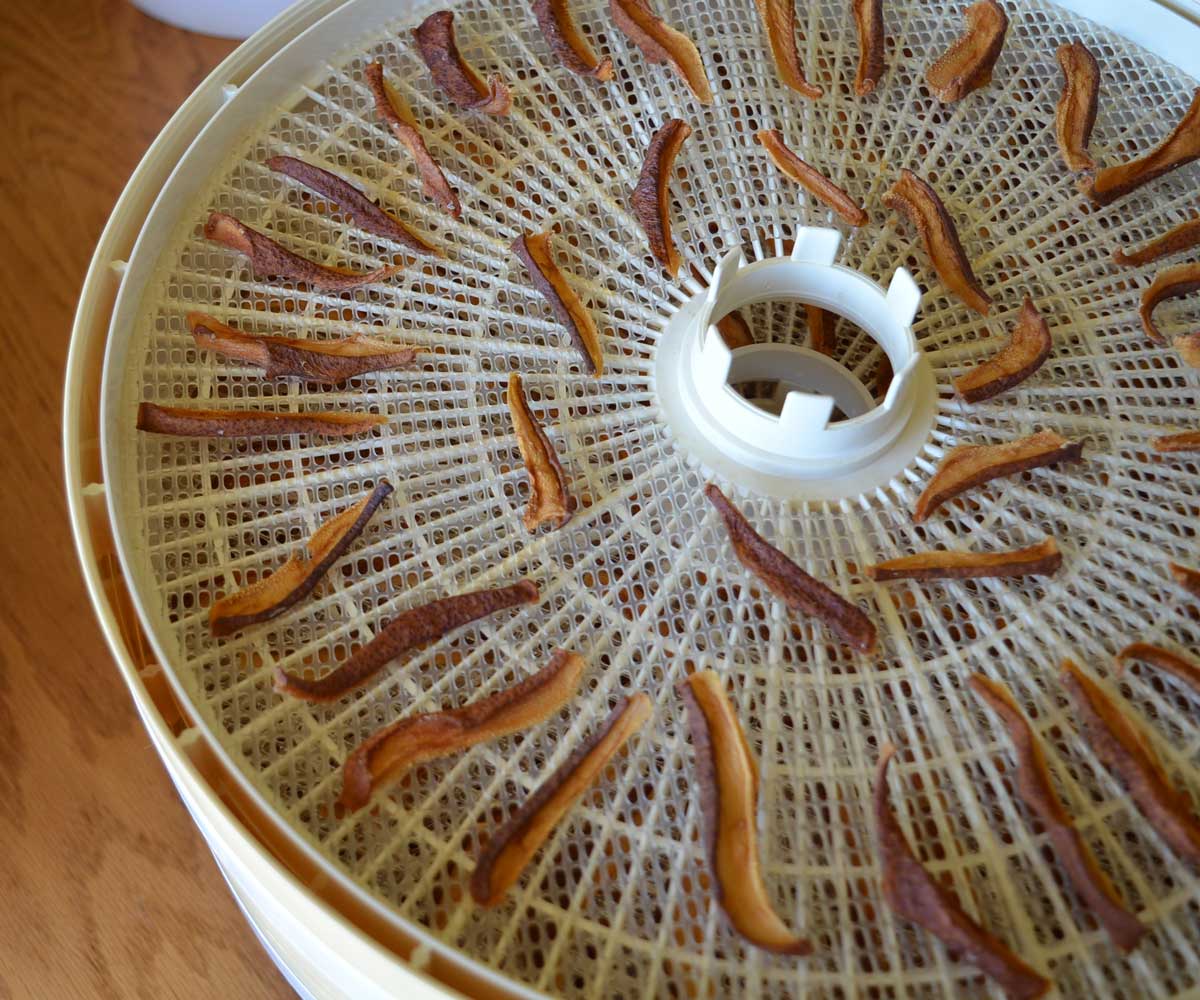
Lay the slices in a single layer on mesh dehydrating trays. Make sure to allow space between the pears for good air flow. Dry at 135 ºF/57 ºC overnight or until fruit is dry and leathery.

Depending on the moisture, humidity, and sugar content, dehydrating pears should take between 10 to 24 hours. Sweeter fruits (like pears) dry more slowly because the sugar bonds to the water. The slices will be pliable and leathery when done.
Oven Drying Option
If you don’t have a dehydrator, you can dehydrate pear in an oven. Spread the slices in a single layer on a baking sheet. Use the lowest heat setting (usually 170–200°F) and prop the oven door open slightly for airflow. Check fruit more often (every half hour or hour), as they may dry faster or unevenly.
How to Check Dryness
To make sure your dehydrated pears are dry – place the finished pears in a mason jar with a tight fitting lid. Shake daily to distribute any remaining moisture.
Over the next 2-4 days, check daily for moisture on the underside of the lid. If there is condensation, place pears back in the dehydrator for several hours. Test again, until no moisture gathers on the lid. Dehydrated pears will be a little sticky because of their high sugar content.
Would you like to save this?
How Long do Dehydrated Pears Last?
Your dried pears should last at least a year in airtight storage. For short term storage, a zippered plastic storage bag or other container will work fine. Keep in mind that any container that lets air in also lets moisture in and decreases shelf life.
You can keep dried fruit in the fridge or freezer, but you don’t need to for safety. Glass jars seal out moisture better than plastic. For longer storage, vacuum seal the dried pears in mason jars. Vacuum sealed fruit easily keeps in the pantry for 2-3 years or more.

The black dehydrator shown in the post is an Excalibur 3900B 9 Tray Deluxe Dehydrator. You can also use it to culture yogurt or cheese, or for making jerky.
I also have a smaller Nesco Snackmaster Pro Food Dehydrator. It’s perfect for smaller jobs and great if you are on a tight budget.
How to Use Dried Pears
- Enjoy as a chewy snack.
- Chop and add to granola, muffins, or quick breads.
- Simmer in a little water to rehydrate for compotes, pies, or sauces.
- Pair with cheese and nuts for an easy trail mix.
Sulfite Free Dried Pears
My friend, Deb, was commenting that it seems like you have two choices in store bought dried fruit. Non-organic dried fruit has sulfites, and most organic fruit is brown and unappetizing. She was amazed at how light colored and tasty our dried pears are.
Why the concern about sulfites in fruit? The Food Intolerance Network explains:
Sulfites have been associated with the full range of food intolerance symptoms including headaches, irritable bowel symptoms, behavior disturbance and skin rashes. They are best known for their effects on asthmatics.
With a little prep before drying, you too can keep the fruit light colored and yummy looking – without sulfites.
Frequently Asked Questions
No, peeling is optional, but speeds up drying. The skin makes them chewier but also adds fiber and nutrients
Pears are naturally high in sugar. Dry them until they pass the moisture test, and store with a packet of food-safe desiccant. The riper the pears, the more likely they are to stay sticky.
At room temperature in airtight containers, they last 6–12 months. For longer storage, vacuum seal or freeze.
Bartlett and Bosc are classics, but any firm pear will work. Avoid overly soft, juicy varieties for best results. Turn squishy pears into jam or wine instead.
More Pear Recipes
We have a great selection of food preservation articles on the site, including lots of pear recipes.
They include:
- 9 Ways to Preserve Pears, Plus Tips to Prevent Browning
- Almond Pears for Canning
- How to Make Pear Wine
- Blueberry Pear Jam – Sweet, Luscious Pears and Ripe, Juicy Blueberries
- Cranberry-Pear Jam – Traditional and Low-Sugar
- Maple Pear Jelly
- Pear Ginger Jam
I hope these tips are helpful. Let us know if you have any questions or recipe requests.

This article is written by Laurie Neverman. Laurie grew up in the kitchen, learning baking and home cooking from her momma. At age 15, she and her mom and two sisters created Irene’s Custom Cakes & Catering. This was her summer job through most of high school and college.
Originally posted in 2015, last updated in 2025.
I just made pear leather. It is delicious and easy. The most time consuming challenge was of course peeling the pears.
It the skin is thin and you don’t mind the look of it in your leather, you could skip peeling next time if you like. I know a gal who grinds up the strawberry tops in her strawberry fruit leather to save time. (They are edible, you just get dark flecks.)
Pears are on my list to plant next year. Until that future harvest I have been eagerly tasting whatever varieties of organic pears I can buy and testing their drying qualities as I go.
Your recommendation to apply a light coating of coconut oil to the drying sheets is very appropriate here. Otherwise the sheets will need a good soaking to get the gluey-sweet dried bits out of the mesh.
I though it might be helpful to your readers to note that some pairs, like Bosc-types, will be quite sweet when not quite ripe. They will also be firm enough to get a good, uniform slice. When fully ripe they “melt” and are so juicy they are harder to handle, with a lot of it dripping away during handling.
Bartlett types come out the best when almost entirely ripe. Once they are fully ripe, they bruise so easily that your dry slices will discolor no matter what, especially if they are peeled.
The D’Anjou-type pears don’t really sweeten up until they reach the melting stage, and you’ll get the most out of them at the peak of ripeness, using a spoon to scoop the ambrosial sweetness directly into your mouth.
Dried pears ARE candy. I have learned that it is prudent to pull out a couple of slices each and put the jar away directly, especially for the batches that come out perfectly, so stickily sweet they are almost carmelized. These are easier to prep if sliced NOT in wedges, but by laying each half cut side down and slicing directly down to the board. The shapes are not uniform, but the thickness is, so drying can be done at lower temperatures but will often take less time than wedges.
One last point: Years ago we had an elderly neighbor who could no longer climb her treasured pear tree at harvest and pruning time. We volunteered to help, and she instructed us to pick the pears while still almost green to protect them from being stung. She instructed us how to lay them out in boxes to ripen, but cautioned us to cut and eat them before they were fully ripe because the seed cavities always had larvae that would hatch on ripening. How we all enjoyed those pears!
Sure enough, if we let a pear go too long, the core would have a protein treat inside. I always wondered if her tree was being pollinated by a wasp, moth or fly that left an egg or two behind for posterity.
I think you and I are sharing the overcast skies and drizzly rain that has hung on for days. No complaints, though. There was plenty of lingering, sunny fall to enjoy!
Stay cozy! Sandy
Terribly overcast, rainy and windy here, too, today. Thanks for taking time to go into the specifics of working with different pear types and the reminder about oiling the drying sheets. I usually end up soaking mine with or without oil, but it does make them easier to get off.
Sandy, what a beautiful post full of pear wisdom and life experience. And a perfect complement to Laurie’s page – where it is fascinating to learn about sulphites in addition to the great pear recipe and tips. This is an example of great internet sharing!