Chocolate Coffee Cookies (Reindeer Print Cookies)
This post may contain affiliate links. Read my full disclosure here.

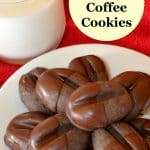
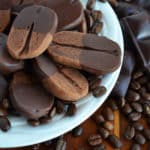
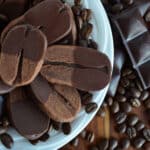
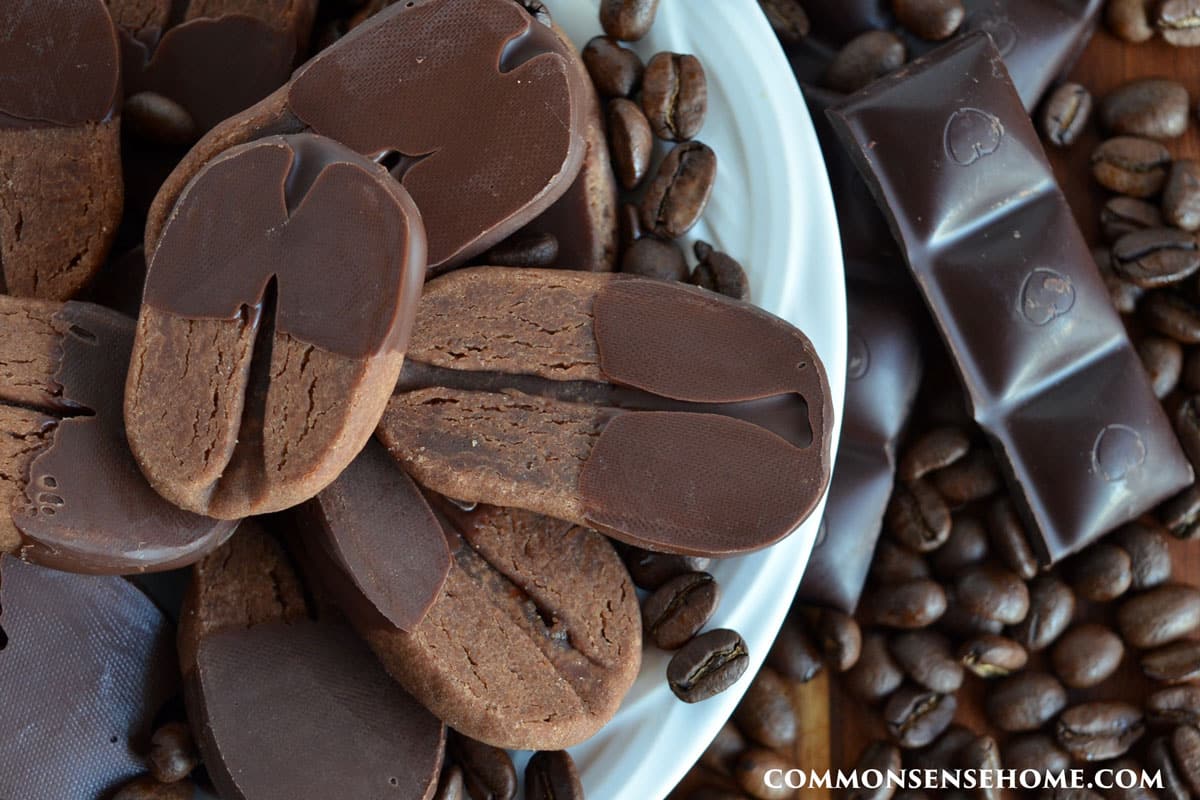
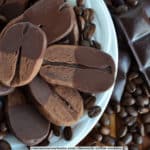
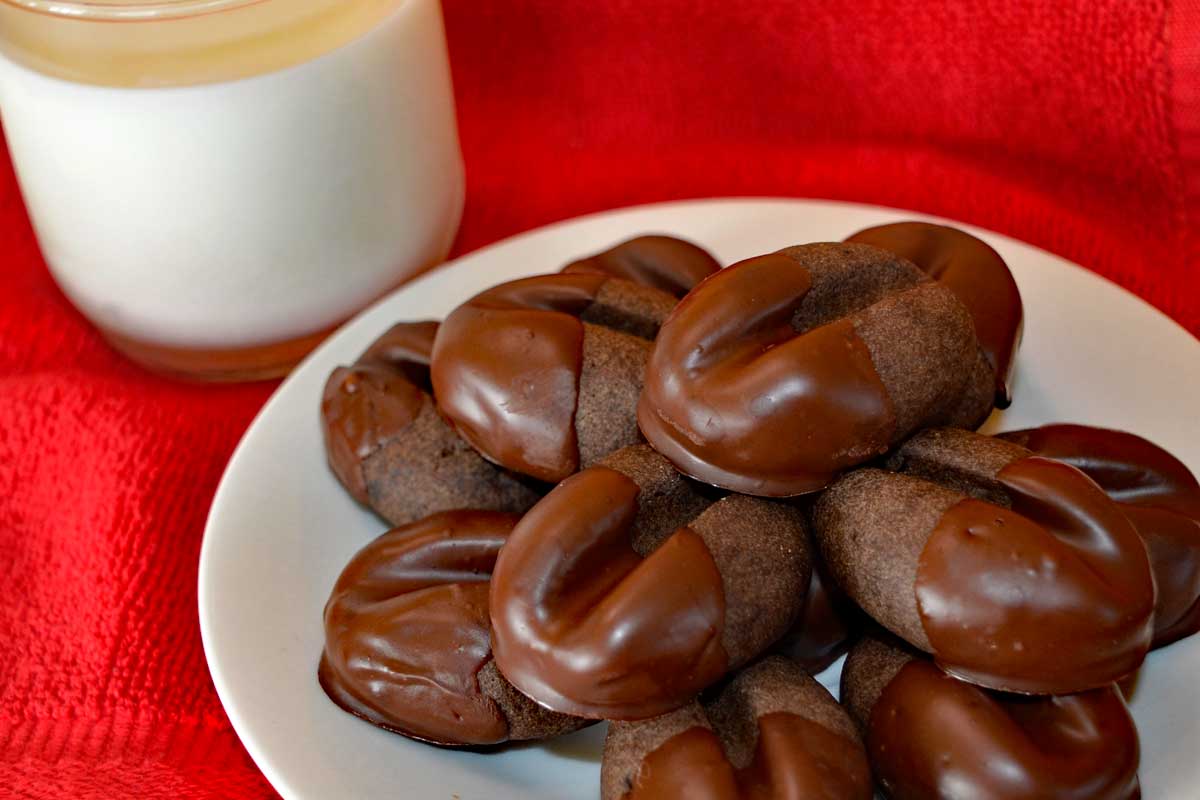
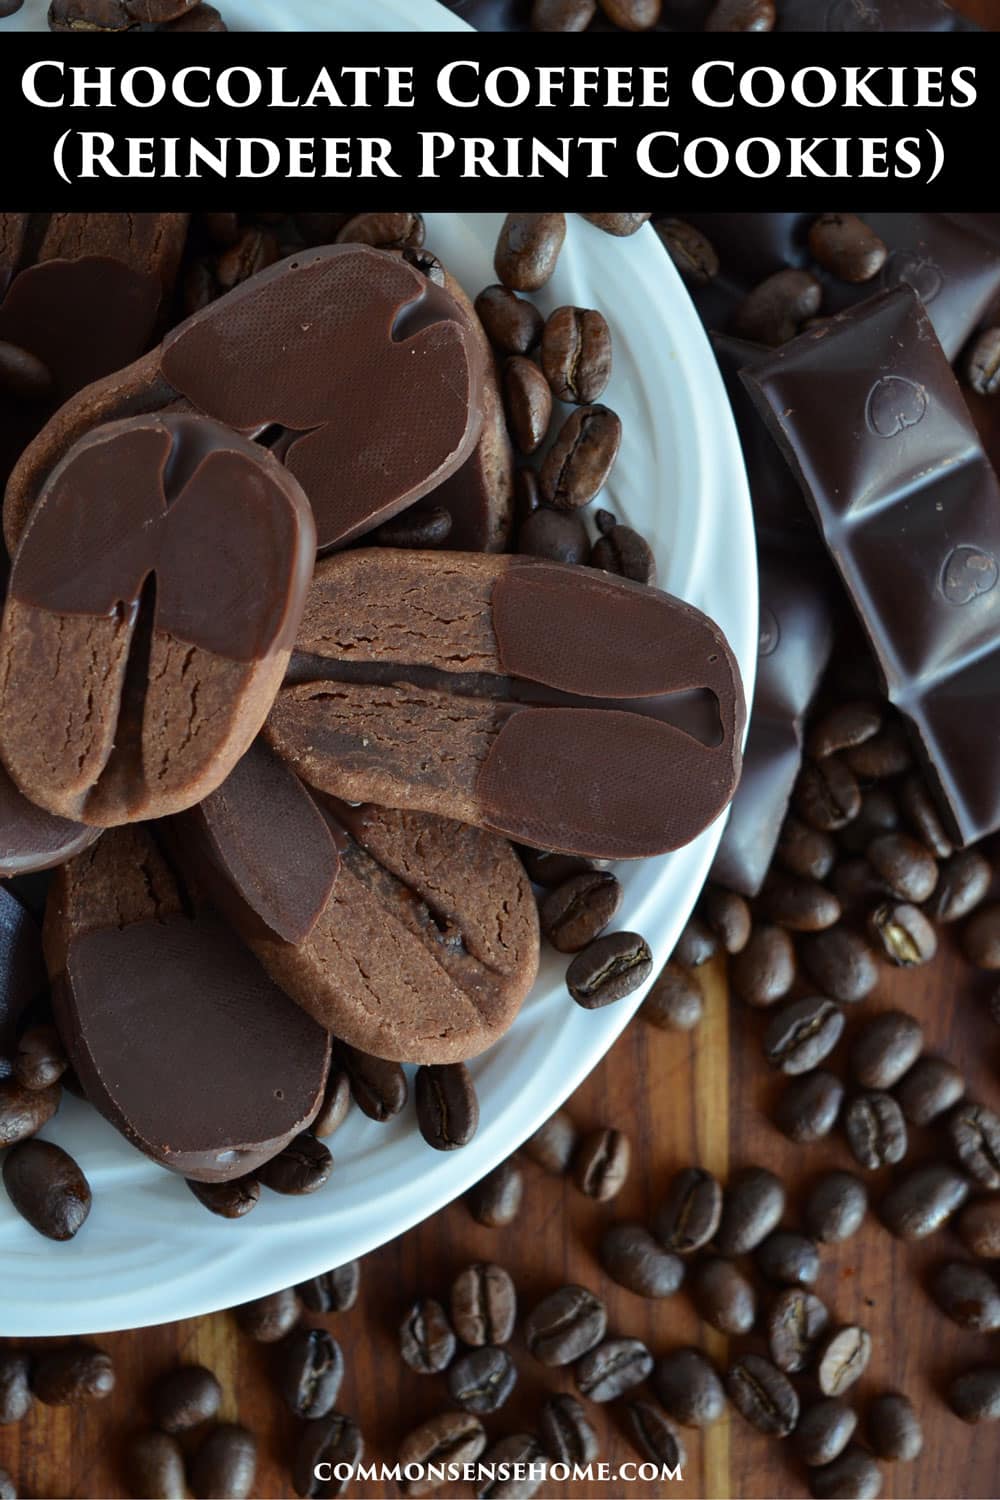
The chocolate coffee cookies include cocoa in the dough, combined with semi sweet or dark chocolate coating. The fun shape looks like a giant coffee bean or reindeer print, but whatever you call them, they’re delicious.
Tips for Baking Your Chocolate Coffee Cookies
I use instant coffee granules, but you can also use instant espresso powder.
This year I used Mount Hagen Organic Freeze Dried Instant Coffee, and was surprised by the kick. I had two small cookies after supper and was up half the night, so be warned.
For more “coffee” and less “chocolate”, stick to one tablespoon cocoa. (I prefer two, but I mention using one in the video.) Two tablespoons of dark cocoa powder gives the cookies a deeper color, closer to a real coffee bean.
Shaping and Baking the Cookies
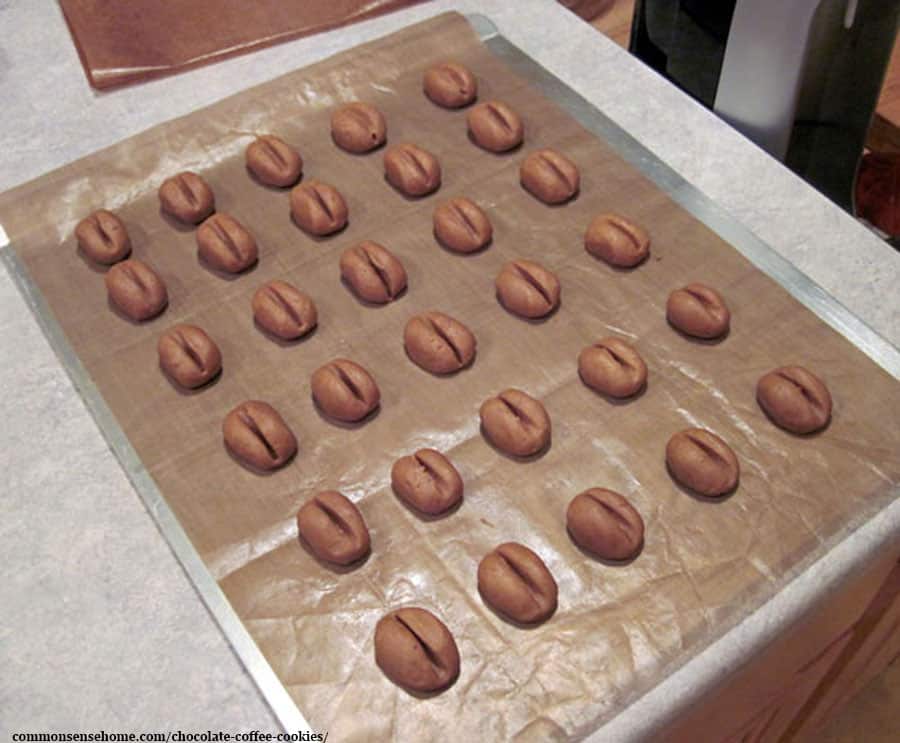
In the video, I press the chopstick into the top of the cookie while it’s on the pan so it looks more like a coffee bean. Sometimes we press the chopstick into the cookie while holding it (since real coffee beans have the line on the flat side).
When I shared the cookies on social media, lots of folks said they looked like moose prints or reindeer tracks. Since we often make them as Christmas cookie, I officially added it to the name. You can call them whatever you like, as they are yummy either way.
Airbake cookie sheets are helpful, but not not absolutely necessary. It’s a little tricky to tell when a dark cookie is done baking, so watch your timer and don’t burn the cookies.
Dipping the Cookies
The coconut oil helps the melted semi sweet chocolate to flow more easily for coating the chocolate coffee cookies. If your melted chocolate is still a little thick, it’s okay to add a little more oil.
I prefer unrefined coconut oil for the slight coconut flavor. You can use refined coconut oil or responsibly grown palm shortening if you don’t like coconut flavor.
You can use chips, chunks or a broken up chocolate bar – your choice. Always melt your chocolate gently, with low heat. Chocolate chips or mini chips melt quicker than chocolate chunks.
If you crank up the heat too much, your chocolate can seize into a hard lump and become unusable.
Would you like to save this?
Time Saving Tips
If you are in a hurry, and don’t care about the coffee bean look, go ahead and roll the dough into a log and slice off cookies. Make the roll about 1 inch in diameter, and the slices about 3/8 inch thick. Bake as normal.
To save even more time, instead of dipping, mix a half cup of mini chocolate chips into the dough before baking. You still get two kinds of chocolate, but it’s much faster than dipping individual cookies.
PrintChocolate Coffee Cookies Recipe
Chocolate Coffee Cookies – These coffee flavored cookies include cocoa in the dough, combined with semi sweet or dark chocolate coating.
- Prep Time: 15 minutes
- Cook Time: 10 minutes
- Total Time: 25 minutes
- Yield: 48 cookies 1x
- Category: Dessert
- Method: Baking
- Cuisine: American
Ingredients
- 2 teaspoons instant coffee crystals
- 2 tablespoons milk
- 3/4 cup butter, softened
- 1 three ounce package of cream cheese, softened
- 3/4 cup brown sugar, packed
- 1 teaspoon vanilla extract
- 2 cups all-purpose flour
- 2 tablespoons cocoa
- 1/2 cup chocolate chips or chocolate chunks
- 1 teaspoon coconut oil
Instructions
- Combine the coffee crystals and milk. Stir until the coffee crystals dissolve. If your coffee is older and doesn’t dissolve easily, warm the milk a bit. Set aside.
- In a large mixing bowl, mix butter and cream cheese until well blended. Add brown sugar, vanilla, and milk-coffee mix to the butter mixture. Stir until well combined. Add flour and cocoa and stir until blended. Cover and chill for one hour, or until dough is firm and easy to handle.
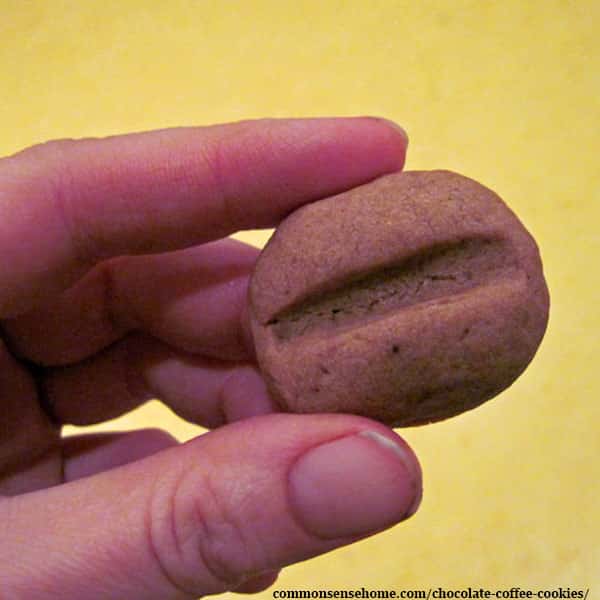
- Preheat oven to 350°F. Shape dough into 1 inch ovals. Press a notch in each cookie with a chopstick (or something similar) so that it resembles a coffee bean.
- Place cookies one inch apart on baking sheets with parchment paper.
- Bake for 9 to 11 minutes or until edges are firm and bottoms are a bit darker. Transfer cookies to a wire rack to cool. You can leave these “as is”, but I recommend half dipping them in chocolate.
- To prep chocolate for dipping, melt chips together with coconut oil in a small saucepan. Dip cookies one at a time until about 1/3 to 1/2 covered, and place on wax paper or freezer paper to set. To speed chocolate set, place dipped cookies in a cool area or in the refrigerator. Makes about 48 cookies.
More Homemade Cookie Recipes
Did you know we have over 100 recipes on the site? They include:
- Chocolate Mint Sandwich Cookies
- Mom’s Best Sugar Cookies
- Easy Christmas Cookies – One Dough, Three Different Cookies
- Homemade Mounds or Almond Joy Bars
- Chocolate chip cookie dough truffles
Baking Tips for Perfect Cookies
- Set out butter in a covered container at room temp the night before baking to allow it to soften evenly.
- To measure flour more evenly, use the “scoop, level, pour” method. Scoop your flour, level the top with a butter knife, and pour it into your dough.
- Watch for lumps in your brown sugar and cocoa. Sift before use, if needed.
- If a recipe uses a lot of eggs, add them one or two at a time for easier mixing.
- If a recipe uses several cups of flour mixture, add it a little at a time to prevent flour spilling all over.
- Line baking sheets with parchment paper or silicon mat to keep cookies from sticking and make cleanup a breeze.
- Keep cookies roughly the same size, and space them evenly on the pan. This helps to promote even baking.
- Keep in mind that cookies will continue cooking for a short time after they are removed from the oven. Cookies that are already hard when you take them out may be “one tough cookie” by the time they’ve cooled enough to eat. Slightly soft cookies will firm up as they cool.
- Transfer cookies to a wire rack to cool completely before dipping in chocolate. The chocolate mix won’t stick well to warm cookies.
- Store cookies in an airtight container with sheets of wax paper between layers so they don’t stick together. Keep at room temp for up to a week, or freeze for longer storage.
Do you have any questions, recipe requests or tips you’d like to share? Leave a comment below.

About the Author
This article is written by Laurie Neverman. Laurie grew up in the kitchen, learning baking and home cooking from her momma. At age 15, she and her mom and two sisters created Irene’s Custom Cakes & Catering. Cooking and baking was her summer job through most of high school and college.
Last updated in 2023.
Hi, can I make these ahead of time and freeze the dough?
I would think so, though we haven’t tried it. We have made them in advance and frozen the finished cookies, then thawed them at room temp.
Are the cookies supposed to be soft or crunchy like a shortbread? I think I may have undercooked them or made them too big they turned out gummy or doughy tasting. I was so excited about them I might give it another go.
They should be tender, not crunchy, but definitely not gummy or doughy. There should be around 4 dozen cookies. If you ended up with fewer, then they were likely too big.
I made five different kinds of cookies for my cookie boxes, and this is the winner of the year. I’m not even a big coffee drinker, but there was something about the combination of cocoa, cream cheese, and espresso powder that was just so perfect. Thanks for this!
I’m glad you enjoyed it. I’m not a huge coffee person, either, but these are one of my favorite holiday treats, too.
These are my favorite cookies ever! I make these every 3 weeks,I try not to share them, but everyone loves them 😋😋🇨🇦🇨🇦🇨🇦
Thank you for taking time to leave a positive review and we’re glad that you like them.
Did you flatten them before baking to make the reindeer hoofs?
Can you see the video in the article? If so, I show how I usually make the cookies. We roll them into oblong shapes, and then press in the line on the top with a chopstick. You can press the chopstick into the top while they are on the pan, or hold the cookies and press it in, and then set the side with the divot down on the pan to make it flat.
Are they supposed to be that small? How big do they end up being once they are baked? Can they be made bigger?
The cookies are very rich, so yes, we don’t make them huge. If you wish to make them larger, go ahead and try it and see how it works for you. It’s your kitchen, so you should do things the way you like. For a larger cookie, you’ll need to increase bake time.
They increase slightly in size during baking, but not a lot.
So these have no baking soda or powder?
Nope, no leavening. They are rich, fairly dense cookie, not puffy.
Thanks
Do you use salted or unsalted butter?
I typically use salted because that’s what I have on hand.
Looks like a great recipe! Going to try it! Thanks for doing the video!
You’re welcome, and thank you.
Definitely look like coffee beans… But does anyone else see reindeer hoof prints?! Just saying! Can’t wait to make this cookie!
Thanks for the yummy recipes! I tried this yesterday and it is really delicious.I can’t wait to read your next recipes. Keep sharing
Chocolate, coffee and cream cheese, I love these flavours, will be making your recipe. Thanks
I see it calls for coconut oil… I don’t like the smell or taste of coconut oil can I use anything else?
If you use refined coconut oil, it has a neutral flavor. It does not smell or taste like coconut.
You could also use responsibly harvested palm shortening, but I think unrefined coconut oil is a little less expensive.
Do you think these would ship well?
Yes, they are fairly dense, not crumbly. I think they would be okay with some padding.
I am going to try a few of these tomorrow – thanks for the yummy recipes!
I make shortbread snowflakes and decorate them with this white icing, large sugar sprinkles and silver balls. It’s funny to watch folks picking off the silver balls, not knowing they are sugar 🙂
Happy baking!
Technically, in the US they’re labeled as “inedible – for decoration only” and the FDA says you shouldn’t eat them, but in other countries are sold as food. There have been no recorded cases of silver dragee poisoning. 🙂