Easy Chicken Pot Pie Recipe with Homemade Pie Crust
This post may contain affiliate links. Read my full disclosure here.
This homemade chicken pot pie recipe is a great way to turn a small amount of leftover chicken into a whole new meal. If you don’t have leftover cooked chicken, you can substitute a boneless breast or a couple of boneless chicken thighs. Just dice up your chicken and add it to the onions and celery to cook before adding the broth and vegetables.
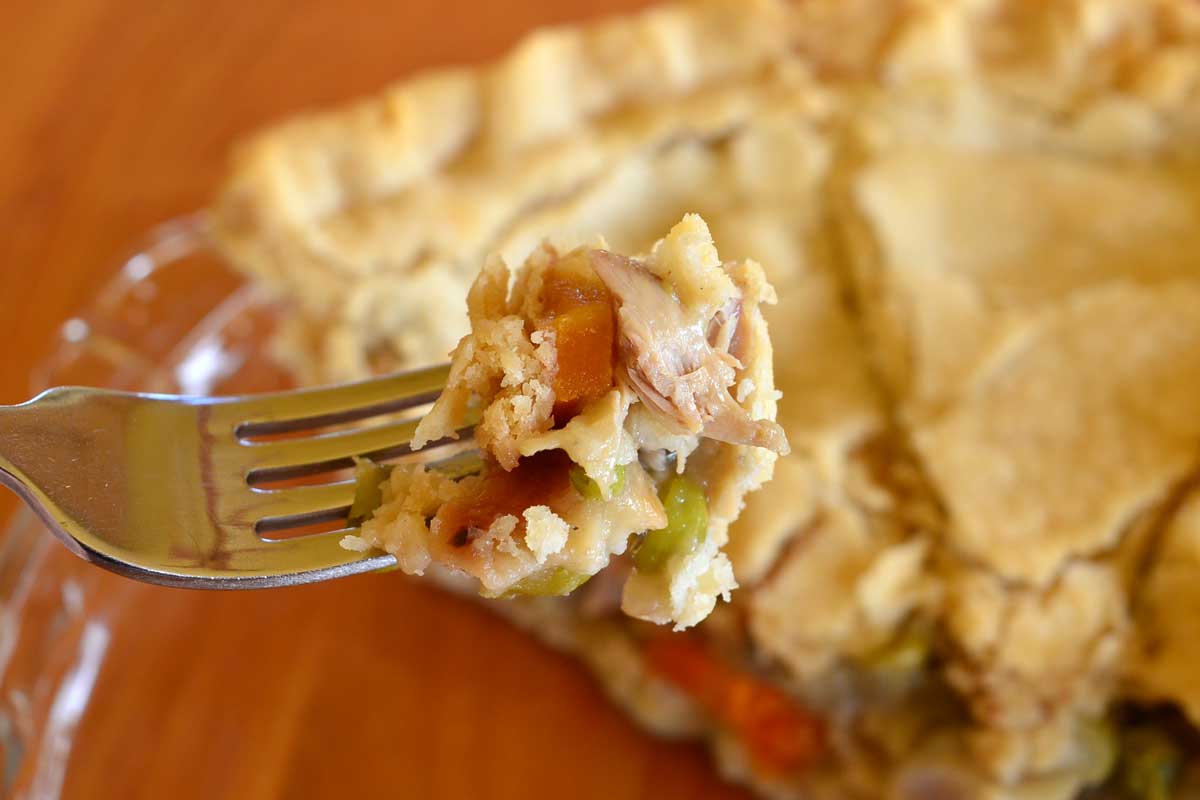
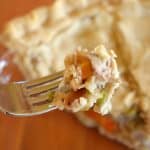
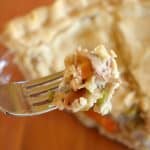
You’re never going to see big hunks of meat and veggies like that in a store pie, plus the veggies came from my garden and the chicken came from our flock.
I like to make a two crust chicken pot pie with homemade crust, but you could also use premade crust if you’re in a hurry, or make the pie with a single top crust. The boys love a nice, flaky crust, so for me it’s worth a little extra time.
I normally use lard or butter for the crust fat, but have also used schmaltz (chicken fat), which makes the crust a little trickier to work with but is delicious.
Don’t do animal fats? Shortening is fine, too. This type is non-hydrogenated and GMO free. Whichever fat you use, keep it cold. Tiny pockets of intact cold flat bits melt during baking, leaving behind that nice, light, flaky crust.
For the pot pie veggies, I mix and match what I have on hand. Exact amounts don’t matter, only that you have enough total volume to fill the pie. Precut frozen veggies work just fine if you are in a hurry. I often use fresh veggies from the garden paired with frozen peas, because peas have such a short season.
Easy Chicken Pot Pie Recipe
Makes one 10 inch pie.
Ingredients
- Pie crust, enough for top and bottom crust, or a single crust (see below)
- 1 medium/large onion, chopped
- 1/4 cup butter
- 1-2 cloves garlic, minced or run through a garlic press
- 1 cup diced chicken, cooked or raw
- 1 quart chicken broth
- 1 large potato (~2 cups chopped)
- 2 carrots (~2 cups chopped)
- 2 stalks celery, chopped
- 1-2 tablespoons fresh parsley, chopped
- 1 cup peas
- 1 cup water mixed with 1/2 cup flour or 1/4 cup cornstarch (for thickening)
- 1/2 teaspoon curry powder
- Salt and pepper to taste
Directions
Preheat oven to 350°F.
Saute onions and garlic in butter until glossy and tender. Add chicken and cook through if needed.
Add broth, carrots and potato. Cook until tender. Add celery, parsley and peas.
Mix flour (or cornstarch) and water to form a slurry. Bring broth and vegetable mixture to gentle boil. Pour flour/water mix into broth, stirring constantly, until broth thickens into gravy.
NOTE – you may not need quite this much flour and water, depending on your broth and veggies, but this should be about right.
Pour chicken/veggie mixture into prepared crust. Make sure you cut ventilation slits in the top crust before placing it on the pie and sealing it. Crimp the edges of the pie with your fingers, making sure to catch the edge of the pie plate rim with the crust.
Would you like to save this?
Bake 45 minutes to one hour, until top is lightly browned and center of pie is bubbling. (Glass pans will take longer to cook.)
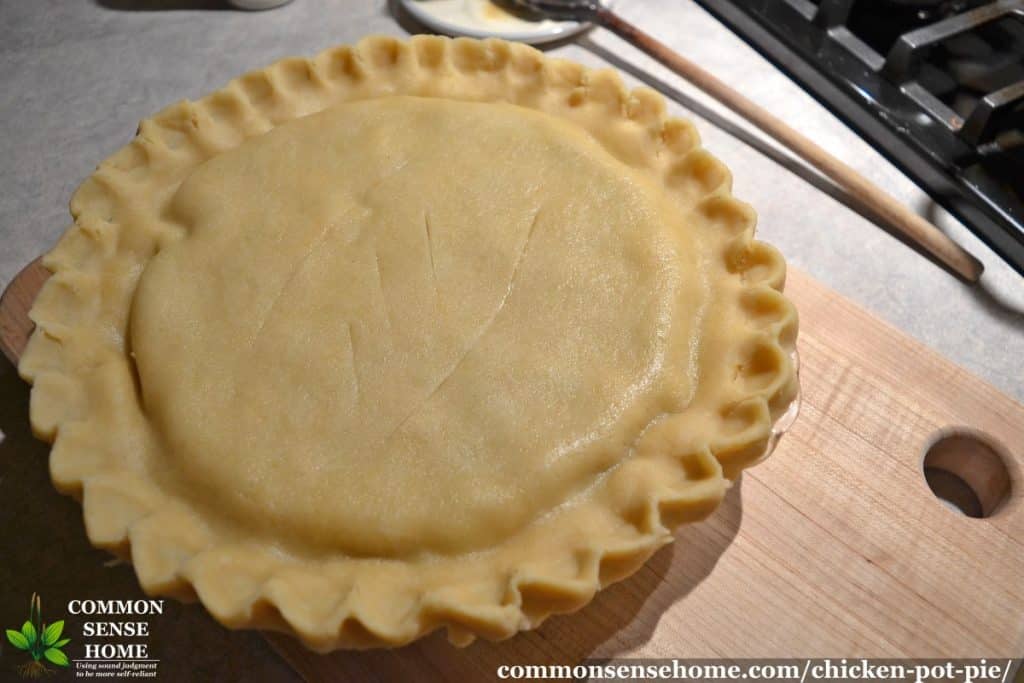
Here’s the pie just before it goes into the oven. I cover the edges with a pie crust shield and place it on a drip catcher/oven protector to make sure the crust edges don’t get burnt and spills don’t mess up the oven.) I never make a pie without these two accessories anymore.
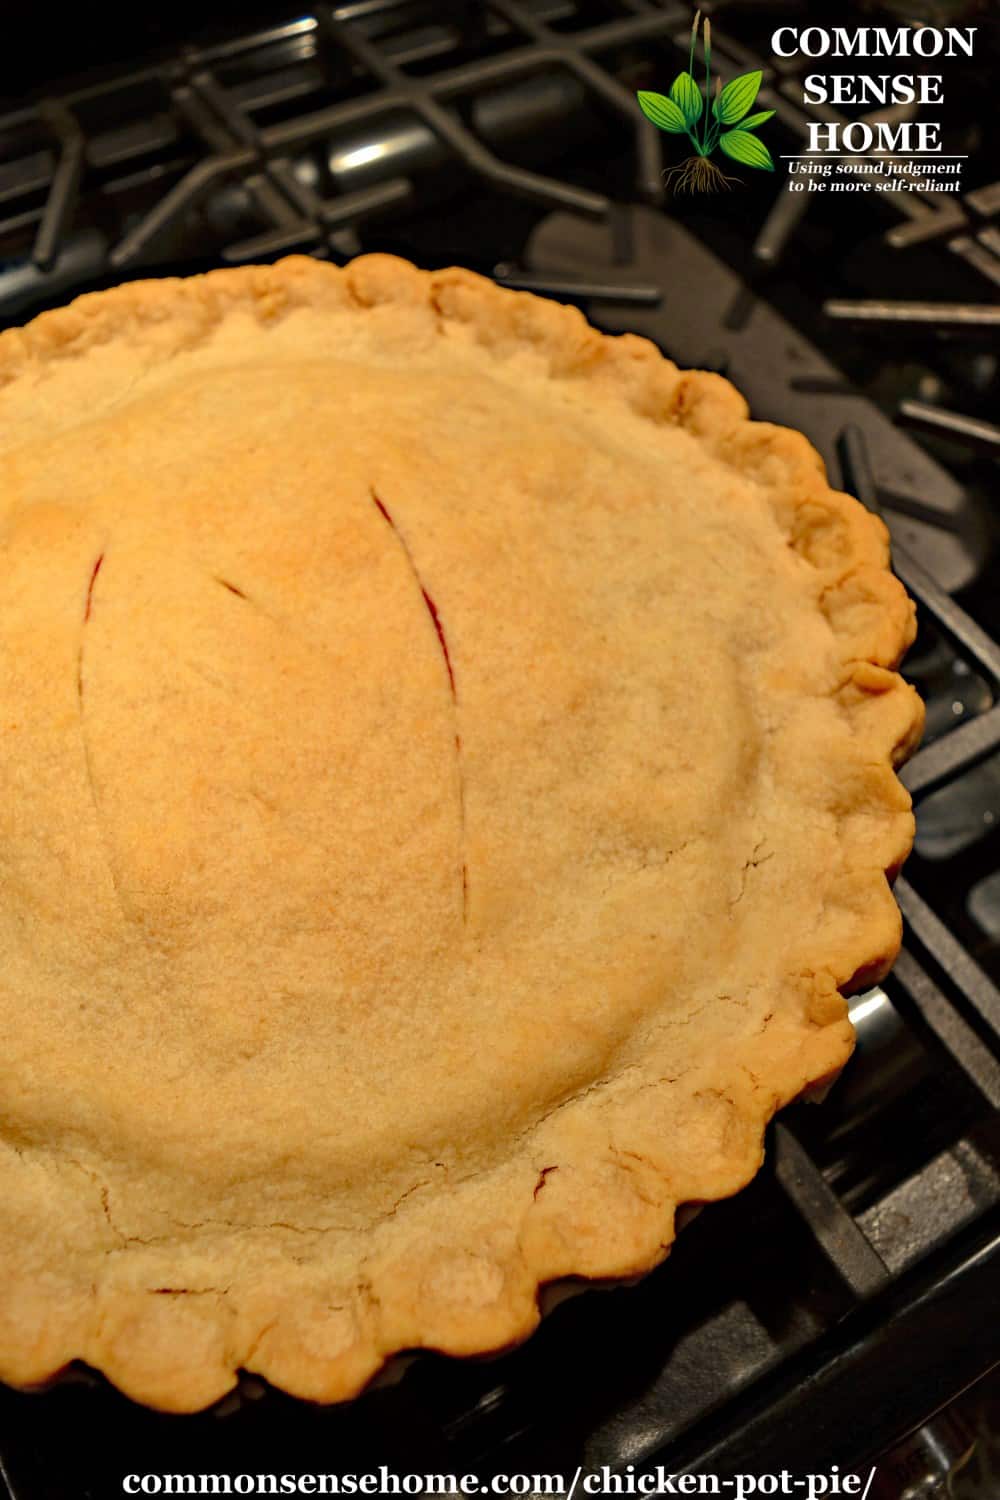
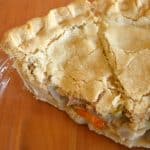
Here’s the pie fresh out of the oven. See the nice even browning on the crust?
Easy Chicken Pot Pie
Easy chicken pot pie recipe with flaky, homemade crust, rich broth and plenty of meat and vegetables. Works great to make leftover chicken into a new meal.
- Yield: 8 servings 1x
Ingredients
- Pie crust, enough for top and bottom crust or single crust*
- 1 medium/large onion, chopped
- 1/4 cup butter
- 1–2 cloves garlic, minced or run through a garlic press
- 1 cup diced chicken, cooked or raw
- 1 quart chicken broth
- 1 large potato (2 cups chopped)
- 2 carrots (2 cups chopped)
- 2 stalks celery, chopped
- 1–2 tablespoons fresh parsley, chopped
- 1 cup peas
- 1 cup water mixed with 1/2 cup flour or 1/4 cup cornstarch (for thickening)
- 1/2 teaspoon curry powder
- Salt and pepper to taste
Instructions
- Preheat oven to 350°F.
- Saute onions and garlic in butter until glossy and tender. Add chicken and cook through if needed.
- Add broth, carrots and potato. Cook until tender.
- Add celery, parsley and peas.
- Mix flour and water to form a slurry. Bring broth mixture to gentle boil. Pour flour/water mix into broth, stirring constantly, until broth thickens into gravy. NOTE – you may not need quite this much flour and water, depending on your broth and veggies, but this should be about right.
- Pour chicken/veggie mixture into prepared crust. Make sure you cut ventilation slits in the top crust before placing it on the pie and sealing it. Crimp the edges of the pie with your fingers, making sure to catch the edge of the pie plate rim with the crust. Bake 45 minutes to one hour, until top is lightly browned and center of pie is bubbling. (Glass pans will take longer to cook.)
Notes
Basic Pie Crust Recipe
- 1/2 cup lard or half lard/half butter, cold
- 2 cups all purpose flour
- 1 teaspoon salt
- 1 tablespoons cold water
Cut together flour, salt and lard/butter with two knives or a pastry blender until mixture forms peas size lumps and is evenly blended. Mix together other ingredients in small bowl, blend well. Pour liquid over flour/lard mix. Blend with fork until you can form the dough into a ball. To keep crust light and flaky, do not overwork the dough.
Roll out between sheets of waxed paper lightly dusted with flour for easier handling. Dough will keep wrapped in the refrigerator for several days or can be frozen.
Basic Pie Crust Recipe
Makes 2 crusts
1/2 cup lard or half lard/half butter (cold)
2 cups all-purpose flour
1 teaspoon salt
2 tablespoons cold water
Cut together flour. salt and lard/butter with two knives or a pastry blender until mixture forms pea size lumps and is evenly blended. Pour water over flour/lard mix. Blend with fork until you can form the dough into a ball. To keep crust light and flaky, do not overwork the dough.
Roll out between sheets of waxed paper lightly dusted with flour for easier handling. Dough will keep wrapped in the refrigerator for several days or can be frozen.
I hope you enjoy this recipe as much as we do. If so, please pass it along. This is a wonderful old-fashioned comfort food meal.
You may also enjoy:
- Easy Homemade Alfredo Sauce – Great for Chicken Broccoli Alfredo
- Never Buy Bread Again
- Best Ever Cornbread Recipes – Northern and Southern Style
Originally published in 2011, updated in 2017.



I just used your pie crust recipe for our homemade turkey pot pie and family loved how flaky and light your recipe turned out, will definitely use your recipe again, thank you for sharing!
I’m glad that it worked out well for you.
This looks wonderful! I have never made a pie crust from scratch (mostly because we don’t eat a lot of sweets) but for THIS? Yeah … I will learn to make a decent pie crust. That said, I have a couple questions. First, have you ever tried making these in advance and freezing them? If so, what happened and how long/what temp did you use? Did you thaw before baking or just put them in frozen? Next, can I substitute blanched & frozen veggies for fresh? Will it matter much, you think? Thanks for this recipe! I cannot wait to try it!
I’m somewhat of a pastry snob after all the years in the catering business, so I don’t like to freeze my pie crusts. After freezing, they’re just never quite as light and flaky as they are fresh. Seasoned Advice recommends cooking to 50-70% doneness and then freezing. Blanched and frozen veggies would be an easy substitution.
Thank you, Laurie! Just what I needed to know. I will spending a little time with Seasoned Advice … that one is new to me. Thanks again! I am so excited!
You’re welcome.
After all, stress can be as bad for you as a bad diet. Life is a journey, not a sprint. I figure just keep working at it.
Wow, after all the comments I read I’m just a little overwhelmed. So here is what I’m gonna do. I will buy a pie crust and cook everything else from scratch and hope for the best. I’m sure it will be delicious. Some people just put too much thought into cooking. Taste it, if you like it go for it.
Amen! Too much stress isn’t good for you, either.
i sprout my grains before i use um. it is a little tricky making yeast bread but i work hard at it. i use a vitamin c powder and also a malt made also from sprouted wheat to help improve the rise.. i also let my bread rise a couple times..sometimes i leave it in the fridge overnight… it is a challenge for sure. it's no wonder folks are intimadated by the traditional eating… there's so much conflicting info out there. you just gotta do what makes sense to you… and not stress over it… 🙂
Kathy – I don't have 45 buckets, but I do have a couple hundred pounds of wheat berries and wheat flour. Sometimes I think a person just has to cook good food and not fret too much about the details.
I have 45 buckets of wheat in my basement to use. I would have no idea how to separate the bran and germ. Let alone ferment it and cook it. Popcorn is a staple at our house. I make a batch for my 9 year old fx son almost everyday. So I guess we will just have bad teeth. LOL!
Glad the pie worked out well for you. I think for most people, if you concentrate on getting nutrient dense foods into your diet, it naturally crowds out the "junk" items and you'll be just fine. I made Ezekiel bread once (raw sprouted wheat berry bread). I didn't care for the flavor, and it didn't sit well with my stomach, either. I know sprouting doens't do much to reduce phytic acid, but it is supposed to make the grain digest more like a vegetable. Do take note that sprouting the grains tends to inhibit the yeast based rising process in breads. If you've got the time, I'm all for trying different things. 🙂
I have started incorporating all-purpose unbleached flour in our diets to fix the texture of cookies, pancakes etc. but it looks like I have a bit more research to do!
Maybe I should buy some gallon mason jars and sprout the wheat? Thanks for all the info.
And that pot pie was AMAZING!! My husband was so excited that we had enough for leftovers the next day. I have more chicken in the freezer from our recent free-range chicken so I'll do this one more time in the next couple weeks it was so good!!
Kathy – like I said, the whole flour discussion is giving me a headache. In the "Phytic Acid Content of Popular Foods" of Cure Tooth Decay, the author states:
Avoid Commercially Made Whole Grain Products
Avoid sprouted grain breads
Avoid most gluten-free grain products
Avoid breakfast cereal
Avoid health food bars
Limit popcorn
In the "Eating Grains at Home" section, he states:
If you are going to buy flour from the store, then I recommend buying partially refined flour such as unbleached, unbromated organic white flour. Do not use store-bought whole grian flour. Unbleached flour is low in phytic acid. Just keep in mind that in the long run, eating only unsoured, unbleached flour is not an ideal health practice. Choose white basmati or white jasmine or white sushi rice for your homemade rice dishes
When he talks about grinding your own flour, he wants you to sift out the bran and germ, and ferment it for a couple of days, and cook it. Honestly, the more I read, the more I'm thinking, "You've got to be kidding me".
For now, I cook with a good quality unbleached. unbromated flour when the recipe calls for it. I do some sourdough baking, but not multi-day ferments, at least not yet. I figure there will be more information to come, and hopefully everything else in our diets will help balance out any grain issues.
Ok I am lost. I have been trying to grind my own wheat and use it in waffles, pie crusts etc…So are you saying that is bad for us and I should use all purpose flour? Really lost. Would like to know more.
Lisa – I'm with you – it's enough to give you a headache. Mr Cure-tooth-decay sites studies that show that the phytic acid in whole grains is not reduced significantly by soaking, and the bran and germ inhibit nutrient absorption. He says that unbleached, unbromated white flour (without germ and bran) interferes less with nutrient absorption. At some point I just figure "the heck with it", and use what works best for the recipe at hand. You know a recipe like this is head and shoulders above anything you could buy in the store, even if it's not "perfect". I suspect we're going to keep hearing a lot of conflicting information for years to come when it comes to nutrition.
This is in the oven as we speak and it smells absolutely divine!!! I have lard in the freezer downstairs but since I hadn't rendered it yet, I had to use butter in my pie crusts.
Also, the more I learn about traditional cooking, the more I want to throw in the towel! Not really, but I'm so frustrated!! I woke up early, made two pie crusts with apple cider vinegar so they could "soak" on the counter all day and be ready for dinnertime. Then I read somewhere that one person doesn't soak pie crusts because the flavor is off. So I remade 2 pie crusts with whole wheat flour (I'll freeze the soaked ones and use them next time I'm in a rush). Now I read what you said about whole wheat unsoaked or unfermented being actually worse for you??? I'm still trying to figure out the news that soaking grain in dairy actually DOESN'T break down the phytates. It's all so confusing. Hopefully I can teach my children and they will know all the tricks without all this research 🙂
Yes, a deep dish pie plate would be best, or cut back on proportions. I use glass pie plates that I picked up at an estate sale.
Do you need to use a deep dish pie plate for this?
Looks good! Since we made lard maybe we'll try this over the weekend!
Brigid – most store bought ones are terrible! I haven't had one for some time, but I remember the last one having tiny pieces of veggies and bizarre foam rubber "chicken" chunks. Not a yummy!
Good thing you've got more than one chicken on hand.
YuMMMMM. Your piecrust looks divine. I had a frozen one a week back when I was sick. Never again.
Cant wait to make this… I guess I'd better take another chicken out of the freezer for tomorrows dinner 😉
That's not as straightforward as it might sound. Because this is not fermented, I typically use plain unbleached, unbromated flour all-purpose flour, such as King Arthur flour. You may wish to use a gluten free flour mix.
You could use freshly ground whole wheat flour, but from what I've been reading in the book "Cure Tooth Decay", that's actually worse for you, unless you soak or ferment, than plain white flour in small amounts.
specify a healthy flour for those who don't know better