Chair Repair – Fixing a Loose Back on a Wooden Chair
This post may contain affiliate links. Read my full disclosure here.
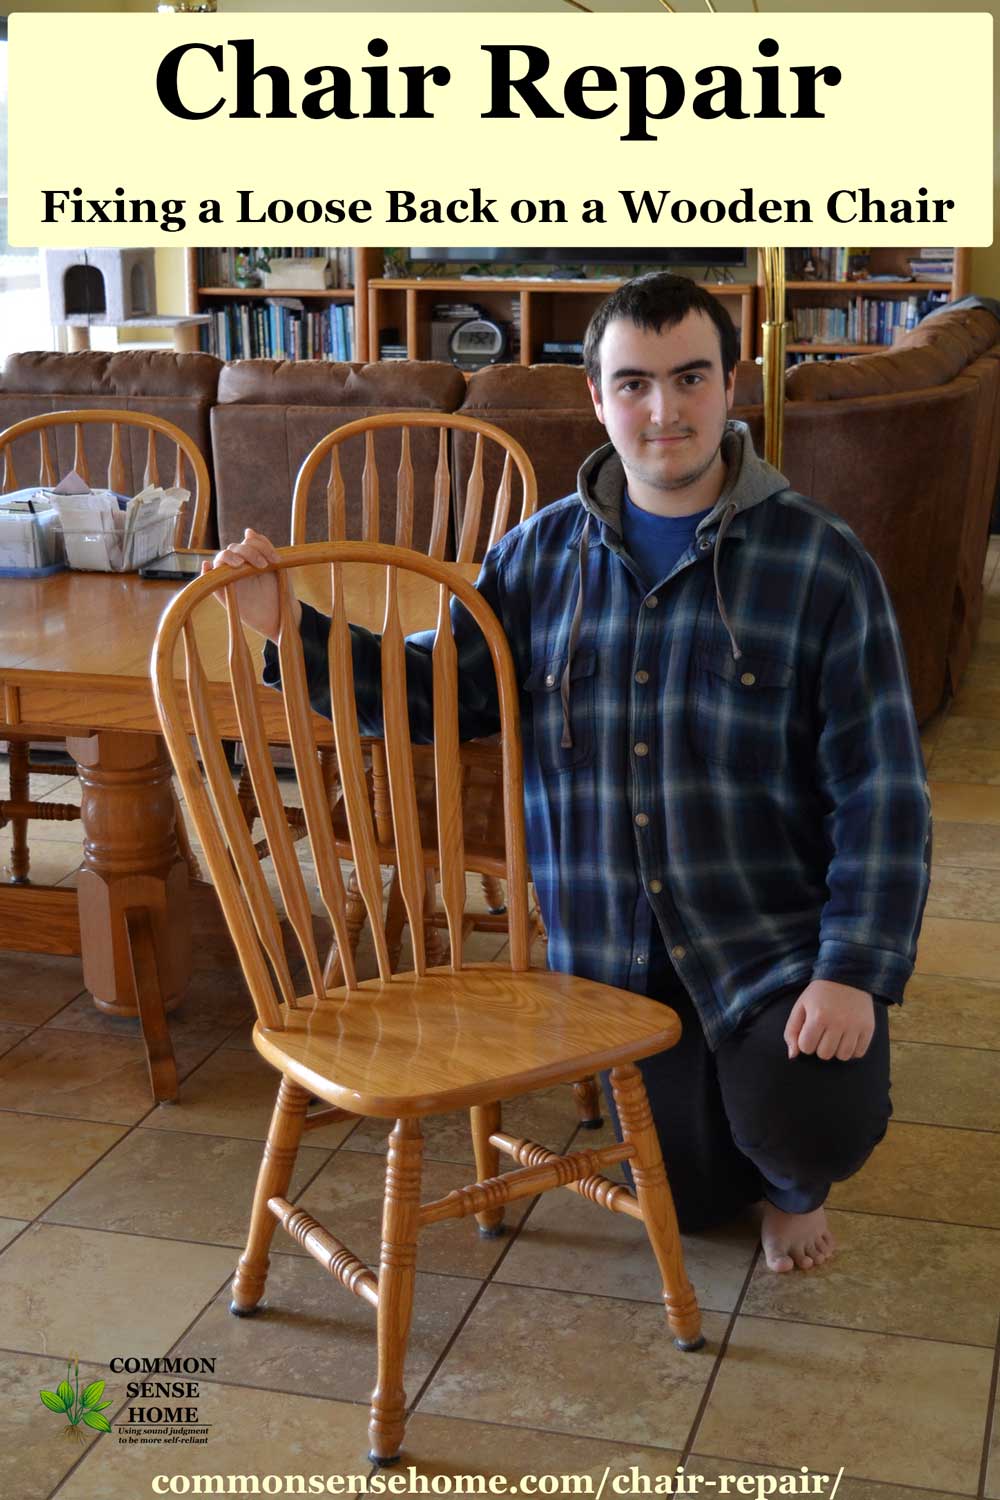
Our dining room set is over 20 years old, so it’s not too surprising that some of the wooden chair backs have come loose over time. Recently, two of the backs got to the point where they moved if someone leaned back. We assigned our sons to chair repair duty, and asked them to record the process to help others out. Our youngest, Duncan, demonstrates the repair in the video below. He also wrote a description of the repairs in case anything isn’t clear in the video.
Chair Repair – Fixing a Loose Back on a Wooden Dining Room Chair
#1 – Figure out How the Back Connects to the Chair
The first thing you want to do is find out how the chair is held together. There are three options:
- Screws
- Nails
- Tight fit with glue and shims
If your chair is held together by screws, you might be able to use grandpa’s trick for loose screws. Remove the screw, put a wooden toothpick into the hole, and then put the screw back in. This snugs up the screw in the hole.
If the chair is held together by nails, you probably don’t want to pull it apart, because it will not be quite right when you put it back together. Shims or glue may help.
Our chair backs slot into place, and are held together by glue and shims. The glue loosened over time, so we could wiggle the back off and go from there. The rest of the post focuses on this technique.
#2 – Remove the Back from the Chair
The next chair repair step is to wiggle the back off the chair. Depending on how loose the back is, it could come right off or take some time. Don’t torque on it with all your strength! Apply enough pressure that you feel like you’re wiggling it, but not so much that it feels like it’s about to snap.
As you wiggle, pull up with even and steady force. When in doubt, apply less force and wiggle more. If one of the spindles snaps off, don’t worry. Just sand both ends of the break and put some glue where it cracked to reinforce it.
#3 – Prep the Chair for Reassembly
Once you have the spindles and the top bow off, sand the connection points of the spindles until they feel smooth to the touch. Try to sand inside the holes in the seat, too. Keep all parts laid out in the right order so they go part together correctly.
If the holes where the spindles slot into the bottom half of the chair don’t go all the way through, make sure to tip the chair upside down and tap on the chair to knock out the sawdust.
Once you finish sanding all the parts, assemble the chair for a dry fit. Make sure everything lines up correctly, and that all excess sawdust is removed. If the spindles or bow are extremely loose, add shims as needed.
Would you like to save this?
#4 – Reassemble the Chair – *HELPFUL TO HAVE AN EXTRA SET OF HANDS*
Spread newspaper or a dropcloth below your work area to catch glue drips. We use Gorilla Glue for chair repair.
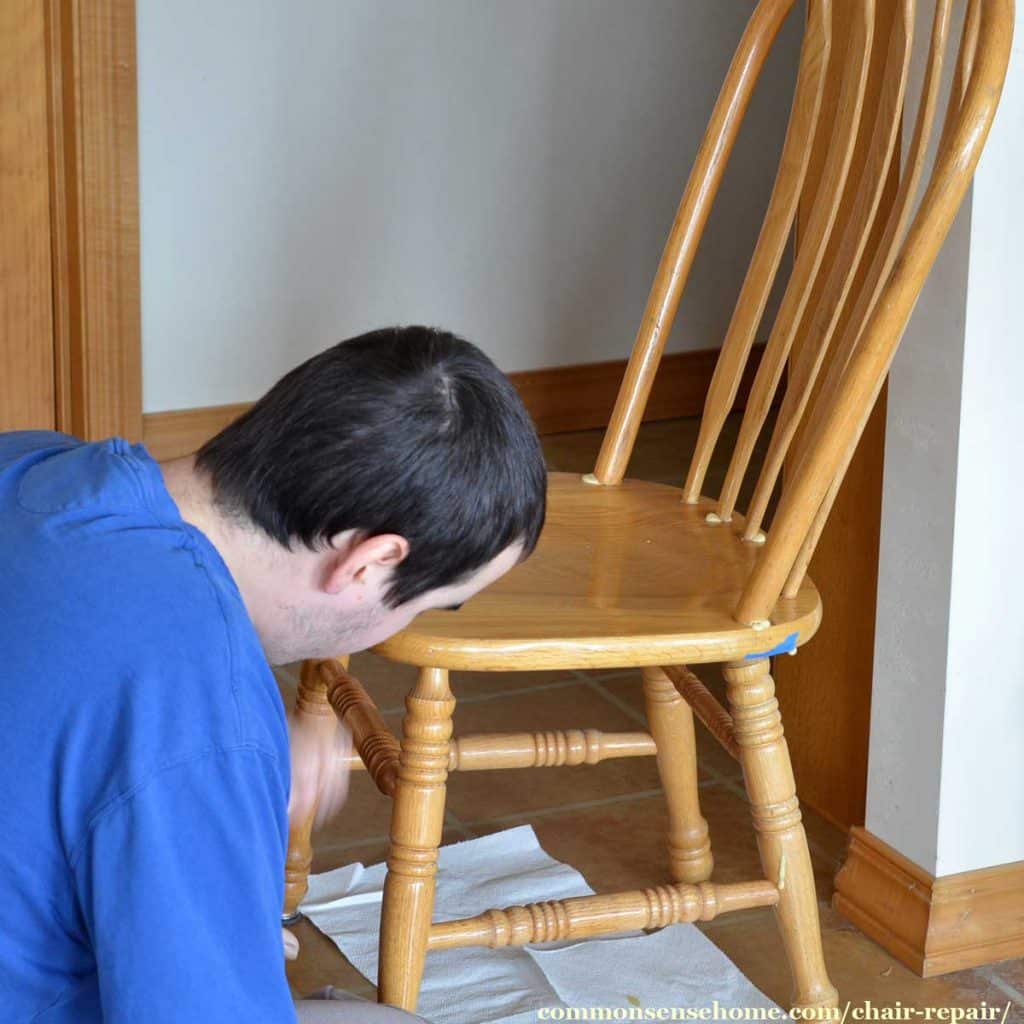
If the holes that the bow or spindles fit in on the base of the chair go all the way through the chair, apply painters tape to the bottom of the hole. This keeps most of the glue in the holes, where it’s needed. If the bow pushes in past the bottom of the chair, add extra tape, as needed.
Sometimes the spindles will still be firmly stuck in the top bow, sometimes not. If they need to be reattached, now is the time to do it. Invert the bow, and apply wood glue in the spindle holes. Push the spindles into place. Set aside, propped do that the spindles stay in position. Work quickly so that the glue does not set before the next step.
For the final assembly, an extra set of hands is helpful. Apply glue to the holes in the chair base. Lift the back (with your extra set of hands helping) and insert the bow and spindles into the chair base. Adjust alignment to seat the spindles at top and bottom. Wipe off excess glue.
When the back is in the right position, lean it against a wall to dry for a day.
#5 – Final Cleanup
After the glue sets, inspect the chair repair for soundness. Remove the painters tape. If the tape sticks to the glue, use a utility knife to scrape it off. Use the knife to clear off any excess glue missed earlier. For a smoother finish, buff lightly with sandpaper.
And that’s it! Your chair should be good to go for some time to come.
Watch the video below to see Dunc in action fixing one of our chairs. If the video doesn’t display, make sure you don’t have an adblocker on.
Get More Household Tips
We have dozens of articles featuring household tips on the site, ranging from pest control to frozen pipes. They include:
- How to Get Rid of Fruit Flies, Plus the Best Homemade Fruit Fly Trap
- 12 Best Tips for Keeping Your House Cool without AC
- How to Restore Cast Iron Cookware – Cleaning and Restoring Cast Iron
Thanks for stopping by for a visit, and we hope you found this helpful. Dunc was a little nervous doing his first video for the site, but I thought he did a nice job.
Excellent tutorial! I came across this website right before I was about to break my chair back. Your instructions about PATIENTLY wiggling the chair back and forth saved my chair from being torn apart by my pry bar. I honestly didn’t think the wiggling would work but after a few minutes, it did! Sorry to have doubted you. Thanks for the video!
I’m glad we were able to help.
So, I am new to your site and must say how helpful your tips are. I really enjoyed Duncs’ chair repair video. He didn’t seem nervous to me and did a great job of explaining.
Aside from all of your wonderful recipes (i tried the delicious Sunday/Company Chicken with my 8 year old granddaughter), the hints, tips, etc., y’all (I am.from.SC…that’s the way we talk ;-)) seem like a very sweet and close family. I will enjoy reading your emails and watching the videos from.time to time!
Thank you Marlit. Our boys were homeschooled, so we’ve been together more often than not. We also do a lot of work on projects together, like building the greenhouses and outbuilding. Dunc’s my “people person” son, so I hope to get him in front of the camera more. He’ll also be working with me for the classes we’re going to host on site.
Nice job Duncan! You have more patience than I do, and you explained it very simply and well!
Thank you for your kind words. I told Dunc what you said and he smiled.