Canning Corn – Raw Pack, Hot Pack, Cream Style
This post may contain affiliate links. Read my full disclosure here.

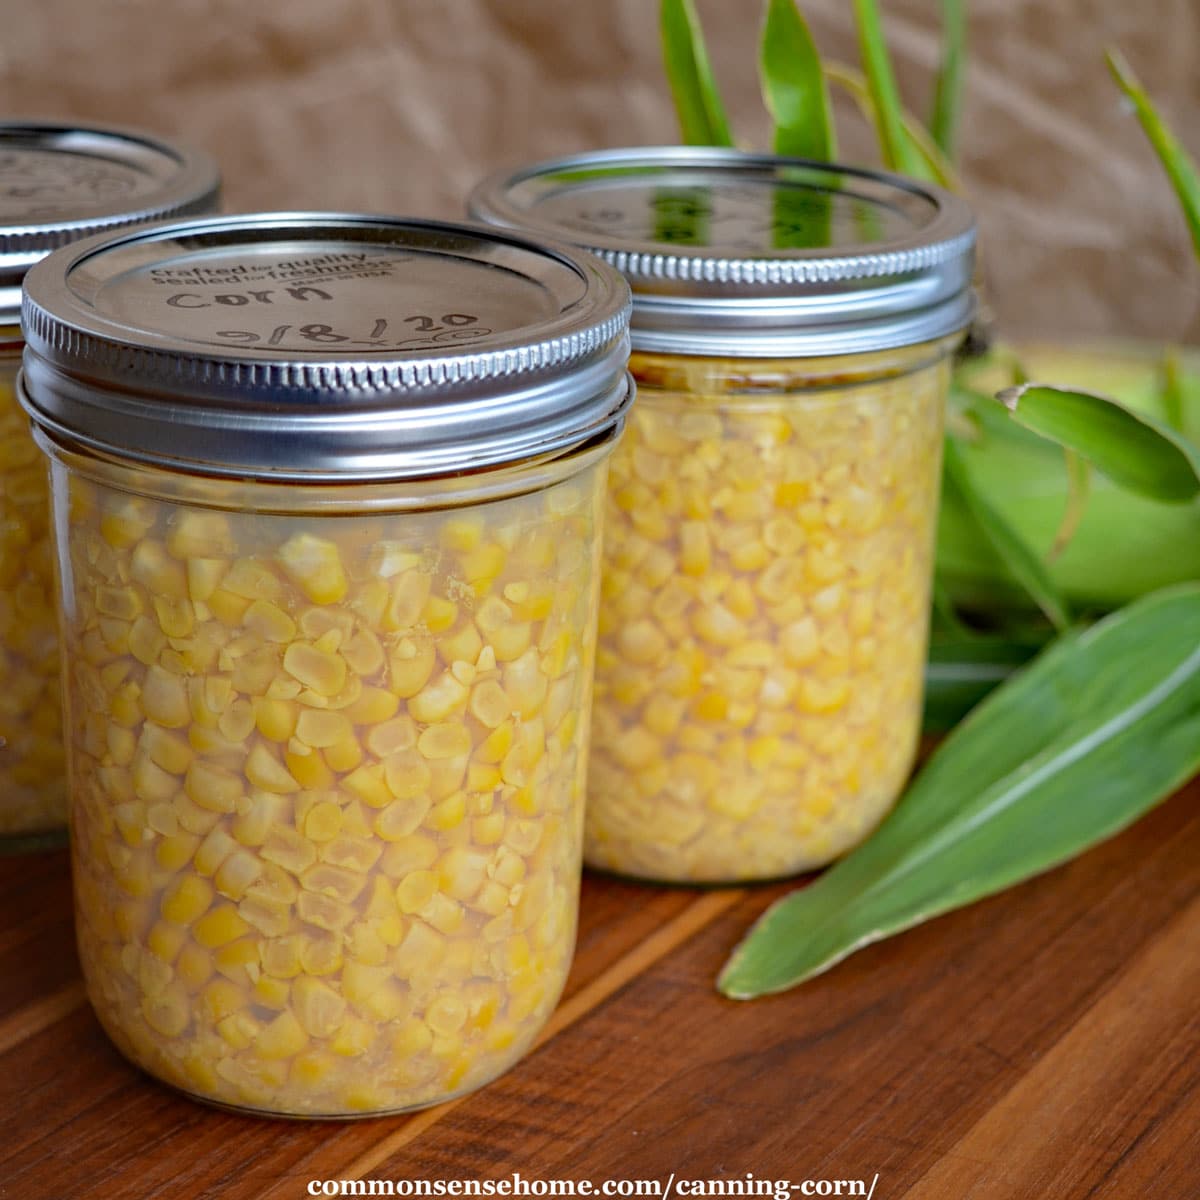
Canning corn means no spoilage if the power goes out, and homegrown corn all year long. We’ll help you learn how to can corn three ways – raw pack, hot pack, and cream style.
How Many Cobs do You Need for Canning?
A standard pressure canner holds 7 quarts or 9 pints. You’ll need around 32 pounds of corn in the husk for 7 quarts, or 20 pounds for 9 pints.
A bushel of corn weighs 35 pounds and yields 6 to 11 quarts. (It’s fine to run the canner with less than a full load if you are a little short.)
There are 2-3 ears of corn in a pound (depending on the size of the ears), so you’ll need 64 – 94 ears to fill 7 quarts. That means 40-60 cobs for 9 pints.
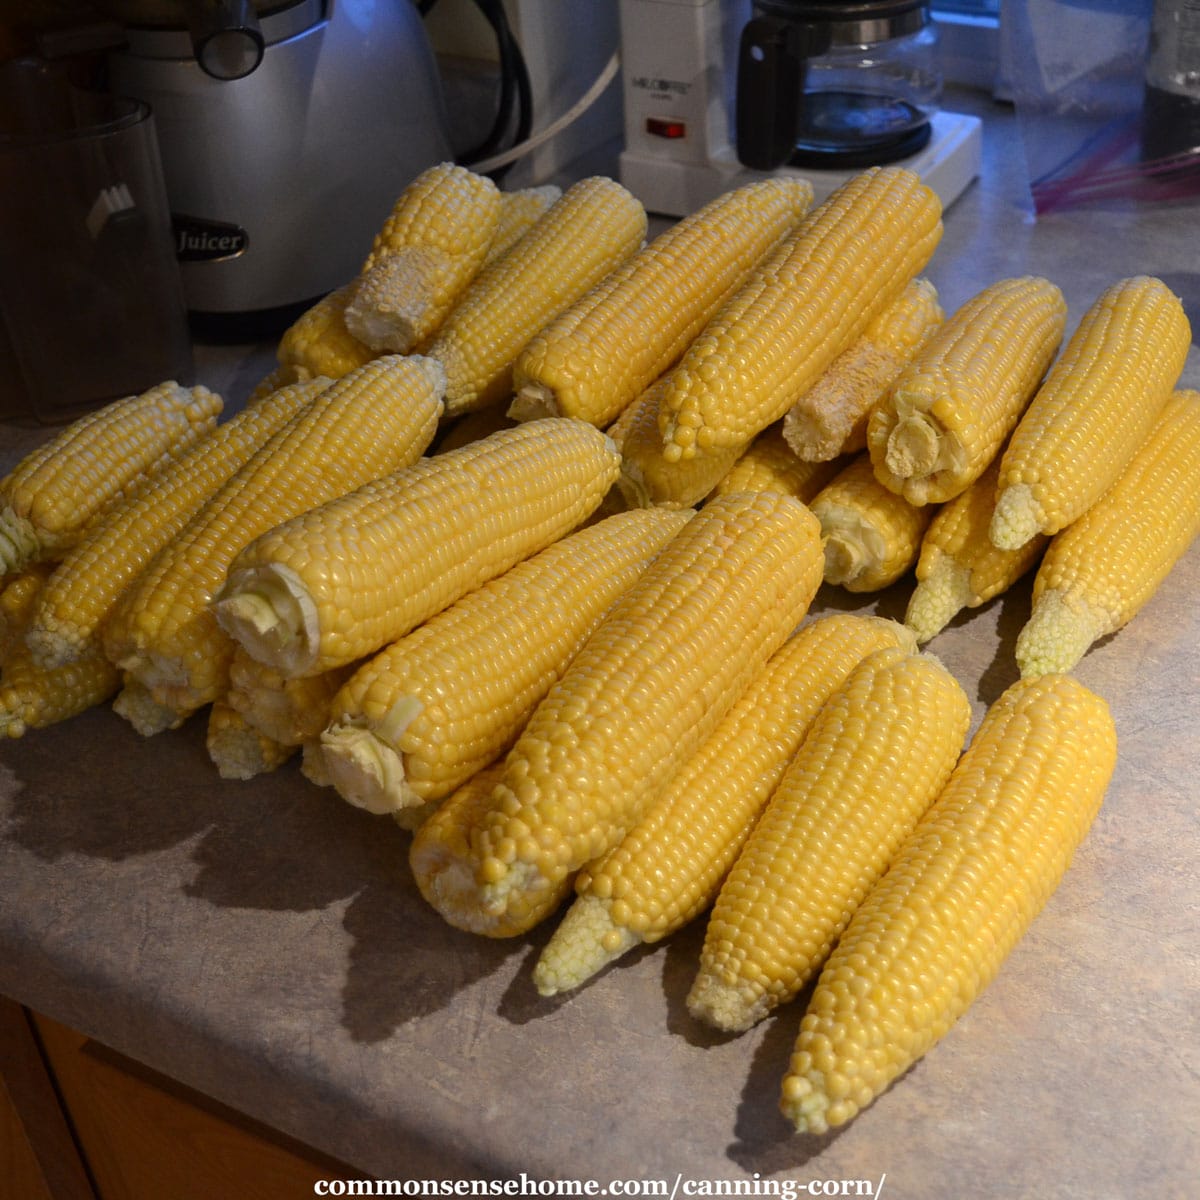
We grow our own corn, but sometimes we’ll also buy some from friends or other local growers. Fresh is best – the sooner you can process your corn, the better the quality.
What type of corn is best for canning?
While supersweet varieties (Sh2) of corn retain their sweet flavor longer after picking, this extra sweetness makes them a bad choice for canning. This is because their high sugar levels make them more likely to turn brown during processing.
Instead, look for standard sweet corn (SU) or sugar enhanced (SE) varieties. Bodacious is one of our favorites. Other standout varieties include Incredible, Temptation, Delectable, Providence, Silver King, and Whiteout.
Choose cobs that are well filled out. Look for brown and yellow silk with a fresh corn smell. The husks should be firm, not wilted.
Prep your Equipment
You will need:
- Sharp knife or corn cutter
- Large bowl for catching kernels
- Pressure canner
- Canning jars
- Canning lids and rings
- Jar lifter
- Canning funnel
- Ladle or measuring cup
- Tongs and bubble remover (chopstick or other thin, non-metallic stick)
- Small cloth for wiping jar rims, kitchen towel for finished jars
It helps to have a canning partner (or several), so that someone shucks while the other person preps the canning equipment.
Make sure your jars are clean and in good condition. Fill your canner as directed by the owner’s manual, and have clean lids at the ready.
Keep your jars hot in a warm oven or dishwasher, or hot water in the sink. They don’t need to be sterilized, as the canning process takes care of that.
Canning Corn – Whole Kernel
For both raw pack and hot pack:
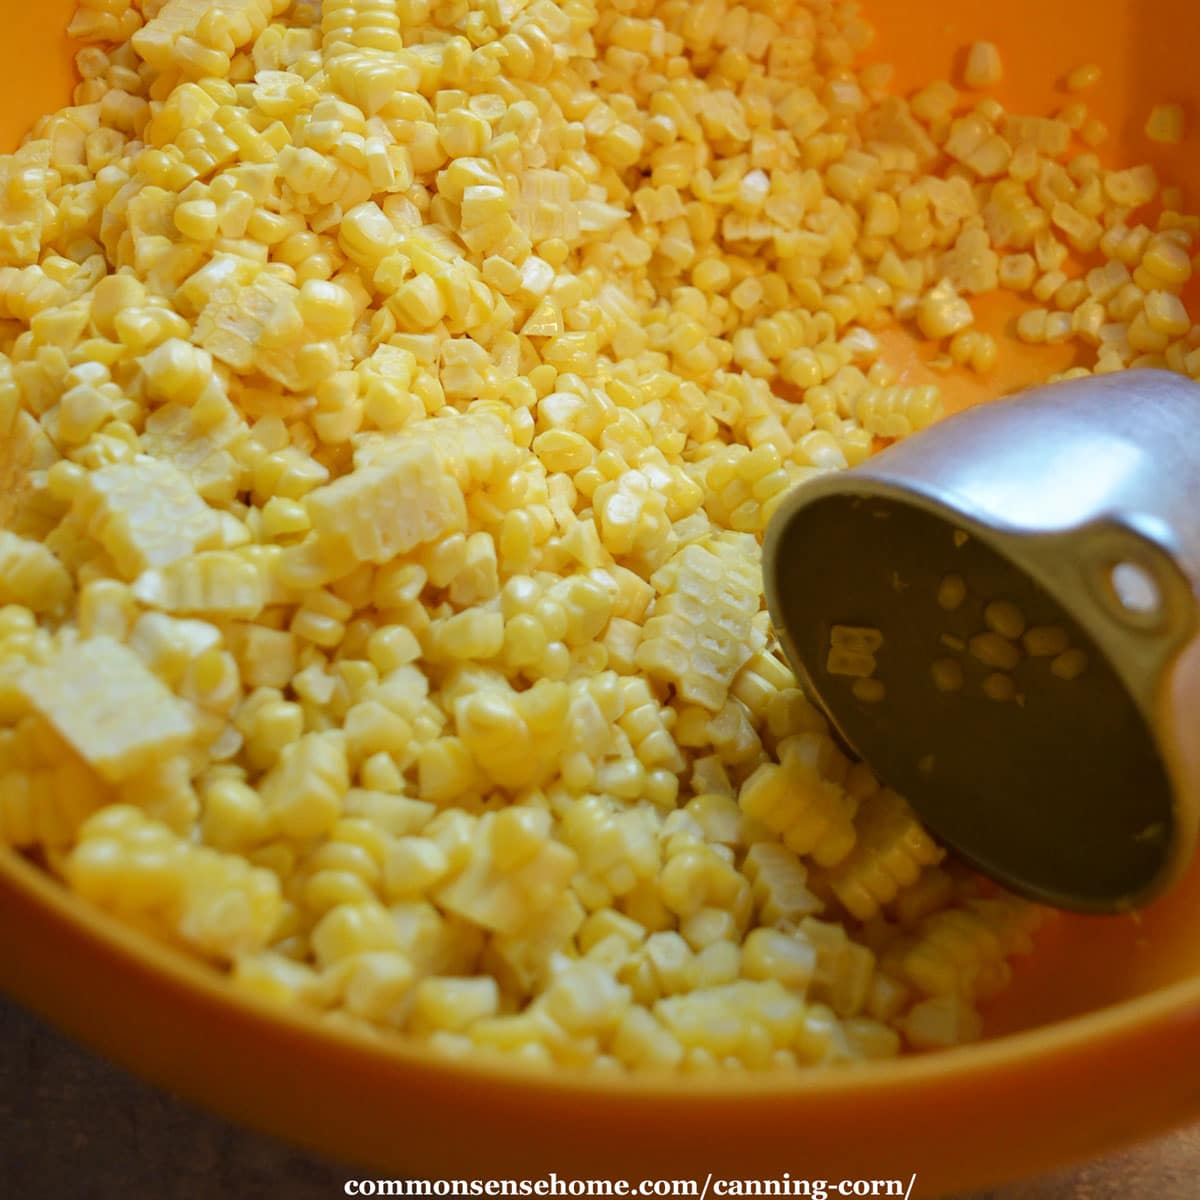
Husk the corn, remove corn silks, and cut out any damaged spots. You may want to do this outside, as it is messy. Rinse the cobs in clean water.
If you want to, you can blanch the corn before cutting the corn off the cob. This isn’t essential, but can make it a little easier to cut off the cob. It’s fine to skip it, as the canning process deactivates the enzymes in your home canned corn.
For blanching instructions, see “How to Freeze Corn (On the Cob or Off)“.
Cutting the corn off the cob can get messy, so plan accordingly. We have a wide section of our kitchen counter where we do the cutting. Some people set up outside with a disposable cover on the work surface for easy cleanup.
Don’t throw away those cobs! Try out these corn cob jelly recipes instead. Chickens also love cleaning up any leftover corn bits.
Raw Pack
“Raw pack” means you don’t cook the corn before filling the jars.
Clean the corn and cut the kernels from the cob, but don’t scrape the cobs. Heat up around 2-3 cups of water per jar in a large pot, to cover the corn. If you want to add salt, use canning salt or other non-iodized salt. (Iodized salt makes your food get dark during canning.)
Add 1/2 teaspoon of salt per pint jar, 1 teaspoon per quart jar. The salt is for seasoning, so you can skip it if you need to avoid sodium.
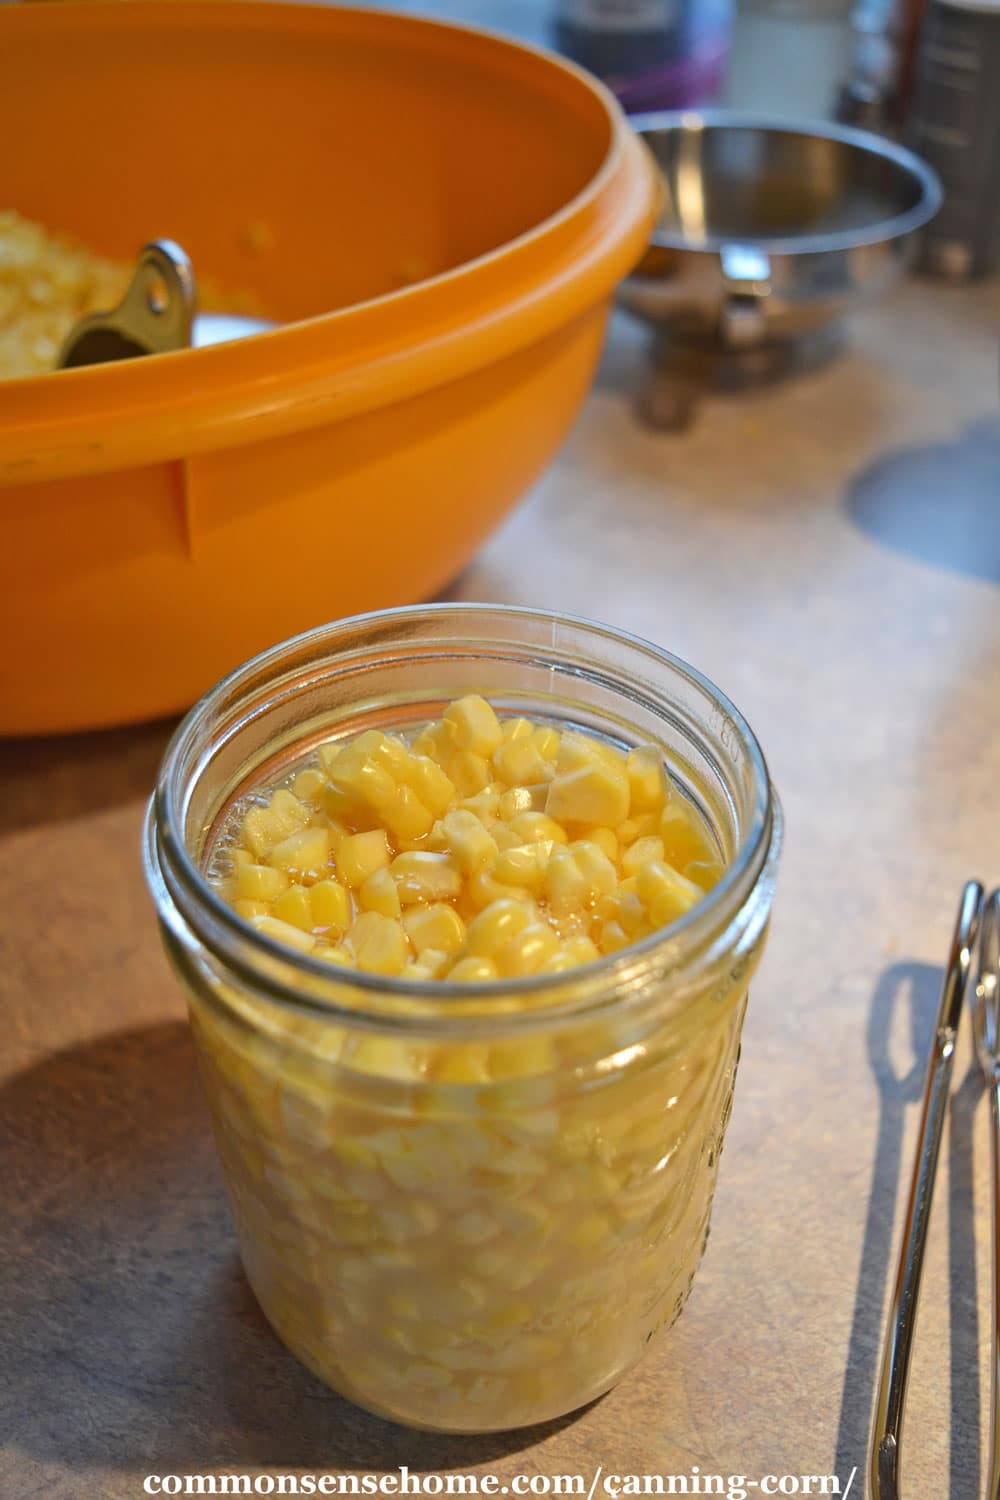
Pack the corn loosely into hot jars, leaving 1-inch headspace. Don’t shake the corn down or pack it in.

Ladle boiling water over the corn, leaving 1-inch headspace.
Would you like to save this?
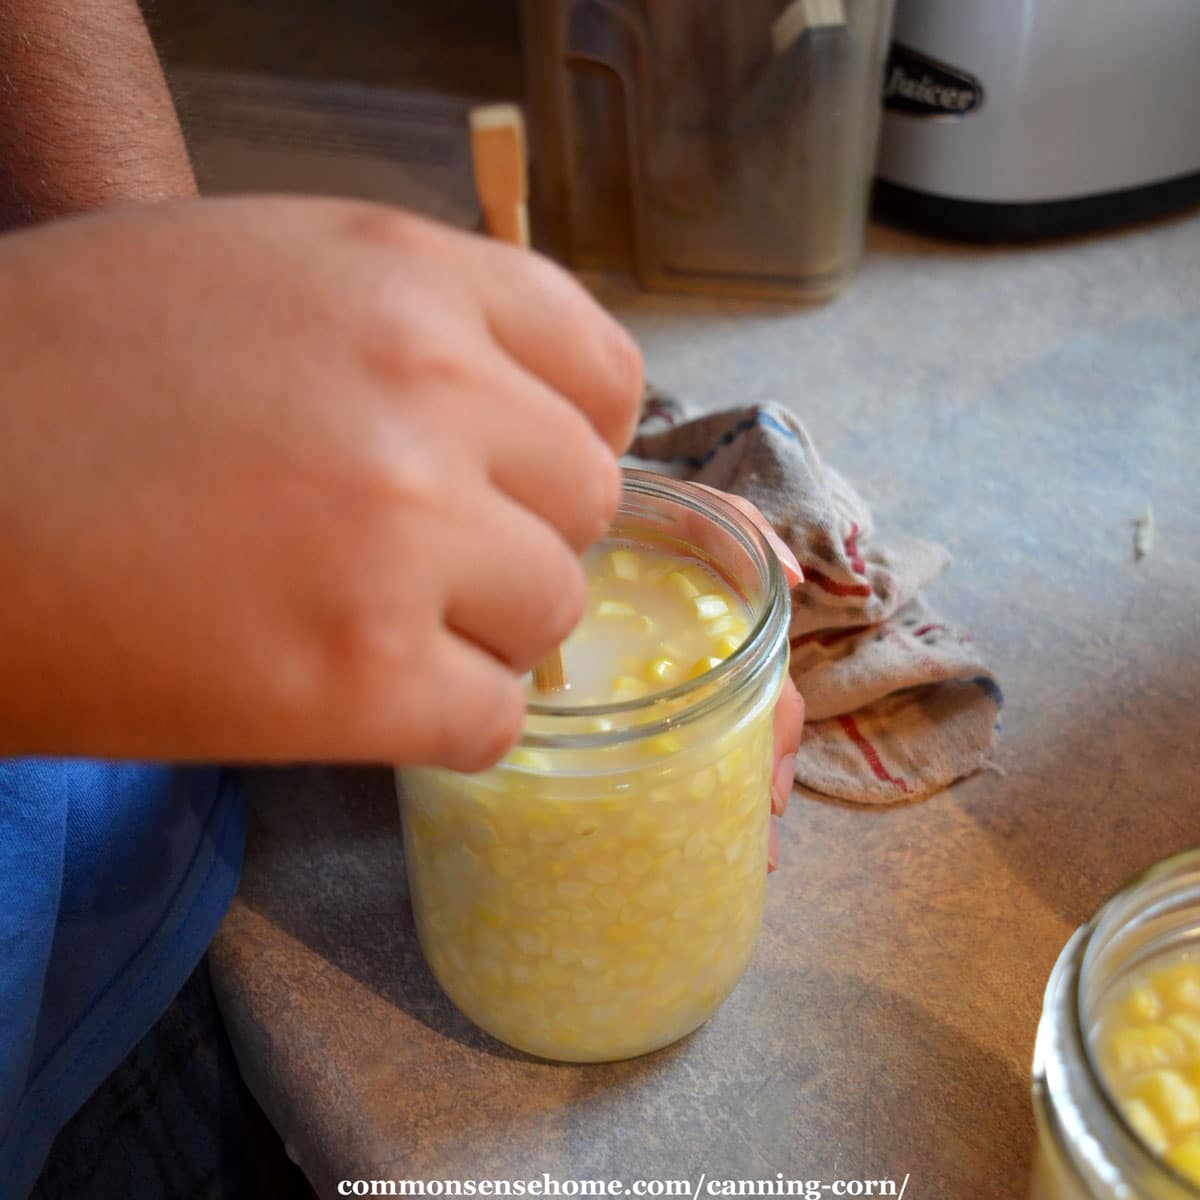
Remove air bubbles and wipe the rims clean. Screw on your canning lids, and load into your pressure canner.
Pressure can pints for 55 minutes and quarts for 1 hour and 25 minutes at 10 pounds pressure, adjusting if needed for altitude or canner type.
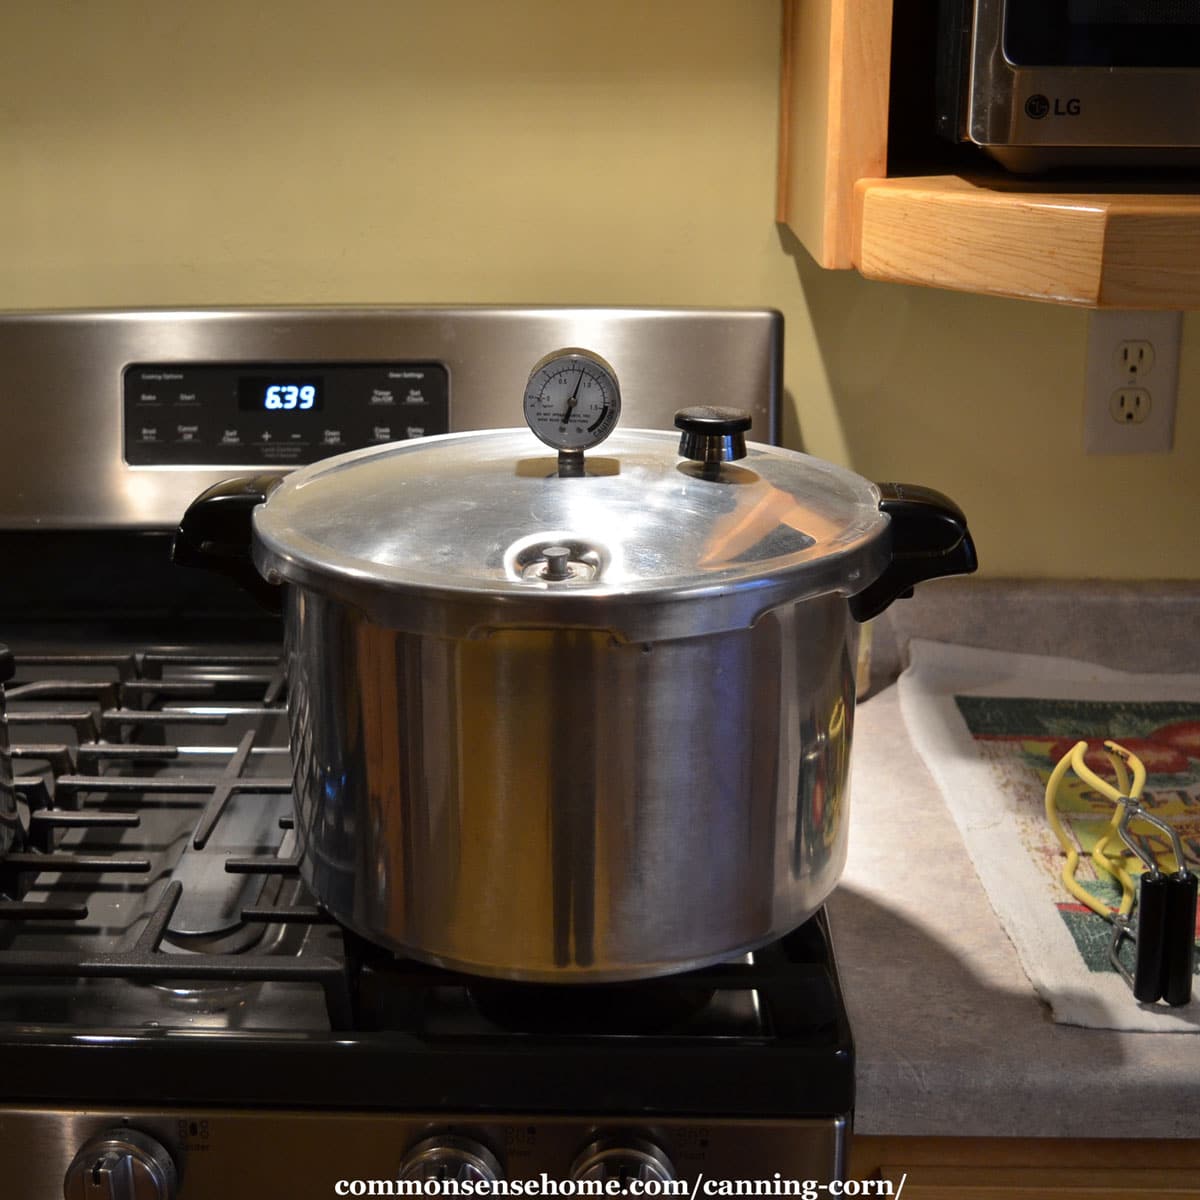
When processing time is done, turn off the heat and allow your canner to naturally return to zero pressure. Remove the weight and le the canner rest 5-10 minutes before opening. The rest time gives the bubbling in the jars time to settle, so the water doesn’t boil out of the jars.
Open the canner, tilting the lid away from you to avoid the hot steam. Let the jars rest another 5-10 minutes in the canner.
Use your jar lifter to remove the jars from the canner, and place them on a kitchen towel on the counter away from drafts. Allow to cool completely, 12-24 hours. Remove rings and test seals. Wipe up any spills, date, label, and store in a cool, dark location.
For best quality, use within 18 months.
Hot Pack
“Hot pack” means you heat up the corn before packing it in jars.
Clean the corn and cut the kernels from the cob, but don’t scrape the cobs. Measure corn, water and salt (if desired) into a large pot.
Add 1/2 teaspoon salt and 1 cup water for each pint of corn kernels, or 1 teaspoon salt and 2 cups boiling water for each quart of corn kernels. Bring the corn mix to a boil, and then reduce heat and simmer for 5 minutes.
Ladle hot corn and water mix into jars, leaving 1-inch headspace. Remove air bubbles and wipe the rims clean. Screw on your canning lids, and load into your pressure canner.
Pressure can pints for 55 minutes and quarts for 1 hour and 25 minutes at 10 pounds pressure, adjusting if needed for altitude or canner type. Proceed as above with canning.
Altitude Adjustments
Recommended process time for Whole Kernel Corn in a dial-gauge pressure canner.
| Style of Pack | Jar Size | Process Time | 0-2,000 ft | 2,001-4,000 ft | 4,0001-6,000 ft | 6,001-8,000 ft |
| Hot and Raw Pack | Pints | 55 min | 11 lb | 12 lb | 13 lb | 14 lb |
| Quarts | 85 min | 11 | 12 | 13 | 14 |
Recommended process time for Whole Kernel Corn in a weighted-gauge pressure canner.
| Style of Pack | Jar Size | Process Time | 0-1,000 ft | Above 1,000 ft |
| Hot and Raw | Pints | 55 min | 10 lb | 15 lb |
| Quarts | 85 min | 10 | 15 |
Canning Cream Corn
Due to extra starch, can creamed style corn in pints only, not quarts. Creamed corn also needs extra processing time.
Clean and prep corn as above, except scrape the cobs to extra pulp and milk.
In a large pot, add 1/2 teaspoon salt and 1 cup water for each pint of corn kernels and boil for 3 minutes.
Ladle hot corn and water mix into jars, leaving 1-inch headspace. Remove air bubbles and wipe the rims clean. Screw on your canning lids, and load into your pressure canner.
Process pints for one hour 25 minutes at 10 pounds pressure. Adjust for altitude above 1000 feet.
Can Corn be Water Bath Canned?
Fresh corn has a pH of 6.0 – 7.5, and sweet corn is at the high end of that range. For safe water bath canning, we want a pH of 4.6 or lower. This means that current guidelines advise against water bath canning.
A 1936 Kerr Canning book advises processing corn for 3.5 hours in a water bath canner. I highly recommend a pressure canning, due to risk of botulism and long processing time. Your kitchen, your decision, but there is a risk. Botulism can kill you or permanently disable you.
Print Friendly Recipe
PrintCanning Corn – Raw Pack, Hot Pack

Enjoy your homegrown or farmers market corn year round with canning.
- Prep Time: 30 minutes
- Cook Time: 85 minutes
- Total Time: 1 hour 55 minutes
- Yield: 7 quarts 1x
Ingredients
- Corn – 32 pounds for 7 quarts, or 20 pounds for 9 pints
- Canning salt (optional)
- Water (2 cups per quart, 1 cup per pint)
Instructions
Husk the corn, remove corn silks, and cut out any damaged spots. You may want to do this outside, as it is messy. Rinse the cobs in clean water. Blanch if desired.
For Raw Pack:
Add 1/2 teaspoon of salt per pint jar, 1 teaspoon per quart jar. The salt is for seasoning, so you can skip it if you need to avoid sodium.
Pack the corn loosely into hot jars, leaving 1-inch headspace. Don’t shake the corn down or pack it in.
Ladle boiling water over the corn, leaving 1-inch headspace. Remove air bubbles and wipe the rims clean. Screw on your canning lids, and load into your pressure canner.
Pressure can pints for 55 minutes and quarts for 1 hour and 25 minutes at 10 pounds pressure, adjusting if needed for altitude or canner type.
For Hot Pack:
Clean the corn and cut the kernels from the cob, but don’t scrape the cobs. Measure corn, water and salt (if desired) into a large pot.
Add 1/2 teaspoon salt and 1 cup water for each pint of corn kernels, or 1 teaspoon salt and 2 cups boiling water for each quart of corn kernels. Bring the corn mix to a boil, and then reduce heat and simmer for 5 minutes.
Ladle hot corn and water mix into jars, leaving 1-inch headspace. Remove air bubbles and wipe the rims clean. Screw on your canning lids, and load into your pressure canner.
Pressure can pints for 55 minutes and quarts for 1 hour and 25 minutes at 10 pounds pressure, adjusting if needed for altitude or canner type. Proceed as above with canning.
Notes
When processing time is done, turn off the heat and allow your canner to naturally return to zero pressure. Remove the weight and le the canner rest 5-10 minutes before opening. The rest time gives the bubbling in the jars time to settle, so the water doesn’t boil out of the jars.
Open the canner, tilting the lid away from you to avoid the hot steam. Let the jars rest another 5-10 minutes in the canner.
Use your jar lifter to remove the jars from the canner, and place them on a kitchen towel on the counter away from drafts. Allow to cool completely, 12-24 hours. Remove rings and test seals. Wipe up any spills, date, label, and store in a cool, dark location.
For best quality, use within 18 months.

More Food Storage Recipes and Tips
Check out our Food Storage Archives for dozens of articles on everything from canning to freeze drying.
Laurie, I have a problem with this:
“A 1936 Kerr Canning book advises processing corn for 3.5 hours in a water bath canner. I highly recommend a pressure canning, due to risk of botulism and long processing time. Your kitchen, your decision, but there is a risk.”
I’ve seen other bloggers put this kind information along with their instructions and I just don’t understand why anyone would do it. If it’s not recommended, don’t include it! Those folks without a pressure canner will see this and think it’s ok, when it’s not. I’m disappointed.
I included that section because people are searching on it, and I’d rather have them end up here and understand why water bath canning is no longer recommended than to have them end up on some site that’s going to tell them it’s fine and there is no risk. I have added another sentence explaining that botulism can kill them or permanently disable them, for those who don’t take time to read the botulism post.