Canning Cherries in a Water Bath Canner or Steam Canner
This post may contain affiliate links. Read my full disclosure here.
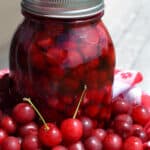
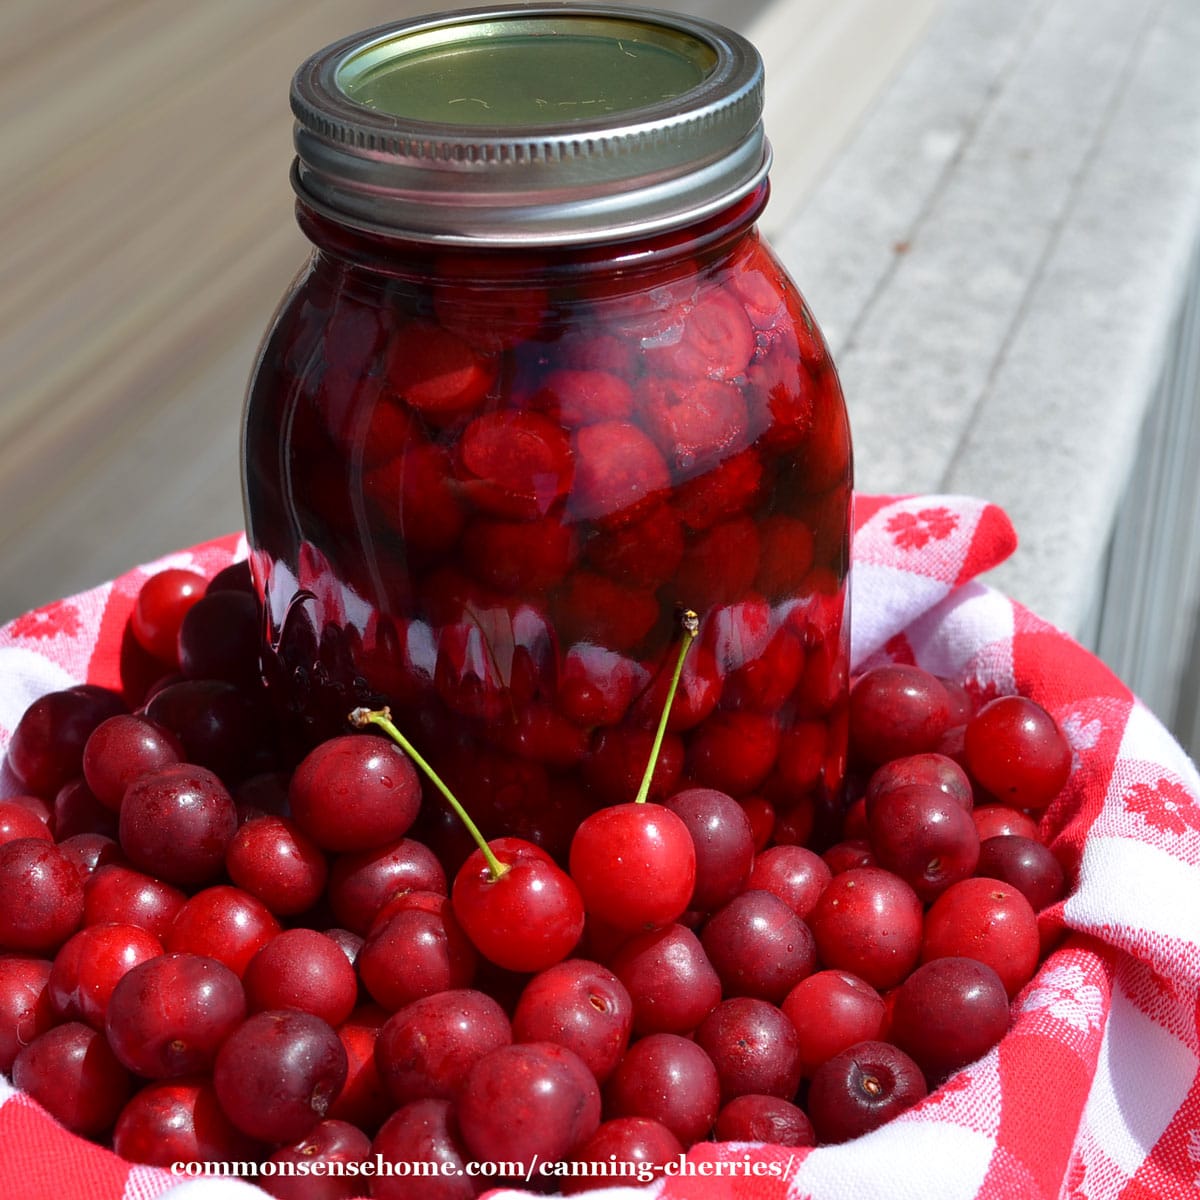
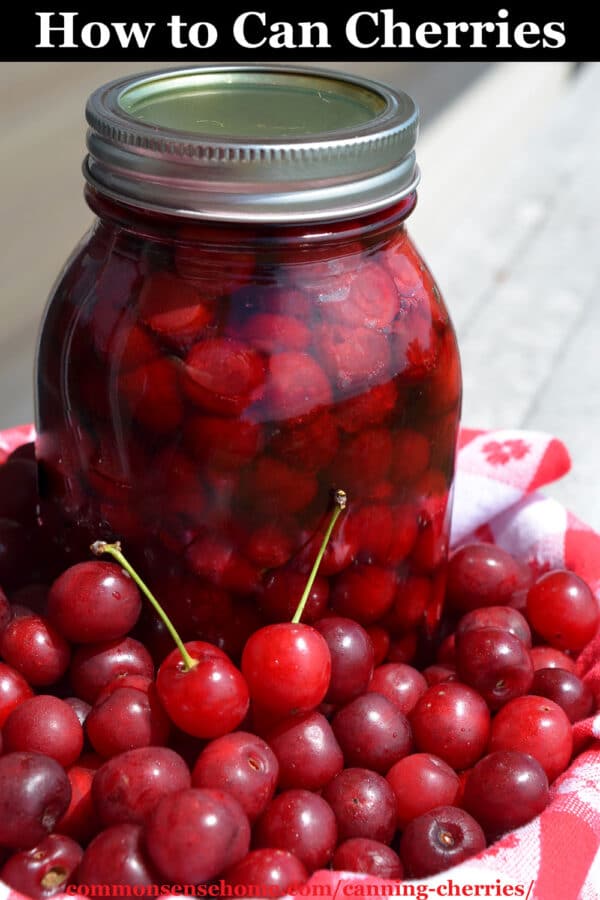
Canning cherries is a great way to preserve your fresh cherries for year round use. Because they are acidic, we use water bath canning or steam canning. (There’s no need to bust out the pressure canner.)
We’ll take you through the canning process, answer common questions, and share tips for using your home canned cherries.
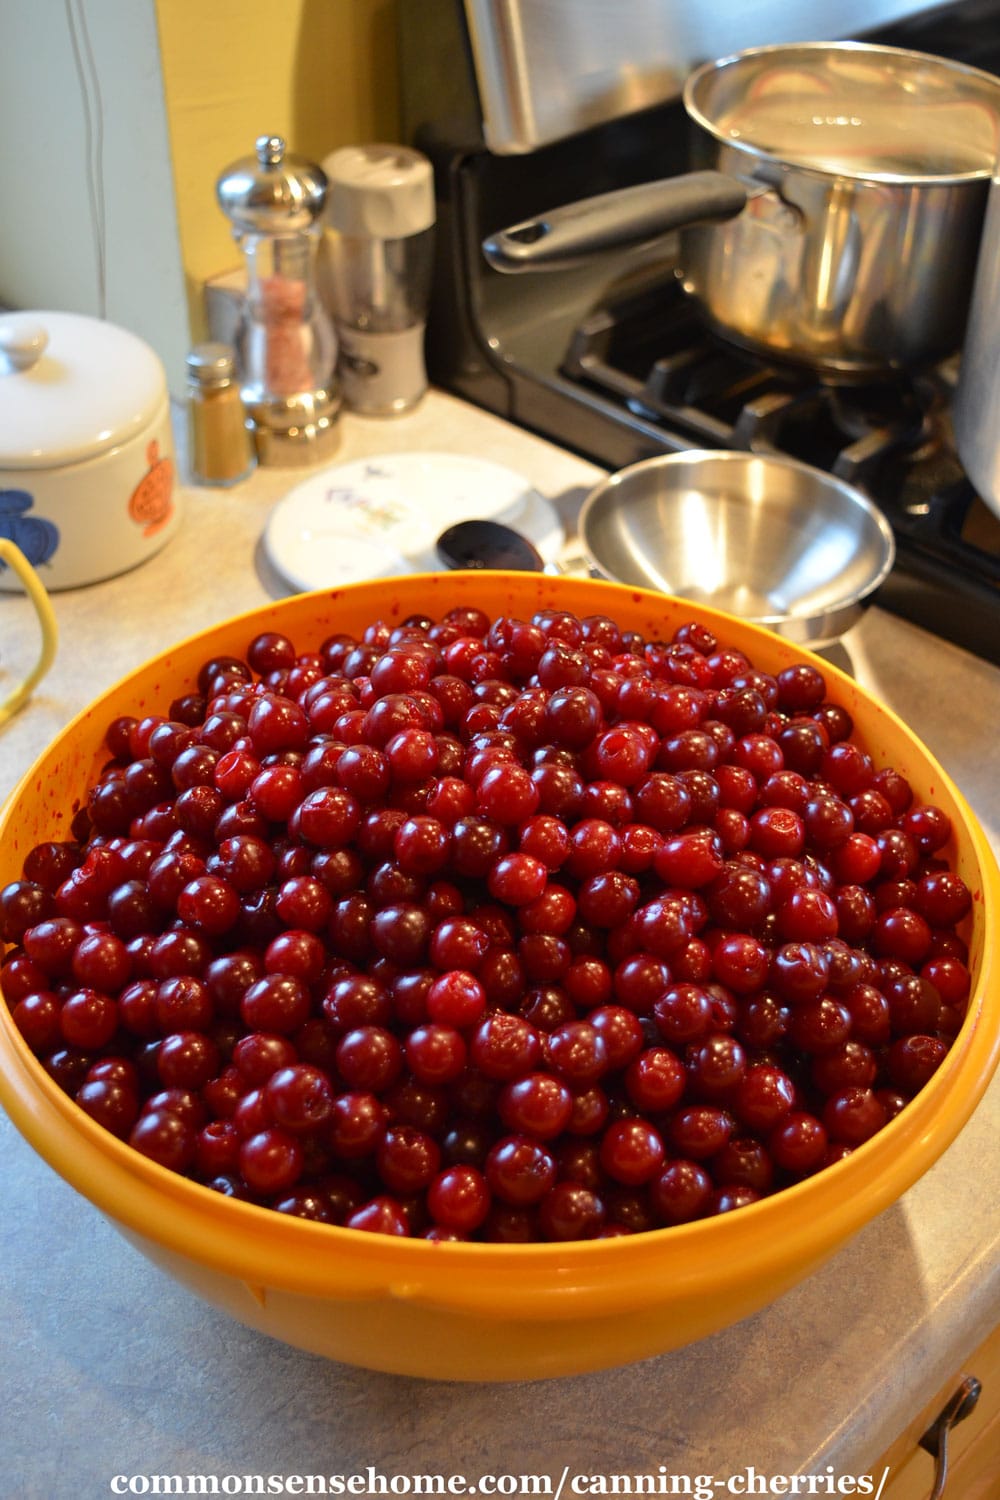
In years past, we went up to Door County for cherry picking season. Now we have our own sweet cherry and sour cherry trees, plus a friend called with extra cherries. I’m not one to let good fruit go to waste, so we headed over and filled up a cooler.
Our crop was light this year due to drought conditions, but their tree was loaded. Between the two yards, we canned 14 quart jars, froze 9 quarts, and made jam and some desserts.
Canning Cherries – Raw Pack or Hot Pack
The most time consuming part of home canning cherries is cherry pitting. We usually gather the family around the table, put on a movie, and get ‘er done. You need around 2 to 2 1/2 pounds of cherries per quart.
We have a couple different cherry pitters, but often use a paper clip folded open to pull out the pit. The OXO Multi Cherry Pitter pits six cherries at one time.
See “How to Pit Cherries Without a Cherry Pitter” for a video of the paper clip trick and other pitter options.
Do you have to pit cherries before canning?
It’s safe to can cherries without removing the pits, but it’s much easier to use the cherries with the pits removed. If you plan to eat the cherries and don’t mind spitting out the pits, keep them in.
To prevent bursting and shrinking with the pits left in, prink each cherry with a clean needle or knife. I’m going to assume that you pit the cherries when writing up the directions, but it’s up to you.
Prepare Your Canning Equipment
Make sure your jars are clean and warm. Check them for any cracks or nicks on the rims. I run mine through the dishwasher. You can also keep them warm in the oven set on low heat, or in your canning water.
Prepare lids and rings. I keep mine in warm water on the back of the stove. Some lids don’t need preheating, but I find it improves seal rates.
Make a light or medium syrup and keep it warm on the stove. I used a medium syrup with 3 cups sugar dissolved in 5 1/2 cups water for 7 quarts of cherries. For a light syrup, use 2 1/4 cup sugar with 5 1/4 cup water.
If you prefer, you can use a honey and water syrup with 1 1/2 cups honey and 5 1/2 cups water. Other options are apple juice, white grape juice, or even plain water.
For flavor more like commercial canned cherries, opt for a heavy syrup with 4 1/2 cups sugar and 4 1/2 cups water.
I do recommend including some type of sugar. It keeps the fruit firmer and helps to retain the color of the canned cherries. We usually use plain organic cane sugar, because it gives the best cherry flavor.
Raw Pack Method
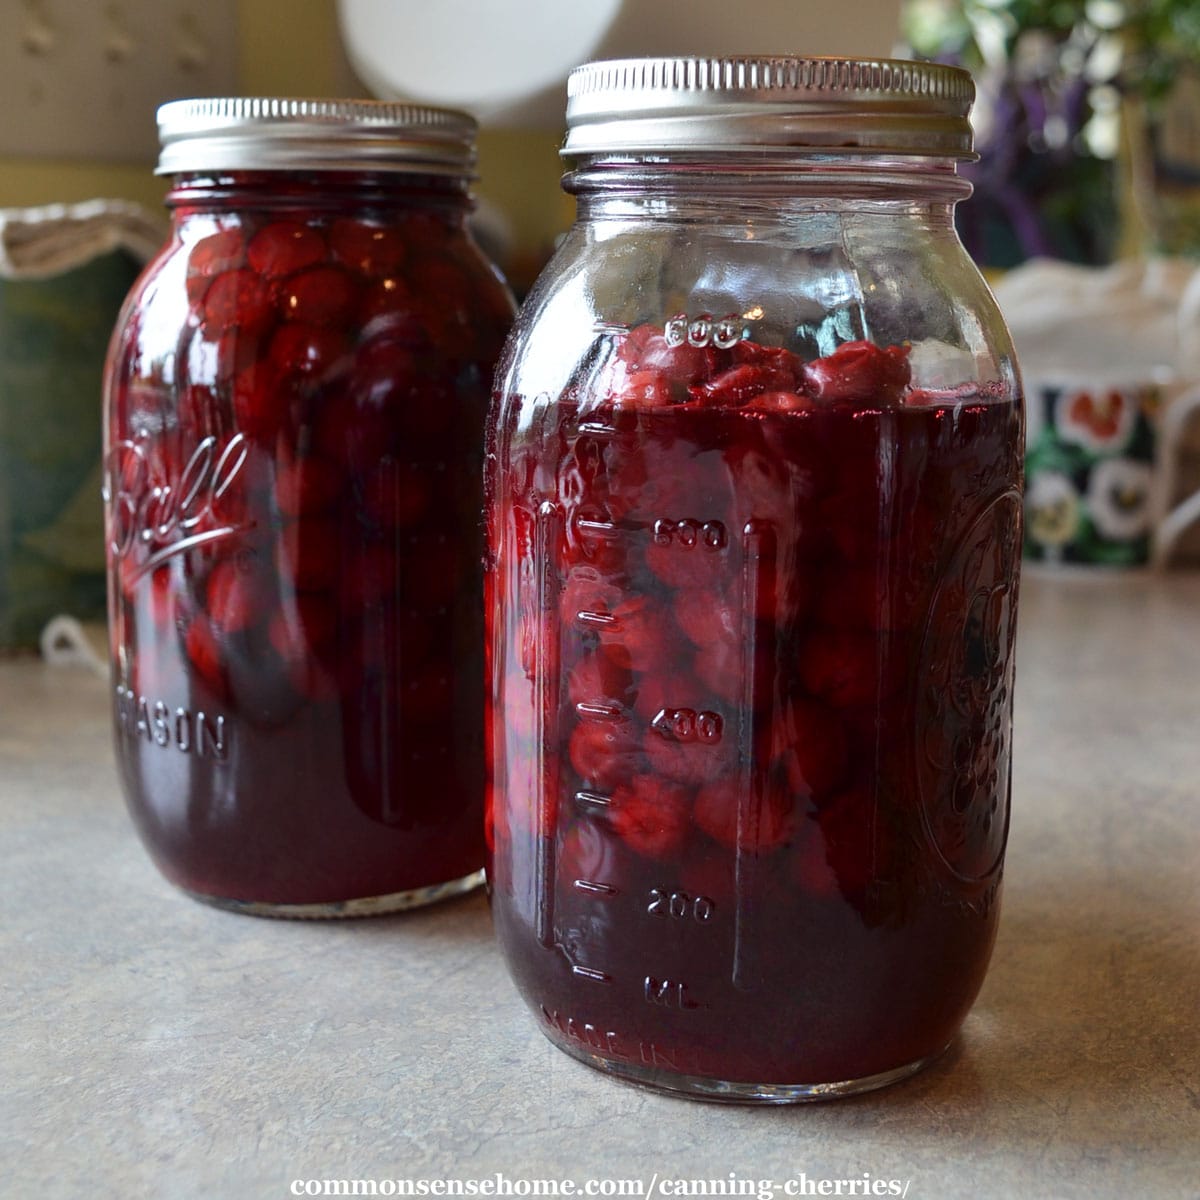
Wash, pit, and drain your cherries. Make up your syrup of choice and keep it hot. Ladle 1/2 cup of syrup into a hot jar, and then fill the jar with cherries.
Gently shake the jar to settle the cherries in the jar, leaving 1/2 inch headspace. Add hot syrup to cover cherries, leaving 1/2 inch headspace. (See “Canning Headspace – Guidelines, Chart & Troubleshooting” for more information on measuring headspace.)
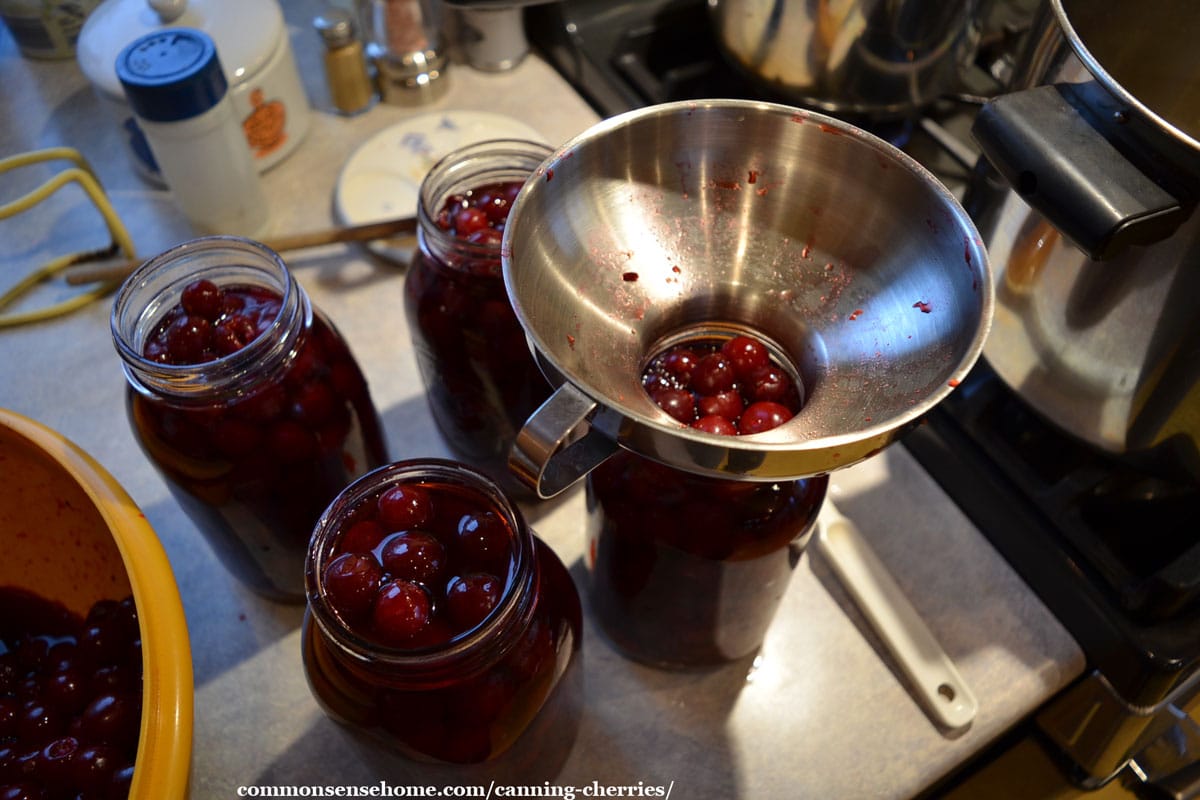
Remove air bubbles with a chopstick or bubble remover. Add more syrup, if needed, to maintain headspace. Wipe the jar rims with a clean, damp cloth to remove any spills. Place the lid and ring on and tighten to finger tight.
Process pints and quarts in a boiling water bath canner for 25 minutes. Increase processing times as needed to adjust for altitude. Start the time with the water reaches a full boil.
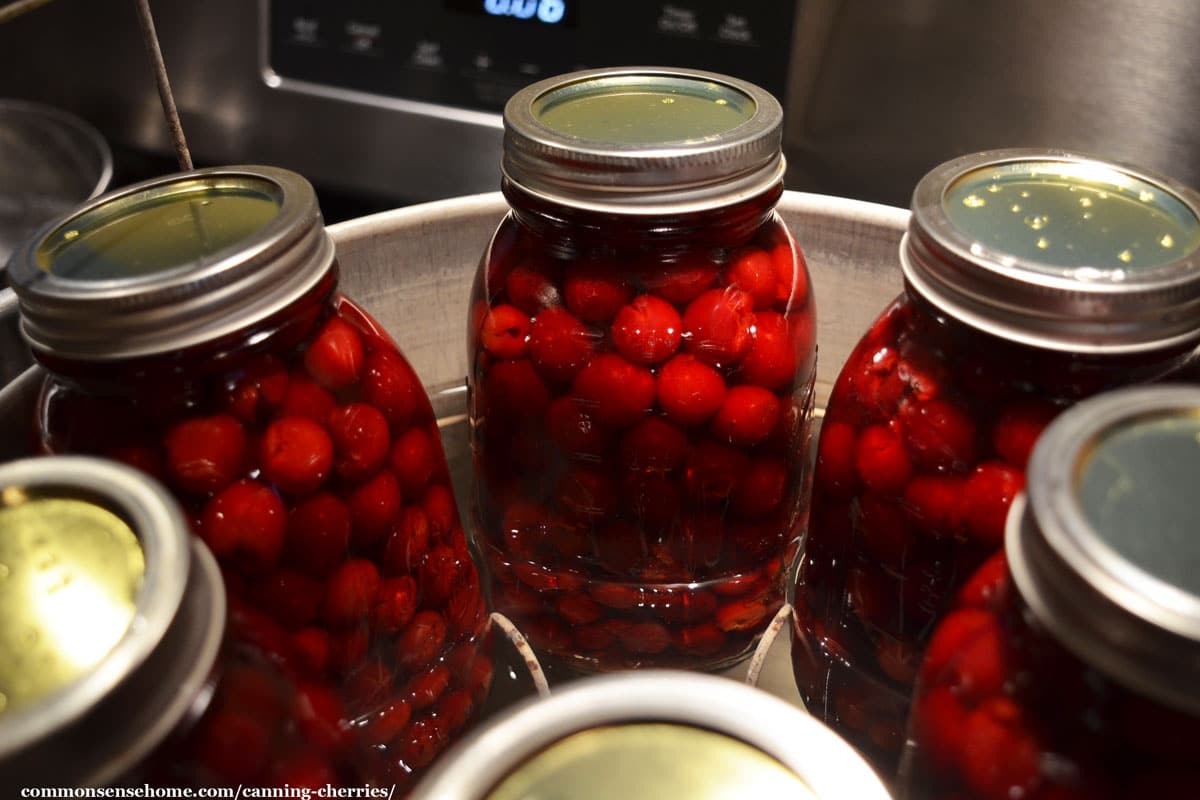
When the processing time is finished, turn off the heat and wait five minutes before removing the jars from the canner. This helps to reduce siphoning. Remove jars and place them on a clean kitchen towel on the counter, away from drafts.
Allow the jars to cool completely, from 12 to 24 hours. I usually let them sit overnight. Remove the rings and check seals. Wipe up any spills with a damp cloth, date and label the jars.
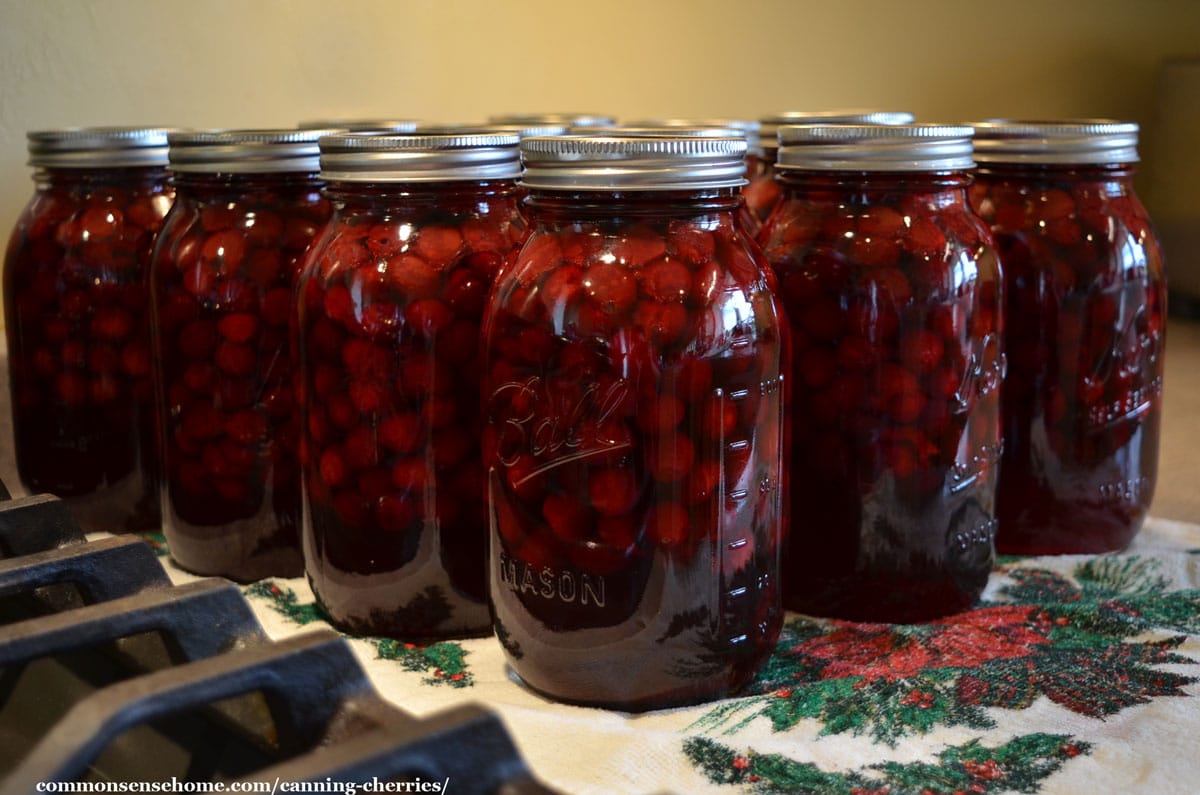
Store the jars in a cool, dry location, out of direct sunlight. For best quality, use within 12 to 18 months. Over time, the color of the fruit fades and it gets softer. As long as the seal is intact and there are no signs of spoilage, it’s still safe to eat.
Hot Pack Method
Canning cherries with the hot pack method may help reduce siphoning, because the fruit is hot when it goes into the jars. (Temperature differences increase the risks of siphoning, which I’ll explain in a bit.)
The fruit is canned in its own juice, which brings out more cherry flavor. I find raw pack a little easier, but you may want to try both.
Would you like to save this?
Wash, pit, and measure your cherries. Put the cherries into a large stockpot, and add 1/2 to 3/4 cup sugar for every quart of cherries.
Cook the cherries and sugar, stirring gently, until all the sugar is dissolved and the cherries are hot. If you’re using unpitted cherries, add a little water to keep them from sticking together.
Ladle cherries and hot syrup into the jars, leaving 1/2 inch headspace. Remove air bubbles with a chopstick or bubble remover. Add boiling water, if needed, to maintain headspace.
Wipe the jar rims with a clean, damp cloth to remove any spills. Place the lid and ring on and tighten to finger tight.
Process pints for 15 minutes and quarts for 20 minutes in a boiling water bath canner. Increase processing times as needed to adjust for altitude. Wait 5 minutes after processing to remove the jars, just like the raw pack method.
Remove the jars from the canner and let them cool on the counter. Store and use them the same way as raw pack cherries.
Altitude Adjustments
| Recommended Processing Time for Sweet or Sour Cherries, Whole in boiling-water canner. | |||||
| Process at Altitudes of: | |||||
| Style of Pack | Jar Size | 0 – 1,000 ft | 1,001 – 3,000 ft | 3,001 – 6,000 ft | Above 6,000 ft |
| Hot | Pints | 15 min | 20 | 20 | 25 |
| Quarts | 20 | 25 | 30 | 35 | |
| Raw | Pints or Quarts | 25 | 30 | 35 | 40 |
See “Altitude Adjustments for Canning (Includes Printable Chart)” for an explanation of adjustments.
Steam Canning Cherries
For steam canning (not pressure canning), use the same processing times as water bath canning. Steam canners have a few inches of water at the bottom of the canner, instead of an entire pot full of water. This makes them easier to lift. There are detailed operating instructions included with the canner.
If cherries are sticking out of the juice after processing, are they safe to eat?
Sometimes during canning, you may end up losing liquid from the top of the jar during processing. This is called “siphoning”. As long as the seal is good, the food is safe to eat.
That said, the food sticking out of the liquid will fade in color and flavor faster. It’s best to use those jars sooner rather than later.
To help avoid siphoning – reduce temperature fluctuations and variations.
Keep the canner at a moderate boil, not an extreme boil. Keep the equipment hot and fruit warm or hot. (Room temperature raw pack fruit is fine, but don’t raw pack fruit that just came out of the refrigerator.)
Let the jars rest in the canner for five minutes after processing. Make sure your jars are hot.
I screwed up a couple quarts of my second batch of cherry canning because the jars weren’t hot enough. I was in a rush because it was getting late. One jar had the bottom blow out, the other jar lost a lot of liquid. Learn from my mistake!
PrintCanning Cherries in a Water Bath Canner

Canning cherries is a great way to preserve cherries without taking up freezer space.
- Prep Time: 30 minutes
- Cook Time: 25 minutes
- Total Time: 55 minutes
- Yield: 7 quarts 1x
- Category: Canning
Ingredients
- Cherries
- Sugar
- Water
- 3 cups sugar
- 5 1/2 cups water
- 2 1/4 cup sugar
- 5 1/4 cup water
- 4 1/2 cups sugar
- 4 1/2 cup water
- 1 1/2 cups honey
- 5 1/2 cups water
Instructions
Raw Pack Method:
Wash, pit, and drain your cherries. Make up your syrup of choice and keep it hot. Ladle 1/2 cup of syrup into a hot jar, and then fill the jar with cherries.
Gently shake the jar to settle the cherries in the jar, leaving 1/2 inch headspace. Add hot syrup to cover cherries, leaving 1/2 inch headspace.
Remove air bubbles with a chopstick or bubble remover. Add more syrup, if needed, to maintain headspace. Wipe the jar rims with a clean, damp cloth to remove any spills. Place the lid and ring on and tighten to finger tight.
Process pints and quarts in a boiling water bath canner for 25 minutes. Increase processing times as needed to adjust for altitude. When the processing time is finished, turn off the heat and wait five minutes before removing the jars from the canner.
Hot Pack Method:
Wash, pit, and measure your cherries. Put the cherries into a large stockpot, and add 1/2 to 3/4 cup sugar for every quart of cherries.
Cook the cherries and sugar, stirring gently, until all the sugar is dissolved and the cherries are hot. If you’re using unpitted cherries, add a little water to keep them from sticking together.
Ladle cherries and hot syrup into the jars, leaving 1/2 inch headspace. Remove air bubbles with a chopstick or bubble remover. Add boiling water, if needed, to maintain headspace. Wipe the jar rims with a clean, damp cloth to remove any spills. Place the lid and ring on and tighten to finger tight.
Process pints for 15 minutes and quarts for 20 minutes in a boiling water bath canner. Increase processing times as needed to adjust for altitude. Wait 5 minutes after processing to remove the jars, just like the raw pack method.
For Both Methods
Allow the jars to cool completely, from 12 to 24 hours. I usually let them sit overnight. Remove the rings and check seals. Wipe up any spills with a damp cloth, date and label the jars. Use within 12 – 18 months for best quality.
Notes
Altitude adjustment: Add 5 minutes to processing times for every 3000 feet above sea level.
Using Your Cherries
You can enjoy your cherries straight out of the jar, spoon them over ice cream or yogurt, or use them in baking.
To thicken the cherry juice for pie or topping:
Drain the juice off the cherries, and whisk in 4-6 tablespoons of cornstarch. (Use less for a thinner sauce, more for pie filling.)
Place the cherries and juice in a sauce pot, and cook on high heat, stirring constantly, until thick. Remove from heat and stir in 1/8 teaspoon almond extract, if desired.
Combine the filling with your favorite pie crust recipe. (My mom’s recipe is here.) Bake for around 45 minutes, until golden brown.
Related Articles
Cherry Preserves – Chocolate Cherry and Cherry Vanilla
Cherry Jam Recipes – Cherry, Cherry Amaretto, Cherry Berry
Elderberry Jelly Recipes – Low Sugar and Sure-Jell Options

This article is written by Laurie Neverman. Laurie grew up in the kitchen, learning baking and home cooking from her momma. At age 15, she and her mom and two sisters created Irene’s Custom Cakes & Catering, which was her summer job through most of high school and college.
Now she combines old fashioned recipes, garden fresh produce, and cooking for special diets to make tasty, easy to prepare foods. Along with her passion for growing nutrient dense food, she also enjoys ancient history, adorable ducks, and lifelong learning.
I love how your canned cherries look! I planted cherries on our property this year and can’t wait until I have my own beauties on my pantry shelf!! I have a cookbook that has recipes from Lucy Maud Montgomery, author of Anne of Green Gables. Her son and his college chums would request her to bring them her canned mock cherries — they loved them. They are made with cranberries and raisins. I have always wanted to try them but I forget to buy the cranberries when they are in season. I’ll have to remember this year. Have you ever made them?
I’ve never tried them, but I’d imagine that they would be tasty.