Building an Eco Home – part 4 of 8 – ICF, HVAC and Plumbing
This post may contain affiliate links. Read my full disclosure here.
The “Building an Eco Home” series is a set of articles that were originally published in The Healthy Independent while we were in the process of building our current home. I have made only minor edits to include links and format for the online publishing. I will be discussing green building and remodeling in more detail in upcoming posts, so if you want to know more about a topic, please make a request.
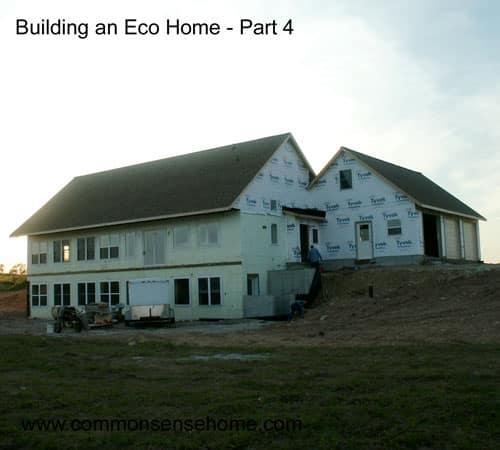
Our energy efficient dream home will soon be a reality. Our journey has continued these past months with modest construction progress due to a series of delays, but things are finally picking up. The positive side of the delays is that we have had more time to do research. As a result, we’ve made a few changes to our heating and cooling scheme. I’ll discuss these changes and give an overview of our “country plumbing” in this issue.
Although the exterior walls are set, we have made minor changes in window positions and are adjusting some ceiling heights. By running a barrel ceiling the full length of the house and providing small operable windows at both ends, we have significantly increased the natural ventilation cooling capacity of the home and eliminated the need for an air conditioning unit.
With additional time spent at our site, we have determined that there is an excellent wind resource to help cool the house. While the wind will be somewhat reduced by windbreak plantings over the years, we feel that ceiling fans combined with natural and spot ventilation and some dehumidification should provide adequate cooling for the home. (*2012 note – we ended up including an AC unit, primarily because of humidity.)
Our initial Energy Star analysis predicted that the home’s heating requirement will be around 1.62 Btu/sf/HDD (Btus per square foot per heating degree day). This may even be high, as a study by Concrete Homes Association indicates that ICF homes perform about 6 percent better than just their R-value would indicate due to thermal mass and lower infiltration rates. A study by the Energy Center of Wisconsin determined that the average Energy Star home from their study used 2.5 Btu/sf/HDD, and the average non Energy Star home used 2.8 Btu/sf/HDD. This means that the projected heating requirements of our home would be 35% less than a standard Energy Star home. What all this translates to is that our home should be very easy (and inexpensive) to heat. The equivalent of two to three cords of seasoned hardwood should adequately heat the home through the winter.
Visit www.radiantec.com for more information on radiant in floor heating, and contact us for more information on masonry stoves, as our stove will be the demonstration stove for northeast Wisconsin’s first TempCast masonry stove dealer, Barton Designs.
To summarize (in case you missed last issue) we will have a solar thermal system for water heating, a masonry stove and passive solar for space heating, and a high efficiency propane boiler with in-floor hydronic system to provide back up for both. (*2012 note – we ended up using a Combi-Cor water heater to provide both heat and hot water.)
One additional note: because the house is so tight, all combustion devices must be supplied with make up air for combustion. The chimney of the masonry stove is completely enclosed within the building envelope to help prevent backdraft. We will also have some type of whole house ventilation system (HRV or ERV) to maintain indoor air quality even when the home is completely closed up. Even with the use of low or no VOC materials, indoor air quality in today’s tighter homes is a serious issue and should be given appropriate attention.
Country plumbing has gotten a lot more sophisticated than my grandmother’s rain barrel and outhouse. We really wanted to include a cistern for rainwater collection for in home use, but costs were an issue. First, the cistern design we came up with to provide freeze protection while eliminating the possibility of a flood in the basement was to pour a two chambered storage tank under the third stall of the garage with access ports in a “lean to” off the side of the garage. While cheaper than a pre-cast tank, the cost estimate for a unit like this was around $15,000.
Would you like to save this?
We also wanted to use standing seam metal roof, although not every reference agrees that metal roofing is the best choice. There are some concerns that the acidity of the rain will eventually cause corrosion and leak nasty things into the water supply. Of course, the same can be said of asphalt shingles and nearly every other type of roofing available.
We liked the standing seam metal roofing for its durability and the fact that it made it easy to install roll-on amorphous solar panels, as well as its “country” look. Well, the price of steel has gone through the roof, so to speak, and the cost estimate for the roof came in at over $25,000. The amorphous peel-and-stick panels are also quite expensive ($10,000 plus for an installation that would only meet a fraction of our needs), so that project is on the back burner for now. (We’re planning our wiring to allow for future solar electric installation, but we don’t know what form that installation will take at this time.)
We haven’t given up completely on rainwater collection. We still plan to run our downspouts to a non-freeze protected above ground seasonal storage tank to use for irrigation and potential stock watering. For the winter the tank will be drained and flow will be redirected away from the home. (Basically, we’re back to my grandmother’s rain barrel.) (*2012 note – more on our rain barrel setup.)

In lieu of using rainwater for household consumption, we ended up with a standard drilled well. To conserve water, we have decided to install a urinal in the main bathroom. With three males and one female in the house, it seemed like a sensible alternative/addition to the country plumbing rule of “if it’s yellow, let it mellow, if it’s brown, flush it down.” We have also selected Toto Drake ADA low flow toilets with 1.6 gallons per flush.
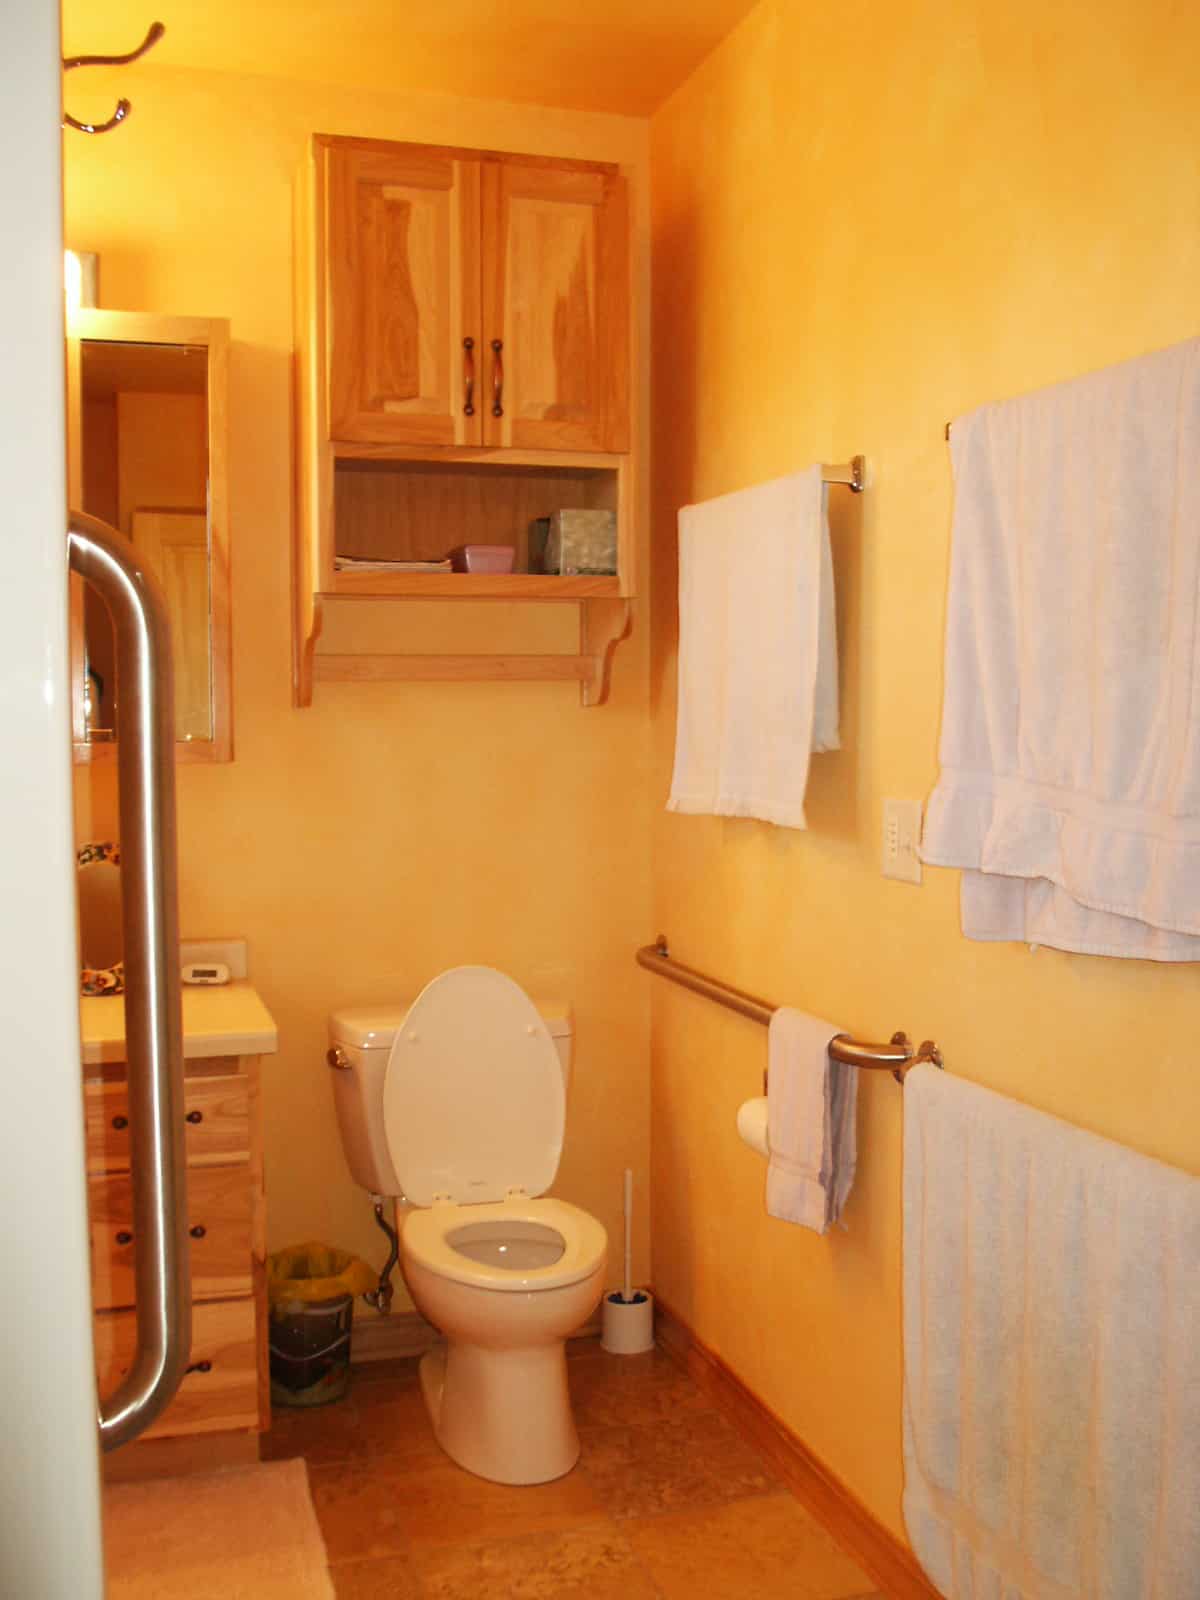
One of the most helpful resources we found for our toilet selection was Terry Love’s consumer toilet reports: A report on low flow water efficient toilets. This site has reviews of dozens of toilets, plus a bulletin board where customers can post their questions/opinions about a particular toilet. Our favorite customer review of the Toto Drake was posted “greg” on July 16, 2004 at 01:01:14: “This toilet ROCKS! Would flush a pig through a straw!…” While most of the reviews were less colorful, they all said the same thing – this toilet gets the job done and it gets it done well. We also considered the new Kohler Cimarron and American Standard Champion, but neither of these units received the consistently positive reviews of the Toto.
You’ve probably guessed by now that we decided to use a standard septic system to handle wastewater. Again, we ran into cost concerns, but there were also regulatory concerns. In an email discussion I had with Nathan Engstrom of Green Built Home he pointed out that the Wisconsin Uniform Dwelling Code does not explicitly prohibit greywater reuse. However, it does not explicitly allow it, either. There is no differentiation between blackwater (toilet and kitchen sink water), greywater (shower, sink and laundry water, assuming there are no poopy diapers in the laundry) and clear water.
If you were able to prove to local building inspector that the wastewater treatment system you wanted to install would work properly and pose no threat to public health, you should theoretically be able to install it. We decided at this point that we had to pick our battles and this one was not going to be fought right now. We will plumb for future greywater recovery, but our primary focus is conservation. We are also installing a Septic Lint Filter to keep the fuzz out of the septic drainfield and/or greywater field.
Once again I am out of space and there are many more items to be discussed. In upcoming issues I’ll be able to provide photos and information on our masonry stove and solar water heating system, wall and floor coverings, cabinets (we are getting an estimate on wheat straw cabinets), Universal Design features, heirloom gardens and much, much more, so keep reading and let me know what features are of interest to you.
Eco Home Building 8 part Series
- Building an Eco Home Part 1 – Introduction
- Building an Eco Home Part 2 – Getting Ready
- Building an Eco Home Part 3 – Construction
- Building an Eco Home Part 4 – ICF, HVAC and Plumbing
- Building an Eco Home Part 5 – Floor Plans
- Building an Eco Home Part 6 – Deck, Cabinetry and Woodwork
- Building an Eco Home Part 7 – Masonry Stove and Passive Solar
- Building an Eco Home Part 8 – Eco-Friendly Flooring
Every detail makes a difference and you’ve paid close attention to many areas that so many overlook. Thank you for providing the information and resources/links – most helpful!
We use grey water to water many of our plants and they just love it. Trees, bushes and grass love grey water. It is a great idea if you can use it. Too bad the city makes you prove there is a difference.
Personally, I am glad to see you installed the grab rails. While you may not need them now, they are so useful. You just never know when you will need them.
What an informative blog! Great to read evidence of how passionate you are about eco friendly approaches.