Easy Homemade Blackberry Wine Recipes
This post may contain affiliate links. Read my full disclosure here.
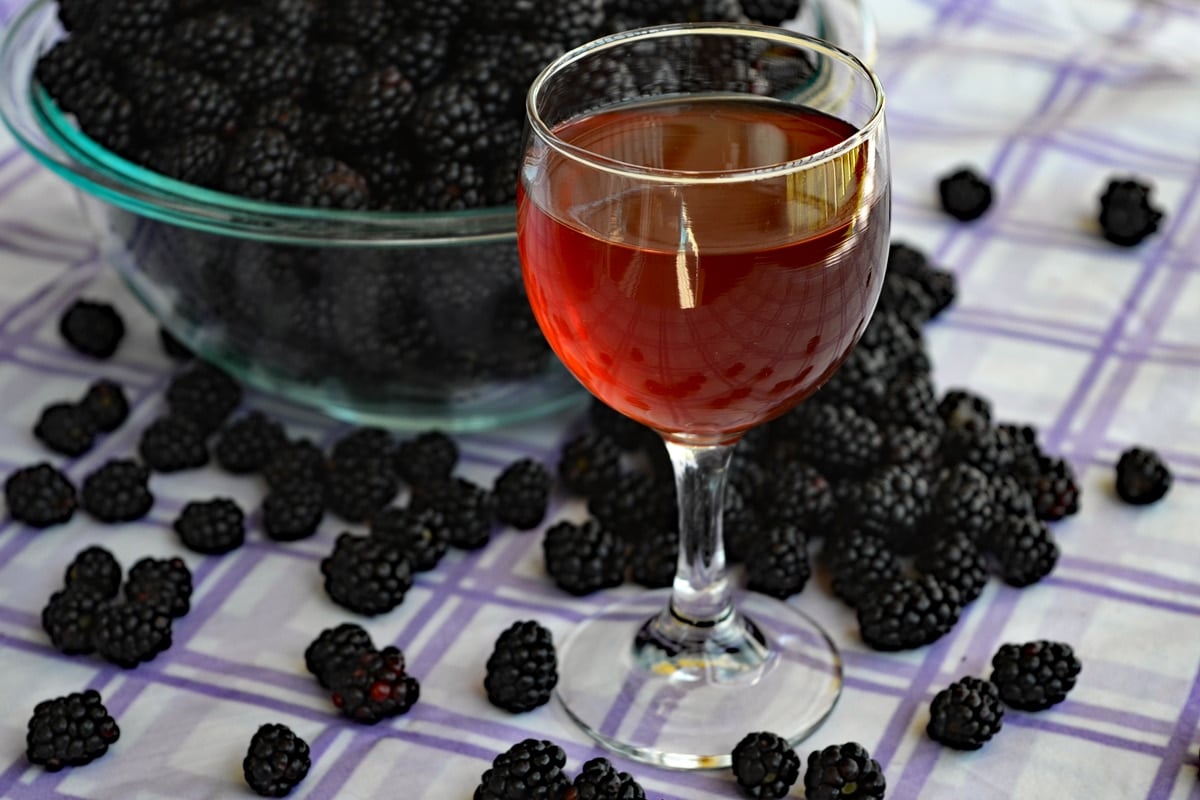
Homemade blackberry wine is rich and fruity, and an easy way to use up a bounty of berries. We’ve included two recipes – one basic homestyle blackberry wine, and one that’s a bit more advanced.

Our blackberry patch is producing a bumper crop this year, so I decided to make up a batch of blackberry wine. I haven’t had any since I was a teenager back on the farm, about 40 years ago. Back then, we went picking wild berries. Now, our family has our own patch that we started a few years ago.
At first we had a hard time getting the plants going. The deer and rabbits both decided that the plants were delicious, in spite of the thorns. With some patience and fencing, the patch finally took off. This year we had plenty of berries for canning, jam, pie filling, fruit leather, and sharing.
Harvesting Blackberries
Our blackberry harvest season here in northeast Wisconsin typically starts in late July and extends through August. Production usually starts slow, peaks, and then tapers off over several weeks.
Our canes have thorns, so picking can be a challenge. (I wear long sleeves and gloves with the tip of the index and middle finger cut off.) Fully ripe berries should have a deep purple color and slip easily from the vine.
We use buckets tied around our waists to collect the berries, and empty the buckets frequently. This lets us pick with two hands. We empty the berries into shallow bins to keep them from getting crushed.
Fresh blackberries are perishable, so you should aim to process the berries as soon as possible after picking. If you can’t process the berries immediately, they will hold in cold storage for a day or two. The berries spoil more quickly at room temperature.
When you are ready to use the berries, sort and discard any spoiled berries and debris. Rinse berries in a strainer, if desired. Do not wash the berries before you are ready to use them. Extra moisture makes them more likely to spoil.
If you don’t have time to make blackberry wine right away, it’s perfectly okay to freeze the berries and make the wine later. Just make sure to thaw the berries before starting fermentation, as cold berries would slow down the ferment. I’d advise weighing the berries and setting aside the amount needed in a marked container.
How to Make Homemade Blackberry Wine
The blackberry wine recipe I used is adapted from Wild Wine Making by Richard Bender. I like Richard’s recipes because he keeps things very simple. Most of what you need you should already have in your kitchen.
In the case of this wine recipe, all we need blackberries, water, sugar, and wine yeast. He doesn’t use sulfites, yeast nutrients, pectic enzymes, or other specialty additives. Once package of wine yeast makes up to five gallons of wine.
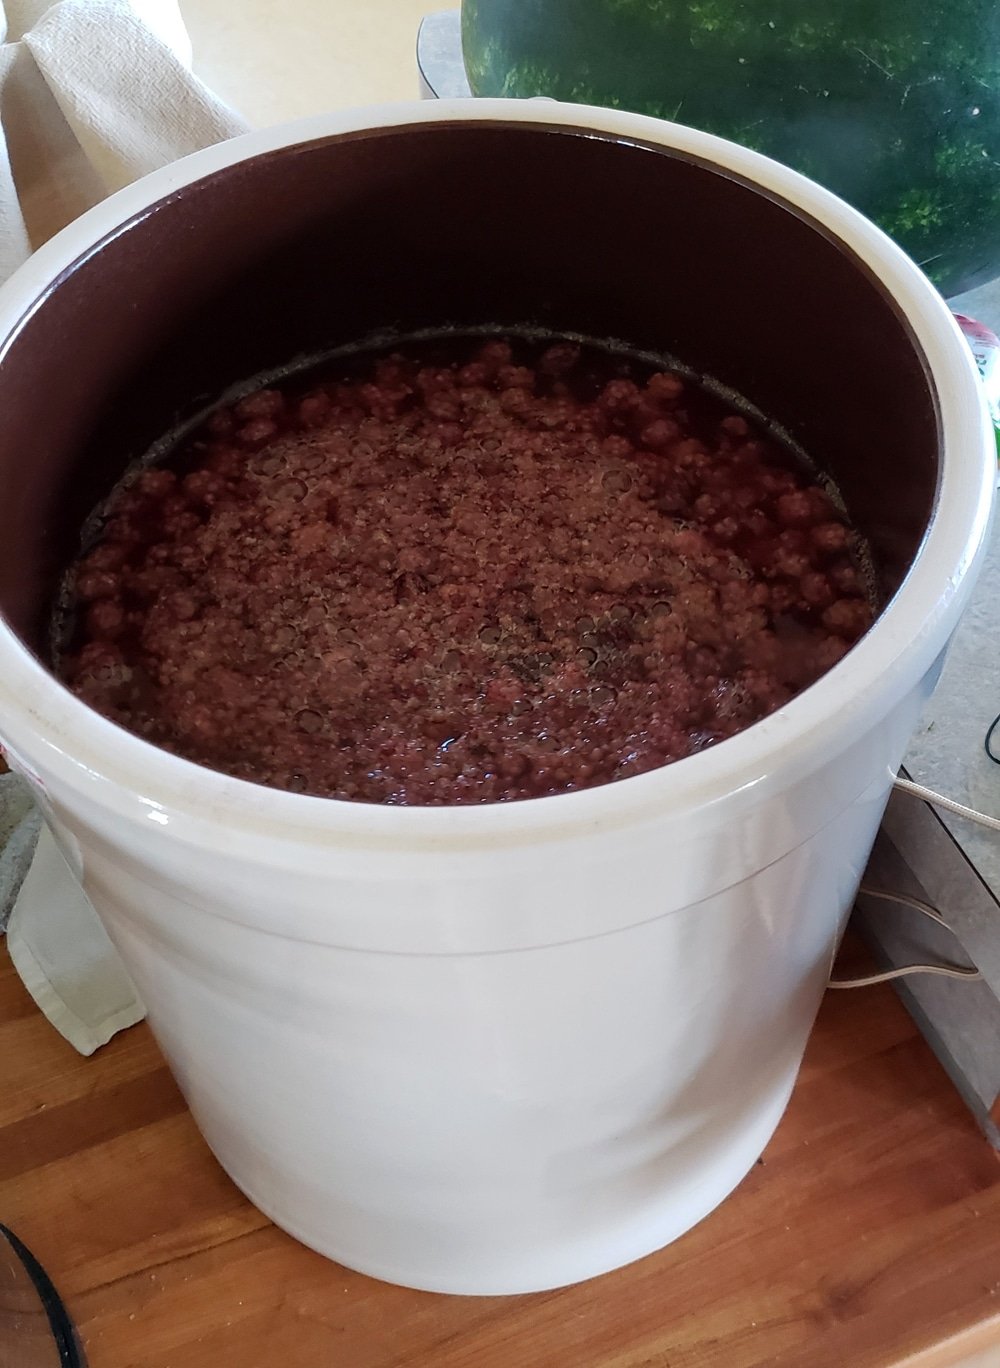
First, we smash the blackberries and add them to the primary fermenter. I use ceramic crocks, but you could use a food grade bucket or non-reactive pot. For a one gallon batch, I recommend a two gallon container. His proportions made about 1.5 gallons of must (the berry/sugar/water mash).
Then, we bring the water to a boil, and stir in the sugar to dissolve. Once the sugar is dissolved, we add the sugar water to the fermenting vessel with the fruit and allow it to cool until room temperature.
Once the mixture cools, we add the yeast and cover the container with a cloth to keep out dust. (Activate the yeast per the package directions before adding it to the mix.) Stir the blackberry wine twice a day until the fermentation slows, for about 7 to 10 days. The mix should have a slightly sweet, yeasty smell, and bubble up when you stir it.

When fermentation slows, we strain out the berries. I like to use a large strainer lined with an old flour sack towel. Transfer the strained liquid into your secondary fermenter, and add an airlock. Check the wine the next day. If there is a deep layer of sediment (lees), rack and filter the wine.
Rack the wine every 2 to 3 months. It should be ready to drink at 6 months, but aging for a year will improve flavor. Age for at least six months before bottling.
Other Wine Ingredients
The second blackberry wine recipe listed below uses additional ingredients for a more consistent product. You can find these ingredients in most homebrewing stores, or online. These include:
- Pectic enzyme – this helps to clarify the wine by breaking down the pectin from the berries.
- Yeast nutrient – this provides vitamins and other foods for happy yeast
The recipe also recommends a mesh drawstring bag to hold the fruit and make straining easier.
Would you like to save this?
Equipment for Making Blackberry Wine
You can get your homemade blackberry wine started in any large, non-reactive container, but for later stages, you need a few more items.
After you strain the fruit out, you want to move the brew to a secondary fermenter. Usually this is a one gallon jug with an airlock. If the wine doesn’t all fit in a gallon, you can keep the excess in a quart jar with airlock. The airlock keeps out microbes that can spoil your wine.
Ideally, you want your wine to fill the fermenter to within a few inches of the top. As the wine ferments, it gives off CO2. This CO2 fills the space above the wine, and keeps out microbes that may spoil the wine.
Once bulk fermentation is done, you’ll need a corker, corks, and wine bottles. It’s fine to reuse clean wine bottles, but do not reuse corks.
Best Water for Wine Making
Real spring water is great if you have it available, but most of us have to make do with something else. You want a pH of around 7 (neutral), and no chemicals. Distilled water lacks nutrients, and is not ideal for wine making.
Hard water can leave a bitter taste in the wine, especially if it is heavy with minerals. Softened water is better, but may also add off flavors to the wine. Filtered or bottled water is usually a better choice.
PrintRustic Blackberry Wine
The simplest of wine recipes – sugar, water, fruit, and yeast. Creates a medium robust red wine. Use less fruit for a more delicate wine, more fruit for a more intense vintage.
Ingredients
- 3 pounds blackberries
- 1 gallon water
- 3 pound granulated sugar
- 1 packet of wine yeast
Instructions
- Mash the blackberries and place them in the primary fermentation vessel.
- Bring the water to a boil in a large pot. Add the sugar and bring it back to a boil, stirring to dissolve the sugar. Add the boiling water to the berries in the fermentation vessel. Cover and let cool to room temperature.
- Activate the yeast (if required) and stir in the yeast to the berry mixture and cover. Stir the must twice a day until fermentation slows (7 to 10 days).
- Strain out the pulp and pour the wine into the secondary fermentation jug and secure the airlock. Check the wine the next day. If there is a deep layer of lees (sediment), rack and filter the wine. Rack again every 2 to 3 months.
- The wine should be ready to drink in 6 months. Allow the wine to age for as long as possible in the jug before bottling, at least six months to one year.
The second blackberry wine recipe is adapted from The Complete Guide to Making Your Own Wine at Home.
PrintCountry Blackberry Wine
Homemade blackberry wine with 10% ABV (alcohol by volume). Original Brix (21.25) – Final Brix (3.00)
Ingredients
- 6 pounds of blackberries
- 2 1/2 pounds of granulated sugar
- 1/2 teaspoon pectic enzyme
- water (enough to make 1 gallon of wine must)
- 1 packet red wine yeast
- 1 teaspoon yeast nutrient
Instructions
- Wash berries in colander. Crush berries in a bowl and place them in a nylon bag or cheesecloth. Transfer the bag to the primary fermentation vessel.
- Pour about 7 pints of boiling water over the fruit bag and allow to sit for 48 hours.
- Gently squeeze the bag and remove. Add sugar and stir well to make sure it is completely dissolved. Sit in pectic enzyme and allow to sit for 24 hours.
- Add yeast and nutrient. Stir daily for five to six days.
- Pour into carboy and attach airlock. Place wine in a cool, dark location for three months.
- Rack and allow to sit for another two months.
- Rack again and bottle.
- Allow a year to mature.
More Blackberry Recipes
Blackberry Blueberry Jam (Black and Blue Jam)
More Homemade Wines

This article is written by Laurie Neverman. Laurie grew up in the kitchen, learning baking and home cooking from her momma. At age 15, she and her mom and two sisters created Irene’s Custom Cakes & Catering. This was her summer job through most of high school and college.


