Stevia Plant – How to Grow It & Use It
This post may contain affiliate links. Read my full disclosure here.
Stevia plant, or sweet leaf, is an alternative to sugar that you can grow in your own garden. In this post we’ll cover a little background info on stevia, growing it from seed or starts, harvesting and using the leaves and making stevia extracts.
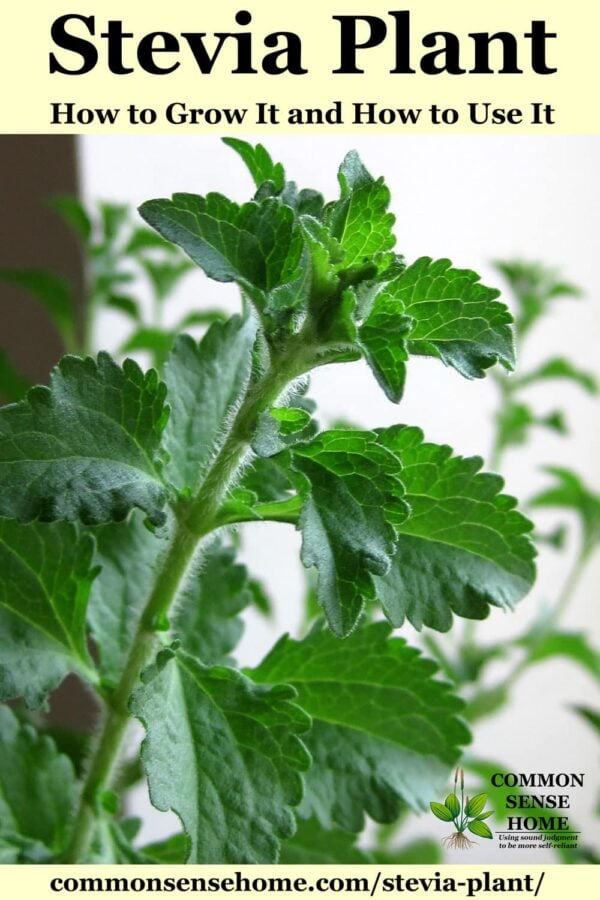
What is Stevia?
Also known as “sweet leaf” or “sweet herb”, stevia has zero calories and no impact on blood glucose levels. It is native to the altitudes of Paraguay and Brazil in South America, and has been used as a sweetener for hundreds of years. Traditionally, it was used to sweeten teas, and for its medicinal properties. Refined stevia products are available for a more standardized sugar substitute, but with a little creativity, you can use dried leaves or extracts in many different recipes.
Stevia rebaudiana is the sweetest variety and most commonly grown as a natural sweetener, but over 100 species of stevia exist in North and South America. The leaves contain up to 5% dry weight of stevioside, a sweetener estimated to be up to 300 times sweeter than table sugar (sucrose). Whole sweet leaf contains 11 major steviol glycosides, which range in sweetness from 50 to 400 times sweeter than sucrose. Unlike some artificial sweeteners, the sweetness of stevia is stable in high temperatures.
Stevia Plant Growing Requirements
Stevia plants need:
- Full sun, with over 15 hours of light preferred to maximize vegetative growth. In areas with hot summers, light afternoon shade is beneficial.
- Well drained soil or potting mix. Raised beds often work well for these plants.
- Compost or organic matter in the soil – skip the chemical fertilizers, which can cause lush growth with lower amounts of sweetness. Over fertilized plants are also more prone to disease.
- Consistent soil moisture. Wild stevia tends to grow near bodies of water, where soil is moist but not waterlogged. Organic mulch can help keep soil moisture even.
- Room to grow – plants grow 1-3 feet tall (shorter in cooler areas) and roughly as wide. Use a one foot or larger diameter pot, or space plants 18 inches apart in garden beds.
- Frost protection – plants may overwinter in hardiness zones 8 or higher. For colder climates, bring plants inside before hard frost if you want to keep them from year to year.
A well-tended stevia plant may produce for 3-5 years or more, but becomes less vigorous with age. You can start new plants with cuttings or natural layering. (Plants will often root where a stem stretches and contacts the ground.)
Buying a Stevia Plant
Stevia plants are now available at many garden centers or through online nurseries and retailers. If you’re selecting plants in person, look for those that are compact, with tops roughly equal to or less than the size of the pot. You also want good leaf color and no obvious signs of stress, like brown leaf tips or dry soil.
I’ve had good luck with starting plants from seed indoors and transplanting out to the garden. (See below.) You can grow many plants from seed for the price of one nursery plant.
When to Harvest Your Stevia Plant
The most important tip for harvesting your stevia plant is to pick the leaves before the small white flowers appear. Once the plant starts putting energy into flowers, the leaves become less sweet. (You’ll find this with most garden plants, such as other herbs and lettuce. Flowers = bitter lettuce and less fragrant herbs.)
You can pick leaves as needed, or cut the plant back by half in midsummer and early fall. If you want to keep your plants over winter, leave at least 6 inches of plant intact to allow regrowth.
Cut back plants to force foliage growth if you see any signs of flowering. When growing stevia plants inside (or outside as the days shorten), less than 14 hours of daylight per day is likely to trigger flowering.
Drying and Storing Stevia
There is some sweetness throughout the entire stevia plant, but the leaves are much sweeter than the stem, so the stem is typically discarded. You can cut off the desired stems from the plant and bundle them in small bundles (less than 1 inch in diameter) and hang dry, and strip the leaves after they have dried.
Alternatively, you can strip the leaves off the cut stems and dry them in a homemade or commercial dehydrator on low heat. Dried leaves will keep well for several years stored in a tightly sealed glass jar, and can be ground in batches as needed for recipes.
Here’s a bundle of leaves harvested from my stevia last fall.
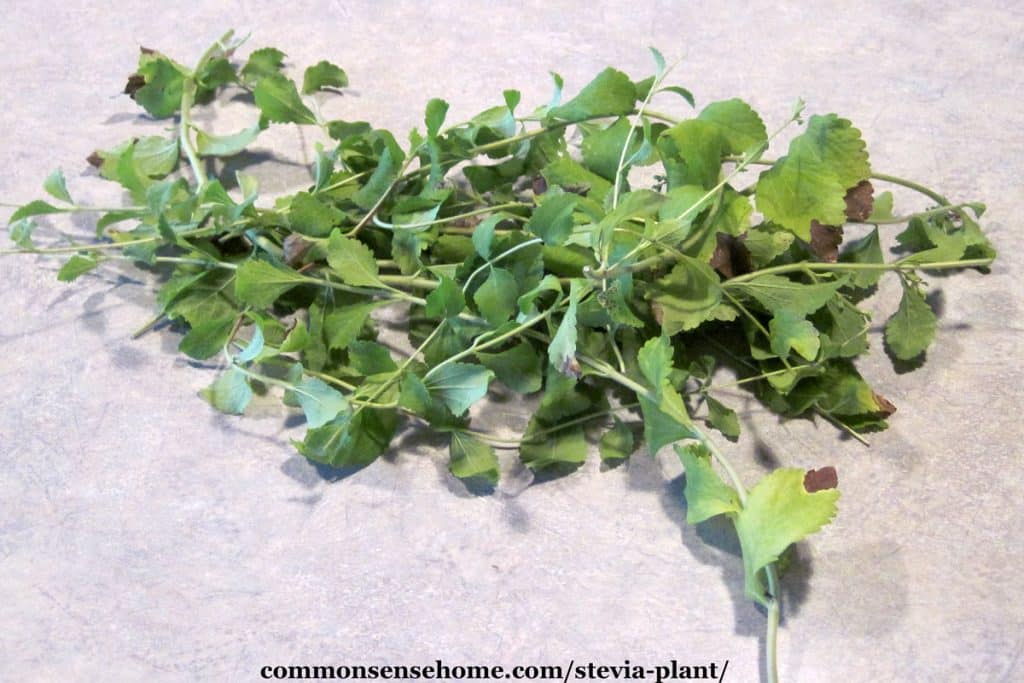
If you look closely, you can see that the leaves and stems are somewhat fuzzy.
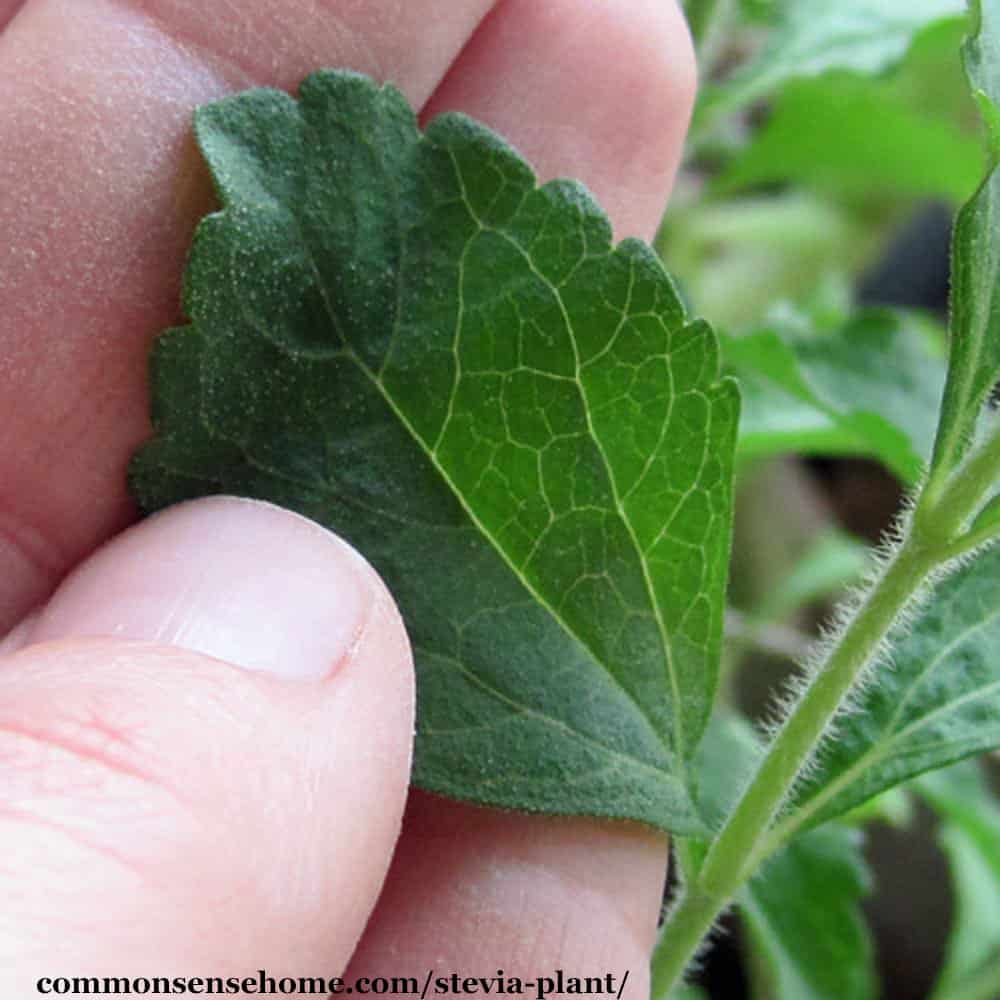
You can chop and tear the leaves and add them directly to tea blends, or make a stevia extract as directed below.
How to Make Stevia Extract
Making stevia leaf extract is easy. You can use fresh or dried stevia, although I’ve read that extract from the dried leaves tends to be more bitter. I prefer alcohol based extract, since it has a longer shelf life.
Make Stevia Extract with an Alcohol Base
Start with clean stevia leaves, either fresh or dried. I rinse off my fresh leaves and give them a spin in the salad spinner.
Chop the stevia leaves. Place the chopped leaves in a glass jar, and then pour in enough vodka to cover the leaves.
Label the jar and put in a cool spot out of direct sunlight for two days, shaking or mixing gently a few times per day. I put mine in my pantry.
Don’t let it sit longer to try and get a stronger flavor. Longer steeping can increase bitterness. Don’t include stems so you have more material. They don’t contain much steviol glycoside, which is what makes the stevia sweet.
After two days, strain the leaves through a coffee filter or other fine material. Take the raw extract and cook it gently over low heat. Do not boil it, or it will burn and taste nasty.
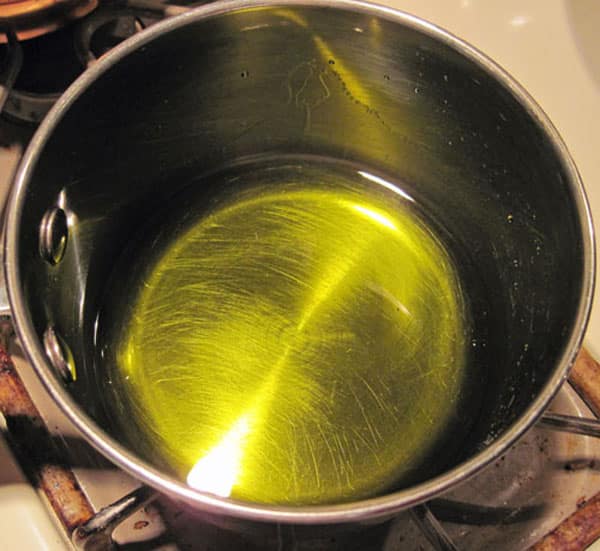
Simmer gently for 20 to 30 minutes to drive off some of the alcohol and concentrate the extract. It will get darker and a bit thicker and some particulates may precipitate out.
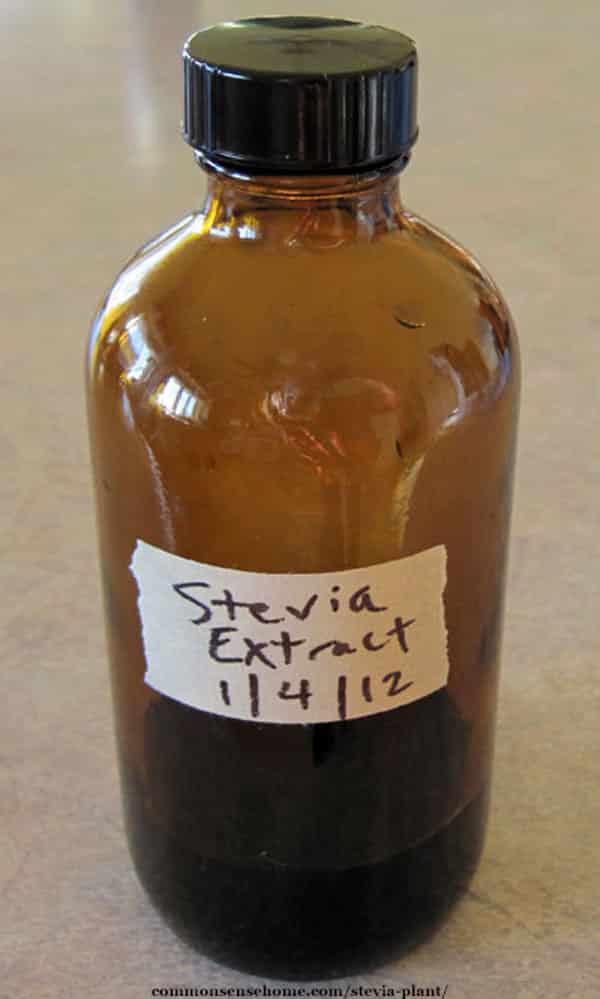
Strain through a filter into an opaque bottle (I recycled a vanilla extract bottle). Amber Glass Bottle 1oz(30ml) with Dropper (1 Dozen)Tincture bottles with droppers are great if you have them available, as it only takes a few drops of extract to sweeten a drink or recipe.
Would you like to save this?
Cover, label and date. This stevia extract will keep for around three months in the refrigerator. I found this extract to be quite sweet with very little bitterness. Given that the tiny bottles of extract sell for at least $10 each, you can see how going homemade can save money.
You can watch the video below to see me make up our latest batch of extract. (If video doesn’t display, make sure ad blockers are off.)
Make Homemade Stevia Extract with a Water Base
Ingredients
- 1/2 cup dried stevia leaves, tightly packed
- 1 cup water
Directions
Bring water to a simmer in a small saucepan. Do not boil. You should see small bubbles only. Stir in dried stevia leaves and remove from heat. Cover and let steep for 40 minutes. Strain out leaves. Pour into a clean glass jar, cover and store in refrigerator for up to two weeks.
Yields approximately 1/2 cup stevia extract. This extract is best used for sweetening teas or other beverages.
Using Your Stevia Plant
Most recipes call for dried powder or liquid extract so that the flavor spreads more uniformly through the substance being sweetened, but feel free to experiment with fresh leaves. They work well in tea blends, smoothies and fruit salads.
3-4 teaspoons of dried green stevia is roughly equivalent to one cup of refined sugar for sweetening, but you will need to experiment or find a good Stevia Sweet Recipes: Sugar-Free Naturally!sweet leaf recipe book, because substituting stevia will change the texture and baking properties of food.
Stevia to sugar conversion
Sweet leaf does not have the same properties as sugar for baking. When you’re substituting for sugar, it’s best to start with no more than 50% stevia, and then adjust for taste and baking qualities.
When working with refined white stevia powder and alcohol based stevia extract:
- 1 cup sugar = 1 tsp stevia powder or 1 tsp stevia extract
- 1 tbsp sugar = ¼ tsp stevia powder or 6-9 drops stevia extract
- 1 tsp sugar = a pinch of stevia powder or 2-4 drops stevia extract
Starting Stevia Plants from Seed
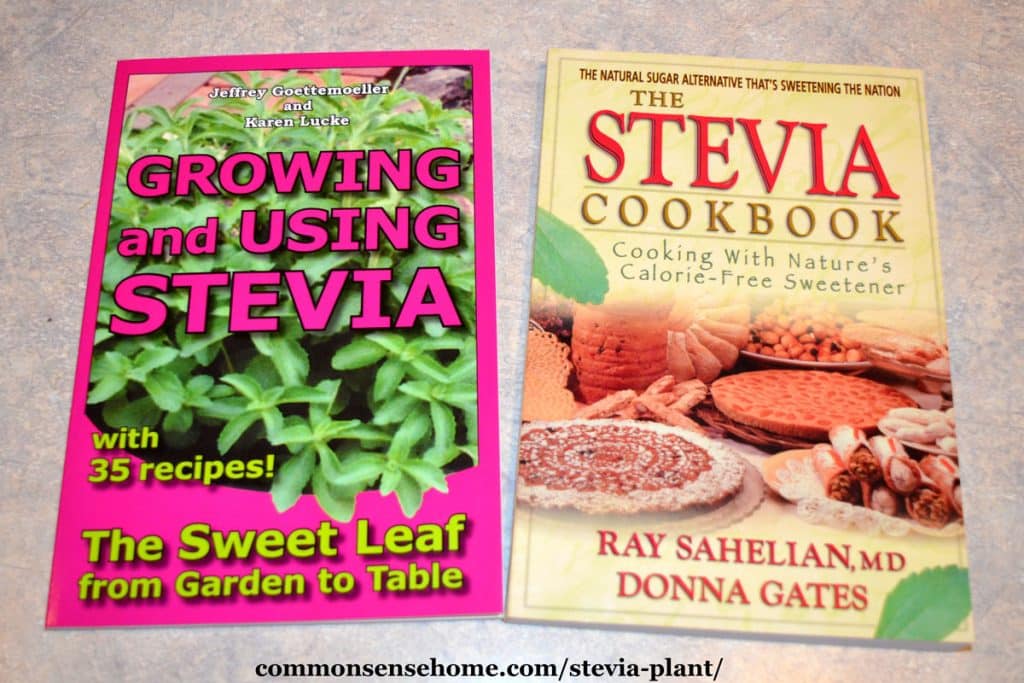
Start Stevia seeds much the same as any other garden seeds. Visit my post on starting seed indoors for more details on lighting and tips for success. The book “Growing and Using Stevia” states that darker seeds tend to have higher germination rates. The instructions given below are based on those detailed in the book. Seeds should be started inside 8-10 weeks before transplanting outside.
Place 1-3 seeds in each cell and lightly cover with fine potting soil or vermiculite 1/8 inch thick. Spritz or mist with water to settle the soil. Place seeds under a clear plastic cover (you can recycle plastic produce containers or use products specifically for seed starting). Use fluorescent lighting to supply light and keep the temperature between 75-80°F. The book “Growing and Using Stevia” suggests keeping the lights on for 24 hours per day at first, then maintaining at least 15 hours of light about three weeks after sowing.
Stevia Germination
Seedlings should emerge in 7-14 days. Remove cover after seedlings emerge to help prevent damping off. When seedlings are growing strongly (have distinct leaves), thin them to one per cell by cutting off weaker plants at soil level.
The book suggests only watering from below every 3-5 days so the soil stays moist but not soggy. I watered mine the same as I water everything else – gently from above. A small amount of fish emulsion or other natural fertilizer may be added to the water as the plants grow.
How to Transplant Stevia into the Garden
When seedlings reach around 5 inches tall, trim 1-2 inches off the main shoot to promote branching. (You may use these leaves for sweetening.) Move the seedlings to 4-5 inch pots.
When it’s time to move plants to the garden, harden plants off by moving pots/seedlings outside in a protected area out of direct wind and sun for a few hours each day. Gradually increase their time outside. When plants have had a chance to acclimate to outside conditions, pots may be moved into full sunlight and plants may be planted into the garden.
Stevia plants do not tolerate frost, so protect or move inside if temperatures are expected to drop below 40°F if you want to keep your plant happy.
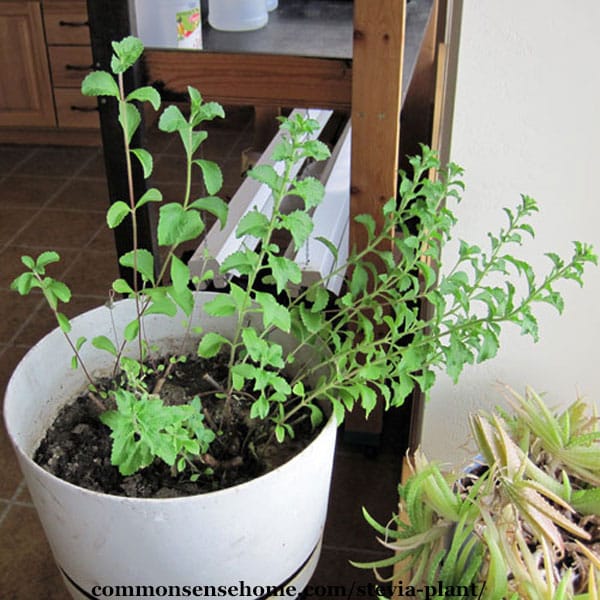
Here’s a plant that was dug up from the garden in fall and kept inside for the winter. You can see it is getting a bit leggy due to lack of sunlight.
Give Stevia Plants a Try!
If you’ve been thinking of trying something new in the garden, or you use a lot of stevia and would like to save some money by growing your own, I encourage you to give these plants a try. I’ve kept plants growing for several years at our home in northeast Wisconsin.
My only regret is that I didn’t learn how to make stevia extract sooner and save myself some money.
As always, remember to share this post if you find it useful, and leave a comment below with any questions.
Did you know we have over 100 gardening posts on the site? They’re all sorted by category on the Common Sense Gardening page.
We have growing tips for crops from blueberries to peas, season extension, troubleshooting tips and more.
You may also enjoy:
- How to Make Homemade Extracts – Vanilla, Lemon and Almond
- Small Garden Ideas – 10 Tips to Grow More Food in Less Space
- How to Infuse Herbs in Oil, Water, Vinegar, Alcohol or Honey
Originally published in 2012, updated in 2018.

