How to Freeze Peas from the Garden
This post may contain affiliate links. Read my full disclosure here.
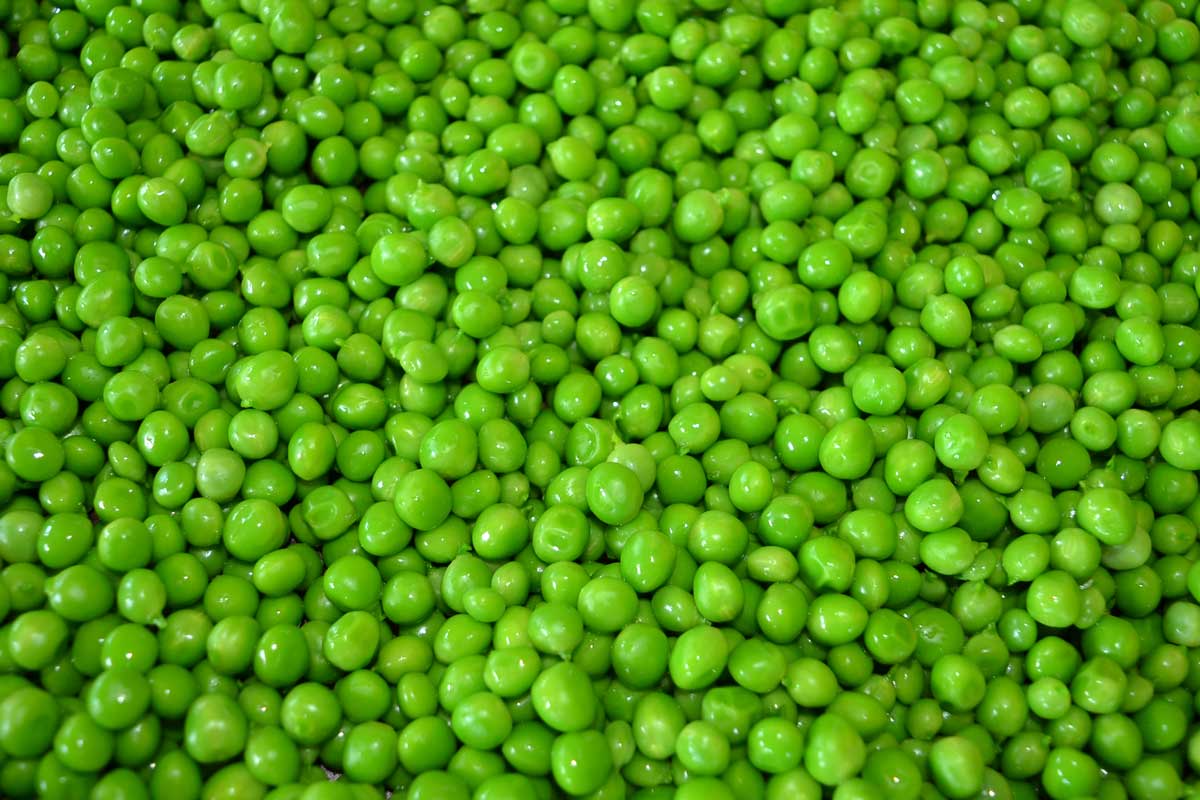
I like eating peas, but not just any peas – canned peas are soft and flavorless. The only way to get close to the taste of fresh is to learn how to freeze peas. We’ll take you through our process step by step so you can have fresh tasting peas year round.
Why Freezing Fresh Peas is Better than Canning
As I mentioned above, I am not a fan of the taste and texture of canned peas. Commercial ones often taste like the can they are in.
For home canning, you need a pressure canner to safely process them, as they are a low acid food. With freezing, you don’t need special equipment, other than a freezer. (A vacuum sealer is helpful to keep them frost free and extend shelf life.)
There is an important tip that you need to keep in mind for best flavor, which I’ll get to shortly.
What You Need
- Fresh green peas from the garden or farmers market
- Large pot for blanching
- Bowl of ice water
- Slotted spoon or colander
- Freezer bags, vacuum seal bags, or airtight containers
- Baking sheet (optional, but preferred)
Step-by-Step Instructions to Freeze Garden Peas
This process works for snap peas, snow peas, and shell peas. With snap peas and snow peas, we remove the stem and string. Then we blanch and freeze peas and pod together.
My favorite shell pea variety is Green Arrow. My favorite snap pea variety is Super Sugar Snap.
1. Harvest or Purchase Fresh Peas
Choose tender peas that are young, plump, and bright green. Avoid pods that are dry, discolored, or too mature, as these tend to be starchy and bland. If you’re growing your own peas, harvest them early in the morning when their sugar levels are highest.
2. Shell the Peas
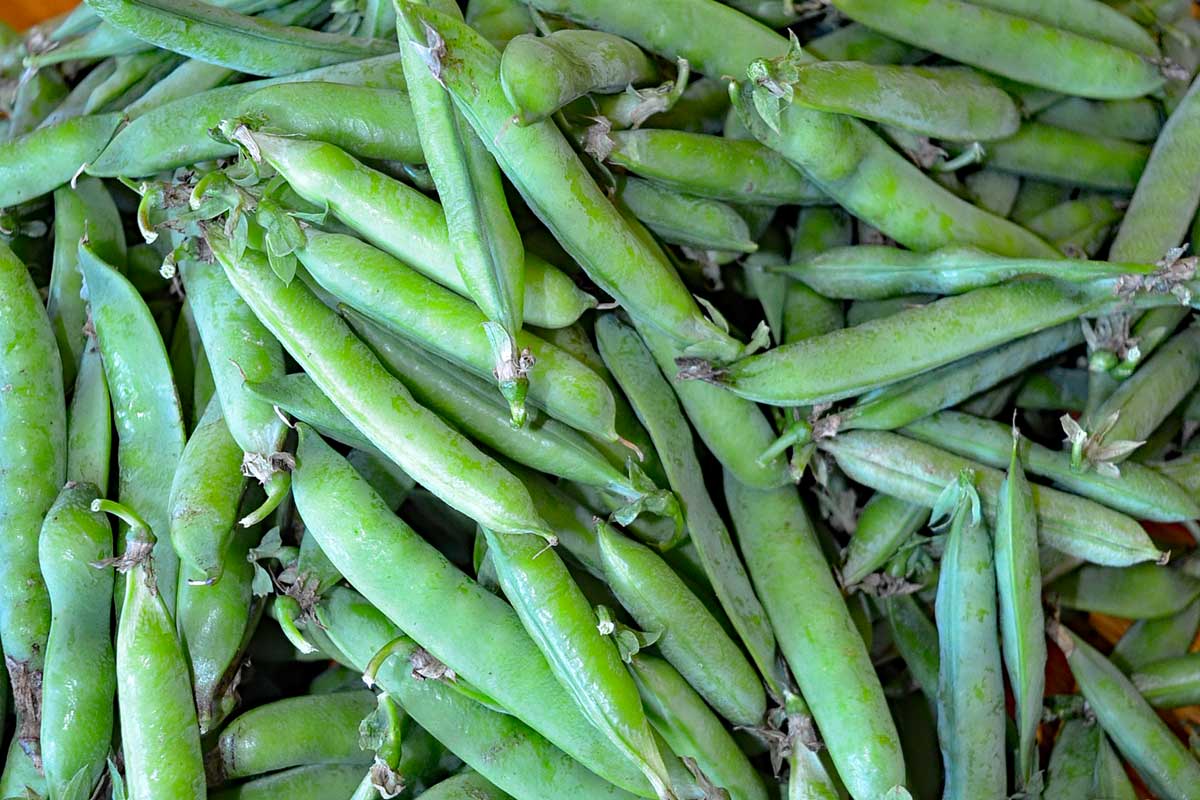
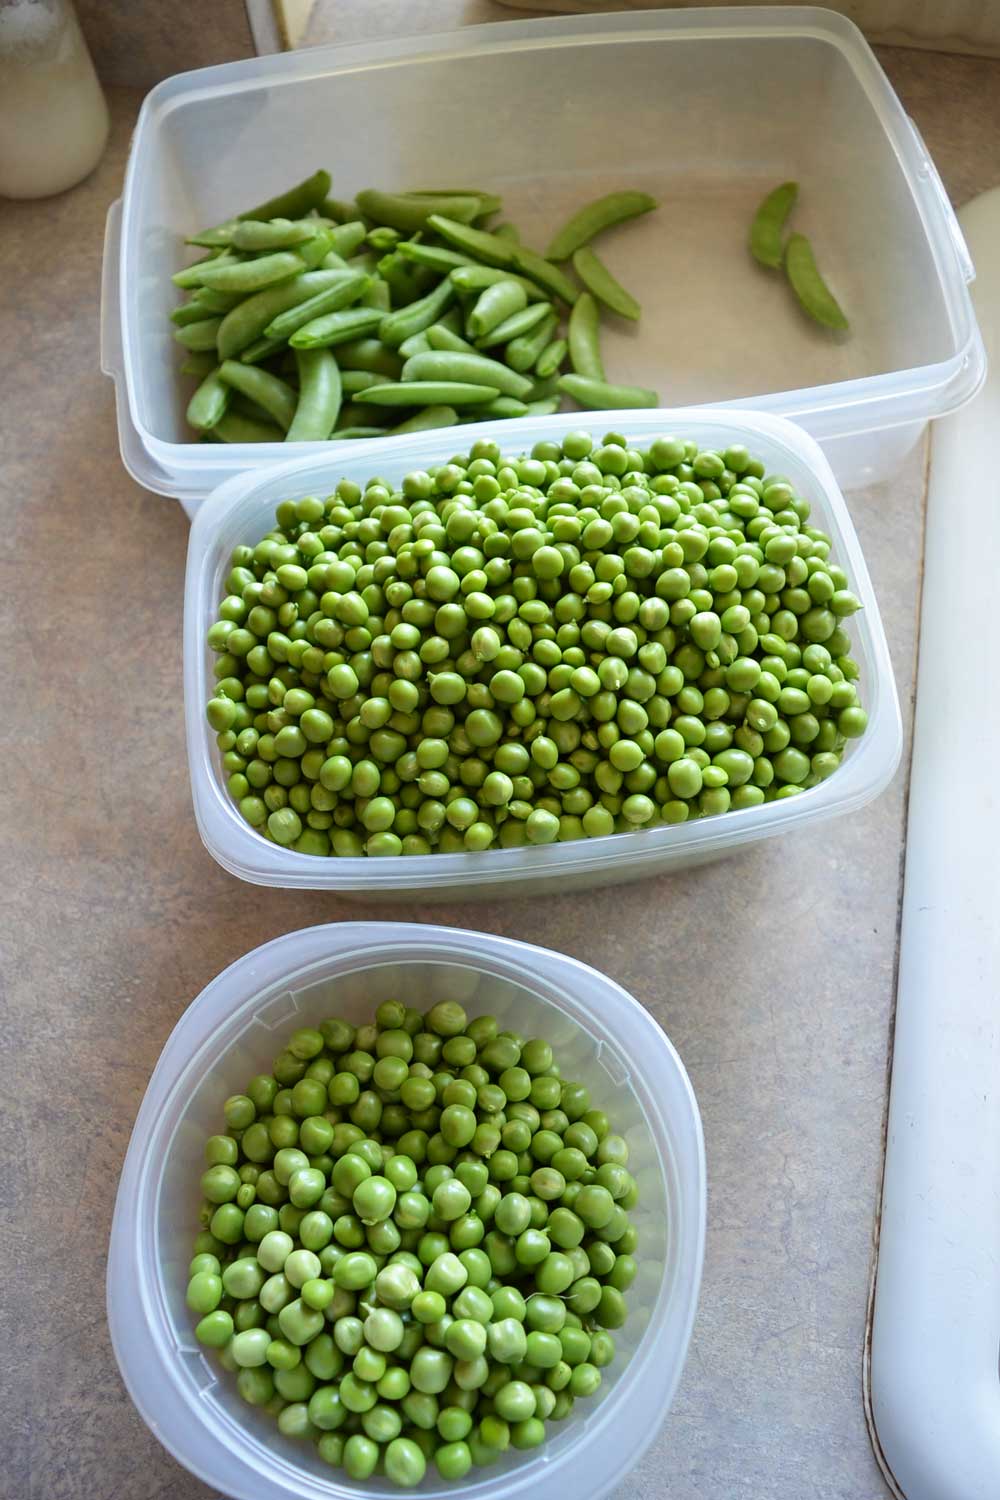
Remove the peas from their pods. Discard any discolored or damaged peas.
***It’s important that you process peas as soon as possible after picking!
Once off the vine, peas start to convert sugars to starches, giving you the bland taste so common in store bought peas. This is one of the reasons you don’t see fresh peas in the store very often. Snap peas hold their flavor off the vine better than shell peas.
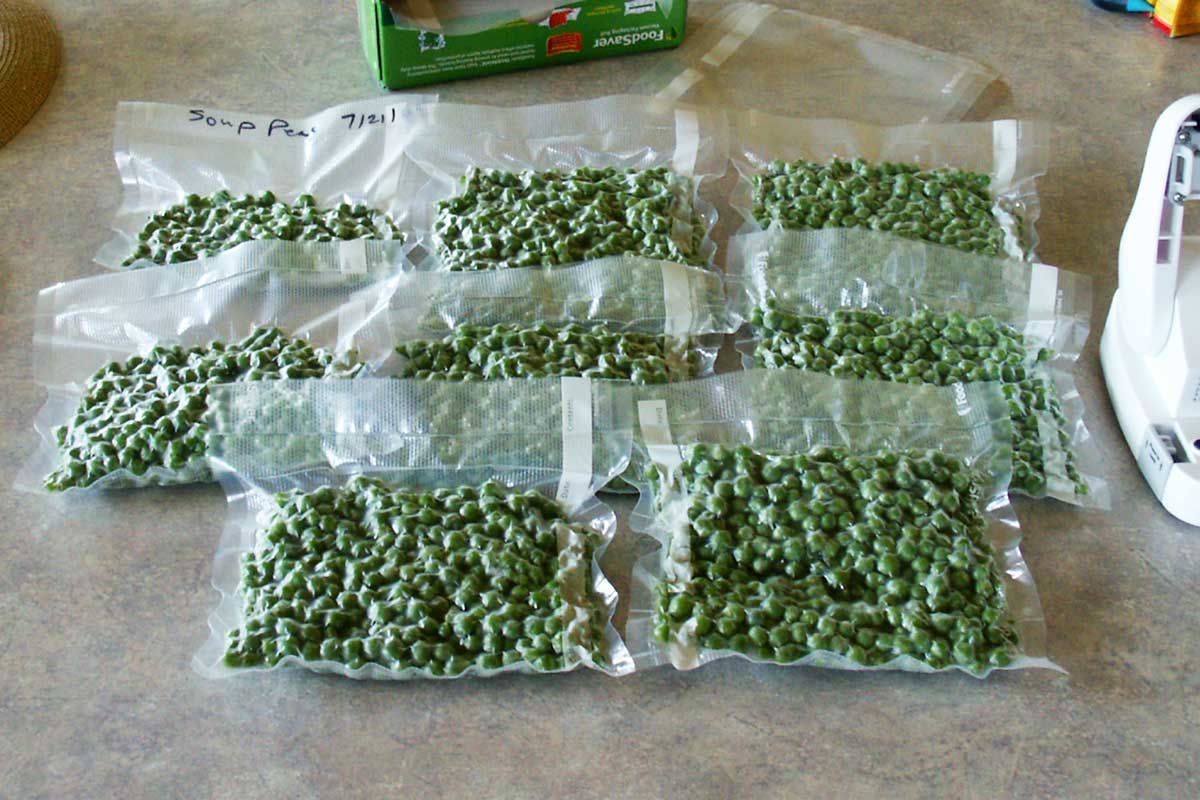
Sometimes you end up with pods that are overripe, especially in a large row of peas. If we have quite a few of these, we freeze them separately and label them as “soup peas”. We use them in soups with other veggies, and the soup adds flavor to the bland peas.
3. Blanch the Peas
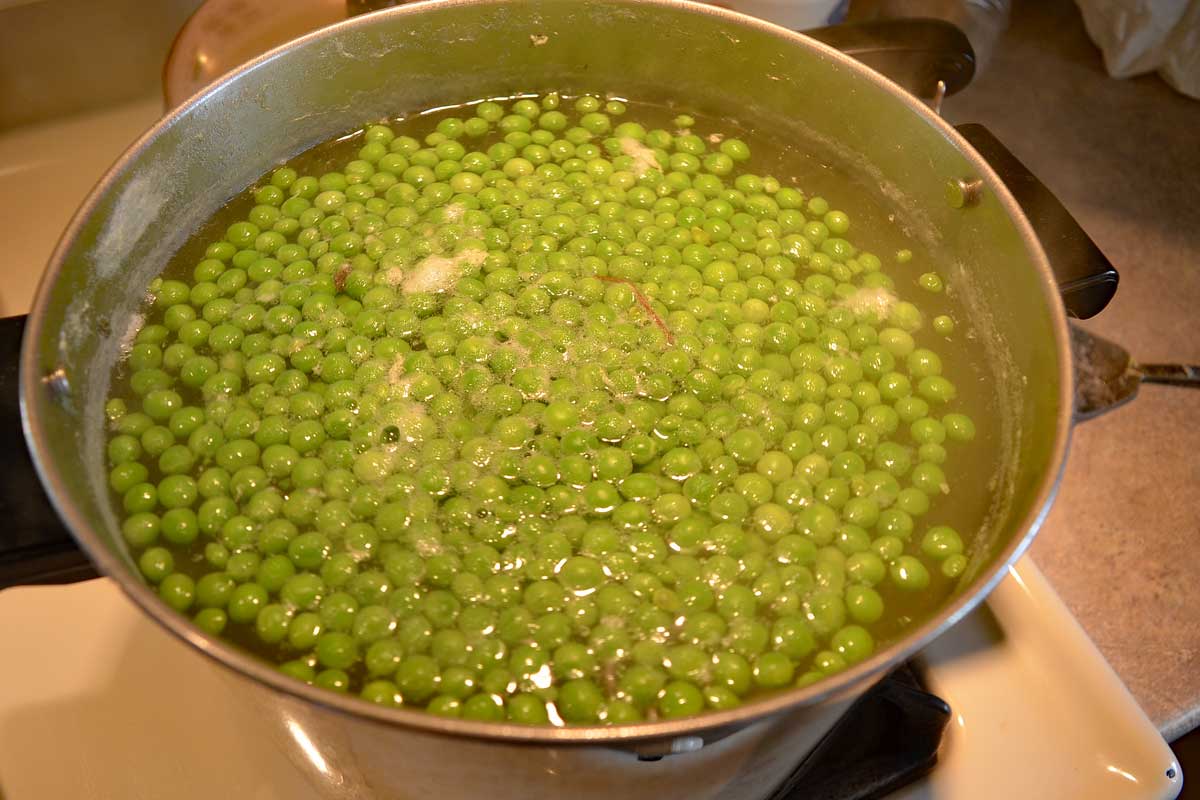
Blanching halts enzyme activity that can cause the peas to lose color, flavor, and texture during freezing. Here’s how to do it:
- Bring a large pot of water to a rolling boil.
- Add the shelled peas to the boiling water and blanch them for 1.5 to 2 minutes.
- Quickly remove the peas using a slotted spoon or drain them in a colander.
4. Cool the Peas in Ice Water
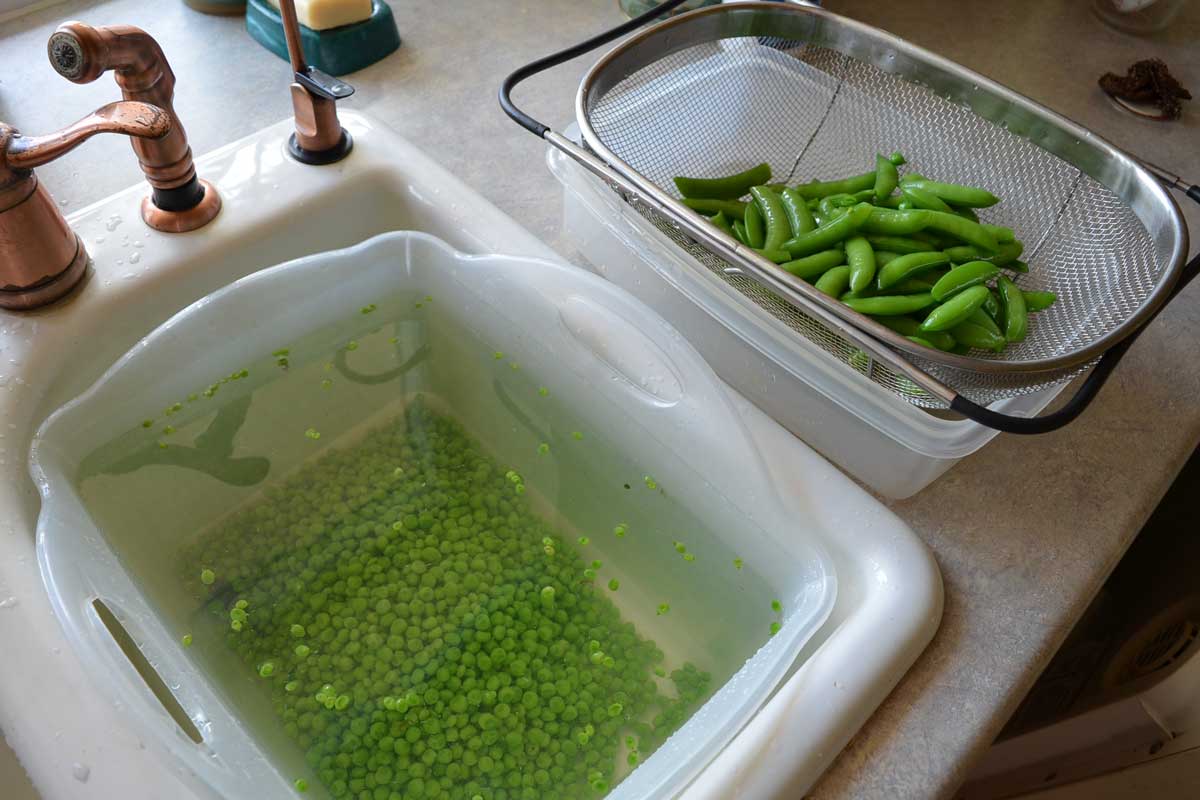
Immediately transfer the peas to an ice water bath to stop the cooking process. Let them sit for about 2 to 3 minutes, ensuring they are thoroughly chilled. Give them a stir to make sure they all cool down.
5. Drain and Dry the Peas
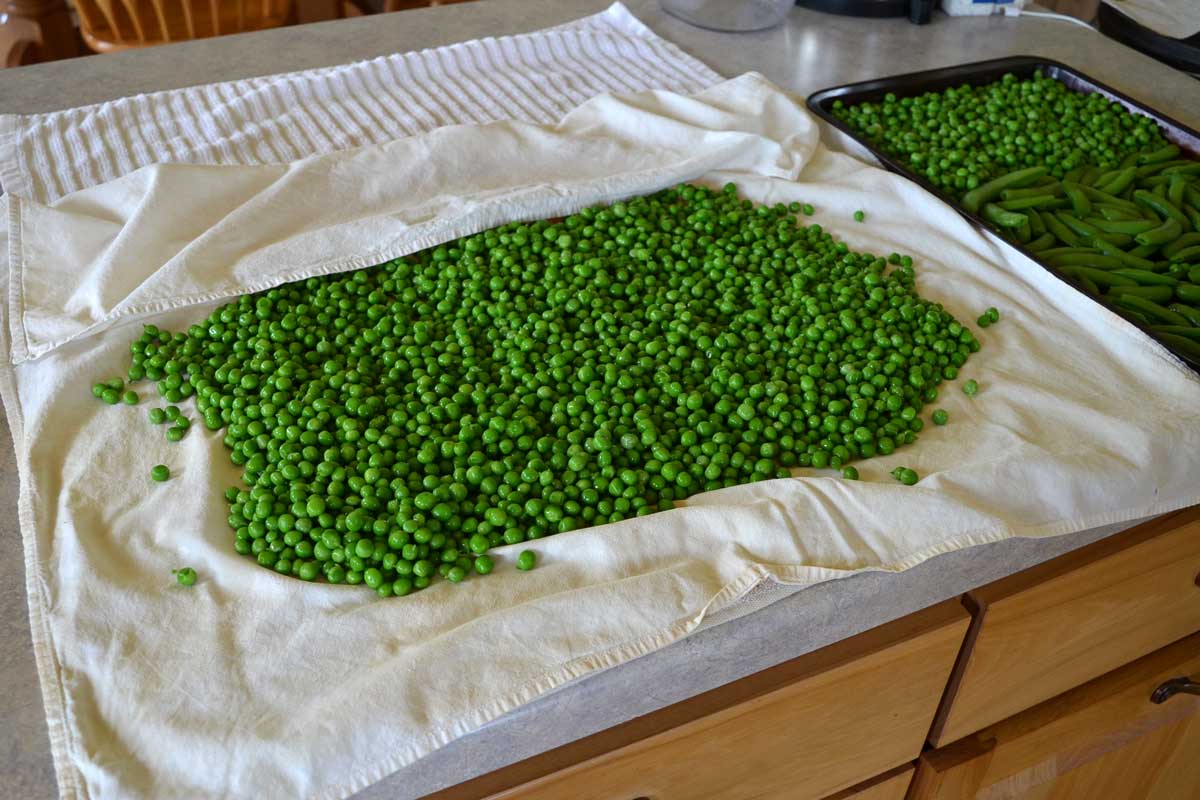
Drain the peas well to remove excess water. Spread them on a clean kitchen towel or paper towels and pat them dry. Excess moisture can cause ice crystals to form, leading to freezer burn.
Would you like to save this?
6. Optional: Flash Freeze the Peas
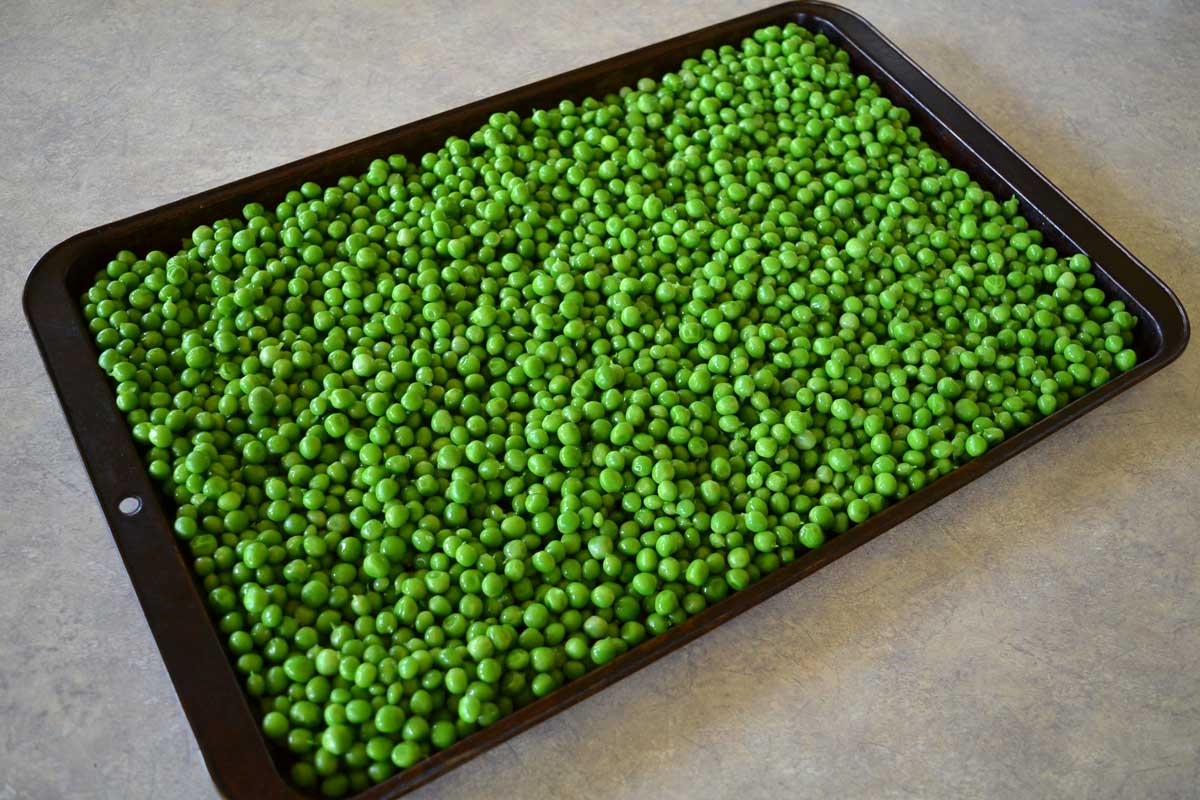
For easier portioning later, you can flash-freeze the peas. Spread them in a single layer on a baking sheet and place them in the freezer for about 1 hour (or more). I usually flash freeze one day and pack them the next day.
I pre-freeze them like this for a couple of reasons.
- It keeps them from forming a big green lump in the freezer.
- I store them in vacuum seal bags long term. I don’t flash freeze, moisture often gets in the seal and the vacuum doesn’t hold.
7. Package the Peas for Freezing
Transfer the peas to freezer bags, vacuum seal bags, or airtight containers. If using bags, press out as much air as possible to prevent freezer burn. I prefer to use a vacuum sealer, because it extends shelf life and reduces ice crystals.
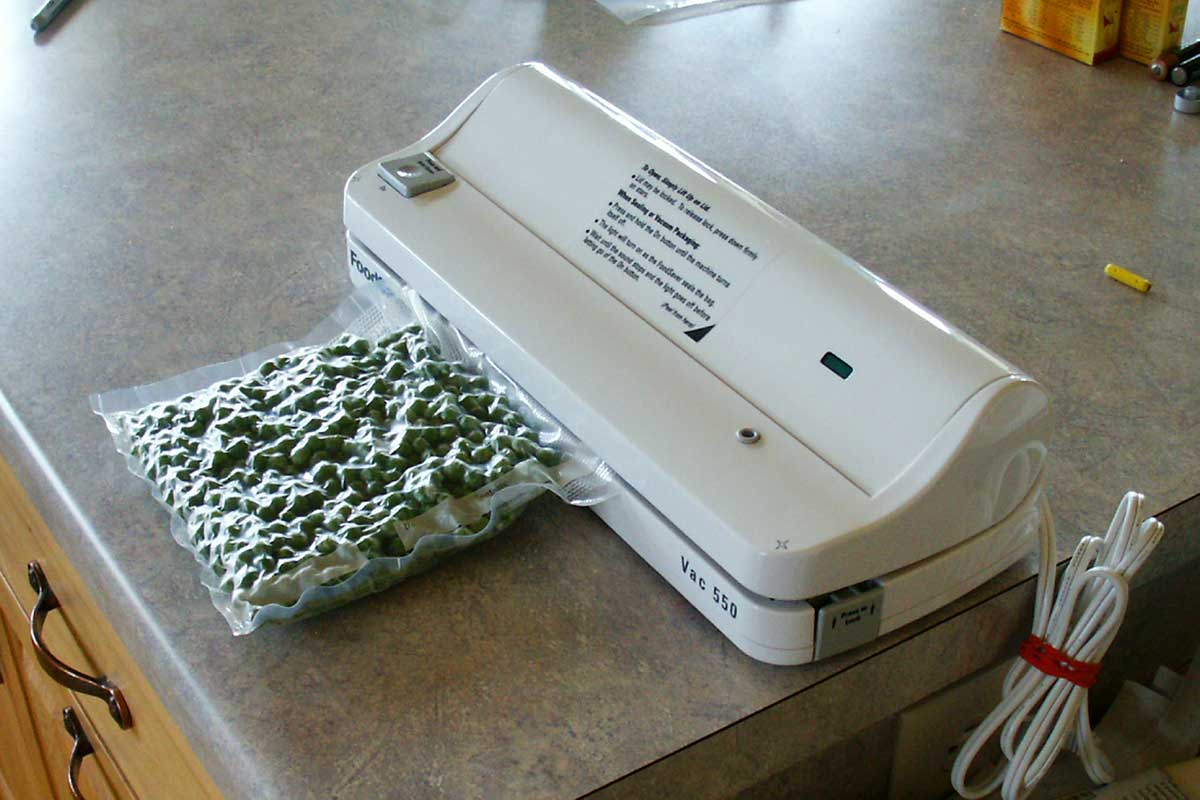
After sitting in the freezer overnight, I pack up the peas in an assortment of bag sizes. I buy the vacuum bags on a roll so I can cut them to size. That way I can take out as much or as little as I need depending on the number of people I’m feeding.
Label each bag or container with the date so you can track how long they’ve been in storage.
8. Freeze the Peas
Place the packaged peas in the coldest part of your freezer. Properly frozen garden peas can last up to 12 months while retaining their quality.
Tips for Using Frozen Peas
You don’t need to thaw frozen peas before cooking. Just toss them directly into soups, stews, or stir-fries. For a simple side dish, heat the peas with a little butter, salt, and pepper. Be gentle – your peas are already blanched, so you only need to reheat them, not cook them.
For salads or side dishes, briefly steam or boil the frozen peas for 2-3 minutes. Alternatively, take them out a bit before you need them and let them thaw at room temperature. We use frozen peas in chilled pasta salads to help cool down the pasta.
Can You Freeze Peas Without Blanching?
Yes, you can, but I don’t recommend it. Blanching really does make a difference in the flavor, keeping your peas fresher, longer. The flavor difference is the bigger the longer the peas are in storage.
Yes, it’s Worth it to Freeze Peas
Homegrown peas are so sweet, delicate and flavorful that it’s hard to believe they’re the same food as their industrial counterparts. It takes time to preserve them, but it’s worth it to us because they are delicious.
If you don’t have fresh peas to freeze, look for organic frozen peas. Try different brands, as some of them use overripe peas while others use young, tender peas.
You may also enjoy:
Growing Peas – From Planting to Harvest
How to Start a Garden – 10 Tips for Beginners
8 Small Vegetable Garden Ideas & Growing Tips

This article was written by Laurie Neverman. Laurie and her family live in northeast Wisconsin, where they grow annual gardens and a permaculture food forest. The preserve food with a mix of old and new techniques, from root cellaring to freeze drying.


Christy – for us now is the time to plant so I thought I'd share this one again for some inspiration (for others and myself :-). So many yummy things to look forward to in the garden. 🙂
I see this is an older post, but dang those peas and carrots still look delish!!! I too believe in child labor. That's why I had so many
d – I firmly believe in child labor. The peas come in, we all sit down and shell, I blanch, I rinse, I spread out to dry, I freeze. We may have a couple of strays when we are shelling, but that's about it. When I am blanching and the peas are ready to come out of the water, I put a strainer over a clean basin and simply dump the whole pot contents – water and peas – into the strainer. After they've drained, I dumb the hot water back into the pot for the next batch. No chasing required. 🙂 It's still labor intensive compared to grabbing a bag at the store, but even the fancy organic peas I've tried a couple of times don't even come close on flavor.
Laurie, I've been reading your blog for more than half an hour. Now who is going to do my dishes?
Have you ever tried blanching the peas IN the pod? You can freeze the pods and strip them out at the table or strip them out after they are cooled after blanching. They just pop out of the blanched pods. I like this method because you can get a lot blanched, and not have to chase those little buggers around in your pot. You can also get them all blanched and throw them into the refrigerator until later. The whole process still takes a lot of time, but you can spread it out better and get the peas processed in a quick time after harvesting, therefore preserving as much of the tasty sugar in the peas.
They look beautiful!
We're doubling the size of our garden at the end of this year so we'll have more to eat from; the store just pales in comparison to fresh vegetables.
Oh I wish I could taste those!
I love seeing the pictures form your garden. Your peas and carrots look way more appetizing than the ones form the grocery store's freezer! lol