Parsnips – Growing, Harvesting, Use & Cautions
This post may contain affiliate links. Read my full disclosure here.
Parsnips are one of our favorite root vegetables, and have a spot in the garden each year. We’ll share how to grow and harvest them, plus cooking tips and one thing to watch out for when you grow them.
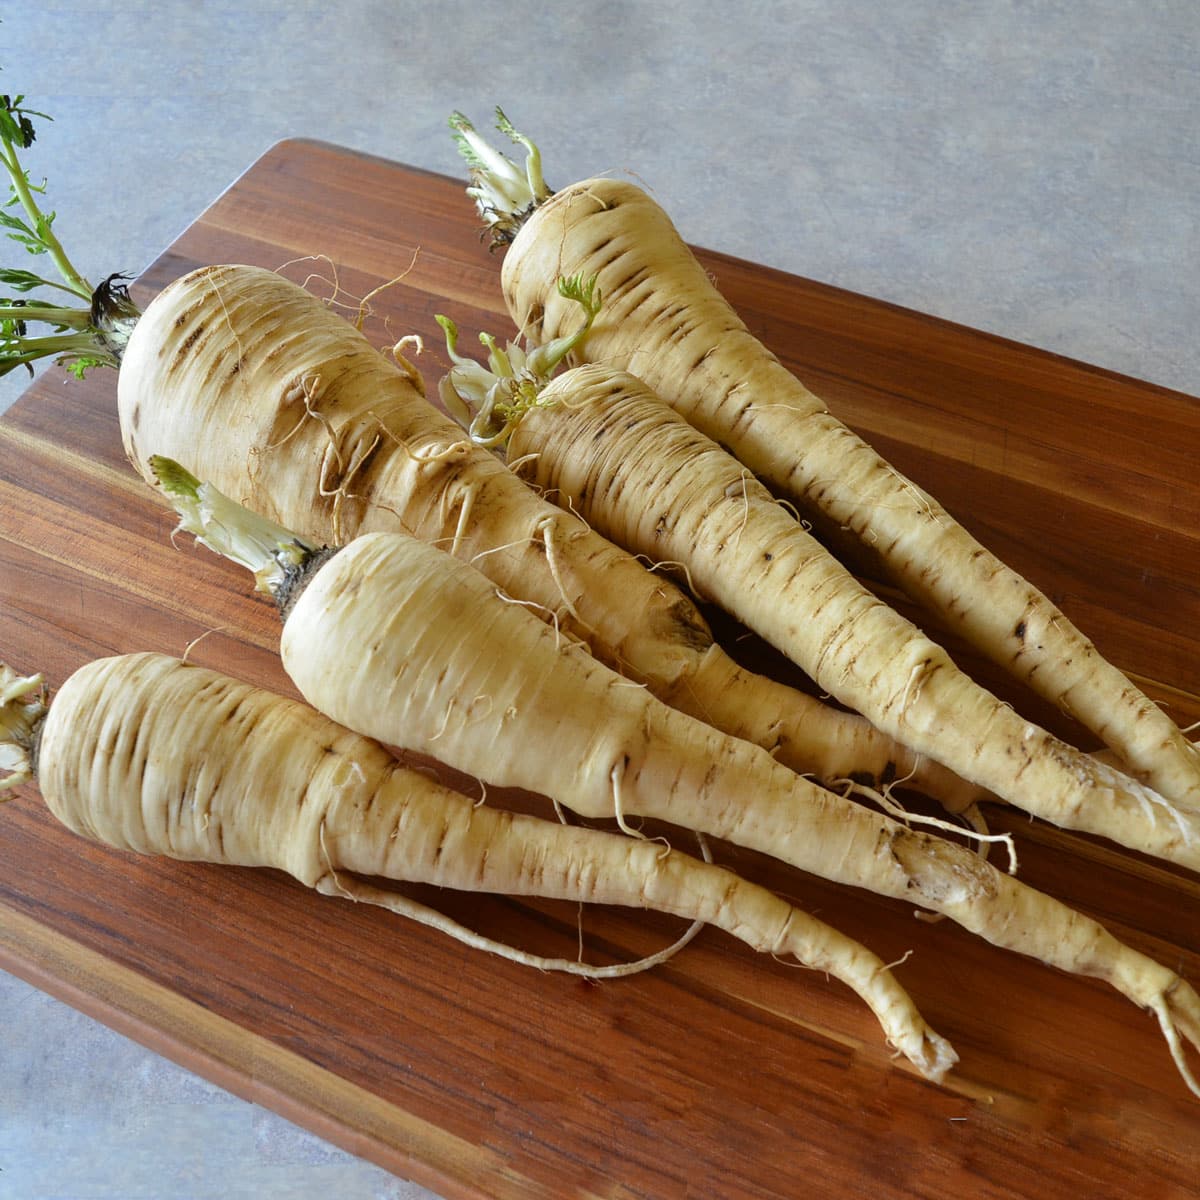
What are Parsnips?
Parsnips are biennial root vegetables that belong to the carrot family. Native to Eurasia, they tolerate cool temperatures and benefit from exposure to frost before harvest.
What do parsnips taste like?
The roots resemble white carrots, and have a cream colored interior with a sweet, earthy flavor. One might describe it as a cross between a sweet potato and carrot, with the texture more like a carrot and sweetness of the sweet potato.
They are a good source of fiber, folate, magnesium, potassium, Vitamins C and E, calcium, iron, thiamine, riboflavin, niacin, and B6.
Growing Parsnips from Seed
Plant parsnips in early spring when soil temperatures reach at least 50°F (10°C). We opt to plant in full sun, but the plants may benefit from partial shade in warmer climates.
Parsnips prefer deep, well-drained soil with a pH of 6.0 to 7.5. Clear out weeds and rocks, which can cause forked and scrawny roots. Don’t add excess nitrogen (manure), which may cause lush top growth with small, hairy roots.
Sow fresh parsnip seeds directly into the garden bed about 1/2 inch deep and 2 inches apart. Space rows about 18-24 inches apart. Keep soil moist until seedlings appear. Once seedlings appear, thin to about 4-6 inches apart.
Parsnips are slow to germinate – they can take around three weeks to emerge. The germination rates also drop as the seed ages. If I don’t have fresh seed (even if it’s only one year old), I plant it as thick as the hair on a dog’s back and then thin the seedlings to about one every three inches, if needed.
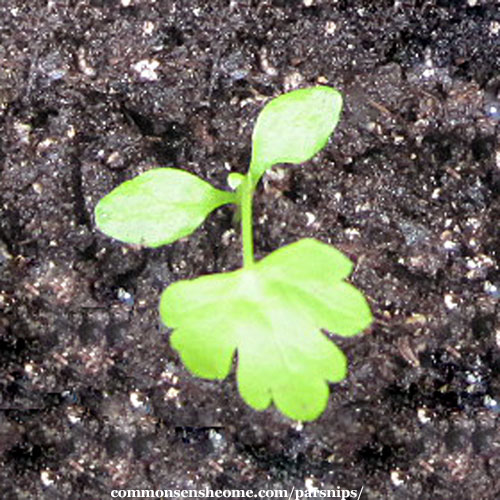
For best growth, keep the soil moist throughout the growing season. We use a straw mulch, and water if rains fail. That’s the only care that’s needed in our garden.
A Word of Caution
You may have heard about wild parsnip (Pastinaca sativa) causing “burns” or blisters known as “parsnip burn”. Garden parsnips are the same species – Pastinaca sativa, selectively bred for bigger roots.
This means that they can cause burns, too. (As can carrots and parsley and some other plants.) The proper name for these burns is phytophotodermatitis.
The good news is that you can only get blisters under certain conditions. You need moisture, sap on your skin, and sun exposure. I worked around them for years without getting a reaction, until one damp, sunny morning working in a thick patch of plants.
For more information on avoiding the problem and treating it if you get exposed, see “Phytophotodermatitis – My Worst Gardening Mistake“.
Harvesting
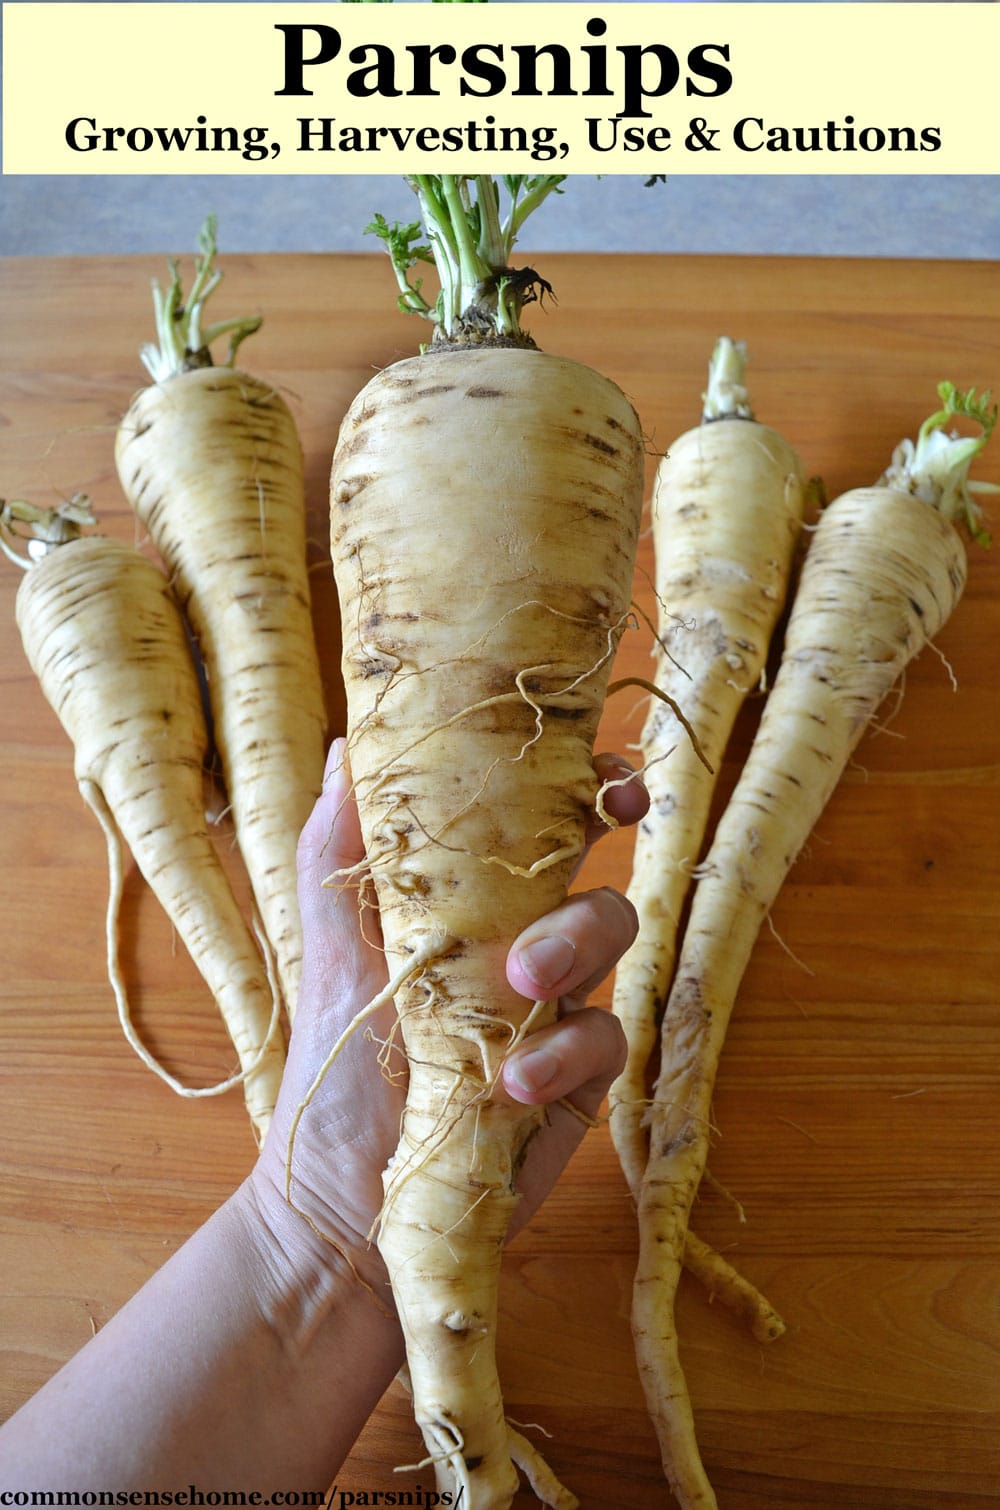
Harvest parsnips when they are 2-3 inches in diameter at the crown. Frost makes them sweeter, so there’s no need to rush.
Parsnips take around 100 days (14 weeks) to mature. In our Wisconsin garden, this is most of our growing season. Since fall harvest tends to be our busiest time of year, we cover the plants entirely with straw mulch and dig them in spring.
Would you like to save this?
What I love best about parsnips is that they are ready to harvest when very little else is available. The freeze/thaw cycle converts more of their starches to sugars and makes them absolutely delicious.
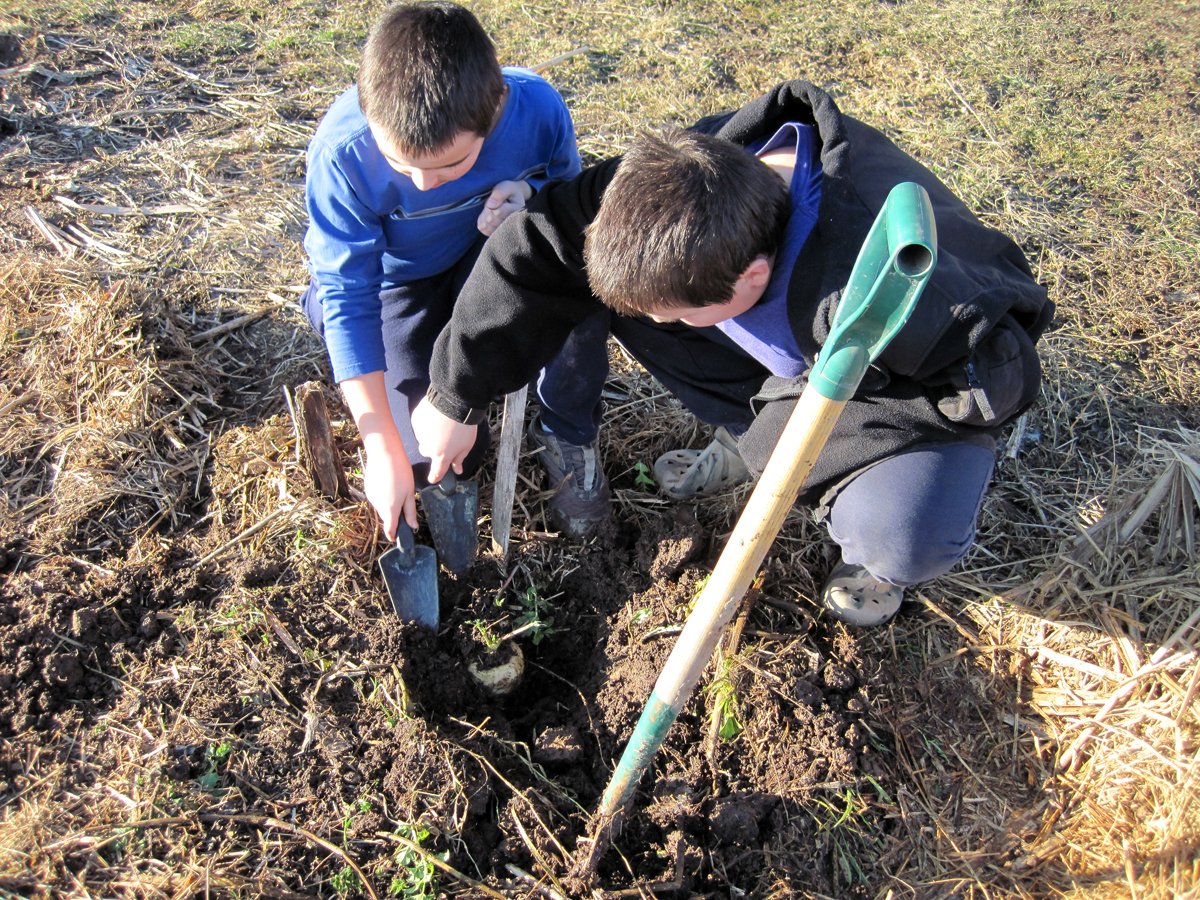
Come late March/early April, the boys and I head out to where we’ve buried the plants the previous fall. We aim to harvest as soon as the frost comes out of the ground.
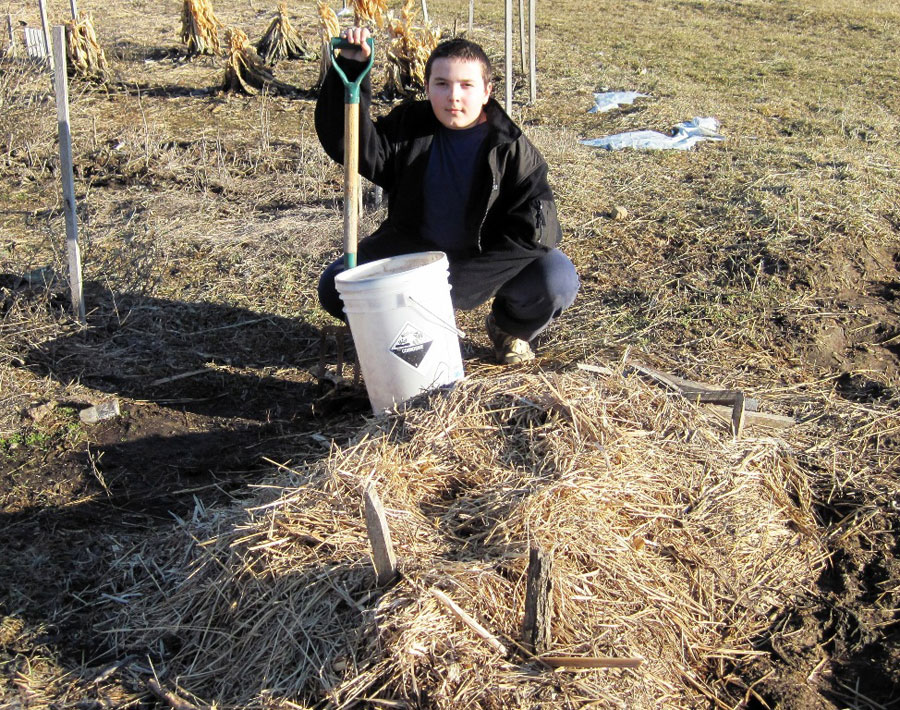
Once the straw is pulled back, you look for the first signs of greens poking out of the ground.
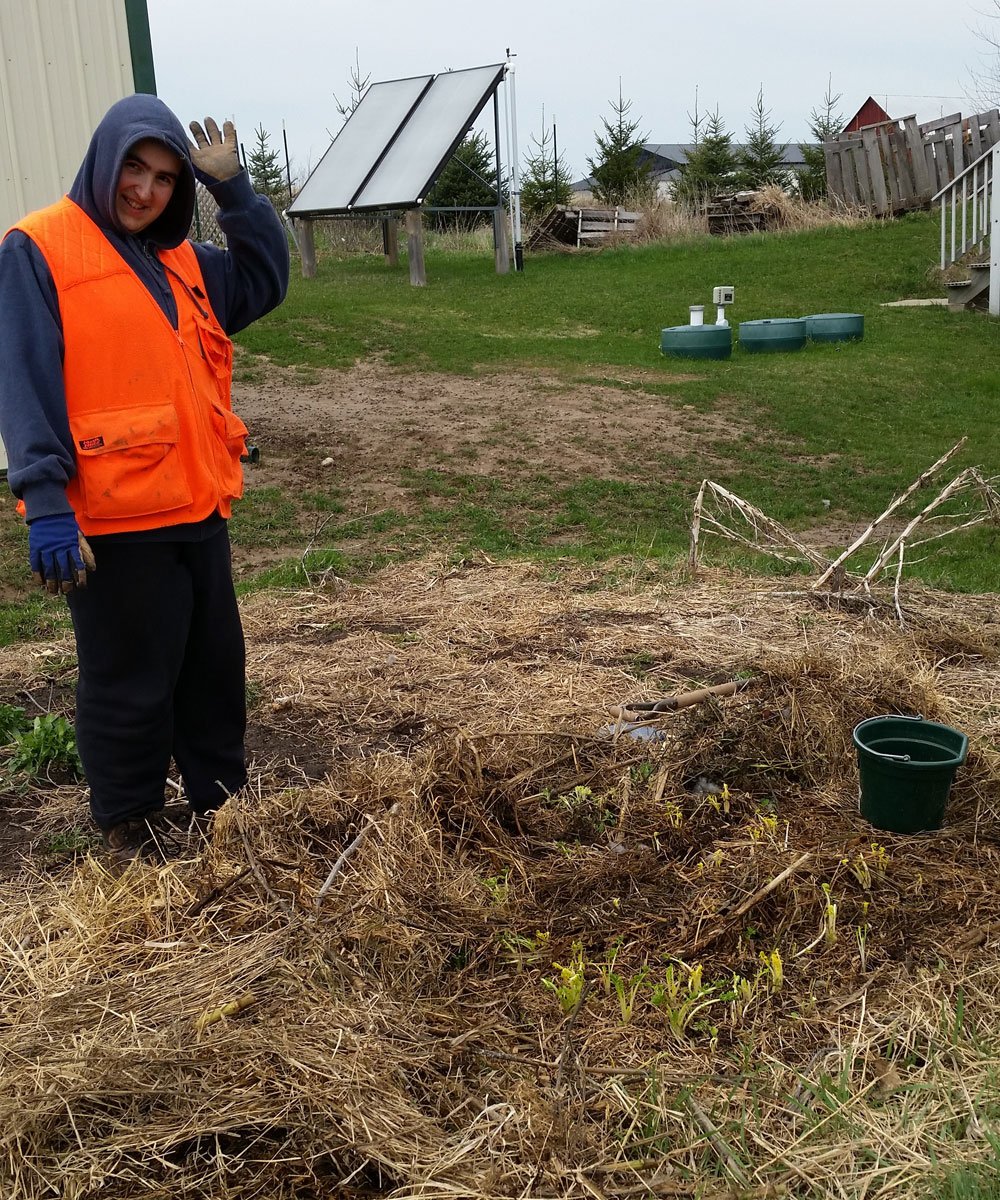
Dig the roots as soon as possible in spring, because the goal of that root is not to feed you, but to send up a flower stalk and produce seeds. As more leaves become visible, the plant uses the sugars stored in the root, and the parsnip becomes tough, woody and bland.
Parsnips can require some effort to get out of the ground, as they will send out deep tap roots. Some years we get roots as large in diameter as a mason jar and about 2 1/2 feet long. The boys used to call it digging for treasure when they were little.
Storage
Once you dig your parsnips, you can hold them in the crisper drawer in the refrigerator for several weeks, or in a root cellar packed in sawdust or leaves. Alternatively, you can cook them all up and freeze them in meal sized portions.
Parsnip Recipes
Before you eat your roots, note that large parsnips may have a woody core. It’s edible, but stringy and tough. If you cut parsnips in halves or quarters, you can see the center and remove it if needed.
To prepare parsnips, wash and peel them like you would a carrot. Cut off the top and bottom, and slice, chop or shred them into the desired size.
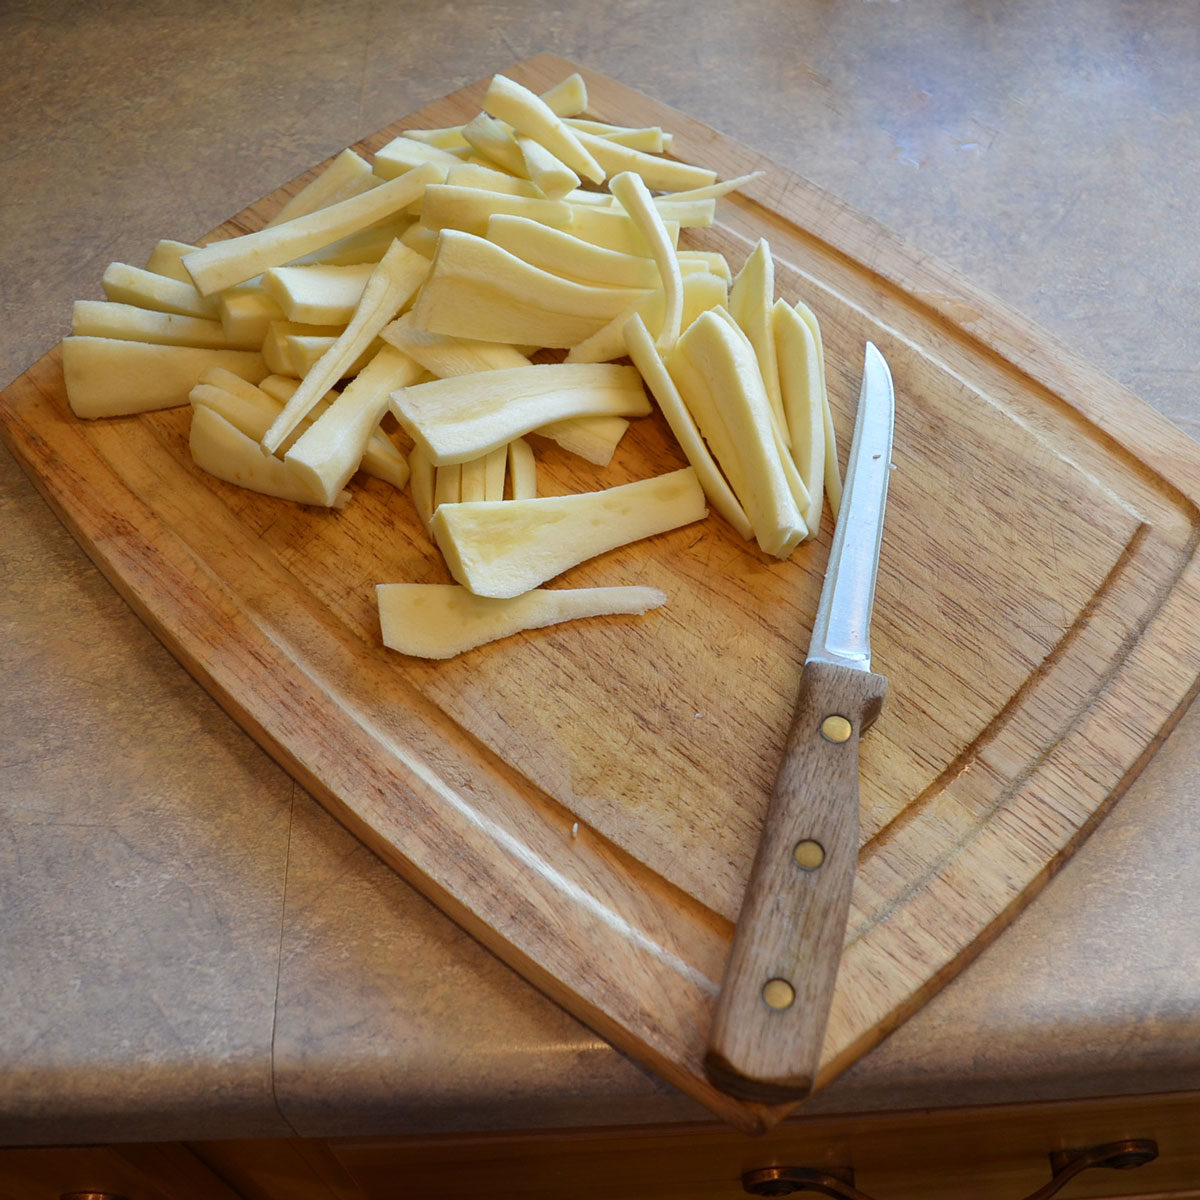
Parsnips may be eaten raw, but they tend to be chewier than carrots. Try shredding them into coleslaw, or dicing them into a Waldorf salad.
Cook parsnips by roasting, boiling, sauteing, or adding to soups. Overwintered parsnips have such a sweet flavor that we use them as a side dish rather than the main course.
Roasting roots brings out their natural sweetness. Toss them in olive oil and lemon juice, and season with salt, pepper, and any other desired herbs or spices. Roast at 400°F for 25-30 minutes, or until tender and caramelized. (Roast parsnips and carrots pair well together.)
For mashed parsnips, cook root chunks in salted water until soft, then mash them with butter, cream, and any other desired seasonings.
I usually saute our roots in some butter or coconut oil. If you want to get fancy, check out Andrea Chesman’s recipes in the Garden-Fresh Vegetable Cookbook.

This article was written by Laurie Neverman. Laurie lives with her husband, two sons, ducks, cats, and chickens on 35 acres in rural Wisconsin. Their home features three types of solar, and it Energy Star and WI Green Built certified. Their gardens feature over 100 different fruits, vegetables, herbs and flowers.
Originally posted in 2012, last updated in 2023.


I learned to love parsnips when I was getting a CSA type box when I lived in England. Wonderful stuff. Came back to the US and discovered that what we get in the grocery store here just isn’t the same – old, hard, dry, whatever, just not good. Local farmers market hasn’t had them, not so popular I have been told. So this year I am going to try to grow my own. Thank you for the information, it helps to know about the root depth thing as I grow in raised beds, obviously I need to use the ones we didn’t line.
A lot of the produce sold in grocery stores falls flat when compared to homegrown or locally grown, but the parsnips (when they’re even available) look particularly sad. I’m not surprised that they taste as bad as they look. The biggest challenge for us is moisture, at least in recent years, as we’ve had some quite dry summers. (Which is funny, because the dry summers were preceded by extremely wet years, until we put extra drainage in, at which point it dried up.) Mulching helps, but without regular rains they don’t size up as nicely unless watered.
Hi, I’m confused about when to plant parsnips. I planted mine last April and have great parsnips now, it’s October. Should I dig them up since they have been in the ground for 7 months and plant more or leave these in the ground until spring? They still have tall stalks, and I’m in the northwest so the ground doesn’t really freeze here. I have already eaten the largest, they were very tasty.
You can dig them now and eat them if you choose, or try holding them until spring. My ground freezes here, so I don’t have experience holding them over in non-freezing ground. Might be worth it to try some both ways, if you have enough to experiment.
I always cook my parsnips in butter and just salt to taste (Moms way). I also read to plant 8-10 inches deep for more root and less greenery.
Have you actually planted them that deep? I don’t see how they would ever germinate at that depth and I’ve never heard of such a thing, but I’m curious. In my experience, large roots are simply a result of plenty of room to grow and good growing conditions. Some of my largest roots have been around 2 feet long and were difficult to dig out because of their length, so I wouldn’t really want them any longer.
I was digging up the “wild” parsnips(another story) as I have phytophotodermatitis, and some of them were good size so my husband cleaned them up I cooked them up – yum. My question, there are a lot of little parsnips, have you ever planted them and had them continu to grow? I am trying that. I put them in some water until I am done digging for the day, and I have an old hot tub that I garden in so I am putting in some of the little ones between the 2 year old kale plants. We live outside Erie, PA.
I’ve tried transplanting both carrots and parsnips. When they are super tiny (only a few leaves) I’ve had pretty good results. Anything larger than that, and the roots tend to get gnarled and hairy and not be very good eating. I’ve never attempted to hold roots over in water, but I suspect it wouldn’t improve matters.
This is something I need to do mainly because they overwinter. I have the seeds but not the depth so I need to figure out where to grow these. I need something that is raised deep enough.
Maybe a trough or bin, just for growing those? Or maybe boxing out an area with strawbales and filling with dirt? The bales would provide insulation over winter.
Laurie, I love parsnips. I'm looking forward to planting them this summer. I hope I have all the timing figured out. Thanks for the great tutorial!
You should try parsnips – they are very tasty!
I believe he is an Eastern Gray Treefrog: http://dnr.wi.gov/org/caer/ce/eek/critter/amphibian/gray.htm
We don't spray and allow some vegetation for cover, so we get a fair number of amphibian and reptilian visitors, including fox snakes, northern red belly snakes, and an assortment of frogs and toads.
I have never tried parsnips.
Wow!! That frog sure blends in. It does resemble a rock. What kind of tree frog is it? I thought all tree frogs were green.
Parsnips reward patience, carrots are more durable and offer quicker satisfaction. 🙂
Oh, how I adore parsnips! I went through a phase not to long ago where I ate them at every meal. How is it that carrots get all of the glory, when parsnips are so yummy?