How to Can Peaches – Step-by-Step Guide with Video
This post may contain affiliate links. Read my full disclosure here.
Fresh peaches are one of the best summer treats — juicy, fragrant, and just sweet enough to feel like dessert without adding a thing. We usually get a case or two from local fundraisers or the Peach Truck. Some we enjoy fresh, some we preserve for later.
Water bath canning peaches locks in that fresh flavor so you can enjoy them all year long. Whether you want peach halves for baking, slices for topping oatmeal, or a quick snack straight from the jar, here’s how to do it safely and easily.
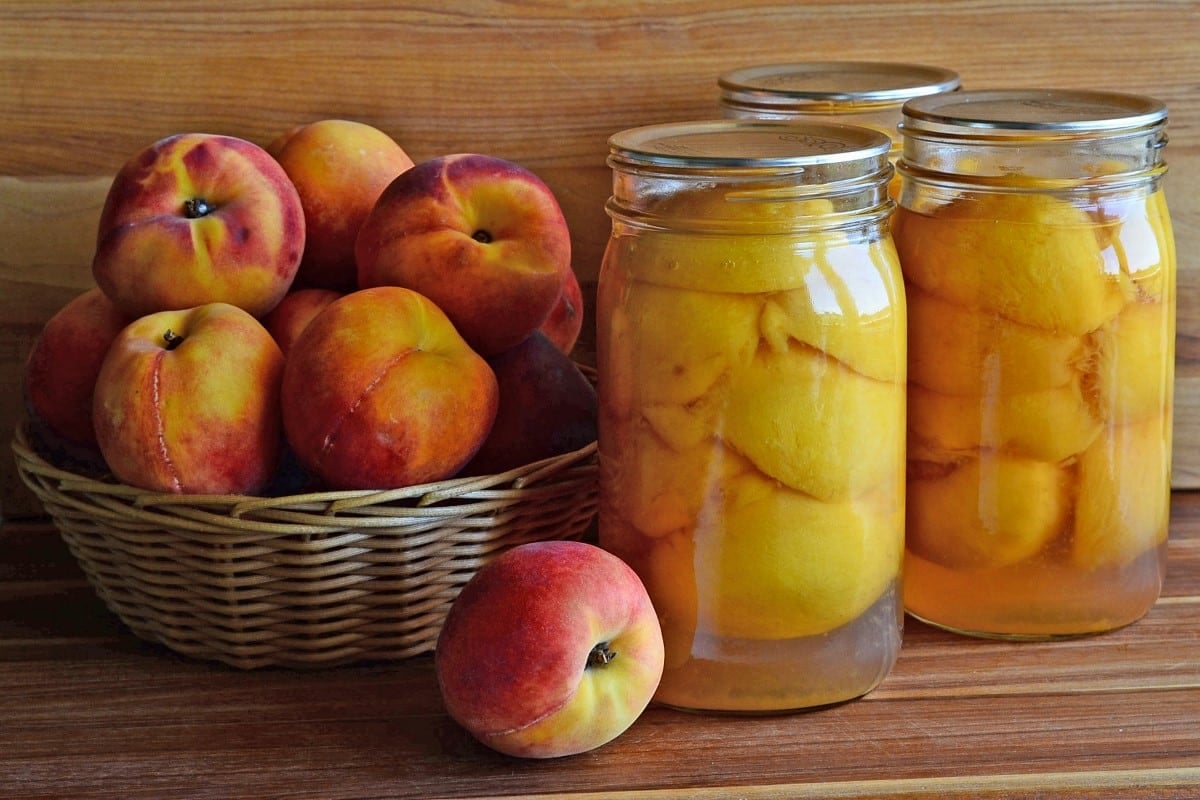
Table of Contents
Equipment You’ll Need
- Water bath canner with rack
- Pint or quart canning jars
- New canning lids and clean bands
- Jar lifter and canning funnel
- Large pot for blanching peaches
- Slotted spoon
- Large bowl (for ice water)
- Knife and cutting board
- Clean kitchen towels
Ingredients
- Fresh, ripe peaches (freestone varieties are easiest to work with).
- Water, juice, or sugar syrup for packing (see below)
- Lemon juice (for color retention and safety when using water or juice)
Optional packing liquids:
- Light syrup: 2 cups sugar + 5 cups water, heated until dissolved
- Medium syrup: 3 cups sugar + 5 cups water, heated until dissolved
- Fruit juice: White grape juice, apple juice, or peach juice
- Water: Use with added lemon juice (1 Tbsp per pint, 2 Tbsp per quart)
We used 2 batches of light syrup for seven quarts of peach halves. You use less liquid with slices or chunks, more liquid with halves.
Canning Peaches in a Water Bath Canner: Step-by-Step Tutorial
1. Select and Prepare Your Peaches
Choose firm-ripe peaches without bruises or soft spots. Overripe fruit can fall apart during canning, so use those for peach jam instead. Wash peaches well. You need about 2 pounds per quart for peach halves, or about 3 pounds for slices or chunks.
2. Peel the Peaches Quickly with Blanching
Bring a large pot of water to a boil. Drop peaches in boiling water for 30–60 seconds, then transfer immediately to ice water. Slip off the skins — they should peel easily.
3. Slice and Pit
Cut peaches in half, remove pits, and slice if desired. Keep slices in a bowl of water with a splash of lemon juice or ascorbic acid to prevent browning while you work.
4. Prepare Your Packing Liquid
Heat your syrup, juice, or water in a saucepan. Keep it hot for packing.

Filling the Jars – Raw Pack or Hot Pack
I usually use the raw pack method for canning peaches. The National Center for Home Food Preservation says it “makes poor quality peaches”, but I disagree. Raw pack peaches stay a bit firmer, and it’s easier to get the peach halves in place when they’re not piping hot. If you’re doing peach slices or chunks, hot pack is fine, and the fruit floats less.
To Raw Pack:
Pack raw peach halves (cavity side down) or slices into jars. Pour hot liquid over fruit, leaving ½ inch headspace. Remove air bubbles, wipe rims, place lids and bands (fingertip tight).
To Hot Pack:
Add prepared peach halves or slices to the hot liquid in a saucepan. Heat for 5 minutes to help drive out air from the fruit. Pack hot fruit into hot jars, cavity side down for halves.
Cover with hot liquid, leaving ½ inch headspace. Remove air bubbles, wipe rims, place lids and bands (fingertip tight).
Would you like to save this?
6. Process in Water Bath Canner
Place jars in the canner with at least 1–2 inches of hot water above the top of the jars. Bring to a rolling boil and start timing once boiling.
- For Raw Pack: Pints: 25 minutes, Quarts: 30 minutes
- For Hot Pack: Pints: 20 minutes, Quarts: 25 minutes
Adjust for altitude if needed (see FAQ or Altitude Adjustments for Canning)
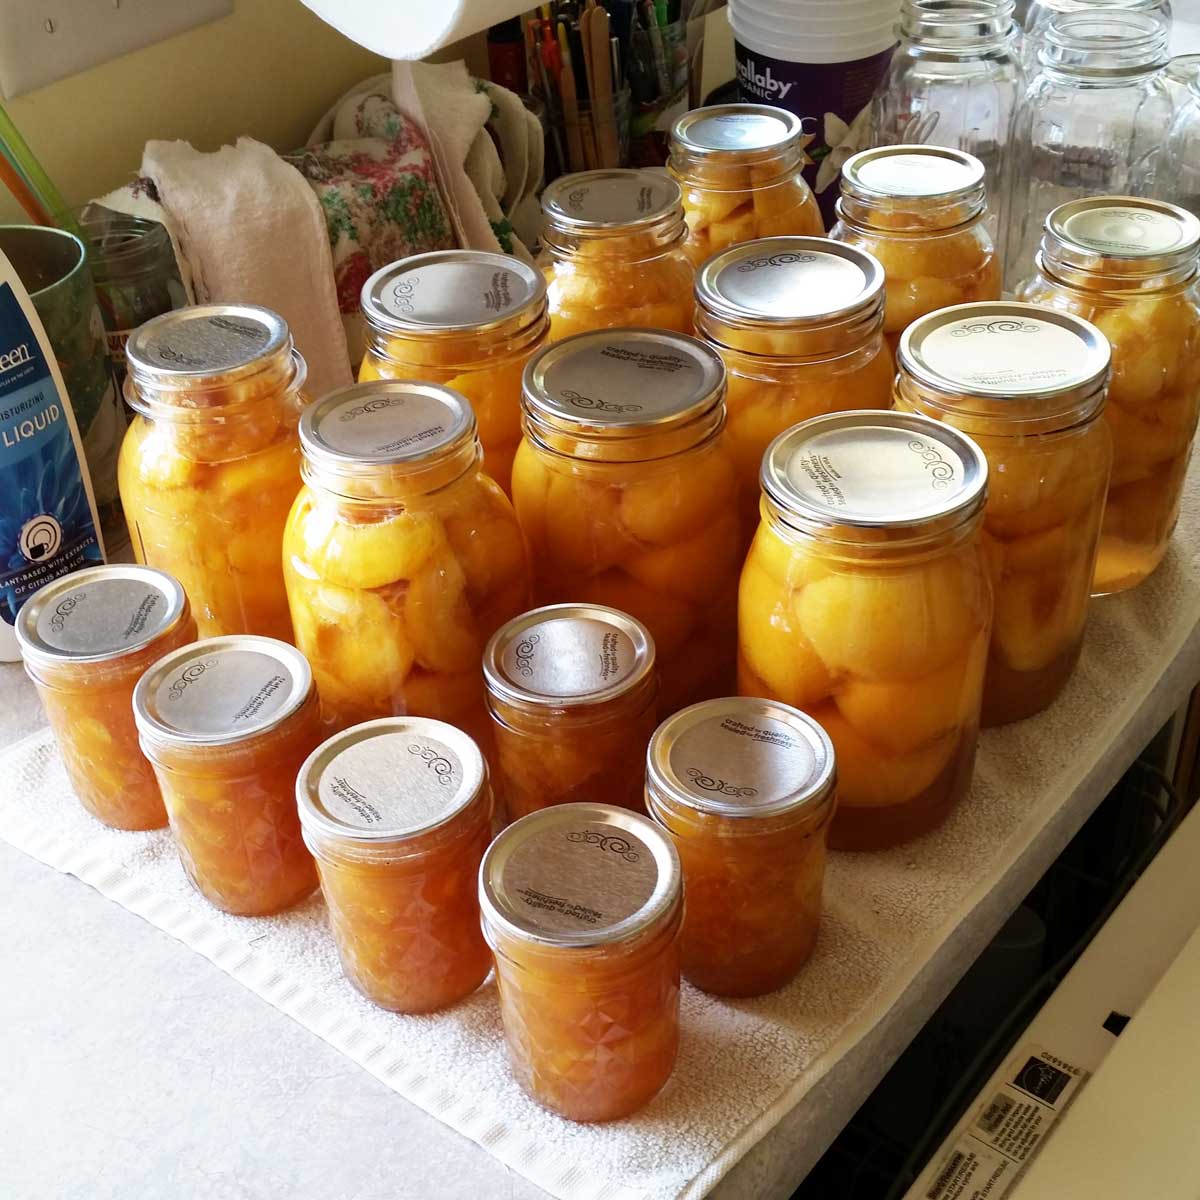
7. Cool and Store
Remove jars and place on a towel, away from drafts. Let cool 12–24 hours.
Check that the jars have sealed properly. Lids should be concave and not flex when pressed. Label and store in a cool, dark place.
Storage Tips
- Store sealed jars in a cool (50–70°F), dark location.
- Best flavor within 12–18 months, but safe as long as the seal remains intact and there are no signs of spoilage.
- Refrigerate after opening and use within 1 week.
Working with White Peaches: Safety & Recipe Adjustments
White peaches are often less acidic than yellow peaches. They sometimes have a pH above the safe threshold for water bath canning (4.6). As such, the National Center for Home Food Preservation recommends you freeze them instead of canning them.
This doesn’t make much sense to me, given that tomatoes may have the same issue and they’re fine with canning those. The modifications below are based on the tomato acidification process. Slice the peaches thinly or into chunks to help distribute the acid through the fruit.
Here’s how to adapt the recipe for white peaches:
- Always use bottled lemon juice or citric acid in each jar. This ensures consistent acidity regardless of the fruit’s natural pH.
- Pints: Add 1 tablespoon bottled lemon juice or ¼ teaspoon citric acid to each jar before filling.
- Quarts: Add 2 tablespoons bottled lemon juice or ½ teaspoon citric acid to each jar before filling.
- Don’t reduce the acid. Even if your peaches taste tart, you can’t rely on flavor to measure pH — always stick to tested amounts.
- Label your jars as “white peaches — acidified” so you remember the adjustment.
If you’re not a fan of the added lemon flavor, try using citric acid instead. It’s flavor-neutral and still provides the necessary acidity.
Ways to Use Home-Canned Peaches
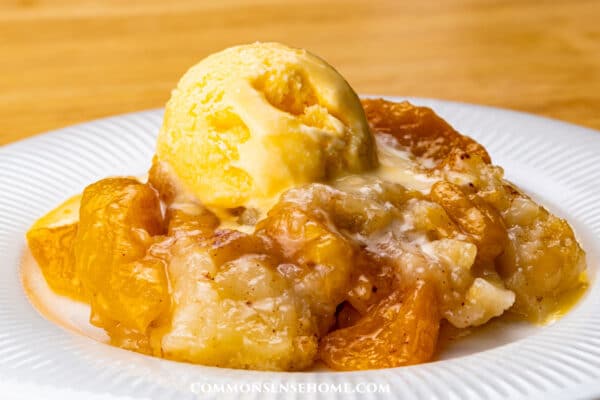
The most popular recipe on our site is peach cobbler made with canned peaches. It’s easy and delicious. You can also use your stashed goodness:
- In crisps and pies
- Blended into smoothies
- Chopped into salsa or chutney
- Served chilled as a simple dessert
- Over oatmeal, yogurt, or pancakes
Home Canned Peaches
Instructions for canning peaches in a water bath canner using hot pack or raw pack methods.
- Prep Time: 20 minutes
- Cook Time: 30 minutes
- Total Time: 50 minutes
- Yield: 7 quarts 1x
Ingredients
- Fresh, ripe peaches (freestone varieties are easiest to work with). You need about 2 pounds per quart for peach halves, or about 3 pounds for slices or chunks.
- Water, juice, or sugar syrup for packing
Instructions
1. Choose firm-ripe peaches without bruises or soft spots. Wash peaches well.
2. Bring a large pot of water to a boil. Drop peaches in boiling water for 30–60 seconds, then transfer immediately to ice water. Slip off the skins — they should peel easily.
3. Cut peaches in half, remove pits, and slice if desired. Keep slices in a bowl of water with a splash of lemon juice or ascorbic acid to prevent browning while you work.
4. Heat your syrup, juice, or water in a saucepan. Keep it hot for packing.
Filling the Jars – Raw Pack or Hot Pack
To Raw Pack: Pack raw peach halves (cavity side down) or slices into jars. Pour hot liquid over fruit, leaving ½ inch headspace. Remove air bubbles, wipe rims, place lids and bands (fingertip tight).
To Hot Pack: Add prepared peach halves or slices to the hot liquid in a saucepan. Heat for 5 minutes to help drive out air from the fruit. Pack hot fruit into hot jars, cavity side down for halves. Cover with hot liquid, leaving ½ inch headspace. Remove air bubbles, wipe rims, place lids and bands (fingertip tight).
6. Place jars in the canner with at least 1–2 inches of hot water above the top of the jars. Bring to a rolling boil and start timing once boiling.
- For Raw Pack: Pints: 25 minutes, Quarts: 30 minutes
- For Hot Pack: Pints: 20 minutes, Quarts: 25 minutes
- Adjust for altitude if needed.
7. Remove jars and place on a towel, away from drafts. Let cool 12–24 hours. Check that the jars have sealed properly. Lids should be concave and not flex when pressed. Label and store in a cool, dark place.
Notes
Packing liquid options:
- Light syrup: 2 cups sugar + 5 cups water, heated until dissolved
- Medium syrup: 3 cups sugar + 5 cups water, heated until dissolved
- Fruit juice: White grape juice, apple juice, or peach juice
- Water: Use with added lemon juice (1 Tbsp per pint, 2 Tbsp per quart)
We used 2 batches of light syrup for seven quarts of peach halves.
Altitude adjustments – Add extra processing time:
- 1,001–3,000 ft: +5 minutes
- 3,001–6,000 ft: +10 minutes
- Above 6,000 ft: +15 minutes
FAQ
Yes, for safe canning and better texture. The skins can be tough and may harbor bacteria. They also have more exposure to any sprays used on the fruit.
You can, but they’re harder to pit. Freestone varieties save time.
No — sugar is for flavor and texture, not safety. You can use juice or water instead, but the fruit may brown sooner without sugar.
Add extra processing time:
1,001–3,000 ft: +5 minutes
3,001–6,000 ft: +10 minutes
Above 6,000 ft: +15 minutes
Refrigerate and use within a week, or reprocess within 24 hours with a new lid.
Absolutely — cinnamon sticks, cloves, or a vanilla bean in the jar can add a nice twist.
Final Tips for Success
Prep your jars, canner, and canning liquid before the fruit. Once you start peeling, you want to work as quickly as possible so the fruit doesn’t brown before packing. Ask a friend to help, or draft the kids – many hands make light work.
Keep everything hot and maintain a gentle boil to reduce siphoning (liquid leaking out of the jars). Don’t turn the heat up to eleven and boil the beejeezus out of the fruit. Let the jars rest a few minutes in the canner once the heat is off before moving them to the counter. This helps reduce siphoning, too.
With just an afternoon’s work, you can fill your pantry shelves with the taste of summer. You’ll thank yourself on those cold winter mornings when you open a jar of golden peaches and breathe in that sunshine.

This article is written by Laurie Neverman. Laurie grew up in the kitchen, learning baking and home cooking from her momma. At age 15, she and her mom and two sisters created Irene’s Custom Cakes & Catering. This was her summer job through most of high school and college.
Thank you so much for all your wonderful seasonal recipes. Your recipes are easy and healthful. I always look forward to your e-mails. God bless you.
Thank you for your kindness. I’m glad that you enjoy them.