How to Boil an Egg – Simple Tips for Perfect Results
This post may contain affiliate links. Read my full disclosure here.
Boiling an egg sounds simple, but it can be tricky get the right cook and getting the shells off easily. Knowing how to boil an egg the right way makes all the difference. In this guide, we’ll walk through the steps to achieve a perfect boiled egg.
Since I’ve boiled hundreds of eggs (when we had a catering business), I may qualify as an egg boiling expert. We made all our potato salad from scratch with freshly cooked eggs and potatoes.
Now we hard boil eggs from chickens and ducks on our homestead. The procedure is the same, but duck eggs take a bit longer to cook.
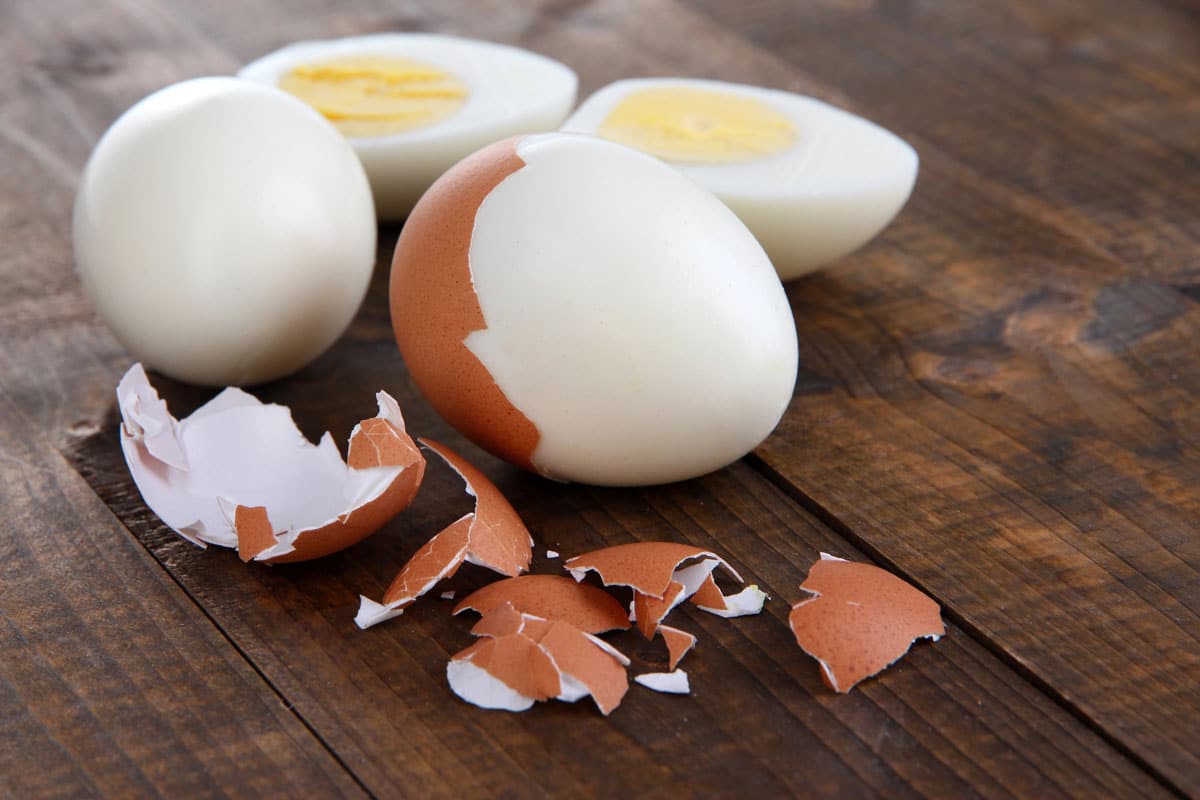
Table of contents
How to Boil an Egg
Hard boiled eggs, or hard cooked eggs, are cooked until the yolk is firm. Ideally, the yolk should be a uniform bright yellow in color. Dark yellow yolk centers mean the egg is a bit undercooked. Green yolk exteriors and a ping pong ball like texture mean the egg has been overcooked.
It’s best to cook eggs of uniform size if possible, so they are done at the same time. If I have a few large eggs mixed in (common with ungraded eggs), I time cooking for the smaller eggs. I prefer that over overcooking the smaller eggs to get the large ones more done.
Step 1: Choose the Right Eggs
If possible, use older eggs for hard-boiled results that are easier to peel. Ultra-fresh eggs are great for poaching or soft boiling, but eggs that are at least 5–10 days old tend to peel most cleanly after boiling. If you’re using store eggs, they’re old enough.
Why is this important? Inside the egg are two membranes, just under the shell, an inner and an outer membrane. Between them is an air pocket.
As the egg ages, this air pocket gets bigger (the egg loses water, since the shell is permeable, and draws in air). This enlarged air pocket makes peeling the egg easier. The membrane adheres less strongly to the egg as well.
For very fresh eggs, opt for soft boiling, or hard cook them in an Instant Pot.
Step 2: Start with Cold Water
Place your eggs in a single layer in a saucepan and cover them with cold water. The water should sit about 1 inch above the eggs. Starting with cold water and gradually heating the eggs helps prevent cracking and promotes even cooking.
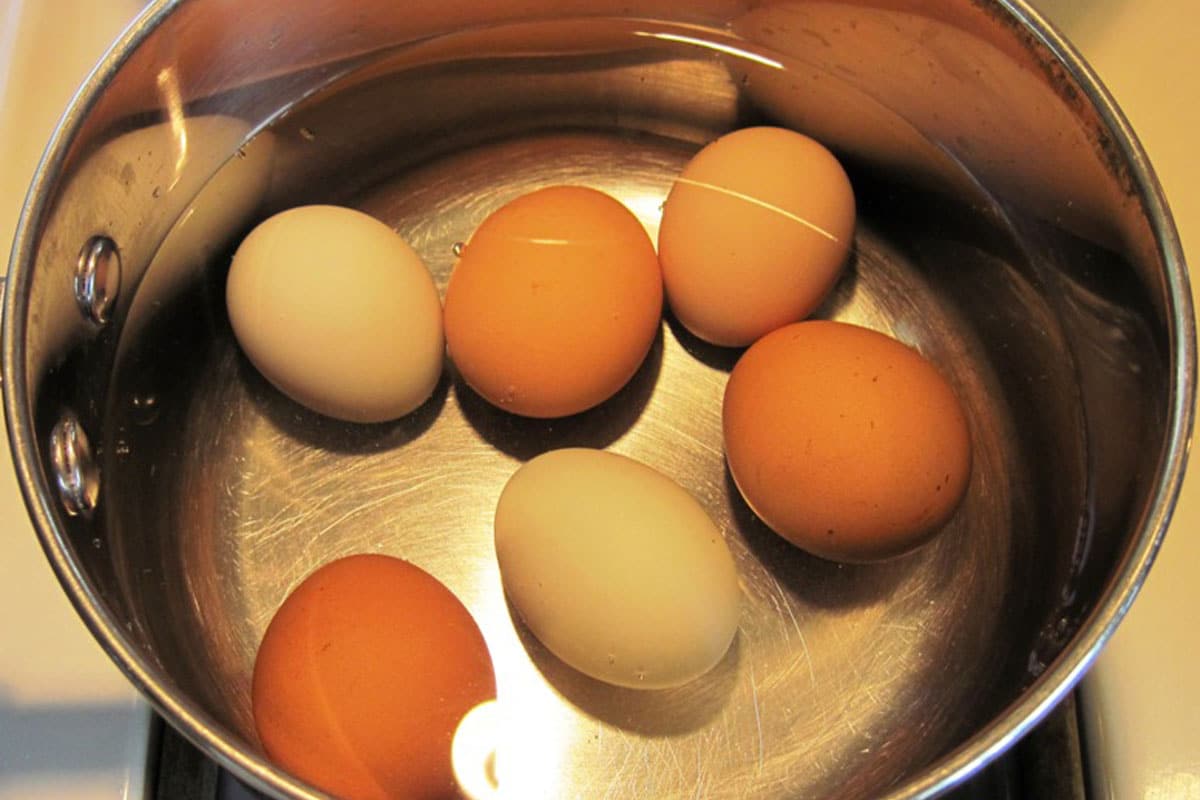
Step 3: Heat to Boiling Water
Put the pan on the stove over medium-high heat and bring the water to a rolling boil stage. You’ll know you’ve reached a boil when large bubbles constantly break the surface.
At this point, reduce the heat slightly so the water maintains a gentle, steady boil. This minimizes egg cracking and ensures gentle, even cooking.
Step 4: Time It for Your Desired Doneness
Now that you’re at boiling water, it’s time to decide how you like your eggs. Timing is crucial — this is where most people ask “how long to boil an egg for my preferred texture?”
Here’s a simple guide once the water boils:
- Soft-boiled (runny center): 4–6 minutes
- Jammy (custard-like center): 6–8 minutes
- Hard-boiled (fully set yolk): 9–12 minutes
Set a timer and keep an eye on the clock — once your eggs reach the desired time, you’ll move to the next step. If you live at a high elevation, it can take slightly longer for eggs to cook through because water boils at a lower temperature.
The cooking times in this guide are based on refrigerated eggs, which is how eggs are typically stored in the United States. If you’re using room temperature eggs, reduce the cooking time by about 30–60 seconds. Larger or smaller eggs may need a bit more or less time, respectively.
Hard Boiled Duck Eggs
Duck eggs generally need 2–3 minutes longer than large chicken eggs because they are larger with thicker shells. This slows down heat transfer to the center of the egg.
For refrigerated duck eggs, started in cold water, then timed once the water reaches a steady boil.
Would you like to save this?
Once the water reaches boiling: 12–14 minutes for fully set whites and yolks.
Step 5: Immediate Ice Bath
As soon as your timer goes off, use a slotted spoon to transfer the eggs to a bowl of ice water. This dramatic temperature change stops the cooking process immediately and makes peeling easier.
Let the eggs sit in the ice water for at least 5 minutes. If you don’t have ice, very cold water straight from the tap will work — but a genuine ice bath yields the best results.
You can store unpeeled hard boiled eggs in the refrigerator for up to a week.
Step 6: Peel and Enjoy
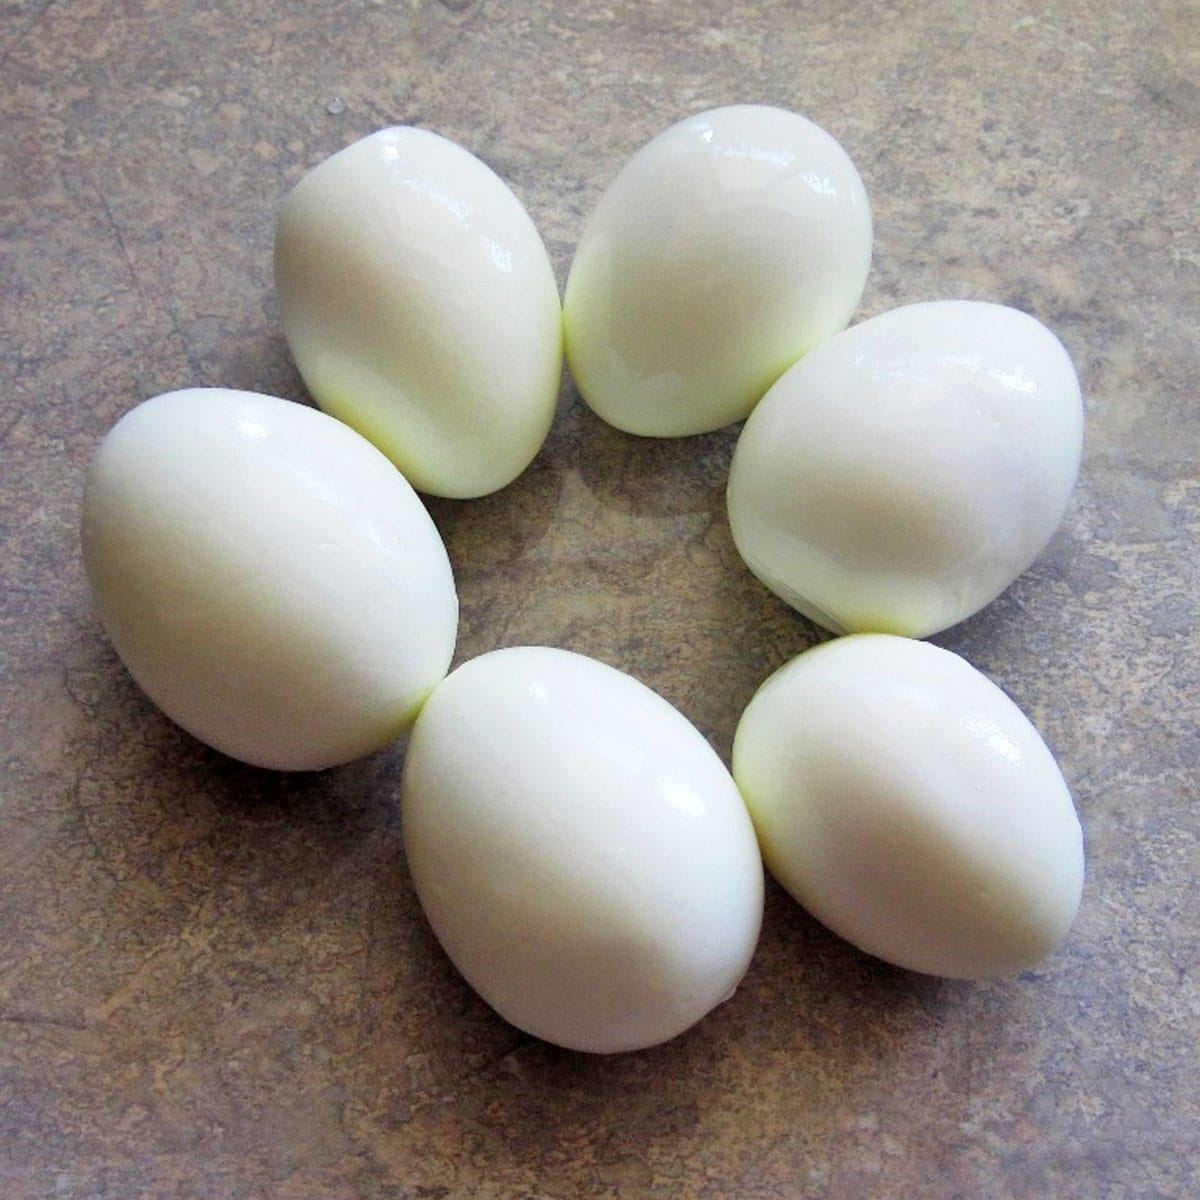
Once cooled, gently tap each egg on the counter and roll it to crack the shell all over. Starting at the wider end (where the air pocket is), peel off the shell under cold running water if needed. You should now have beautifully cooked eggs with intact whites and yolks.
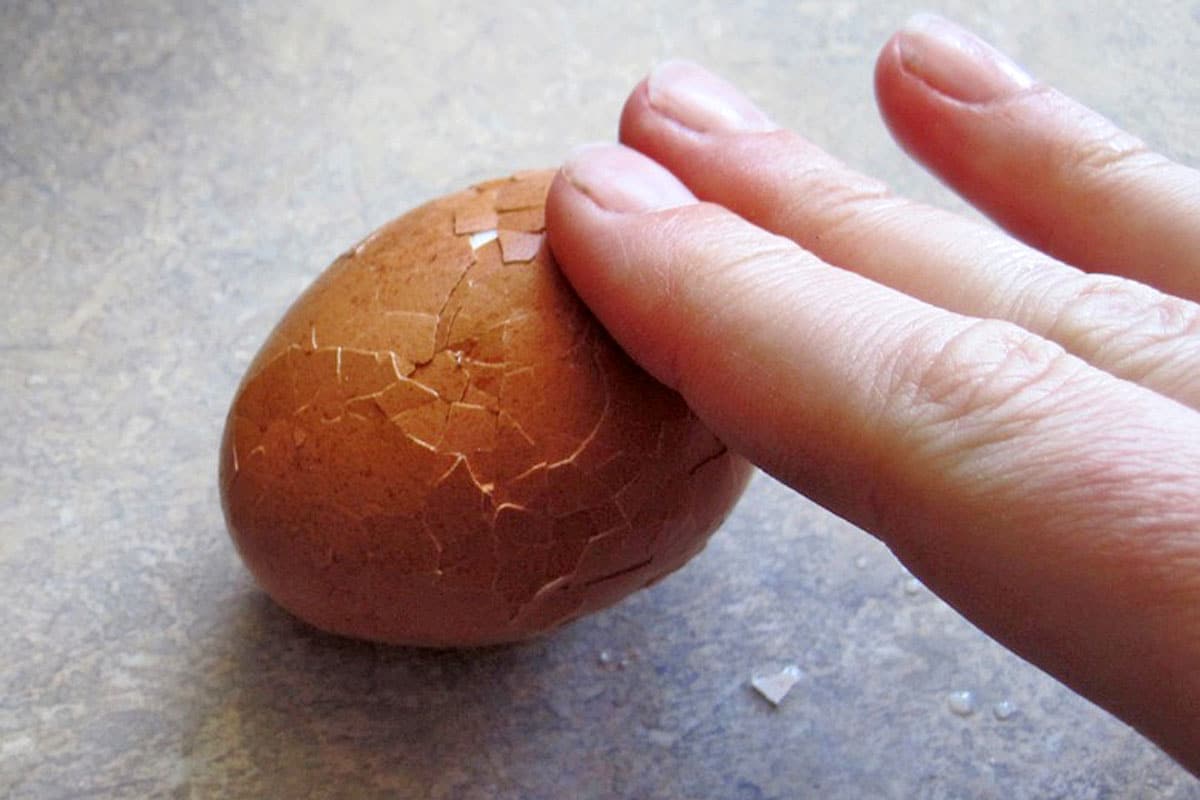
It’s best to work quickly, because the cooler the egg gets, the more the membrane will want to stick to the egg white. The shell should come off fairly easily, often in large strips (see below).
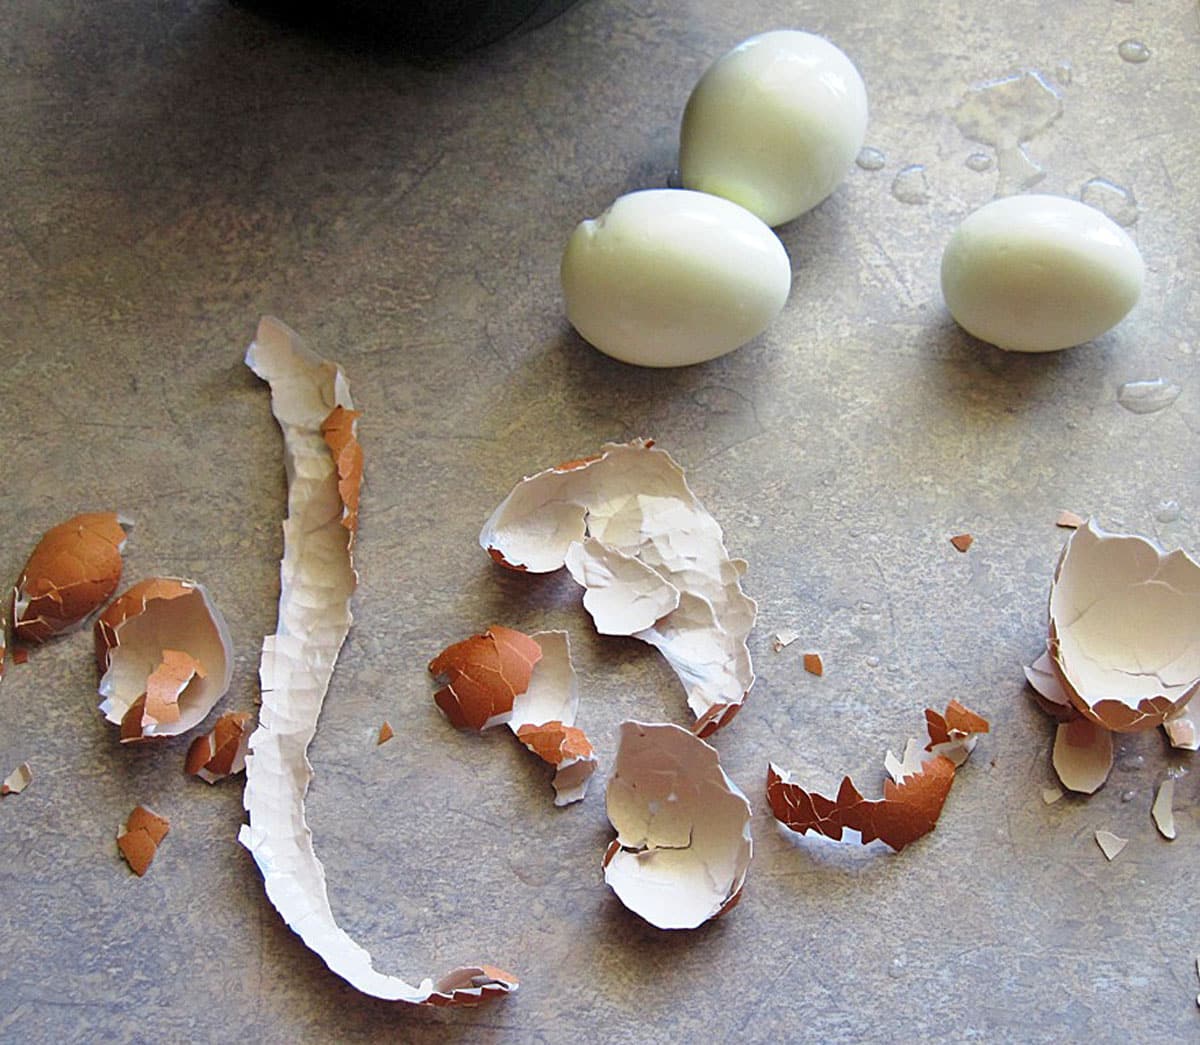
Ta-da! Neat and tidy boiled eggs.
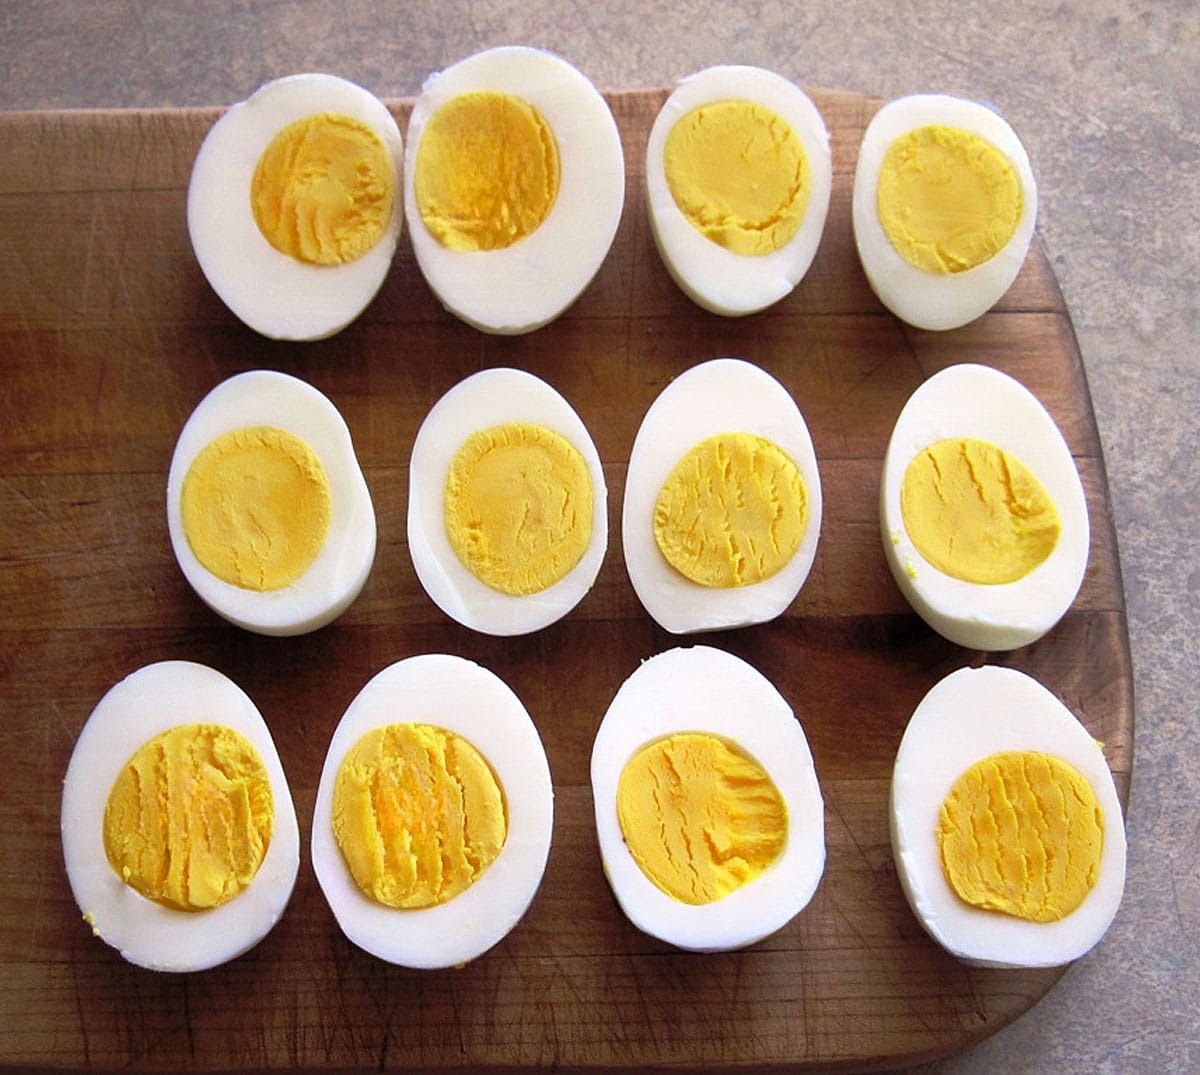
These eggs were cooked for eight minutes starting from the fridge in room temperature water. The largest ones are probably extra large or jumbo. Use a sharp knife or an egg slicer for easier cutting.
If you’re feeling a little adventurous, check out this video about how to peel an egg – without peeling an egg. I haven’t tried it yet, but it looks pretty cool. Language warning: the guy in the video notes that peeling eggs can be a pain in the *ss.
I mashed these up to make a simple egg salad with the addition of some mayonnaise and a little paprika and pepper. You can also add pickle relish or finely chopped celery. We eat this with sourdough bread or crackers, or sometimes veggie chips.
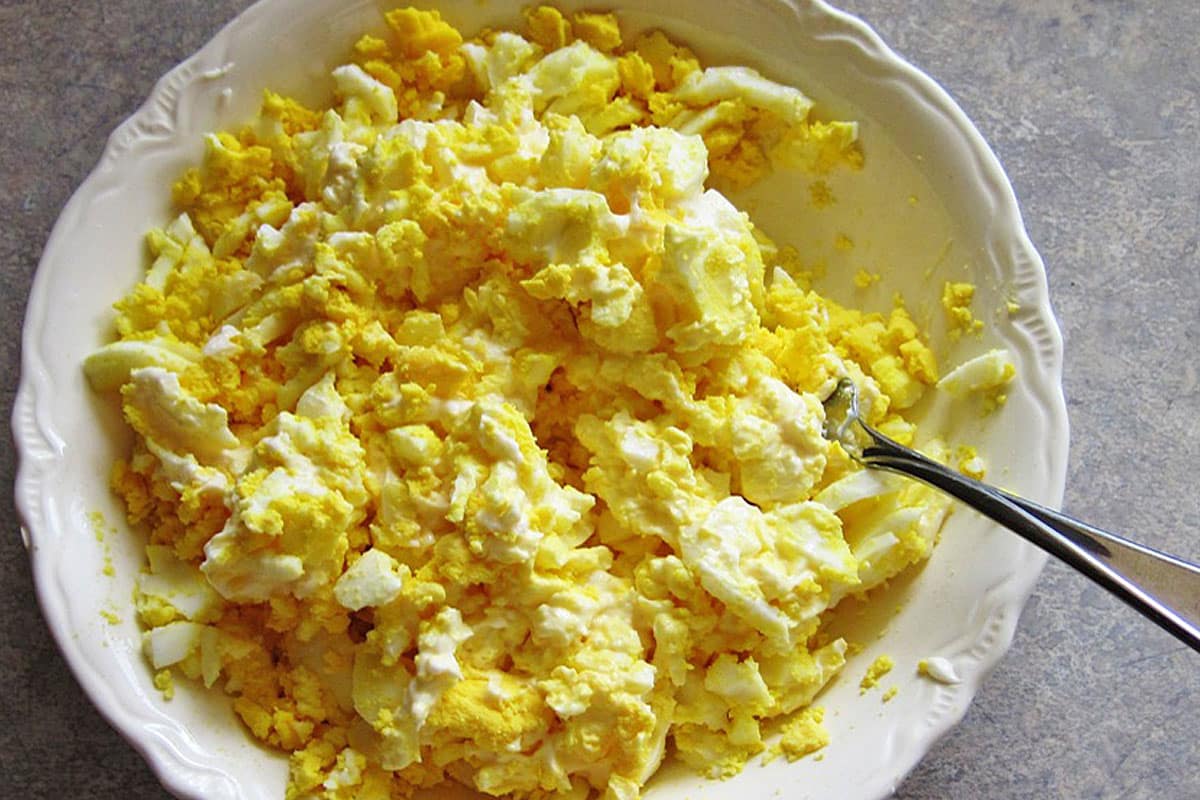
I love the deep yellow color of the farm eggs versus how pale store eggs usually are. Of course, good eggs are pretty darn tasty just on their own with a sprinkle of sea salt and pepper. We also use them to make our favorite deviled egg recipes.


Common Mistakes and How to Avoid Them
Cracked shells: This often happens when eggs go directly into boiling water. Starting in cold water and bringing them up together helps prevent cracks.
Greenish yolks: Overcooking is usually the culprit. Once the cooking time you’re targeting finishes, immediately transfer to ice water to stop the cooking process.
Rubbery whites: If your egg whites are tough or rubbery, you may be boiling too long or at too high a heat. Aim for a gentle boil rather than an aggressive one.
Knowing how to boil an egg perfectly is one of those kitchen basics that serves you well every time you use it. The eggs make good salad toppings, high protein snacks, or quick breakfast plates. Boiled eggs are a summer favorite in our house when eggs are abundant, because they cook so quickly and easily.

This article is written by Laurie Neverman. Laurie grew up in the kitchen, learning baking and home cooking from her momma. At age 15, she and her mom and two sisters created Irene’s Custom Cakes & Catering. This was her summer job through most of high school and college.
Originally published in 2011, last updated in 2026.
Whats your take on adding a teaspoon of baking powder to the water to change the consistency? Hence making them easier to peel. Also adding a teaspoon of table salt to the water to help seal up any cracks that may occur when boiling the eggs?
I’ve seen baking soda recommended, but not baking powder. It’s supposed to help keep the albumen separate from the shell. Someone also recommended storing the boiled eggs in water in the fridge. I could see how this would work, because the water would move through the shell, keeping the albumen wet instead of dry and tacky.
Jill – thanks for letting me know about my mistakes. Fixing it right now.
Thanks! Been looking for ways to enjoy boiled FRESH from the hens eggs….which are hands down delicious but not so pretty. I also have so many this time of year I try to make excess into pickled eggs but the fresh eggs look terrible in the jars. I did find an egg pickling trick to poke the end of eggs with darning needles to inject pickle juice into the whole egg.
Well I’m off to test peeling the fresh boiled eggs….
I hope it works. 🙂
Thank you for linking to me! Just a two minor corrections, though—my blog is Paths of Wrighteousness with a “w” and I simmer for 16 minutes for large-size eggs (not 15). Thanks! I so enjoy your blog. 🙂 ~Jill
Thanks for this post! I have recently heard of steaming the eggs in a veggie steamer, instead of boiling. It seems to work pretty well, even with my farm fresh-right from the hen-eggs. Just another way to get the same results, using less water!
That’s interesting. I’ve never heard of it, but it makes sense. How long do you steam the eggs?
If you have thin shelled eggs and are concerned about cracking, you can allow them to warm up to room temp before boiling (they will cook a little faster, too). These eggs have thick shells and I was in a hurry, plus I didn't need to have them cosmetically perfect, as for deviled eggs, so I just placed them in the water cold.
Older eggs will peel easily regardless of how soon they are peeled, so if you want to keep boiled eggs around and peel them later, go for eggs that are at least two weeks old, or even up to a month or more. Store eggs are generally this age by the time you purchase them.
Nice post. I've read a lot of egg boiling posts myself as I was working on figuring it out and will post on it as well. I have a question, however…you mentioned using the eggs @ room temp prevents cracking, but then you say that you use them right out of the fridge….can you clarify?
Also, do eggs last a shorter period of time hard boiled once out of their shell? I have seen preboiled peeled eggs in the store, but not hard boiled in the shell. Of course, if you want them to travel well you want them in the shell, but then if what you are saying is true about wanting to peel them right away, then they won't travel as easily. Hmmmmm…
Thank you for your kind words. Glad you're enjoying the blog. I just made up a big batch of egg salad for lunch again today. 🙂
It took me a LONG TIME to learn this! Beautiful Blog! Awesome advice!
I've never tried it, but as long as your eggs are clean (I'd be reluctant to use factory farm eggs), I don't see why it wouldn't work. My water is pretty hard here, so I had been adding eggshells to my brew but am planning to stop adding them, as I had been getting too much calcium in my kefir. (Will explain this in an upcoming post soon.)
I was wondering if I can use the water I boil my eggs in for my water kefir. I boil the water I use in my kefir anyway and I figured it'd be great if I could do both at the same time. I heard of putting shells in the water so I was thinking this might be a possibility. Any thoughts?
It's basically sloppy Joe's. 🙂 I did a post on it a while back: https://commonsensehome.com/sloppy-joes-with-homemade-buns/
Thanks for stopping by.
Excellent instructions! Every college student should read this post :).
Thanks for visiting my blog – and for the recipe recommendation. I don't believe I've made that one.