Pepitas vs Pumpkin Seeds + Benefits & Recipes
This post may contain affiliate links. Read my full disclosure here.
What’s the difference between pepitas and pumpkin seeds from your jack o’ lantern? There’s not some mysterious machine removing the tough white shells from pumpkin seeds. Instead, pepitas come from special squash known as “oilseed pumpkins”. In this article, we’ll tell you a little more about these tasty morsels and how to use them.
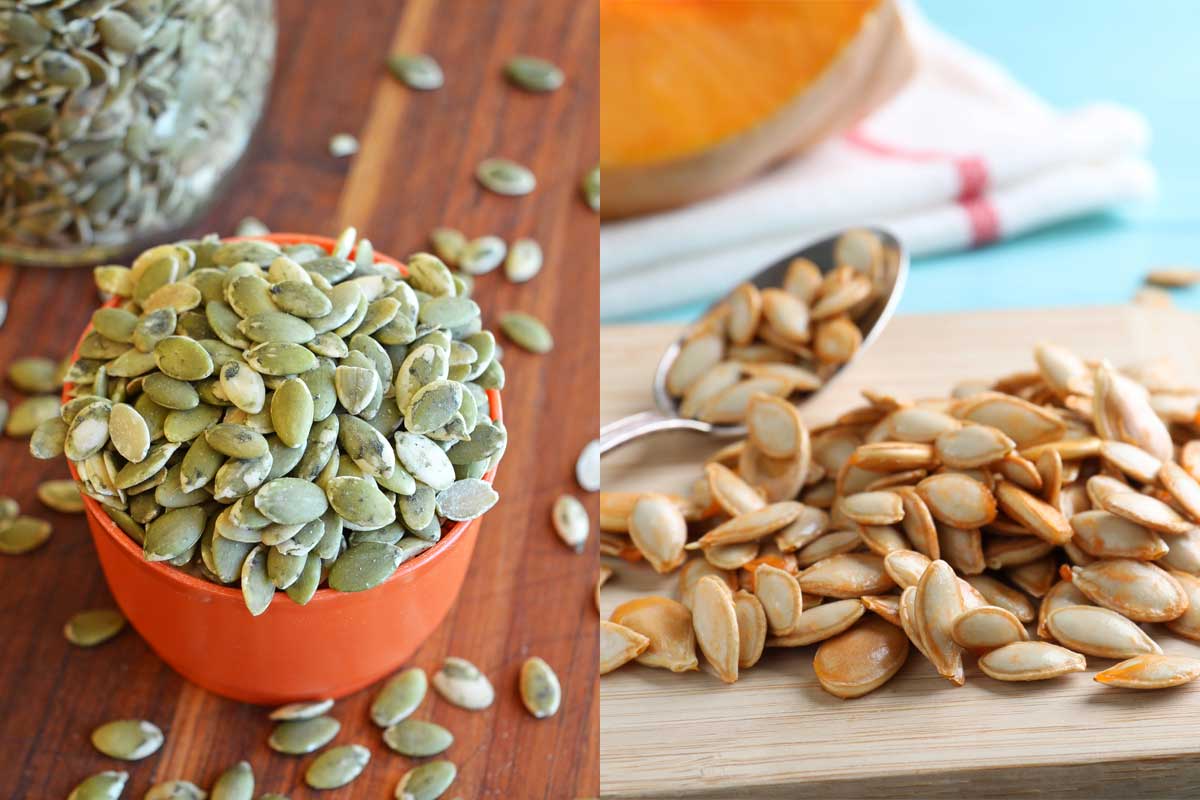
What’s a pepita? (Hull less Pumpkin Seed)
Pepitas means “little seeds” in Spanish. These hulless pumpkin seeds come from a specific type of winter squash known as oil seed pumpkins or Styrian pumpkins.
Instead of the hard white shell of other winter squash seeds, these seeds have a very delicate skin that comes off easily. They are flat, oval-shaped green seeds with a point at one end.
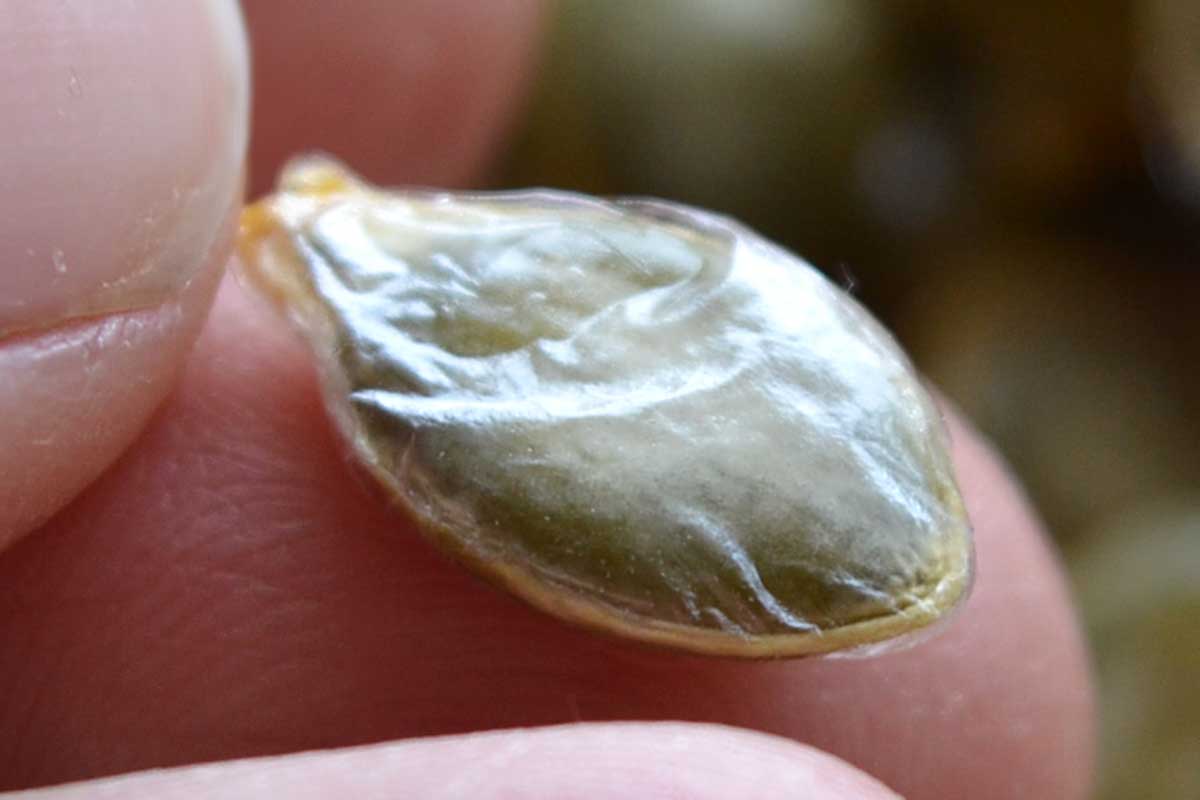
All pepitas are pumpkin seeds, but not all pumpkin seeds are pepitas.
Pepita Benefits
Pepitas are loaded with nutrition. Just 1/4 cup (32.25 grams) provides significant amounts of manganese, tryptophan, magnesium, phosphorus, copper, protein, zinc and iron.
How do I use pepitas?
I enjoy pepitas as low carb salad topper or snack, but you can use them like you would use other seeds or nuts. Try them in granola bars or trail mixes, in muffins or cookies, or savory dishes. Pumpkin seeds are normally roasted and eaten as a snack.
You can get quite a few fruits from a hill of pumpkins, but each pumpkin yields less than a cup of seeds, which is why hull less pumpkin seeds are so pricey in the store.
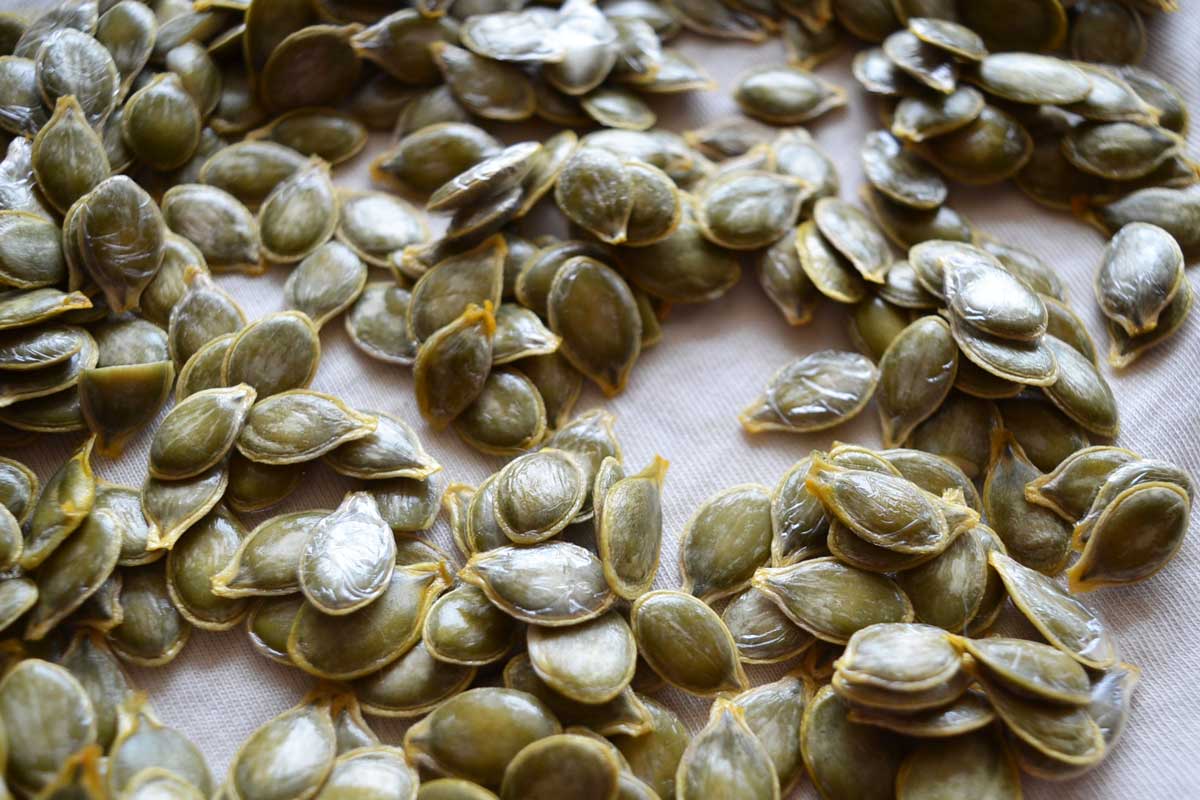
Raw Pepitas are Best
Pepitas are one of the best sources of plant based Omega-3 fatty acids, but to preserve those healthy fats, they should be eaten raw. (If you choose to roast, you’ll still get the other nutrients.)
To make pepitas easier to digest, soak or sprout them to reduce phytic acid. You can use this preparation with home grown or purchased raw pepitas.
Would you like to save this?
When buying hull less pumpkin seeds, make sure they smell fresh, not musty. As the seeds get older, the oils in them can go rancid.
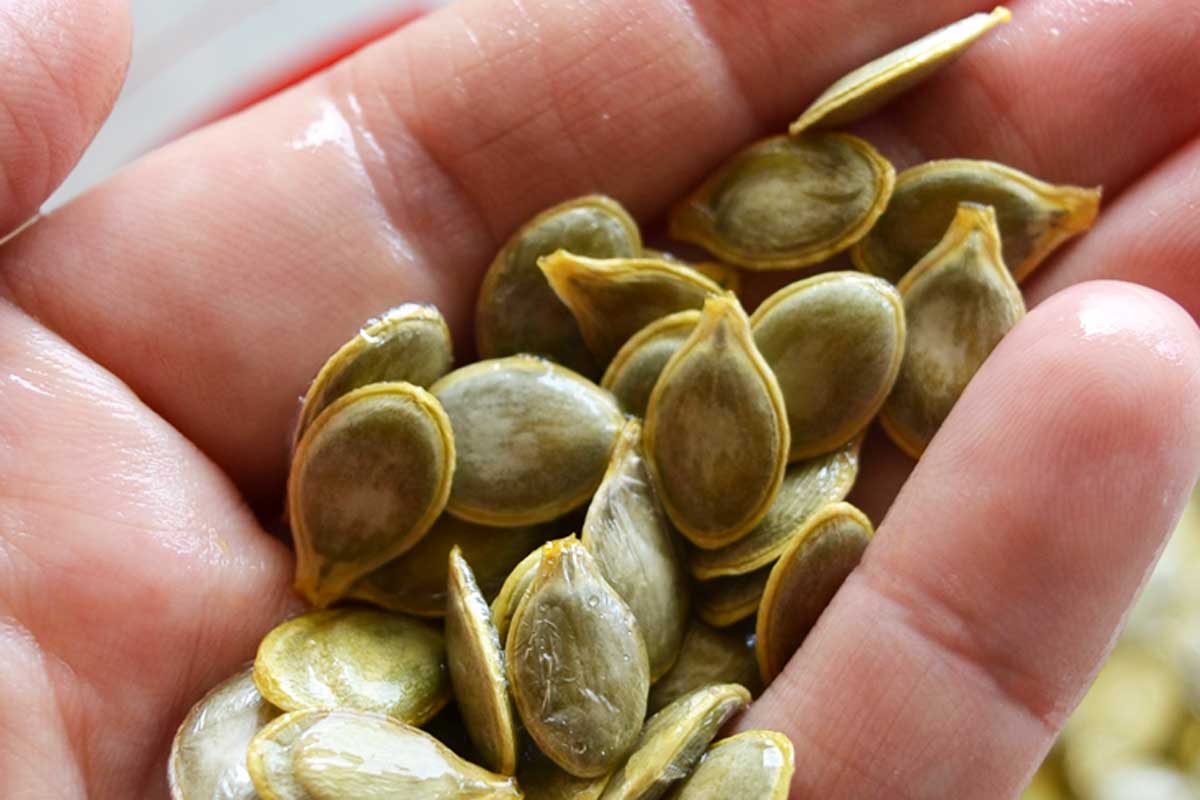
To Soak Your Pepitas
If harvesting from a fresh pumpkin, scoop out seeds and rinse off the pumpkin goobers.
Place your raw seeds in a medium bowl with enough water to cover. Add 2 tablespoons salt. If you’d like a little heat, you can also add a teaspoon of cayenne pepper.
Cover bowl with dish cloth and leave in a warm location to soak for at least 7 hours or overnight. Drain in a colander.
Dehydrated Pepitas
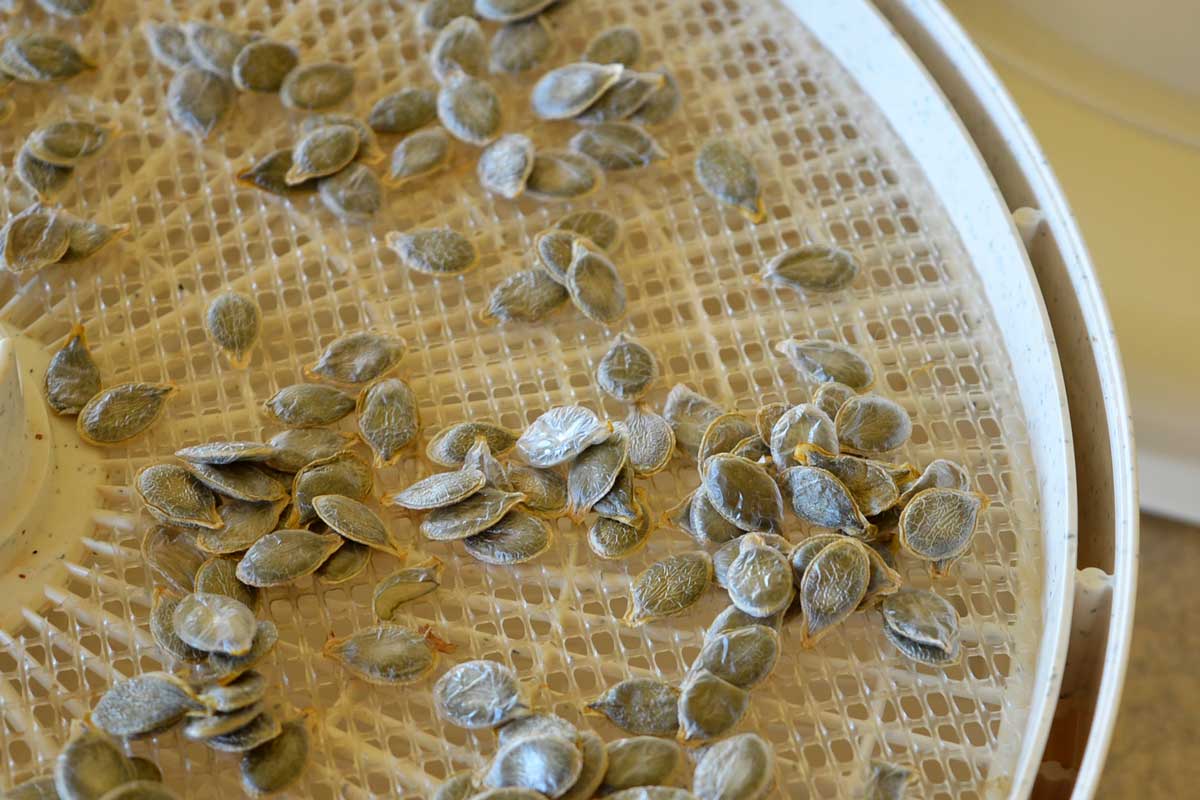
To dehydrate, toss seeds with a bit more salt or seasoning, if desired, and dry at less than 150°F until crispy, 8-12 hours. (Don’t add extra oil.) Mix the pepitas a couple of times during drying, as they tend to stick together.
Once the seeds are dry and crispy, store them in a tightly sealed container. (Wide mouth mason jars work great.) These should last about a year at room temperature, or longer if refrigerated or frozen.
Roasted Pepitas
To oven roast your pepitas, drizzle lightly with olive oil or sesame oil. Toss with seasonings or additional salt, if desired. Spread on a baking sheet and toast at 250°F (120°C).
Mix every 15 minutes to half hour. It’ll take around 45 minutes to an hour to get them crispy. These should keep for a week or two in a tightly sealed container.
More Pumpkin Goodness
- Pumpkin Spice Scones
- Pumpkin Fruit Leather
- How to Make Pumpkin Wine
- How to Cook Pumpkin or Winter Squash – 3 Easy Methods

This article was written by Laurie Neverman. Laurie and her family live in northeast Wisconsin, where they grow annual gardens and a permaculture food forest. The preserve food with a mix of old and new techniques, from root cellaring to freeze drying.
Originally published in 2012, last updated in 2024.

Question! Is salting the pepitas during soaking the raw seeds overnight required? I try to avoid adding extra salt to things if I can.
Yes, the salt is required, as it activates the enzymes that neutralize enzyme inhibitors. You can rinse before drying if you like, to remove excess salt.
So the best way to consume is to soak overnight, then dehydrate another night. So 2 days of prep before eating?
Does the 250 dehydration roast them? I just want mine crispy-ish.
250 F roasts them. Degree of roasting and crispiness is determined by the amount of time you roast them.
I grew the Lady Godiva pumpkins this year & had decent sized pumpkins but when I cut into the first one I only found 4 of the nice green pumpkins seeds & the rest were small, soft white ones. Did I shut into it too early or what else could have gone wrong?
It sounds like the pumpkins didn’t have time to fully mature. They should be allowed to stay on the vine until frost threatens or the vines die back.
I bought a superb hulless pumpkin seed labelled organic in a Hilo natural foods store in the late 90’s, but have not since encountered a variety with that appearance or taste. It was not gown in Hawai’i, and I have a vague sense that it may not have been domestic. It was well cleaned, very dark green, long, slender, symmetrically elliptical, with very pointed ends. Would love to find viable seed for that variety! The next best seed I have grown came from Horizon Seeds, which is now dba Strictly Medicinals. Their Kakai Pumkin Seed yielded a wonderfully fragrant (almost floral), deep dark green and tasty seed with pale yellow and pleasantly mild, sweet, tender, if slightly pulpy flesh. My first exposure to bulk pumpkin seed was a Chinese version that was organic, but poorly processed and reliably speckled with traces of mold, to which I was severely reactive at that time. As a result I started saving and drying every seed I grew, cleaning and drying them to re-plant if productive enough, but a good portion were dried, rubbed of their papery cover and cracked op for asnack. My favorite was from Hubbard Squash. A few, particularly from Butternut and from Delicatat, tasted bitter. I found that my chronically splitting nails became very healthy, and it must be that my bones were benefiting, too. The super manure treatment that has been working well for me comes from John Lewis’ “Cold Climate Gardening” in which he recommends digging a hole 2 foot deep, burying a good shovelful of rotted manure in the bottom, filled next with a 50/50 mix of rotted manure with soil, and then a hill of good seedling soil. I learned to lay a 3’x3′ collar of cardboard over the manure layers, cut an “X” in the center, set my soil hill over that and when planting my seedlings be sure to dig my planting hole down to and a little into the “X”. This kept weeds from shading out my young squash, and a couple of weeks into growth when the plant had developed a bit, it reached the manure, turned deep green and grew like little monsters for the rest of the summer, yielding great squash. On the pumpkin seed varieties, I tried thinning to two or three and did find that they grew bigger, but lately the early frosts have been making me think I will leave a few more on the vine to increase the number of survivors when the foliage dies back.
Do you remember what ratio of salt/water you use for the salted water step…? 🙂 thanks!
Sorry! I never measure exactly, but I should include an estimate. I use enough water to cover the seeds, and a couple teaspoons of salt for small batches, a couple tablespoons for large batches.
Hi, a great post, thank you. Not sure if these types of pumpkins are available here in Tasmania, Australia, but I will certainly look for them. The only pepitas one can buy here are from China, ….and…i am always very dubious of their hygiene over there. Thanks again.
There are naked seeded pumpkins in Australia. 🙂 Pepo Farms – https://pepofarms.com.au/
Oh, fantastic!! Thanks for that! Don’t know if they will allow them into Tasmania but I will check that out. Thanks heaps.
Hi There. I would like to grow my own but no land available. Could you please give me a hint which is the best producer or wholeseller to get raw hopefully organic pepitas in bulk?
thanks a lot!! LEO
You can find 2 pound bags of bull, raw pepitas on amazon.com at Green Bulk Pumpkin Seed Kernels RAW – 2 Pound Deal
I have achocha seed s wanto trade for styrian naked pumpkin e buy seeds.I
Help! I planted, outside at the same time as all my other pumpkins, a package of hulless seed called Beppo that Territorial Seed Co. carries. Not one came up. Territorial sent me another pkg. that I planted inside to have more control over the water ect. 10 days into this and no sign of life. I dug a seed out 2 days ago and it was mushy. Is the problem this variety?
I haven’t tried Beppo, but in a normal year, the varieties I’ve tried have germinated as well as other pumpkin/squash varieties. My friend, Deb, however, has has trouble direct seeding hulless pumpkin seeds in her garden. Most years I start mine inside to get a jump on the season. This year I got a late start and direct seeded, and it was so wet hardly any of the squash and pumpkins came up.
Dont fry them dry them. sorry for the typos , got excited.
I have grown the ‘kakai’ variety of oil pumpkin for a few years. The vines are only 5 to six feet long with three fruit per vine. I usually cut the third one off so the other two get much bigger and yield more seed. Don’t HACK them open, after storing in a cool place for a few week cut the pumpkin around the circumference and twist it open. The seed are easily pulled out with your thunb and forefinger a good quantity. I just rinse them off in a collander and let them fry from there. Stir a couple times a day to distrubte air. They dry quickly at room temp. They will have a papery skin on them . I either rub that off between my palms, or not. The seeds are best uncooked. Why take a chance on baking the vitamins and omega fatty acids out of the seeds when they taste great raw! It’s hard not to eat them all. But you must save a few seeds for the next generation to plant.
I got over a thousand seeds out of three pumpkins.. So planting the short vining Kakai variety you can get grow a few in a small space and get a sh*t load of nice plump green seeds.
I recieved a variety from the Ukraine that I will plant this year and the flesh looks deep orange like a cantalope and may be good for cooking as well as a bounty of seeds. I will share the seeds this fall if all turns out well. Please contact me if interested. I have a few open pollinated heirloom kakai seeds for sale on e-bay if you want to plant this fall. Very plump fertlie seeds. Nice blog. get ahold of me if you’d like. Good gardening to you all. glennfryer@att.net
Did you seriously count the seeds? I’ve got some Kakai seeds waiting patiently for warmer weather here.
I would like to buy some of you seed. How do we handle this ?
I don’t have seed available for sale, since I don’t grow enough plants to maintain a stable gene pool. Seeds are available online through Amazon.com and a variety of seed catalogs.
Glenn, I don’t know if you’re still subscribed to comments on this post, but if you are… how did the flesh of the Ukrainian hullless pumpkin work out? Was it any more interesting than Kakai or the typical Styrian pumpkin? If so, do you have any seeds of those?
Wow.. I’ve been eating roasted pepitas for 50 years and gardening for about 35 and wondered how in the world they were hulled.. I feel somewhat foolish about now. 😉 Thanks for sharing this post.. Its never too late to teach an old dog new tricks, no matter what they say! 😉
Have a great one!
It’s always a good time to learn something new, right? 🙂
This post rules! This is like exactly everything I wanted to know when I was like, how do I make this deliciousness happen for myself? Dig your site, put me on your e-mail list please!!!
Almeta – you can sign up on the left sidebar for the delivery method of your choice.
Sorry I missed that the first time reading. (There were several things going on at the same time.) That works fine for me – I have chickens, turkeys, etc., so I will plan to use the seeds and share the rest with my birds. Thanks!
No worries! I miss stuff the first time through, too.
Quick question – how are the pumpkins? I mean, is the pumpkin flesh good for things like pies or breads, or is it more watery, like jack-o-lantern type pumpkins? I will probably try them either way, but it’s helpful for me to know for planning purposes. Thanks!
-Laura at TenThingsFarm
Laura – yes, the flesh it bland, as I noted near the bottom of the post. Edible, but not too tasty. I usually pass it along to my friends who have chickens and use our squash for “pumpkin” recipes.
Personally, this pumpkin for eating is my favorite. The flavor is delicious and, of course, the seeds are such an added plus.
I’m glad you enjoy it. Everyone has different flavor preferences.
I grew up eating roasted, salted pumpkin seeds. They’re a great snack 🙂 Love and hugs from the ocean shores of California, Heather 🙂
I’ve had such an urge to eat nuts and seeds lately. I think I’m low on magnesium. Of course, they could just be tasty.
Great article. Thank you from a New Zealand garden. I can’t wait to harvest mine ?
You’re welcome! Enjoy.