How to Pickle Asparagus (Probiotic Recipe)
This post may contain affiliate links. Read my full disclosure here.
This pickled asparagus recipe is lacto-fermented, like sauerkraut, to give them a probiotic kick. Instead of using white vinegar for the acid, we use lactobacilli bacteria. These good bacteria help to preserve the asparagus and give it that “pickle” flavor. They also act as little probiotic factories, making the food more digestible, and increasing its nutrient value.
It’s easy to make and keeps in the refrigerator – no canning required.
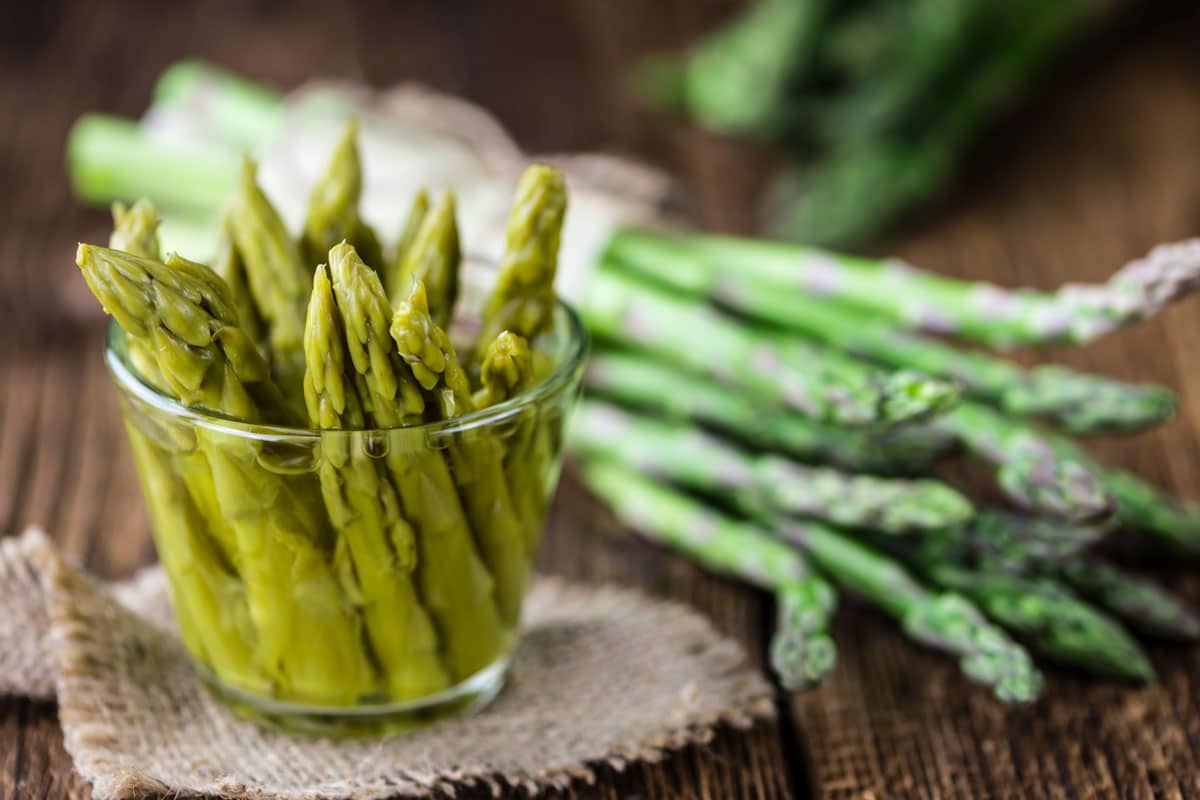
Spicy Pickled Asparagus Spears (Lacto-Fermented)
Unlike vinegar pickle recipes, lacto-fermentation uses water, salt, spices and fermentation to naturally preserve food. To jumpstart the fermentation process, we add whey or a starter culture for pickled vegetables. You can get whey by straining plain yogurt.
Fermenting helps preserve the crispness of fresh asparagus, and adds a unique flavor. These spicy pickled asparagus spears will keep for several months in the refrigerator, if you don’t eat them before that.
Wash your quart jar well, but it does not need to be sterilized. Fermentation weights that fit in the top of a mason jar are helpful, but not essential.
Ingredients
For each quart jar:
- 3 – 3 1/2 pounds of asparagus spears per quart
- 1 teaspoon peppercorns
- 1/4 teaspoon celery seeds
- 1/2 teaspoon mustard seeds
- 1/2 teaspoon pickling spice or red pepper flakes
- 2 garlic cloves
- 4 tablespoons whey or 1/2 package Cutting Edge Cultures Vegetable Starter Culture
- Salt water – 2 tablespoons sea salt to one quart water, mix well to dissolve
Directions
Clean and trim asparagus so the spears will fit into the jars below the neck of the jar. You want to keep them covered with liquid during fermentation.
See “How to Cut Asparagus” if you are unfamiliar with trimming the stalks.
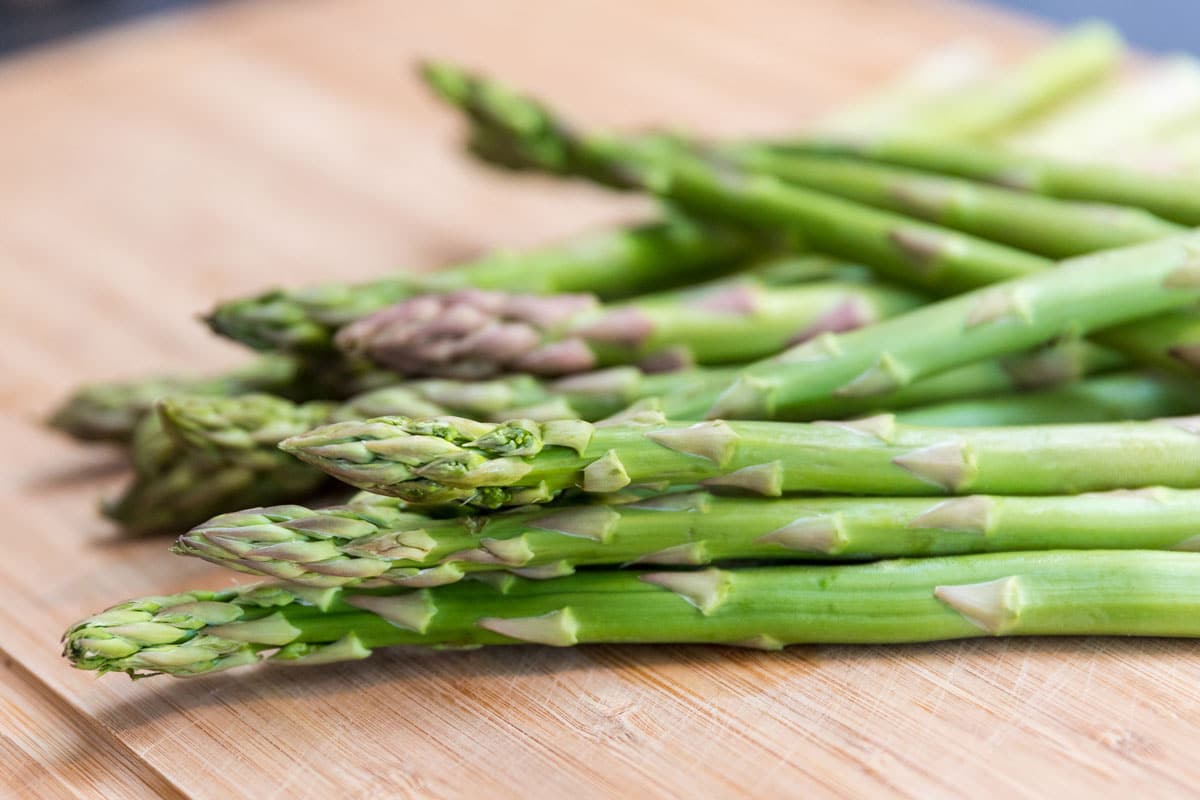
Put the spices and garlic cloves into jar, then pack asparagus into jars as tightly as possible. The asparagus spears shrink during pickling and will want to float and pop up out of the liquid.
Once you have the asparagus spears in the jars, pour in the whey or prepared starter culture. Add enough salt water to completely cover the spears. Leave one inch of headspace at the top of the jar. You won’t need all the salt water you mixed, but it’s better to have a little extra than to run short.
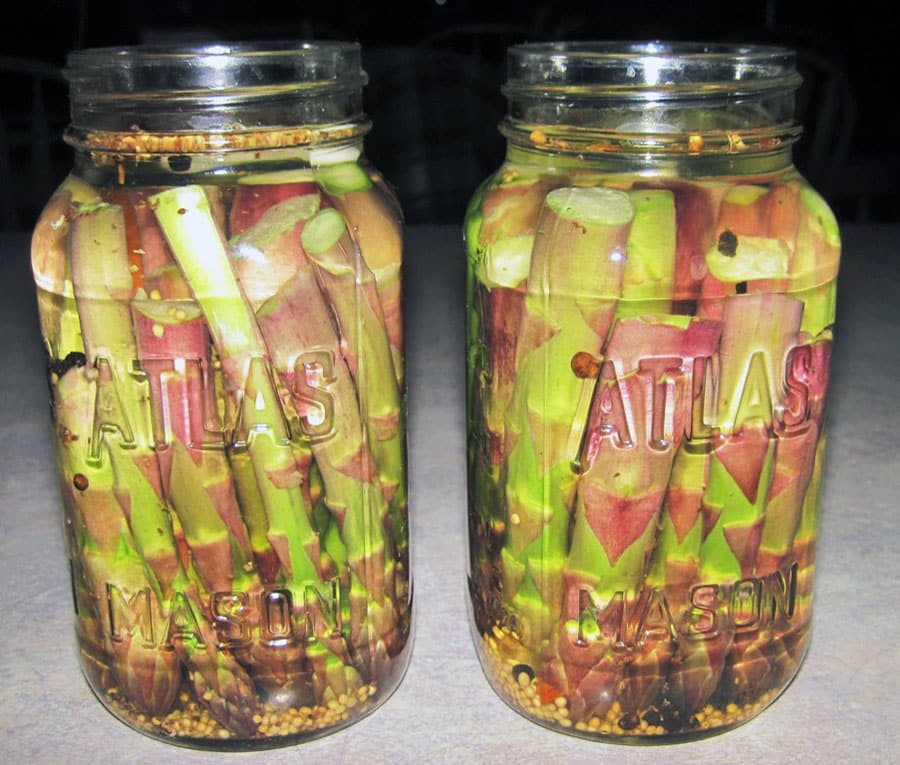
As the asparagus ferments, the fermentation produces carbon dioxide. Make sure to cover the jar with an airlock lid, or burp the jar daily to release the CO2. I like packing my spears in with the tops down, so the fermenting weight doesn’t crush the tips.
Keep the asparagus covered during fermentation. Use fermentation weights, or improvise other options. You can use a smaller jar filled with water nested in a wide mouth jar, a clean stone, or other clean weight to hold the veggies under the brine.
Would you like to save this?
You can also purchase kits with weights and airlock lids for your mason jars. Date and label your jars to keep track of fermentation.
Fermentation Time
Keep the jar of asparagus at room temperature, out of direct sunlight. I keep mine on the kitchen counter under a dishcloth. Allow to ferment for 3 days at room temperature. After three days, cover tightly and move to the refrigerator to slow down the fermentation process.
If your kitchen is cold, you may want to leave it on the counter for another day or two. The flavor gets stronger and the asparagus gets softer the longer it ages at room temperatures.
Heat dramatically speeds up the fermentation process. If your kitchen is hot, you may only need two days at room temperature. Follow your nose. If you open the lid of your pickled asparagus and it has a nice sour aroma, you’re on the right track.
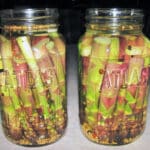
My final product turned out a little cloudy, due to the whey and sea salt. The taste is delicious. If you use a more refined salt and vegetable culture, the brine will be clearer.
Keep the finished pickled asparagus refrigerated. You don’t need an airlock in the refrigerator, just a standard lid.
These spears are great on sandwiches and salads, or as a condiment for heavy meals. Avoid cooking to retain the probiotic qualities.
Lacto-Fermented Pickled Asparagus
These lacto-fermented asparagus spears add some spice and a probiotic punch to meals and snacks.
- Prep Time: 5 minutes
- Fermentation Time: 3 Days
- Total Time: 72 hours 5 minutes
- Yield: 1 quart 1x
- Category: Condiment
Ingredients
For each quart jar:
- 3 – 3 1/2 pounds of asparagus spears per quart
- 1 teaspoon peppercorns
- 1/4 teaspoon celery seeds
- 1/2 teaspoon mustard seeds
- 1/2 teaspoon pickling spice or red pepper flakes
- 2 garlic cloves
- 4 tablespoons whey or 1/2 package Cutting Edge Cultures Vegetable Starter Culture
- Salt water – 2 tablespoons sea salt to one quart water, mix well to dissolve
Instructions
- Clean and trim asparagus so the spears will fit into the jars below the neck of the jar. You want to keep them covered with liquid during fermentation.
- Put the spices and garlic cloves into jar, then pack asparagus into jars as tightly as possible. The asparagus spears shrink during pickling and will want to float and pop up out of the liquid.
- Once you have the asparagus spears in the jars, pour in the whey or prepared starter culture. Add enough salt water to completely cover the spears. Leave one inch of headspace at the top of the jar.
- As the asparagus ferments, the fermentation produces carbon dioxide. Make sure to cover the jar with an airlock lid, or burp the jar daily to release the CO2. I like packing my spears in with the tops down, so the fermenting weight doesn’t crush the tips.
- Keep the asparagus covered during fermentation. Use fermentation weights, or improvise other options.
- Keep the jar of asparagus at room temperature, out of direct sunlight. I keep mine on the kitchen counter under a dishcloth. Allow to ferment for 3 days at room temperature. After three days, cover tightly and move to the refrigerator to slow down the fermentation process.
- Keep the finished pickled asparagus refrigerated. You don’t need an airlock in the refrigerator, just a standard lid. The finished pickled asparagus will last for several months.
More Ways to Use Your Asparagus
I eat quite a few of the first spears of asparagus season fresh out in the garden. As the season continues, we use them in cooking and preserve some for later.
Related articles:
How to Store Asparagus in the Fridge
Roasted Asparagus with Parmesan

This article is written by Laurie Neverman. Laurie grew up in the kitchen, learning baking and home cooking from her momma. At age 15, she and her mom and two sisters created Irene’s Custom Cakes & Catering, which was her summer job through most of high school and college.


Recipe looks easy and sounds delicious. Can you provide more information about the airlock lids? Not sure how those actually. Do you have a brand that you recommend?
Hi Anita.
Airlock lids are helpful, but not critical. As mentioned, you can open the jar daily to “burp” it, releasing the CO2 manually. Airlock lids allow the CO2 to escape, while protecting your ferment from the air (and wild microbes like mold spores floating in the air).
If you expect to be fermenting more regularly, it makes sense to invest in the lids. One of most popular brands currently available is Masontops Pickle Pipes. They are silicon caps with a vent – low profile and easy to use. They come in regular and wide mouth jar sizes.