How to Can Pears (Easy Water Bath Canning Recipe)
This post may contain affiliate links. Read my full disclosure here.
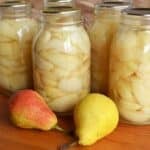
Fresh pears are one of the sweetest tastes of late summer and early fall. Canning pears is a great way to preserve that flavor for months to come, whether you have a tree or found a great deal at the farmer’s market. We help our neighbors pick from their beautiful 70+ year old tree each year and share the harvest with them. Sometimes I see people sharing excess fruit in local community groups, too.
In this guide, we’ll walk through how to choose the right pears, prep them, make syrup (or not), and process them safely in a water bath canner.
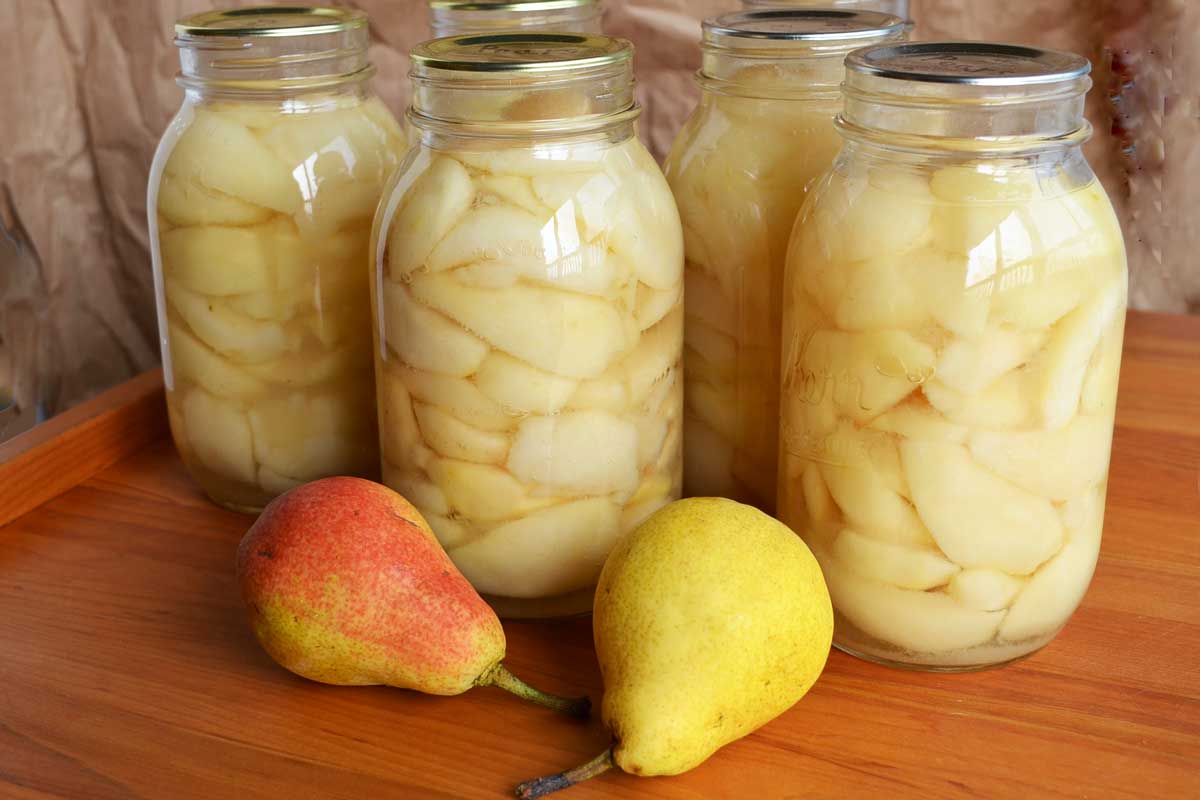
Table of Contents
Choosing Pears for Canning
Bartlett pears are a popular choice because they’re sweet, easy to peel, and keep a nice texture after processing. Anjou. Bosc, and Comice are also excellent options if you can find them. They’re firm enough to handle the heat of canning but still tender on the spoon.
Asian pears have a pH above 5, which means they need to be processed in a pressure canner or acidified. Add 1 tablespoon bottled lemon juice per pint jar or 2 tablespoons per quart jar before adding the Asian pears and canning liquid.
The key is to pick pears that are ripe but not overripe. You want fruit that gives slightly when pressed at the stem end. Overripe fruit will fall apart in the jar and can leave you with something closer to sauce than halves.
It’s also worth thinking about how many pears you’ll need before you get started. A full canner load of seven quarts takes about 17½ pounds of pears, while nine pints need around 11 pounds.
Preparing Pears
Once you’ve gathered your pears, the next step is to get them ready for the jars. Start by giving them a good rinse to remove any dust or residue. You may be surprised about how much comes off.
Peeling comes next – or not. For years we peeled our pears before canning, because guides warn that the skins can get tough during the canning process. Then we tried not peeling, and we like the unpeeled pears just fine. Peeled pears look prettier, but skipping peeling saves a ton of time.
After peeling (or not), cut the pears in half or quarters and scoop out the cores. You can also slice them if you’d like smaller pieces for kids or recipes. Try to keep the pieces roughly the same size so they heat evenly.
Pears brown quickly once they’re cut. It’s a good idea to have a bowl of water with a little lemon juice mixed in ready before you start peeling. Just drop the prepared pieces into the solution as you go.
Preparing Syrup
Once your pears are ready, it’s time to make the syrup that protects them in the jars. The syrup isn’t just for sweetness — it also helps preserve the pears’ color and texture. Sugar binds with water in the fruit and syrup, which slows down browning and helps the fruit stay firmer during storage.
To make a sugar syrup, combine sugar and water in a saucepan and bring it to a boil, stirring until the sugar dissolves. A very light syrup uses about ¾ cup sugar to 6½ cups water, while a light syrup calls for 2¼ cups sugar to 5¼ cups water. Heavy syrup uses equal parts of sugar and water.
If you’d rather skip added sugar, you can use fruit juice such as apple or white grape juice, or even plain water. The pears will still be safe, but they may darken or soften a little more over time without the protective effects of sugar.
Keep your syrup hot on the stove as you work. You’ll need it ready to pour over the fruit when it’s time to fill your jars, so don’t wander too far once the pot is simmering.
Hot Pack vs. Raw Pack
When it comes time to put pears in jars, you have two options: hot pack or raw pack. Both are safe, but they give slightly different results.
With hot pack, you simmer the pear slices in the prepared syrup for about five minutes before filling the jars. This step softens the fruit just a little, drives out some of the air inside, and helps the pears absorb the syrup. The result is jars that are filled more evenly, with less fruit floating to the top. Hot pack pears also tend to hold their shape and flavor better in long-term storage.
Raw pack skips the extra simmering step. You simply place uncooked pear halves or slices directly into jars and cover them with hot syrup. It’s faster and involves less stove time, which can be nice if you’re working through a big batch. The trade-off is that the fruit is more likely to float in the jar, and sometimes the flavor isn’t quite as rich compared to hot pack.
So which is best? If you’re canning just a few jars and want to keep things simple, raw pack works fine. But if you’re aiming for the prettiest jars and the best shelf life, hot pack is usually worth the extra few minutes.
Would you like to save this?
- Hot Pack: Heat pears in the syrup for about 5 minutes before jarring. This gives better flavor, prevents floating, and packs more fruit per jar. I demonstrate this in the video.
- Raw Pack: Place raw pears directly into jars and cover with hot syrup. Faster, but pears may float more. I demonstrate this method in our article about canning peaches.
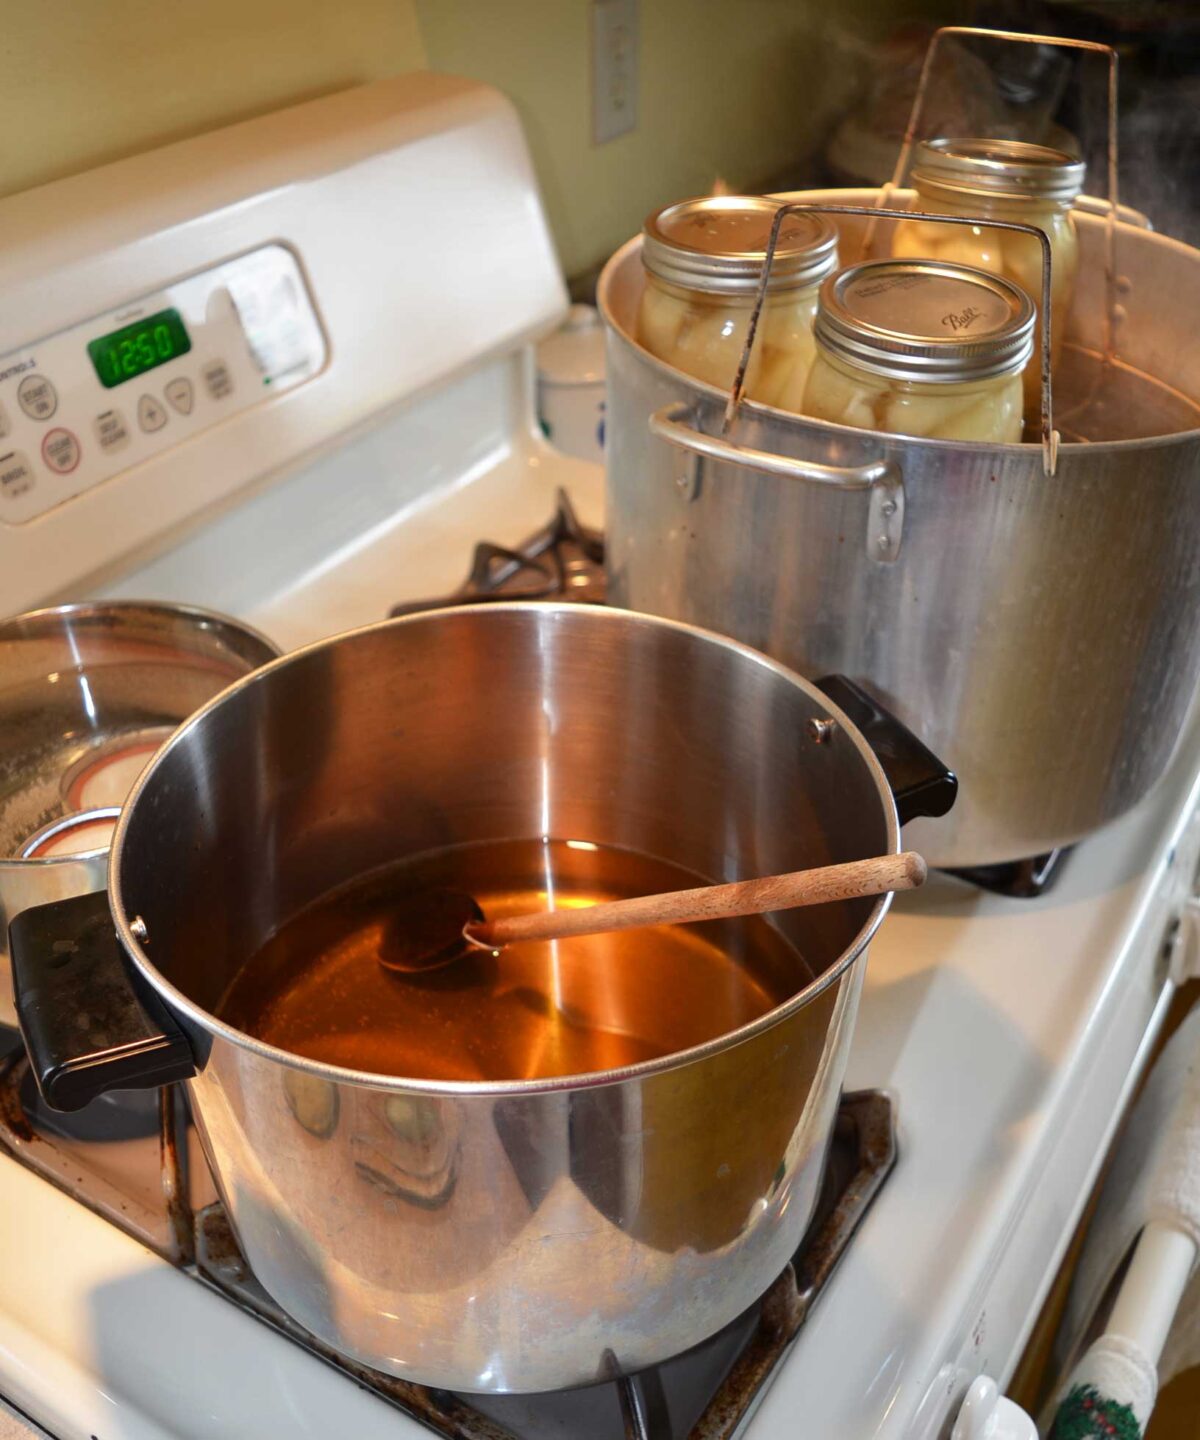
Step-by-Step: How to Can Pears
- Prepare canner and jars: Wash jars, lids, and rings. Keep jars hot until ready to use.
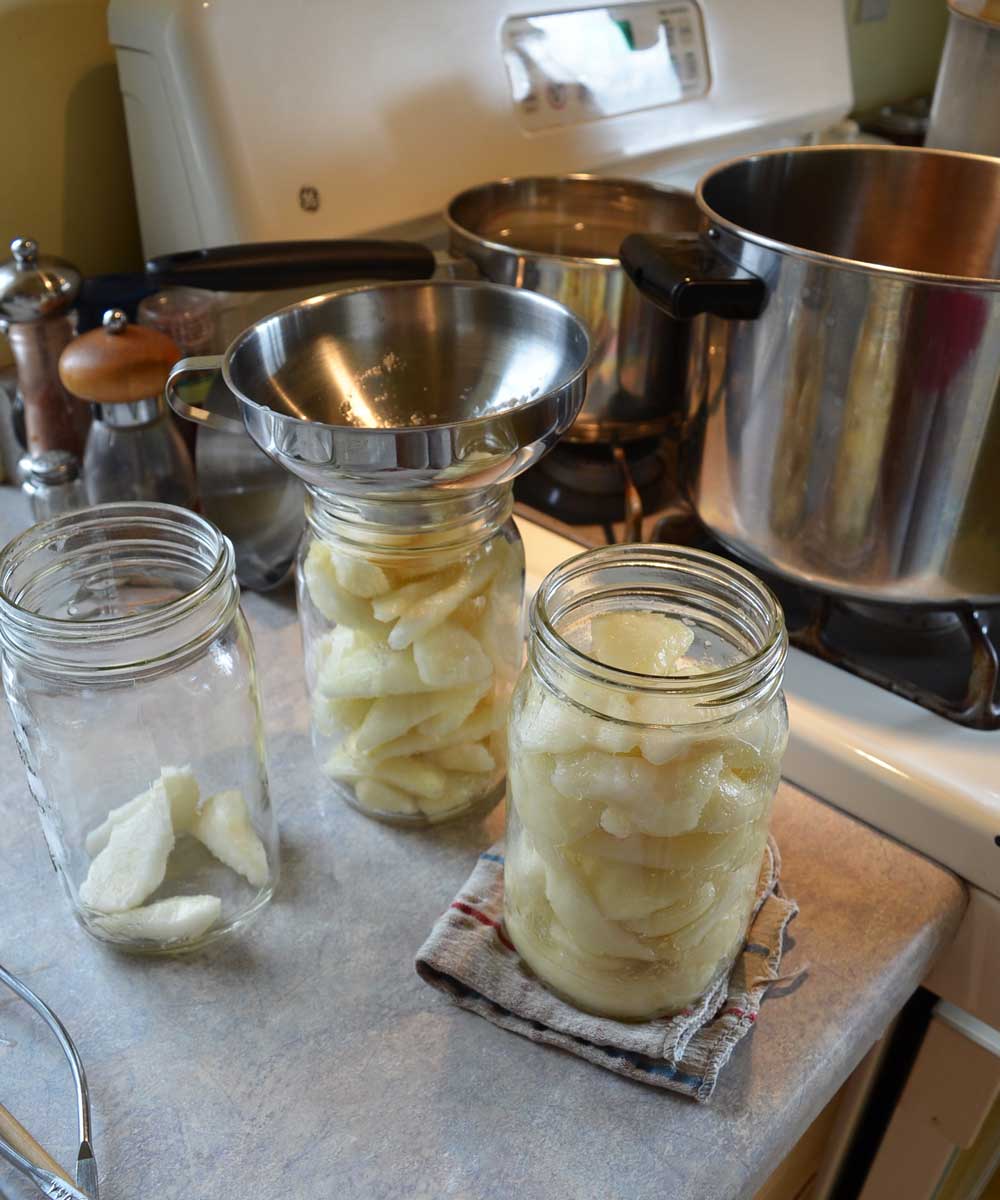
- Fill jars: Pack pears (hot or raw pack) into jars, leaving ½-inch headspace. Optional: Add a cinnamon stick, a piece of vanilla bean, or a few whole cloves in each jar for flavor.
- Add syrup: Ladle hot syrup over fruit, maintaining ½-inch headspace. Remove air bubbles.
- Wipe rims: Clean jar rims with a damp cloth. Add lids and screw on bands fingertip tight.
- Process in a boiling water canner. Use the following times for hot pack:
- Pints: 20 minutes
- Quarts: 25 minutes
Add 5 minutes for cold pack (25 for pints, 30 for quarts). Adjust for altitude if needed (longer at higher elevations).
- Cool: Remove jars and let cool 12–24 hours. Check seals before storing.
Altitude Adjustments for Canning Pears
Water boils at lower temperatures as altitude increases, so processing times need to be adjusted. Add the following amount of time to the standard processing times:
| Altitude (feet) | Extra Time to Add |
|---|---|
| 1,001 – 3,000 | +5 minutes |
| 3,001 – 6,000 | +10 minutes |
| 6,001 – 8,000 | +15 minutes |
| 8,001 – 10,000 | +20 minutes |
So for example, if you live at 4,500 feet, you would process hot packed pints for 30 minutes and quarts for 35 minutes.
Tip: If you’re not sure of your elevation, check an online topographic map or use a GPS app on your phone.
Storage & Use
After you check the seals, wipe down the jars, and label them with the date before moving them to storage. A cool, dark pantry or basement shelf is ideal — aim for temperatures between 50°F and 70°F. Under good conditions, canned pears hold their quality for 12 to 18 months, though they’re usually safe if the seals remain intact.
Once a jar is opened, pop it in the fridge and plan to use it within a week.
We usually eat canned pears are delicious straight from the jar as a simple dessert, but you can enjoy them other ways, too. Try them over oatmeal, yogurt, or cottage cheese for a quick breakfast, or tuck slices into a lunchbox for a naturally sweet treat.
They also shine in baked goods — think pear crisps, cobblers, or upside-down cakes. For a savory twist, pair them with pork or poultry, or chop them into a salad with blue cheese and walnuts.
Troubleshooting Canned Pears
Even if you follow the steps carefully, sometimes jars don’t look quite perfect. Here are some common issues and what they mean:
- Floating fruit – This usually happens with raw pack because the fruit is less dense than the syrup. It’s harmless. Next time, try hot pack to minimize it.
- Syrup loss (siphoning) – If you notice syrup has leaked out during processing, it’s often caused by fluctuations in canner pressure, overfilling jars, or removing jars too quickly. As long as the jar sealed, the fruit is safe to eat. Store those jars at the front of your shelf and use them first.
- Cloudy liquid – Can be caused by minerals in your water, too much starch in overripe fruit, or not blanching/packing carefully. If the jars sealed properly, it’s safe, but use them sooner rather than later.
- Fruit discoloration – Sometimes pears darken if they weren’t pretreated with lemon juice. It doesn’t affect safety, just appearance.
- Unsealed jars – If a jar didn’t seal, refrigerate and use within a week, or reprocess within 24 hours with a new lid.
Remember: Most cosmetic issues don’t affect safety. When in doubt, always check for a solid seal, and discard anything that looks or smells off.
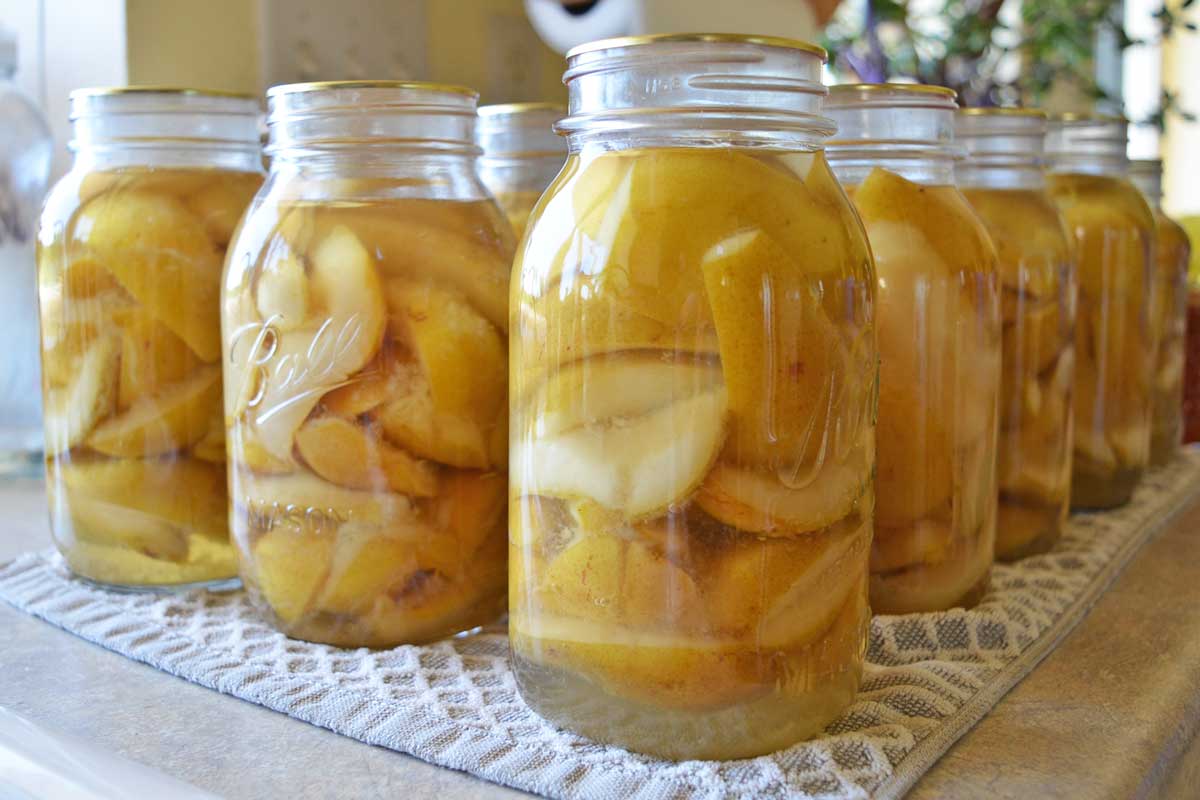
PrintHome Canned Pears
Home canned pears are a delicious simple dessert straight from the jar. Adjust the sweetness to your preference, pack in slice, halves, or quarters.
- Prep Time: 30 minutes
- Cook Time: 25 minutes
- Total Time: 55 minutes
- Yield: 7 quarts 1x
Ingredients
- About 17 1/2 pounds of pears for a full canner load (7 quarts), or 11 pounds for 9 pints
- Enough syrup, juice, or water to cover the pears (see below)
- Spices (optional) – cinnamon sticks, cloves, vanilla beans
Instructions
- Prepare canner and jars: Wash jars, lids, and rings. Keep jars hot until ready to use.
- Fill jars: Pack pears (hot or raw pack) into jars, leaving ½-inch headspace. Add a cinnamon stick, a few cloves, or a piece of vanilla bean, if desired.
- Add syrup: Ladle hot syrup or juice over pears, maintaining ½-inch headspace. Remove air bubbles.
- Wipe rims: Clean jar rims with a damp cloth. Add lids and screw on bands fingertip tight.
- Process (hot pack): Pints: 20 minutes, Quarts: 25 minutes; add 5 minutes each for cold pack. Adjust for altitude if needed (longer at higher elevations).
- Cool: Remove jars and let cool 12–24 hours. Check seals before storing.
Notes
Syrup options:
- Very light syrup: ¾ cup sugar + 6½ cups water
- Light syrup: 2 1/4 cups sugar + 5 1/4 cups water
You can also use a mild flavored juice like apple or white grape, or water only. I find we typically need about a batch and a half of syrup to fill a canner of quart jars.
Hot Pack: Heat pears in the syrup for about 5 minutes before jarring. This gives better flavor, prevents floating, and packs more fruit per jar.
Raw Pack: Place raw pears directly into jars and cover with hot syrup. Faster, but pears may float more.
More Pear Recipes
- 9 Ways to Preserve Pears, Plus Tips to Prevent Browning
- How to Make Pear Wine
- Cranberry-Pear Jam – Traditional and Low-Sugar

This article is written by Laurie Neverman. Laurie grew up in the kitchen, learning baking and home cooking from her momma. At age 15, she and her mom and two sisters created Irene’s Custom Cakes & Catering. This was her summer job through most of high school and college.