How Do You Hard Boil Eggs in an Instant Pot
This post may contain affiliate links. Read my full disclosure here.
If you’ve ever struggled with hard-boiled eggs that refuse to peel, crack during cooking, or come out overcooked, you’re not alone. For many home cooks (us included), switching to the Instant Pot was a game changer. Once you learn how to hard boil eggs in an Instant Pot, you may never go back to the stovetop boiled eggs again.
The biggest advantage? Easy peeling — even with fresh eggs. Pressure cooking changes how the egg white sets and how it releases from the shell, making consistently clean peels far more likely.
Below you’ll find a simple, reliable method, plus tips for timing, peeling, and storage.
Why Hard Boil Eggs in an Instant Pot?
There are several reasons the Instant Pot method stands out:
- Eggs peel easily, even when they’re very fresh
- Hands-off cooking — no watching pots or boiling over
- Consistent results every time
- Less cracking during cooking
- Great for batch cooking
If you raise chickens or buy farm-fresh eggs, this method is especially helpful. Fresh eggs can be notoriously difficult to peel when hard-boiled on the stove, but the Instant Pot largely solves that problem.
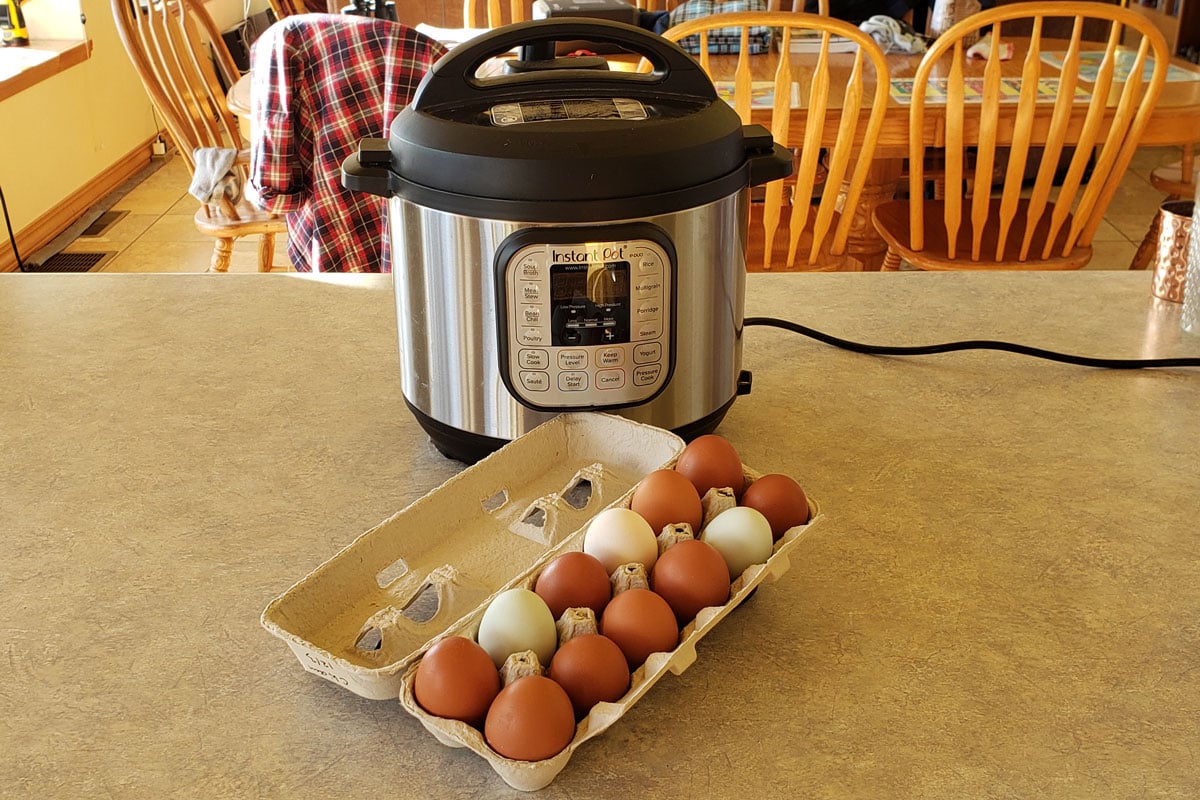
What You Need
You don’t need anything fancy:
- Instant Pot or other electric pressure cooker
- Eggs (as many as will fit in a single layer)
- 1 cup water
- Trivet, rack, or steamer basket
- Bowl of ice water
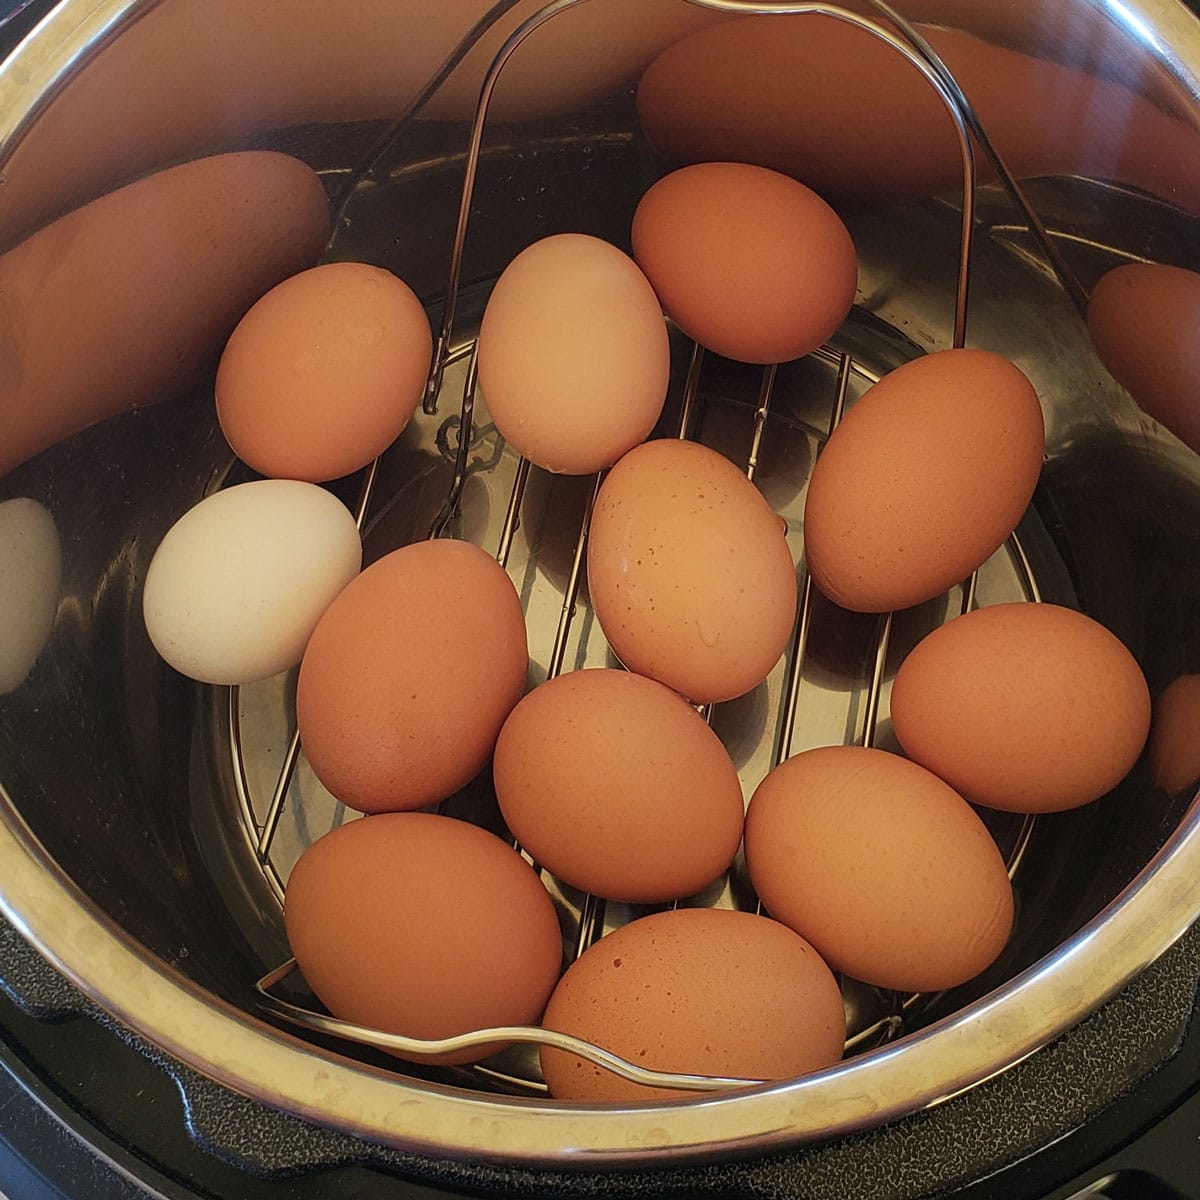
The trivet is important — it keeps the eggs out of direct contact with the water so they steam under pressure rather than boil.
The Basic Instant Pot Hard-Boiled Egg Method (5-5-5)
The most popular and reliable approach is often called the 5-5-5 method, referring to pressure time, rest time, and ice bath time.
Step 1: Add Water and Trivet
Pour 1 cup of water into the Instant Pot insert. Place the trivet or rack inside. Arrange the eggs in a single layer on the trivet. You can stack them gently if needed, but don’t cram the pot full.
Step 2: Pressure Cook
Close the lid and set the valve to Sealing.
Select:
- Pressure Cook (or Manual)
- High Pressure
- 5 minutes
The Instant Pot will take several minutes to come up to pressure before the timer starts.
Step 3: Natural Release
When the cooking time ends, allow the pressure to naturally release for 5 minutes. This helps prevent overcooking while still allowing the eggs to finish setting.
After 5 minutes, carefully move the valve to Venting to release any remaining pressure. One of the eggs in this batch must have had a hairline crack or thin shell, as there was a blowout during cooking.
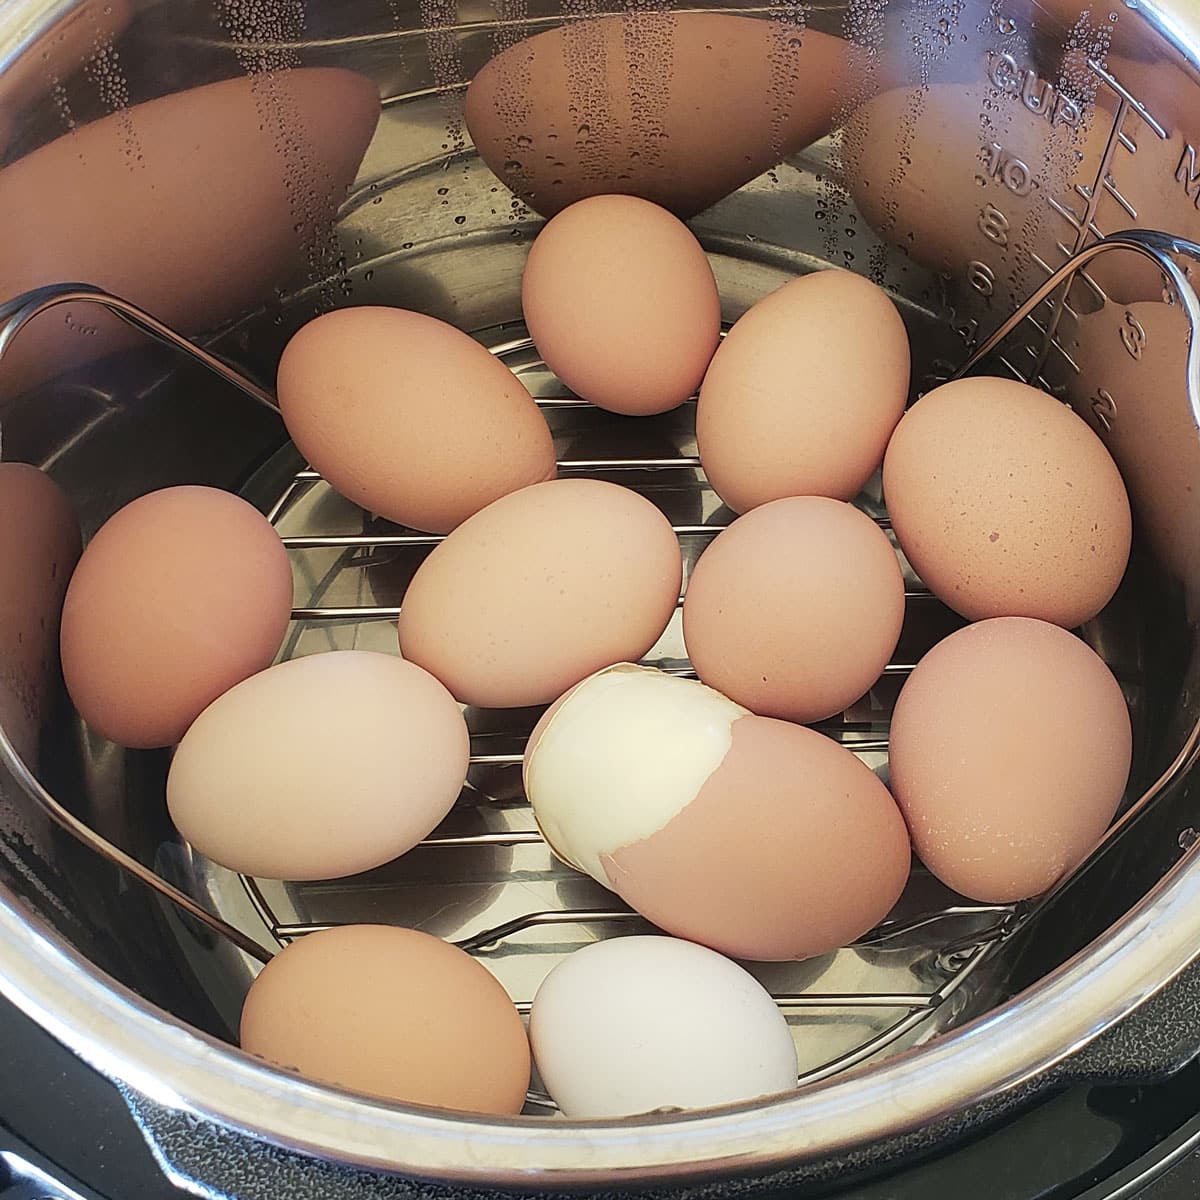
Step 4: Ice Water Bath
Immediately transfer the eggs to a bowl of ice water and let them sit for at least 5 minutes.
This step:
- Stops the cooking process
- Helps the egg pull away from the shell
- Makes peeling much easier
How to Peel Instant Pot Hard-Boiled Eggs
This is where the Instant Pot really shines.
Would you like to save this?
To peel:
- Gently tap the egg on the counter to crack the shell
- Roll to loosen the shell all over
- Start peeling at the wide end, where the air pocket forms
- Peel under running water if needed
In most cases, the shell will slide off in large pieces, even with very fresh eggs.
Adjusting Time for Your Preferences
The 5-5-5 method produces fully set whites and yolks for most large eggs, but you can adjust slightly if needed:
- Slightly softer center: 4 minutes
- Very firm yolks: 6 minutes
- Extra-large or jumbo eggs: add 1-2 minutes – I will often add an extra minute, as our eggs tend to be on the large side.
Altitude and egg size can affect timing, so consider the first batch a test run.
How Many Eggs Can You Cook at Once?
As long as the eggs fit on the trivet and the lid seals properly, you can cook:
- 6 eggs
- 12 eggs
- Or more, depending on your Instant Pot size and your egg size
The cooking time stays the same — pressure cooking doesn’t change with quantity.
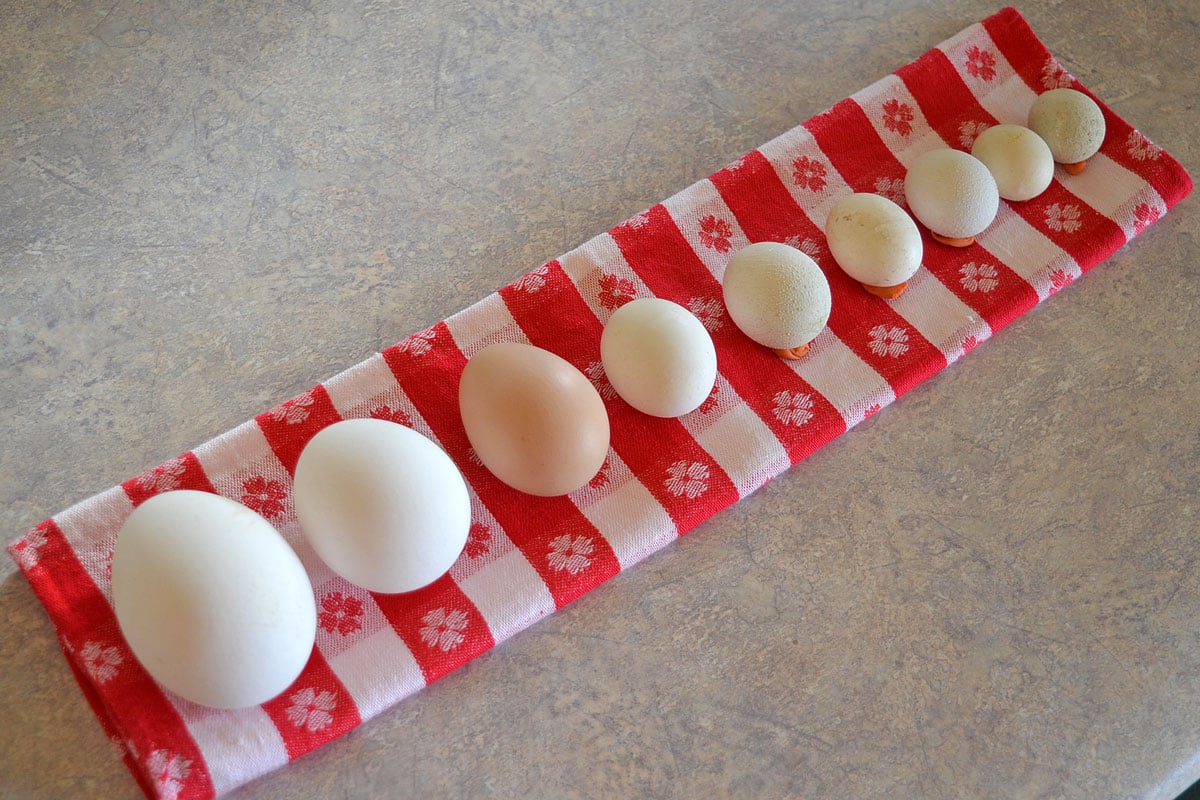
How to Hard Boil Duck Eggs in an Instant Pot
If you keep ducks or buy duck eggs locally, the Instant Pot is one of the best ways to hard boil duck eggs. Duck eggs are larger than chicken eggs, have thicker shells, and richer yolks — which can make them tricky on the stovetop. In the Instant Pot, they cook evenly and peel far more easily than traditional boiling.
Why the Instant Pot Works Well for Duck Eggs
- Thicker shells benefit from steam and pressure
- Fresh duck eggs peel more cleanly than stovetop-boiled versions
- Even cooking prevents rubbery whites
- Hands-off method reduces cracking
If you’ve struggled with peeling duck eggs in the past, this method is a major upgrade.
Instant Pot Duck Egg Timing (Hard-Boiled)
Use the same setup as chicken eggs:
- 1 cup water
- Trivet or rack
- Duck eggs in a single layer (stack gently if needed)
Pressure Cooking Method:
- High Pressure: 8-10 minutes
- Natural Release: 5 minutes
- Ice Water Bath: 5–10 minutes
Duck eggs generally need longer cooking than large chicken eggs due to their size and shell thickness. This timing yields fully set whites and yolks without overcooking.
Common Questions and Troubleshooting
Do the eggs really peel better?
Yes. Many people find Instant Pot eggs peel more cleanly than stove-top boiled eggs, especially with fresh eggs.
Why does pressure cooking help?
The combination of steam, pressure, and rapid cooling helps the egg white separate more easily from the membrane.
What if my eggs crack?
A few small cracks are normal and usually don’t affect the final result. Using a trivet and avoiding overcrowding helps minimize cracking.
Can I store them after cooking?
Yes. Store unpeeled hard-boiled eggs in the refrigerator for up to 7 days.
Instant Pot vs. Stovetop Hard-Boiled Eggs
Both methods work, but they excel at different things:
- Instant Pot: best peeling, consistent results, great for fresh eggs
- Stovetop: no special equipment, good for small batches and quick soft-boiled eggs
Many households use both methods, but for weekly meal prep or fresh eggs, the Instant Pot often wins. Once you try it, it’s easy to see why so many people say the same thing: “We almost always hard boil our eggs in the Instant Pot now”.

This article is written by Laurie Neverman. Laurie grew up in the kitchen, learning baking and home cooking from her momma. At age 15, she and her mom and two sisters created Irene’s Custom Cakes & Catering. This was her summer job through most of high school and college.