When to Harvest Onions (Plus Harvesting Tips)
This post may contain affiliate links. Read my full disclosure here.
When should you harvest onions? You can harvest onions any time the bulb reaches a useable size, but for storage, you want them fully mature. We’ll share tips to tell when they are ready harvest, how to prep them for storage, and best storage varieties.
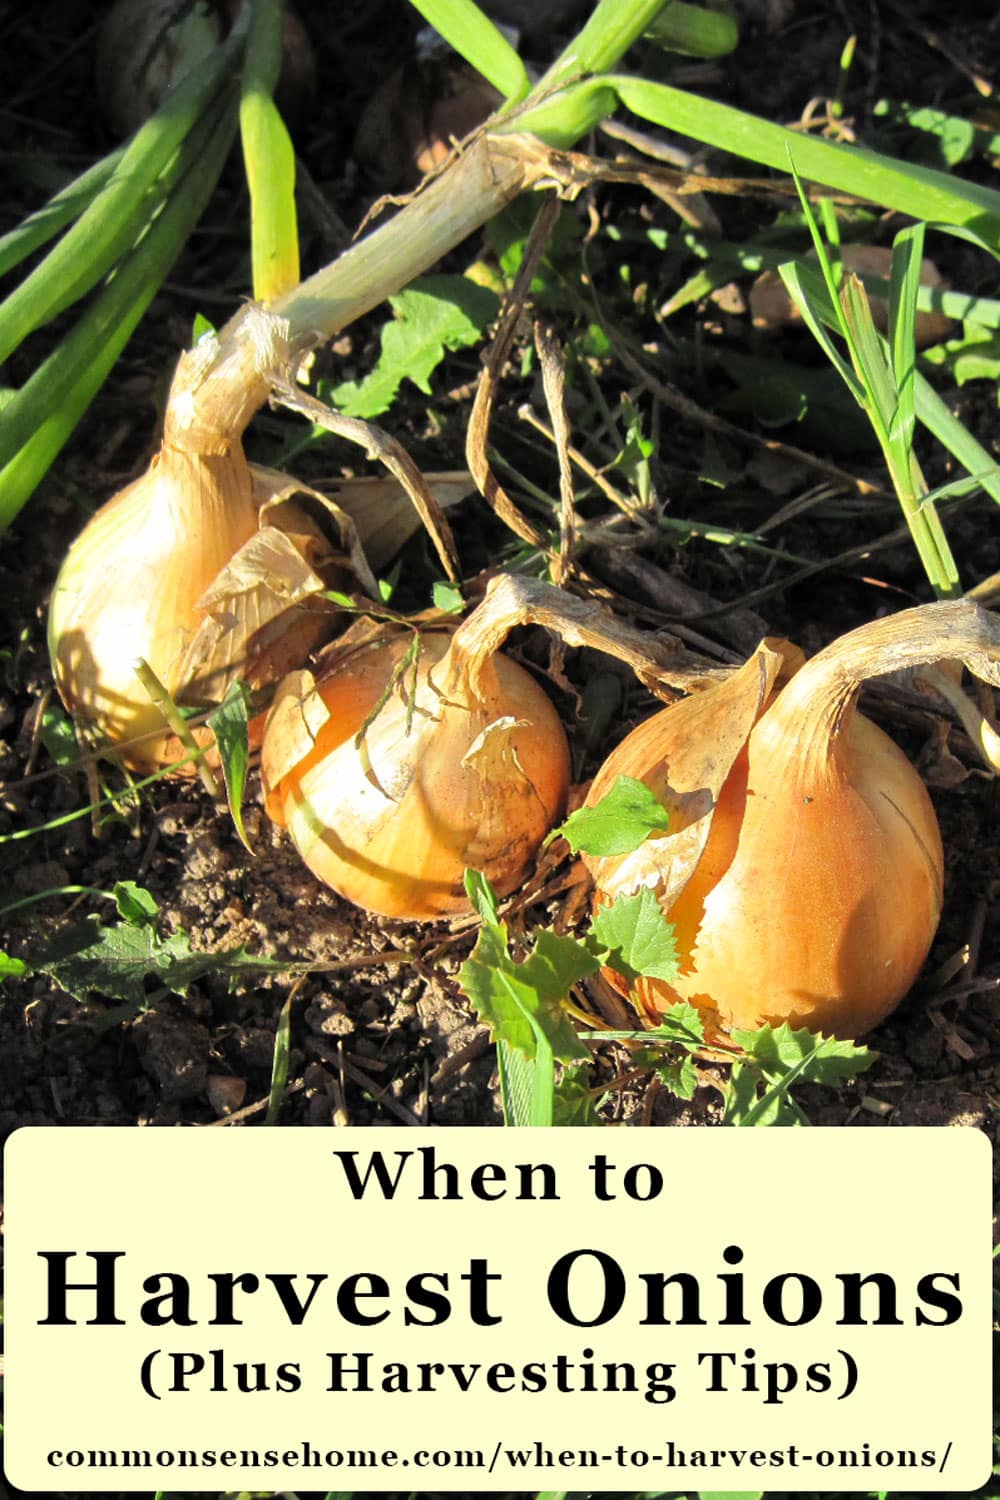
You can enjoy home grown onions for months after the growing season has finished with just a little extra time and effort. It’s easy to harvest, cure, and store onions for later use.
When to Harvest Onions
Onions can be harvested for fresh use at any time during the growing season, from small green onions early in the season, to full size mature onions.
My friend Julie’s mom purposely spaces her onion plants quite close together, so that she can thin them out and eat lots of small green onions fresh out of the garden.
Harvest storage onions at the end of the growing season, when they are fully mature. The tops will start to turn brown and flop over, or even die back completely.
Here in northeast Wisconsin, I’ve found that onions usually keep just as good or better in the garden than inside, as long as it’s not a wet year. If the soil is wet, they may start rotting, so pay attention and watch for any trouble.
I’m usually busy earlier in the growing season scrambling to harvest and preserve everything else that needs preserving, so we harvest onions as needed from summer into fall. When frost threatens in fall, then the rest of the crop comes out.
Waiting to harvest usually means that there’s not much left to the tops of the onions, so braiding is not an option. If you want to try making an onion braid, dig your onions while the tops are still intact.
How to Harvest Onions
To harvest onions, simply loosen the soil, if needed, with a hand spade or fork, taking care not to skewer the onion or break off too many the hair like roots. Brush off loose dirt.
If your onion has a flower stalk, it won’t keep well. The stalk is edible, but tough, and the bulb around the stalk gets soft. Clean and use the onion as soon as possible.
To prep onions for storage, please keep reading, otherwise clean well and use them any way you like.
How to Cure Onions for Storage
When the onions are pulled from the soil, the outer papery skin is often tender and moist. This can lead to mildew and rot in storage. To prepare onions for longer storage, they need to be cured.
Curing is the process of drying the outer layers of the onion, to make them more durable and less likely to rot or mildew.
If the weather is warm and dry, you can dig your bulbs and leave them in them spread in the garden to dry for up to a week. Don’t wash them, just brush off the dirt. Some people hang them on a picket fence or loop them over cattle panels.
My preference is to place them in a shed, garage, covered porch or other well-ventilated area, spread out on a flat surface out of direct sunlight.
I spread ours on the wire mesh shelves in our attached greenhouse, and cover them with a sheet of burlap to keep the sun off. They smell strongly of onions, so good air circulation is key not just for drying, but for venting the fumes.
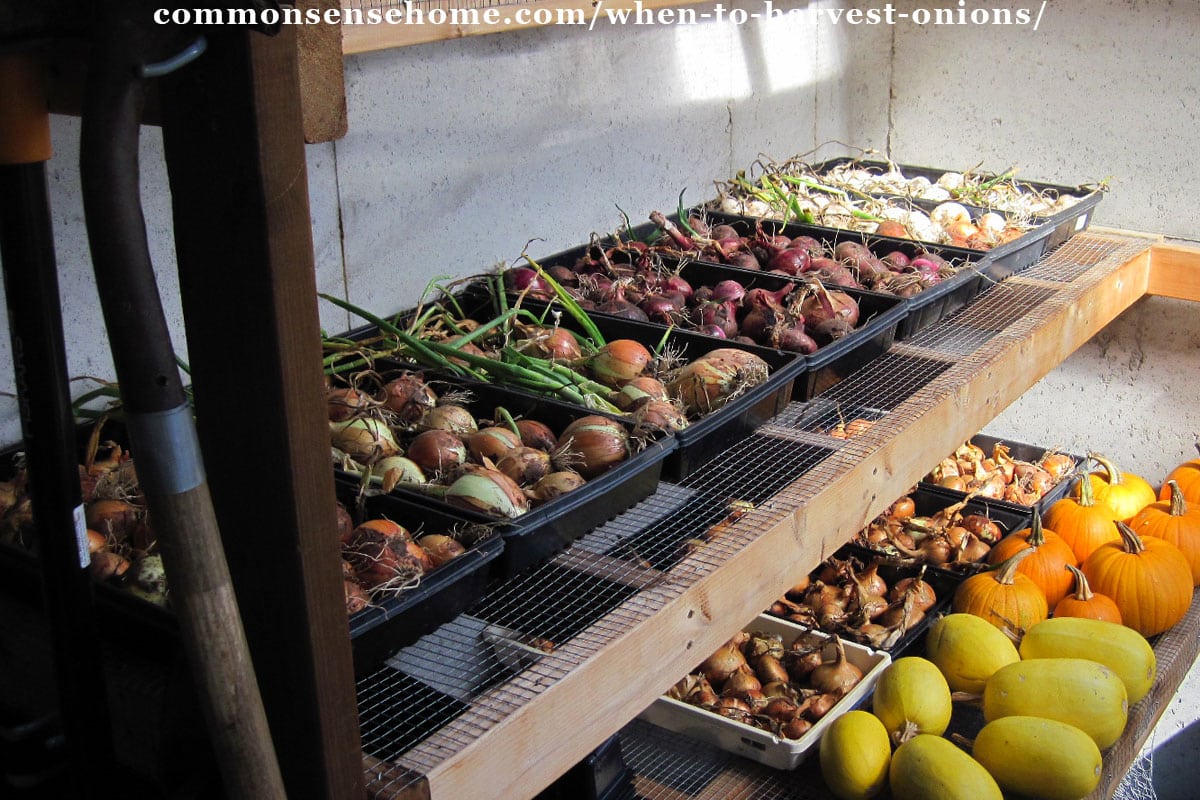
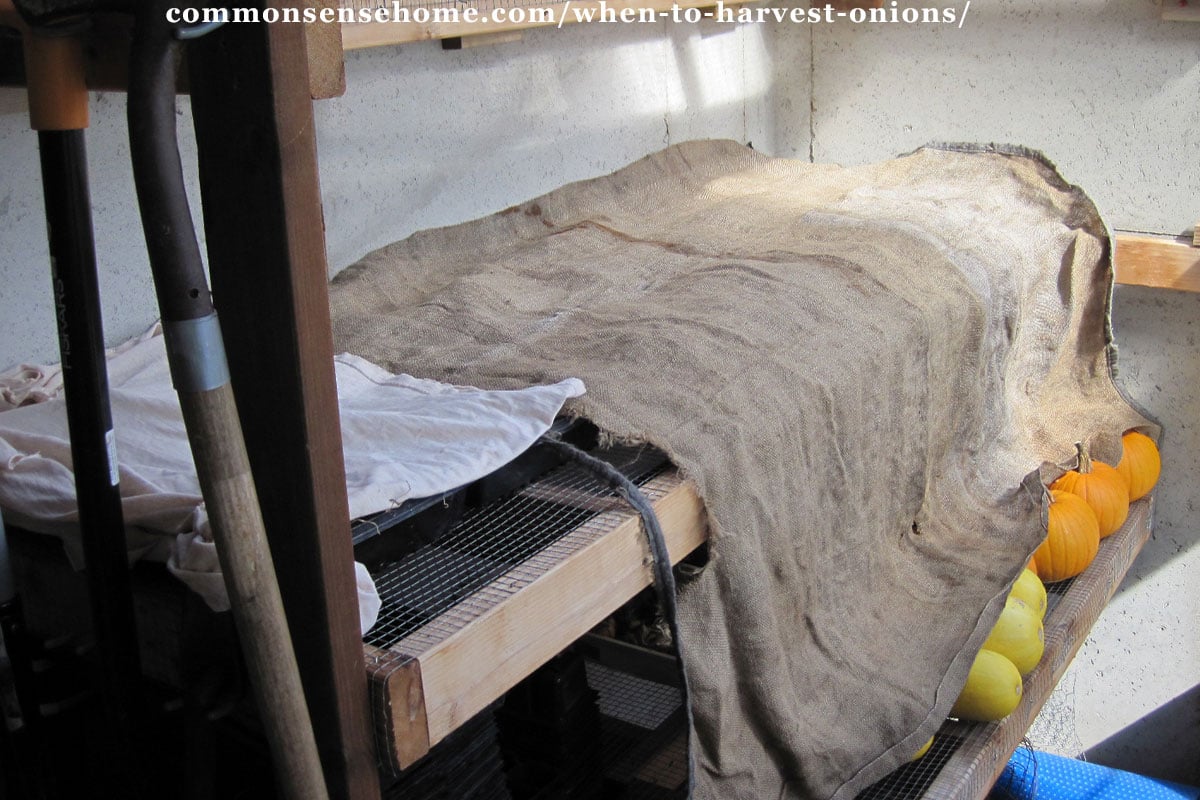
Depending on humidity, temperature and air flow, your onions should cure in one to two weeks. Once your onion harvest is completely dry, wipe off any dirt and really loose outer layers of skin, and trim the roots. Leave some skin on for protection and to keep the onions from drying out too much.
Trim tops to about one inch above the bulb, or leave intact for braiding (see below).
How to Store Onions
There are a number of ways to store your onions once they are cured.
Optimal storage conditions for storage onions are cool and dry:
- 35 to 40 degrees Fahrenheit ideal (just above freezing)
- 60 to 70 percent relative humidity
These are optimal, but onions are fairly forgiving.
Don’t store onions in a sealed bag or container. Avoid high temperatures, direct sunlight or high humidity. They cause the onions to shrivel and/or sprout early.
Would you like to save this?
Don’t store onions right next to apples or potatoes, because ethylene gas exchange will trigger sprouting and spoilage . If you store them in the same root cellar, you MUST have good ventilation.
Containers for your Onion Harvest
Keep your onion harvest cool, dry, and out of direct sunlight. It’s helpful to use containers that let you easily see the onions so you can watch for signs of spoilage.
Open Bins
I keep my onions in open bins in the root cellar. That way I can easily spot if any start to go bad or sprout and use them first. You can use mesh baskets, wooden crates, planting trays, bushel baskets – whatever you have available. Just don’t stick them in a plastic tub with a lid and no airflow.
Mesh Bags
Save and reuse bags from store onions or citrus and hang your onions up out of the way.
Braiding Onions
If you have intact onion tops, you can braid your onions together with a piece of twine. You want to do this before the tops are completely dry, so they they are a little more flexible. This video demonstrates how.
Which Onions are Best for Storage?
Look for short-day or long-day varieties of onions, depending on your location. Short-day onions grow better in the south, because they require roughly equal amounts of light and darkness. Long-day onions are better suited for the north, because they require longer hours of sunlight to set bulbs.
The best onions for storage are those that have a high sulfur content. Onions that make your eyes water like crazy will also keep the best. Sweet onion varieties like Walla Walla and Vidalia are yummy, but won’t last as long as the spicier varieties.
Yellow
- Copra (hybrid, long day)
- Cortland (hybrid, long day)
- Patterson (hybrid, long day)
- Stuttgarter Reisen (heirloom, long day)
- Yellow Sweet Spanish (heirloom, long day)
White
- Bianca di maggio cipollini (heirloom, long day)
- Southport White Globe (heirloom, long day)
- White Sweet Spanish (heirloom, long day)
Red
- Blush (hybrid, long day)
- Red Creole (developed in 1962, short day)
- Redwing (hybrid, long day)
- Southport Red Globe (heirloom, long day)
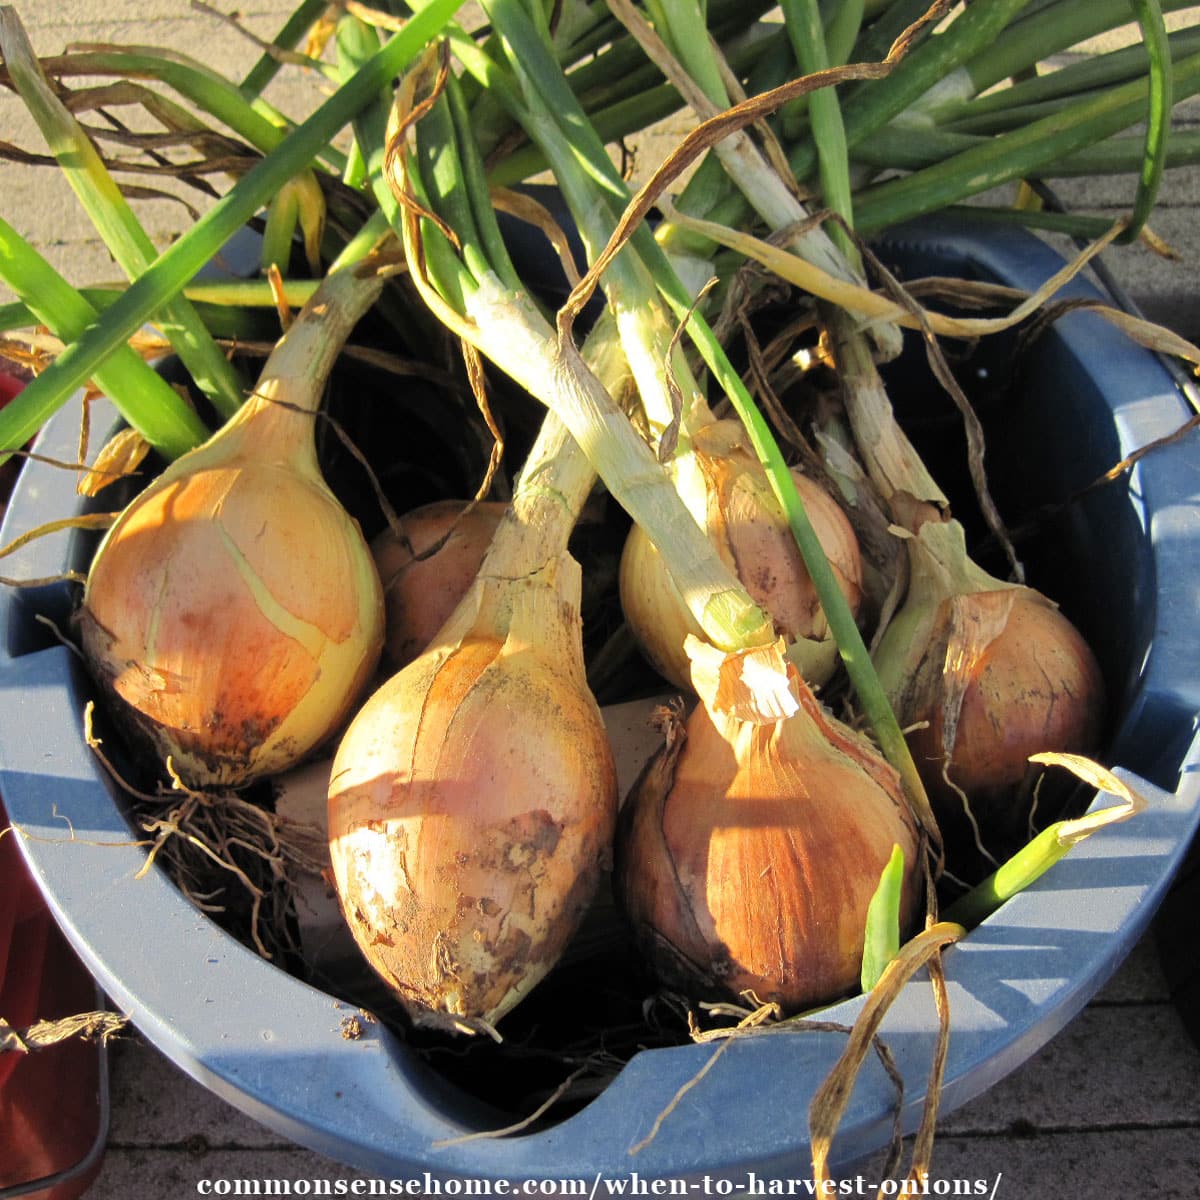
Out of the red, white and yellow onion varieties I’ve tried, the yellow Stuttgarter Reisen has been the best keeper. Stuttgarter Reisen is a large, deep golden-yellow onion with firm white flesh. The reds and whites I’ve tried have not kept as well, so I usually use them first.
Healthier Onions = Bigger Onion Harvest and Better Storage Quality
Northern growers should get their onions in as early as possible, because once the daylight house get shorter, your onions will only fill out the layers they’ve already formed. June planted onions = largely a waste of time.
Another note: Make sure to buy good quality seeds or sets. Some years ago, the red onion sets that were available locally were kind of scrubby looking – lots of rotten little bulbs in the baggie. I bought some anyway, because we do like red onions.
This fall, when I started digging, many of the red onions were in bad condition with rotten outer layers. None of the other onion patches had the same issue. No more questionable onion sets in my garden. They are not worth the effort.
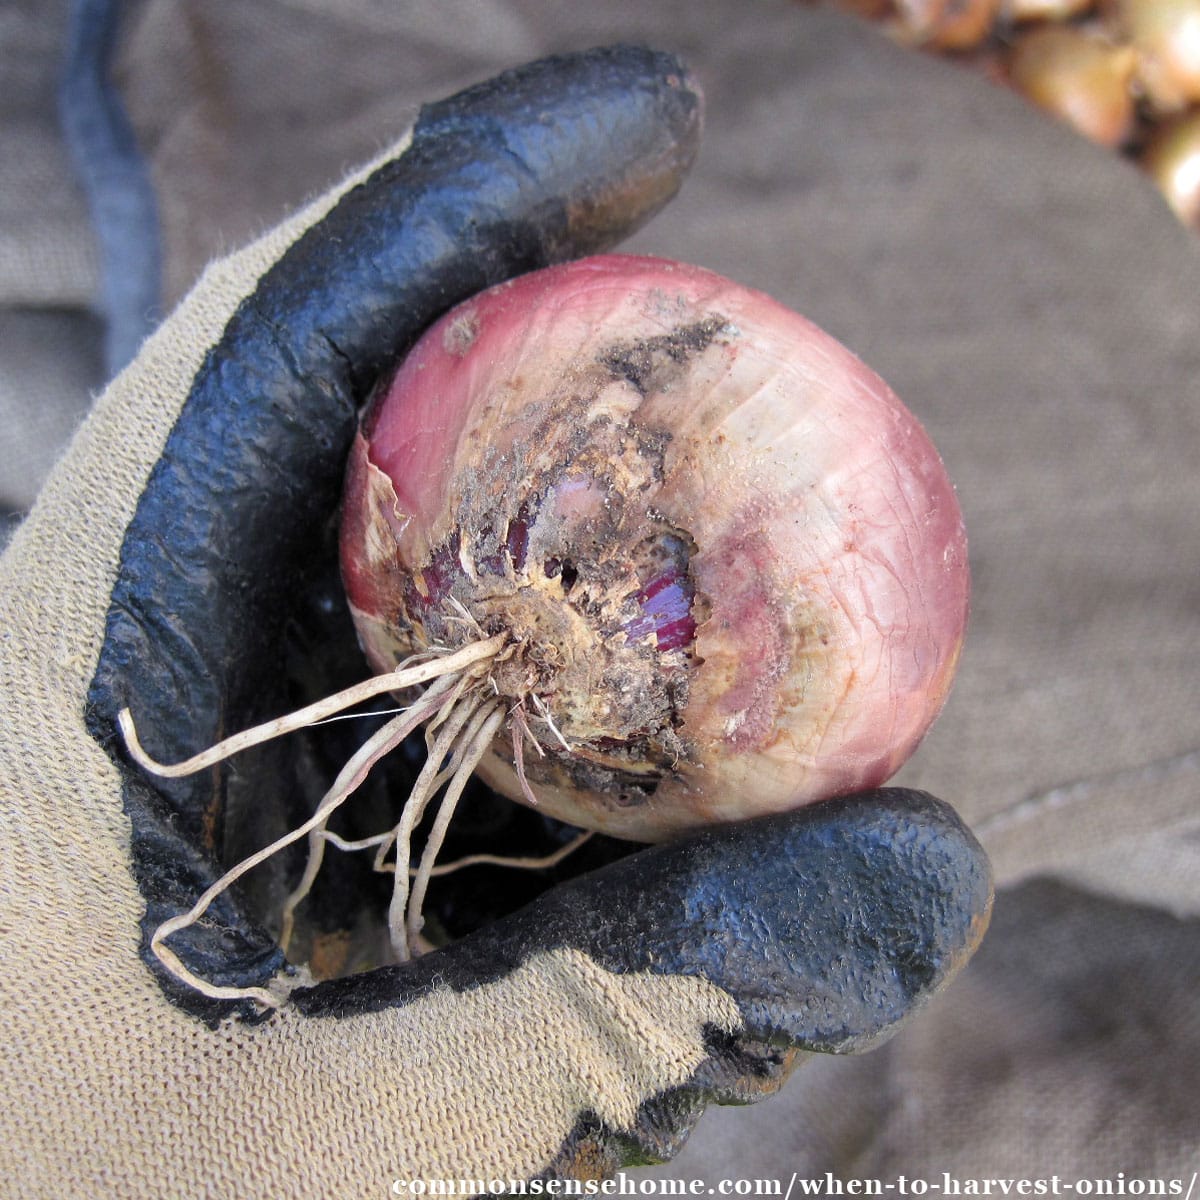
My friend, Tami, and I have both found that the onions we start from seed are much more solid and less prone to rotting than the ones that we grow from sets.
Also, the healthier the soil and the plants, the longer your onion harvest will keep. (I’ve found this to be the case with the rest of my vegetable garden, too. Homegrown produce has a better shelf life than grocery store produce.)
See “How to Grow Onions from Seed” for more information.
More Onion Storage Options
For information on how to store your onion harvest via dehydrating, freeze drying, or freezing, see “How to Store Onions“. The article also includes the pantyhose method for storing onions, and how long onions last in different types of storage.

Plant your onions early, they don’t like heat. And they start to mature when the days start to get shorter (last week in June). A month and 1/2 later they will start to get soft. Your location will determine the exact date. They will start to rot if it’s too wet, or they will start to regrow.
I’ve never grown onions. I started my onions from seed, they have nice, tall, green tops. Does it take longer for the onion to mature when started from seeds? Can I cut the green tops now or would that stop the onions from maturing?
Early in the growing process the tops can be trimmed to keep them from flopping over, but as the onions get closer to maturity, the tops should not be cut. The greens send energy down to grow the bulbs.
Onions grown from seed do take longer to mature than onions grown from sets. Here in Wisconsin, I start my onion seeds in later February/early march. Sets and transplants don’t need to be planted in the garden until April or May.
For more information on growing onions, please see “Growing Onions from Seed“.
Oh, I forgot to mention – as the onions are growing, the tops mature before the roots, so you will see large tops before the roots fill out.
Thank you for this information. I found it very useful because I haven’t done well thus far with onions.?
Check out the growing guide for more tips. Onions aren’t super heavy feeders, but they do like decent soil and don’t like heat. Plenty of moisture is good during early growth, but less is better closer to harvest.