Getting Started Beekeeping – Iron Oak Farm’s First Hive
This post may contain affiliate links. Read my full disclosure here.
This is a guest post by Jennifer Sartell of Iron Oak Farm sharing their experience with getting started beekeeping.
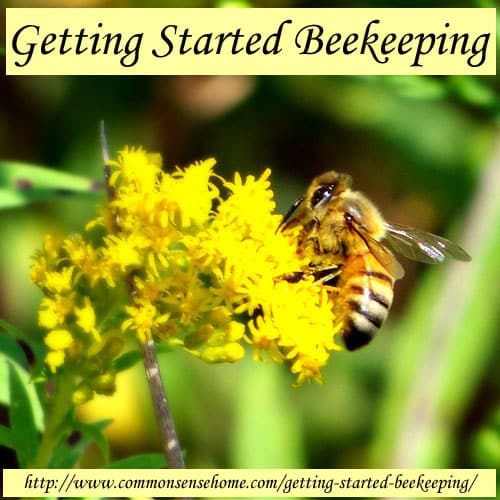
It’s amazing to see our little farm growing, taking shape in the nooks and crannies of our property. So steady, so quiet, it moves along. I look out over our pumpkin patch and see the giant gourds, orange and globular, almost alien-like against the green grass. I think back to the spring, where the little sleeping seeds awoke in the ground. With time, rain and sunshine we now have enormous trailing vines, wrinkled star- like blooms and huge voluptuous fruit.There is another element, that gave our pumpkins their birth. A gentle kiss to each star shaped flower. A thousand tiny friends that helped a plain green vine to be the life blood of something spectacular.
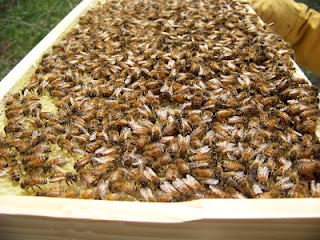
I am talking about the bees.
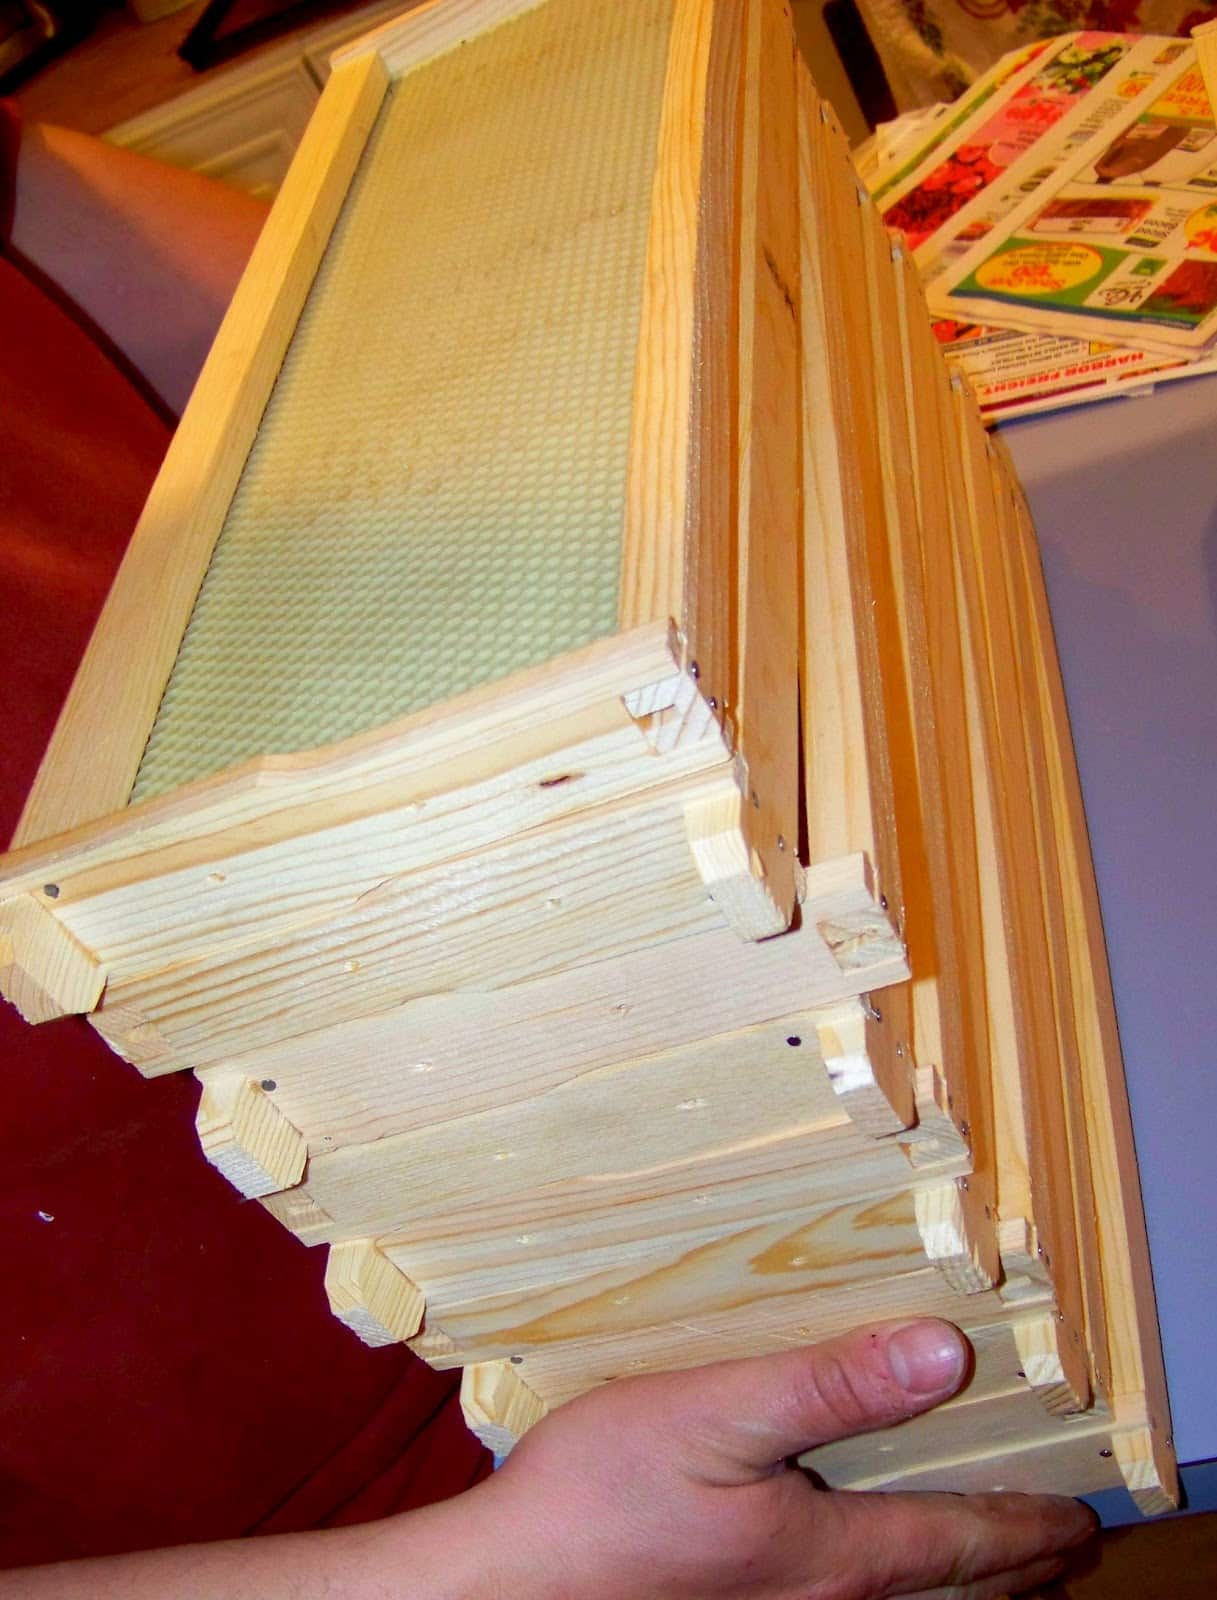
We set up our first hive this past spring. The hive body was my Christmas present to my husband Zach last December.
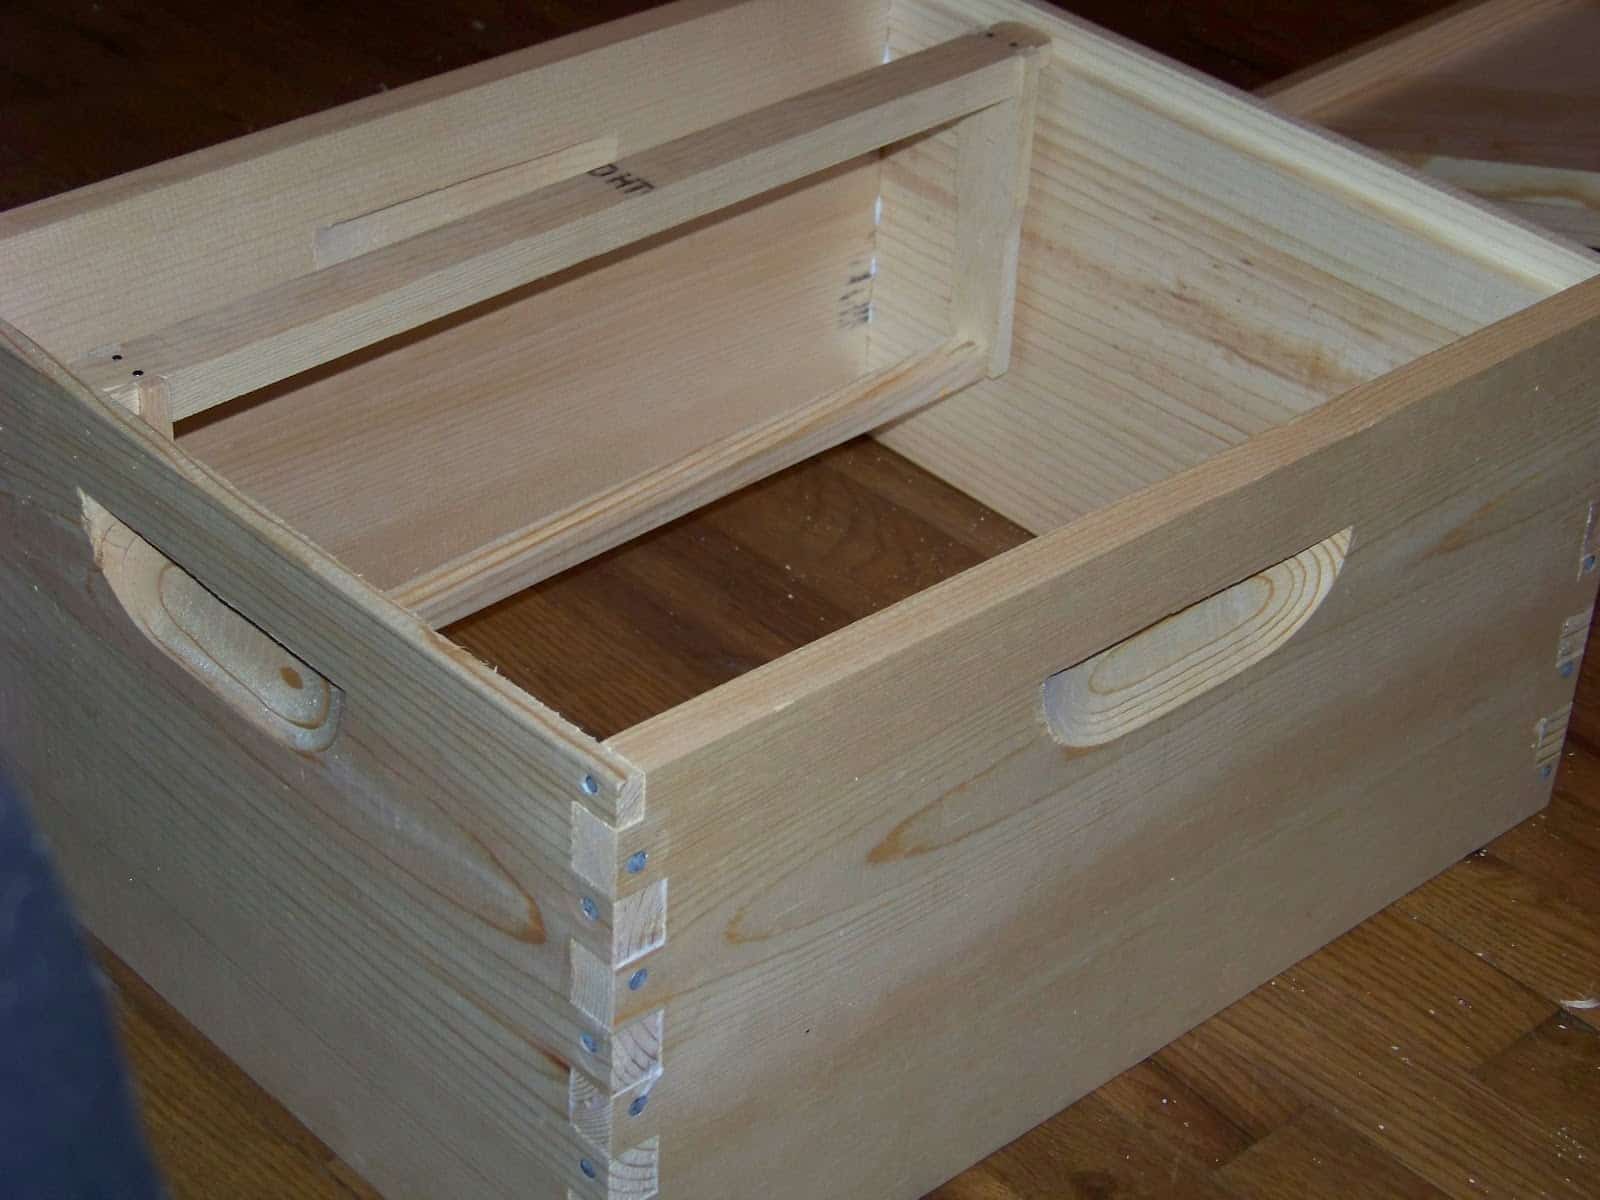
Hive Body Construction
I purchased our hive from Dadant Bee Keeping company. They are located in Albion, Michigan, which is about an hour and a half away from our farm.
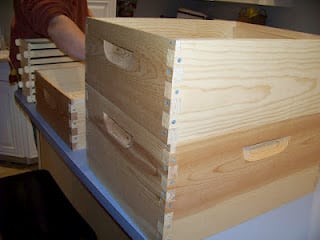
With the help of the Dadant employees, we purchased two large hive bodies with frames and foundation and two small harvest supers. The large supers are dedicated to the bees. The bees will fill this with their own honey reserves to support the colony. The smaller harvest supers are for us.
Basic Beekeeping Supplies
We also purchased:
- leather gloves with high wrists
- a hive tool (which is used to separate the frames and ease the action of taking the hive apart)
- a smoker to calm the bees when we’re working in the hive
- fuel for the smoker
- two veils to protect our faces.

Zach spent the winter evenings sitting on the living room floor nailing the hive together with the tiny nails provided by Dadant. There were four hive bodies each containing 10 frames.
When it was finished we carefully painted the outside to seal and protect the wood, leaving the inside as natural as possible.
Setting Up the Bee Hive
When the weather broke and most of the Michigan snow had melted, we set out to set up the hive before the bees arrived in the mail. We set the hive body on cinder blocks, facing south between two honey suckle bushes. This spot is near the wood line for shelter from the wind. There is also a running stream nearby, as bees need a source of water.
We ordered our bees in February, and they were due to arrive at Dadant in April. The species of bee we ordered were Russian. They are a good beginner bee with a decent honey yield and a mild temperament.
Shipping a Swarm
We got a phone call at the end of April telling us that our bees had arrived at the Dandant loading dock and that they needed to be picked up within 48 hours.
The bees come in a small box with a tin can full of sugar water to feed them while in transport. There is only enough food for a few days for all 8000 bees and their queen. The cone shaped swarm is actually the bees holding on to each other around the queen’s excluder box. The bees are trying to take care of her and keep her warm. At this point the bees are extremely docile because they have no home to defend, and they are concentrated on protecting their precious queen.
The time in the shipping box is vital for the hive. Not only are they being shipped, but there is a dynamic relationship being established. Our bees came from an established hive that was getting ready to swarm. When a hive prepares to swarm, the worker bees create several queen cells. Then they take a normal worker egg and place it in these special cells. The workers feed these selected larva Royal Jelly which is a nutrient rich honey that helps to grow a queen. To prepare for shipping, the apiarists extract these queen cells, split the hive and create a new swarm. While in the shipping box, the new queen releases pheromones that send messages to the worker bees to try and get them to accept her as their new queen. Otherwise the workers may think she is an intruder and kill her.
Introducing the Queen to the Hive
When we got the bees home we took them out to the hive body. We sprayed the bees with some sugar water so they would stay busy cleaning themselves which keeps them pre-occupied and calm.
Would you like to save this?
We then shook the swarm down to the bottom of the box and removed the queen’s excluder box.
This box has a small cork in the entrance hole to keep the queen contained during transport. We removed the cork and replaced it with some marshmallow fluff. Once the queen is in the hive, the workers will eat their way through the fluff and release the queen slowly.
We wired her box to a frame in the center of the hive.
Then we literally shook the bees out of the box onto the hive body and carefully closed the lid.
Feeding the Bees
Because our hive was not established at this point we needed to feed the bees until they had an ample honey supply stored. To feed the bees we made a simple syrup which is equal parts water and sugar melted on the stove. We let it cool and then poured into a mason jar that fits into a feeder that came with our hive.
Why You Need to Do as an Apiarist
After one week we checked the queen just to make sure that she was accepted and that worker bees were tending to her. Zach suited up in his veil and lit the fuel in his smoker.
Only a couple puffs at the entrance…
and then another couple once the lid is off.
We didn’t want to over smoke the bees.
We were lucky to find the queen on the first frame!

After this initial check, it’s good to leave the hive alone for a while. Continue feeding for the first month or until they stop draining the sugar water and there are plenty of flowers in bloom.
In a few weeks we checked the bees again, and they were producing honey, comb and brood.
We added the next box with frames so the bees wouldn’t out grow the hive once the brood started hatching.
When the storage supers were full for the bees to use, we were then able to add the queen excluder which is a plastic screen to keep the queen from laying brood in the frames that we want to harvest honey from. On top of the excluder, we added our harvest super with the smaller harvest frames.
And now we wait. We wait for the bees to make our honey. These busy little insects that work so hard pollinating the world, scattering fertility and ripening delicate flowers into luscious food.
The golden rod is in full bloom at Iron Oak Farm and the bees are busier than ever. If the they continue to produce at the rate they are now, we expect to collect our first honey harvest this October.
My name is Jennifer Sartell, I manage our 14 acre farm with my husband Zach who is also a blacksmith. We raise dairy goats, fiber goats, fiber rabbits, heritage turkeys and rare breeds of chickens. We also have a large garden and pumpkin patch where we grow organic, heirloom varieties. I enjoy writing, drawing, photography, spinning and dyeing yarn, basket weaving, nature and history. To learn more about our farm, visit us at Iron Oak Farm!


Thanks for putting together the basic supplies list with the pictures. I am doing a beginner beekeeping workshop soon and might include this link as a resource in the PDF I send out. I have a list right now as well, but having the attendees read up on it before the workshops might help with the learning process.
Thank you for sharing your experience. I have been toying with the idea of getting bees for my backyard homestead but was overwhelmed with where to start. I think I am going to hold off for a while until I could focus on that solely rather than all the hubbub of getting a homestead started.
A wonderful post, thanks for sharing. My husband would adore a bee hive for Christmas! You’ve provided really clear, concise information here – my education on bee keeping has begun! (Lots more to go)
Can’t wait to get back into a house!! I really want to try my hand at beekeeping! Thanks for the great info!
What a great Christmas gift for this family. 🙂